
Let’s be real for a second: taking a great photo is only half the battle. You can have the fanciest camera in the world and the most expensive glass, but if you aren’t editing your shots, you’re basically leaving money: and magic: on the table.
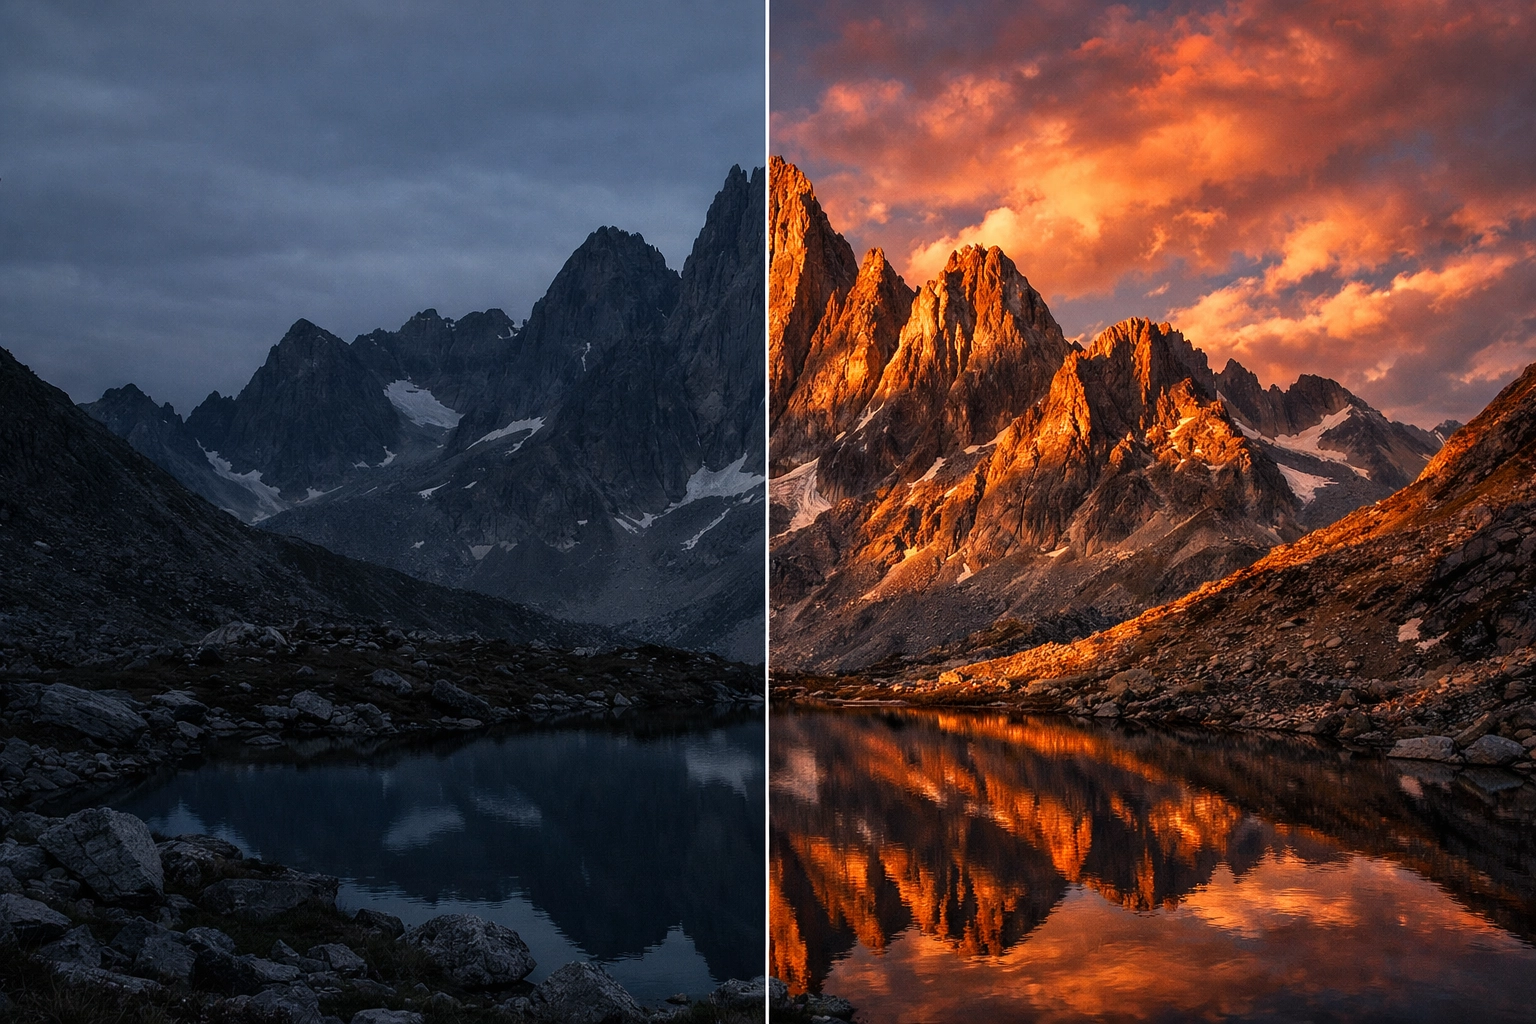
Think of your RAW file as a block of marble. It’s got all the potential in the world, but it takes a bit of chipping away and polishing to reveal the masterpiece inside. Whether you’re trying to make a sunset pop or trying to figure out how to remove that annoying tourist from the background of your perfect travel shot, photo editing is the skill that separates the "shutterbugs" from the professionals.
In this guide, we’re going to dive deep into the world of photo editing tutorials. We’ll cover the workflow that keeps the pros efficient, the software you actually need, and the techniques that will make your friends ask, "Wait, did you really take that?"
Why You Need a System (And Why "Wing It" Doesn't Work)
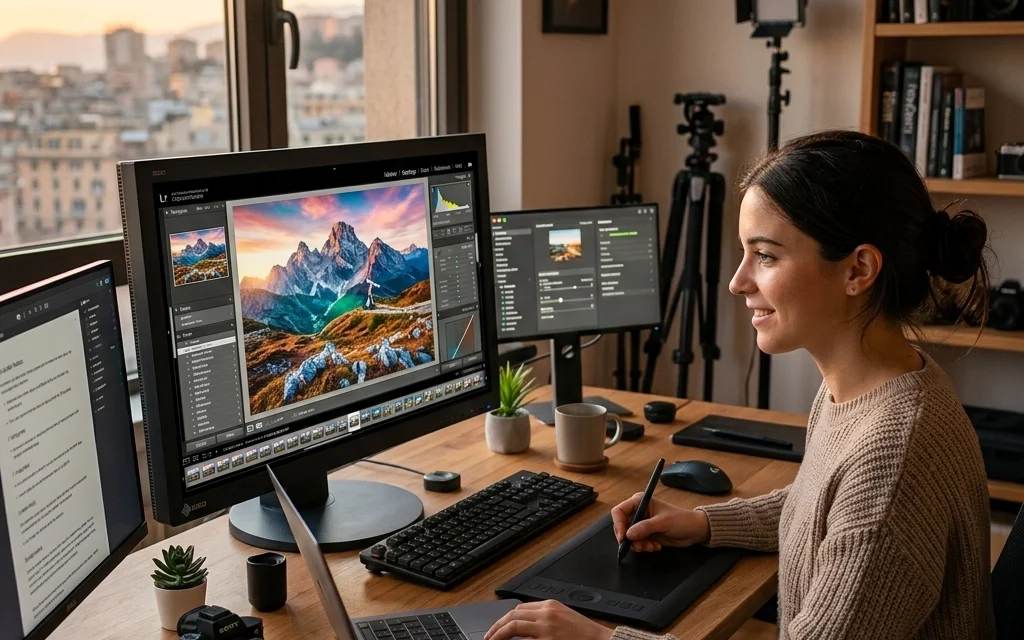
When you first open a program like Photoshop or Luminar, it’s easy to feel overwhelmed. There are approximately ten thousand sliders, and if you just start dragging them randomly, you’ll end up with an image that looks like a neon fever dream.
Efficiency is the name of the game. If you’re spending three hours on one photo, you’re going to burn out before you finish your gallery. A solid workflow allows you to edit a photo in under a minute once you’ve mastered the steps. That’s how the pros at Edin Studios keep their output so high without sacrificing quality.
The Core 6-Step Editing Workflow
Research shows that a consistent sequence works for about 90% of all photographs. If you follow these steps in order, you’ll avoid the "circular editing" trap where you keep changing one thing only to realize it messed up something else.
1. Straighten and Crop
This is the "non-negotiable" step. Nothing screams "amateur" louder than a crooked horizon line. Before you touch a single color slider, make sure your vertical and horizontal lines are actually straight.
Use the crop tool to remove distracting elements at the edges of the frame: like a stray trash can or a random person's arm. This is also your chance to refine your composition. Maybe that shot would look better as a 4×5 for Instagram or a wide panoramic for a print. If you're into scenic shots, check out our ultimate guide to landscape photography tips for more on framing.
2. White Balance Correction
Light comes in different temperatures. Sunlight is blue-ish, while indoor bulbs are often yellow. Your camera tries its best to guess, but it usually gets it slightly wrong. Use the "Temperature" and "Tint" sliders to make sure white looks white. If you’re going for a specific mood: like a warm, cozy cabin vibe: you can intentionally lean into the warmer tones here.
3. Exposure and Contrast
This is where the photo starts to come alive. You want to balance the light so that you aren't losing detail in the shadows or blowing out the highlights (those bright white spots with zero detail).
- Highlights: Pull these down to recover detail in the clouds.
- Shadows: Lift these to see what’s happening in the dark areas of the frame.
- Contrast: Add a bit of punch to separate the light and dark areas.
4. Vibrance and Saturation
Be careful here. It’s tempting to crank the saturation to 100, but unless you’re trying to melt someone's eyeballs, less is usually more. We like to aim for "enhanced reality."
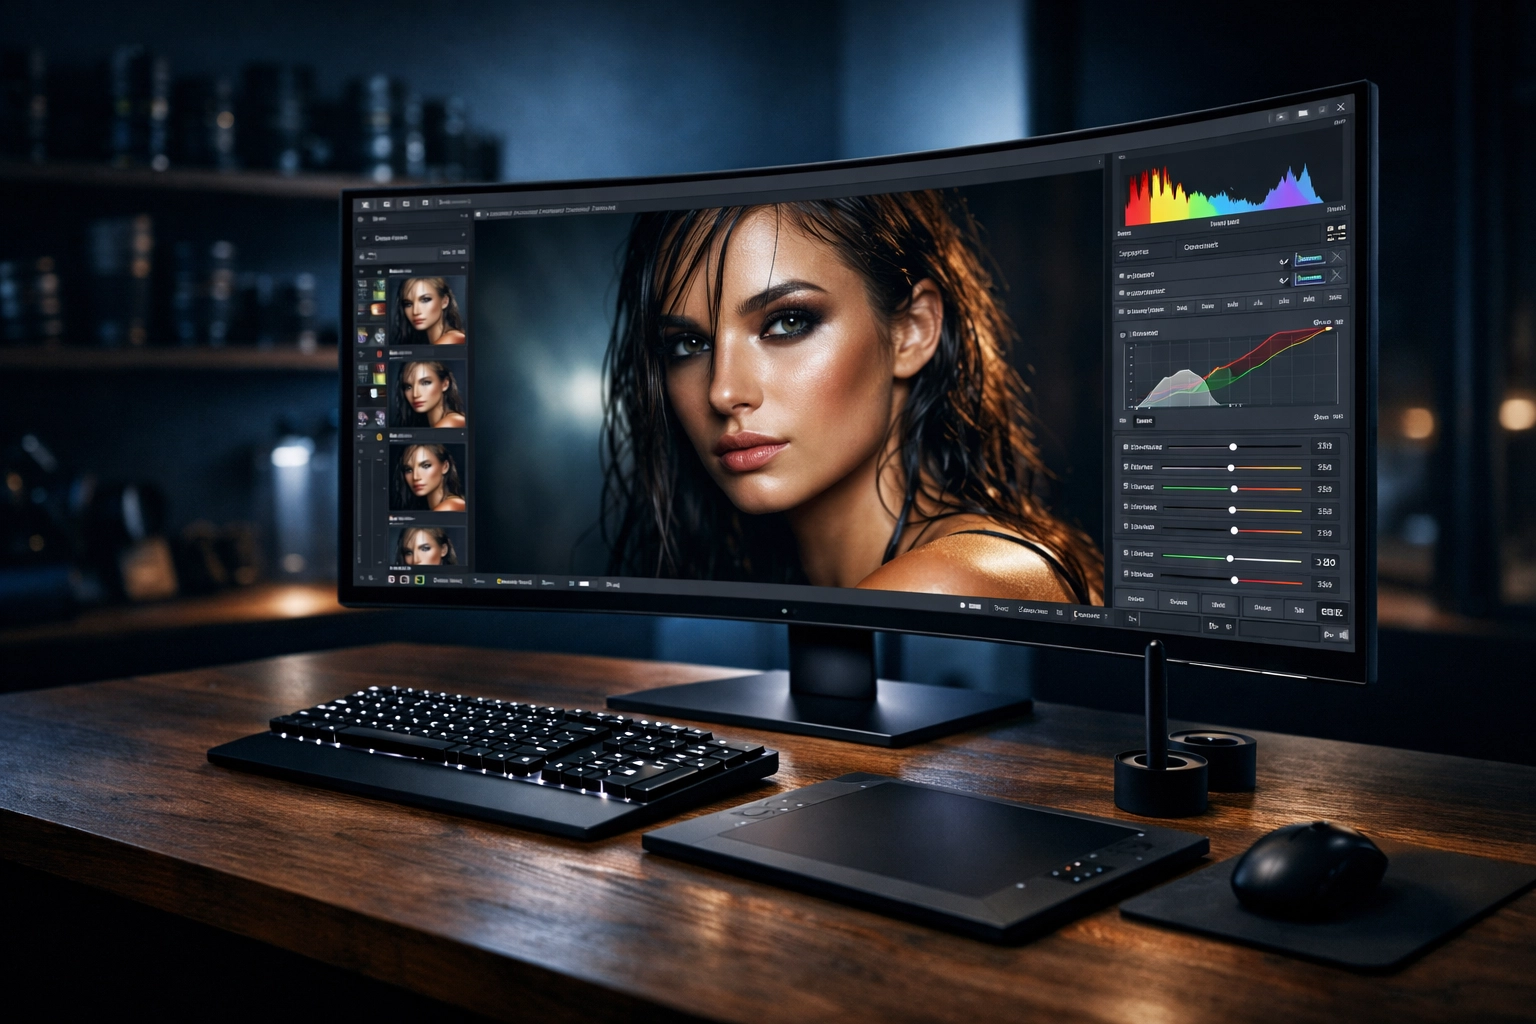
Pro Tip: Use the "Vibrance" slider instead of "Saturation." Vibrance is "smarter": it boosts the duller colors while leaving the already saturated ones (and skin tones) alone. This is crucial when capturing authentic emotions in portraits, as you don't want your subject looking like an orange.
5. Sharpening and Noise Reduction
Every digital photo needs a little bit of sharpening to counteract the softness of the sensor. However, don't overdo it, or you’ll end up with "halos" around your objects. If you shot in low light and the photo looks grainy, use noise reduction: but sparingly, or everyone will look like they’re made of plastic.
6. Final Creative Touches
This is the fun part. This is where you add a vignette to draw the eye to the center, or maybe some selective color grading to give the image a "cinematic" look. This is the stage where you turn a "good" photo into a "Shut Your Aperture" quality image.
Choosing Your Weapons: The Best Editing Software
There isn't a single "best" program, but there is definitely a best program for you. Your choice depends on your budget, your computer, and how deep you want to go down the rabbit hole.
| Software | Best For | Level |
|---|---|---|
| Lightroom | Organizing and bulk editing | Beginner to Pro |
| Photoshop | Heavy manipulation and retouching | Advanced |
| Luminar | AI-powered quick fixes and sky swaps | Beginner to Intermediate |
| GIMP 3.0 | Professional tools for $0 | Intermediate |
| Pixlr | Quick browser-based edits | Beginner |
The Power of Adobe (Lightroom & Photoshop)
Lightroom is the industry standard for a reason. It’s designed for photographers. It allows you to manage thousands of photos easily. Photoshop, on the other hand, is for when you need to do "surgery": removing large objects, combining multiple photos, or creating digital art. For most of us, 95% of our work happens in Lightroom.
The AI Revolution: Luminar
If you want professional results without spending years learning what a "frequency separation" is, Luminar is a game-changer. It uses AI to automatically enhance skin, replace boring skies, and add realistic sun rays. It’s a huge time-saver and honestly, it’s just plain fun to use.
Going Free with GIMP
If you're on a budget but still want the power of Photoshop, GIMP is your best bet. It’s open-source and has a massive community. It’s a bit clunkier than the paid stuff, but it gets the job done. You can find excellent resources on how to master these tools at PhotoGuides.org.
Mastering Advanced Techniques
Once you’ve got the basics down, it’s time to level up. Photo editing tutorials often focus on the "what," but the best ones explain the "why."
Layer Masks and Selections
This is the "Holy Grail" of editing. Instead of changing the whole photo, layer masks let you change just one part. Want the sky to be darker but the foreground to stay bright? Use a mask. This is how pros create that depth and "pop" that you see in high-end wedding photography.
HDR Blending
High Dynamic Range (HDR) isn't just that weird, crunchy look from 2012. Modern HDR is about merging multiple exposures to get a photo that looks like what your eye actually saw. This is vital for architectural shots or when you’re shooting directly into the sun.
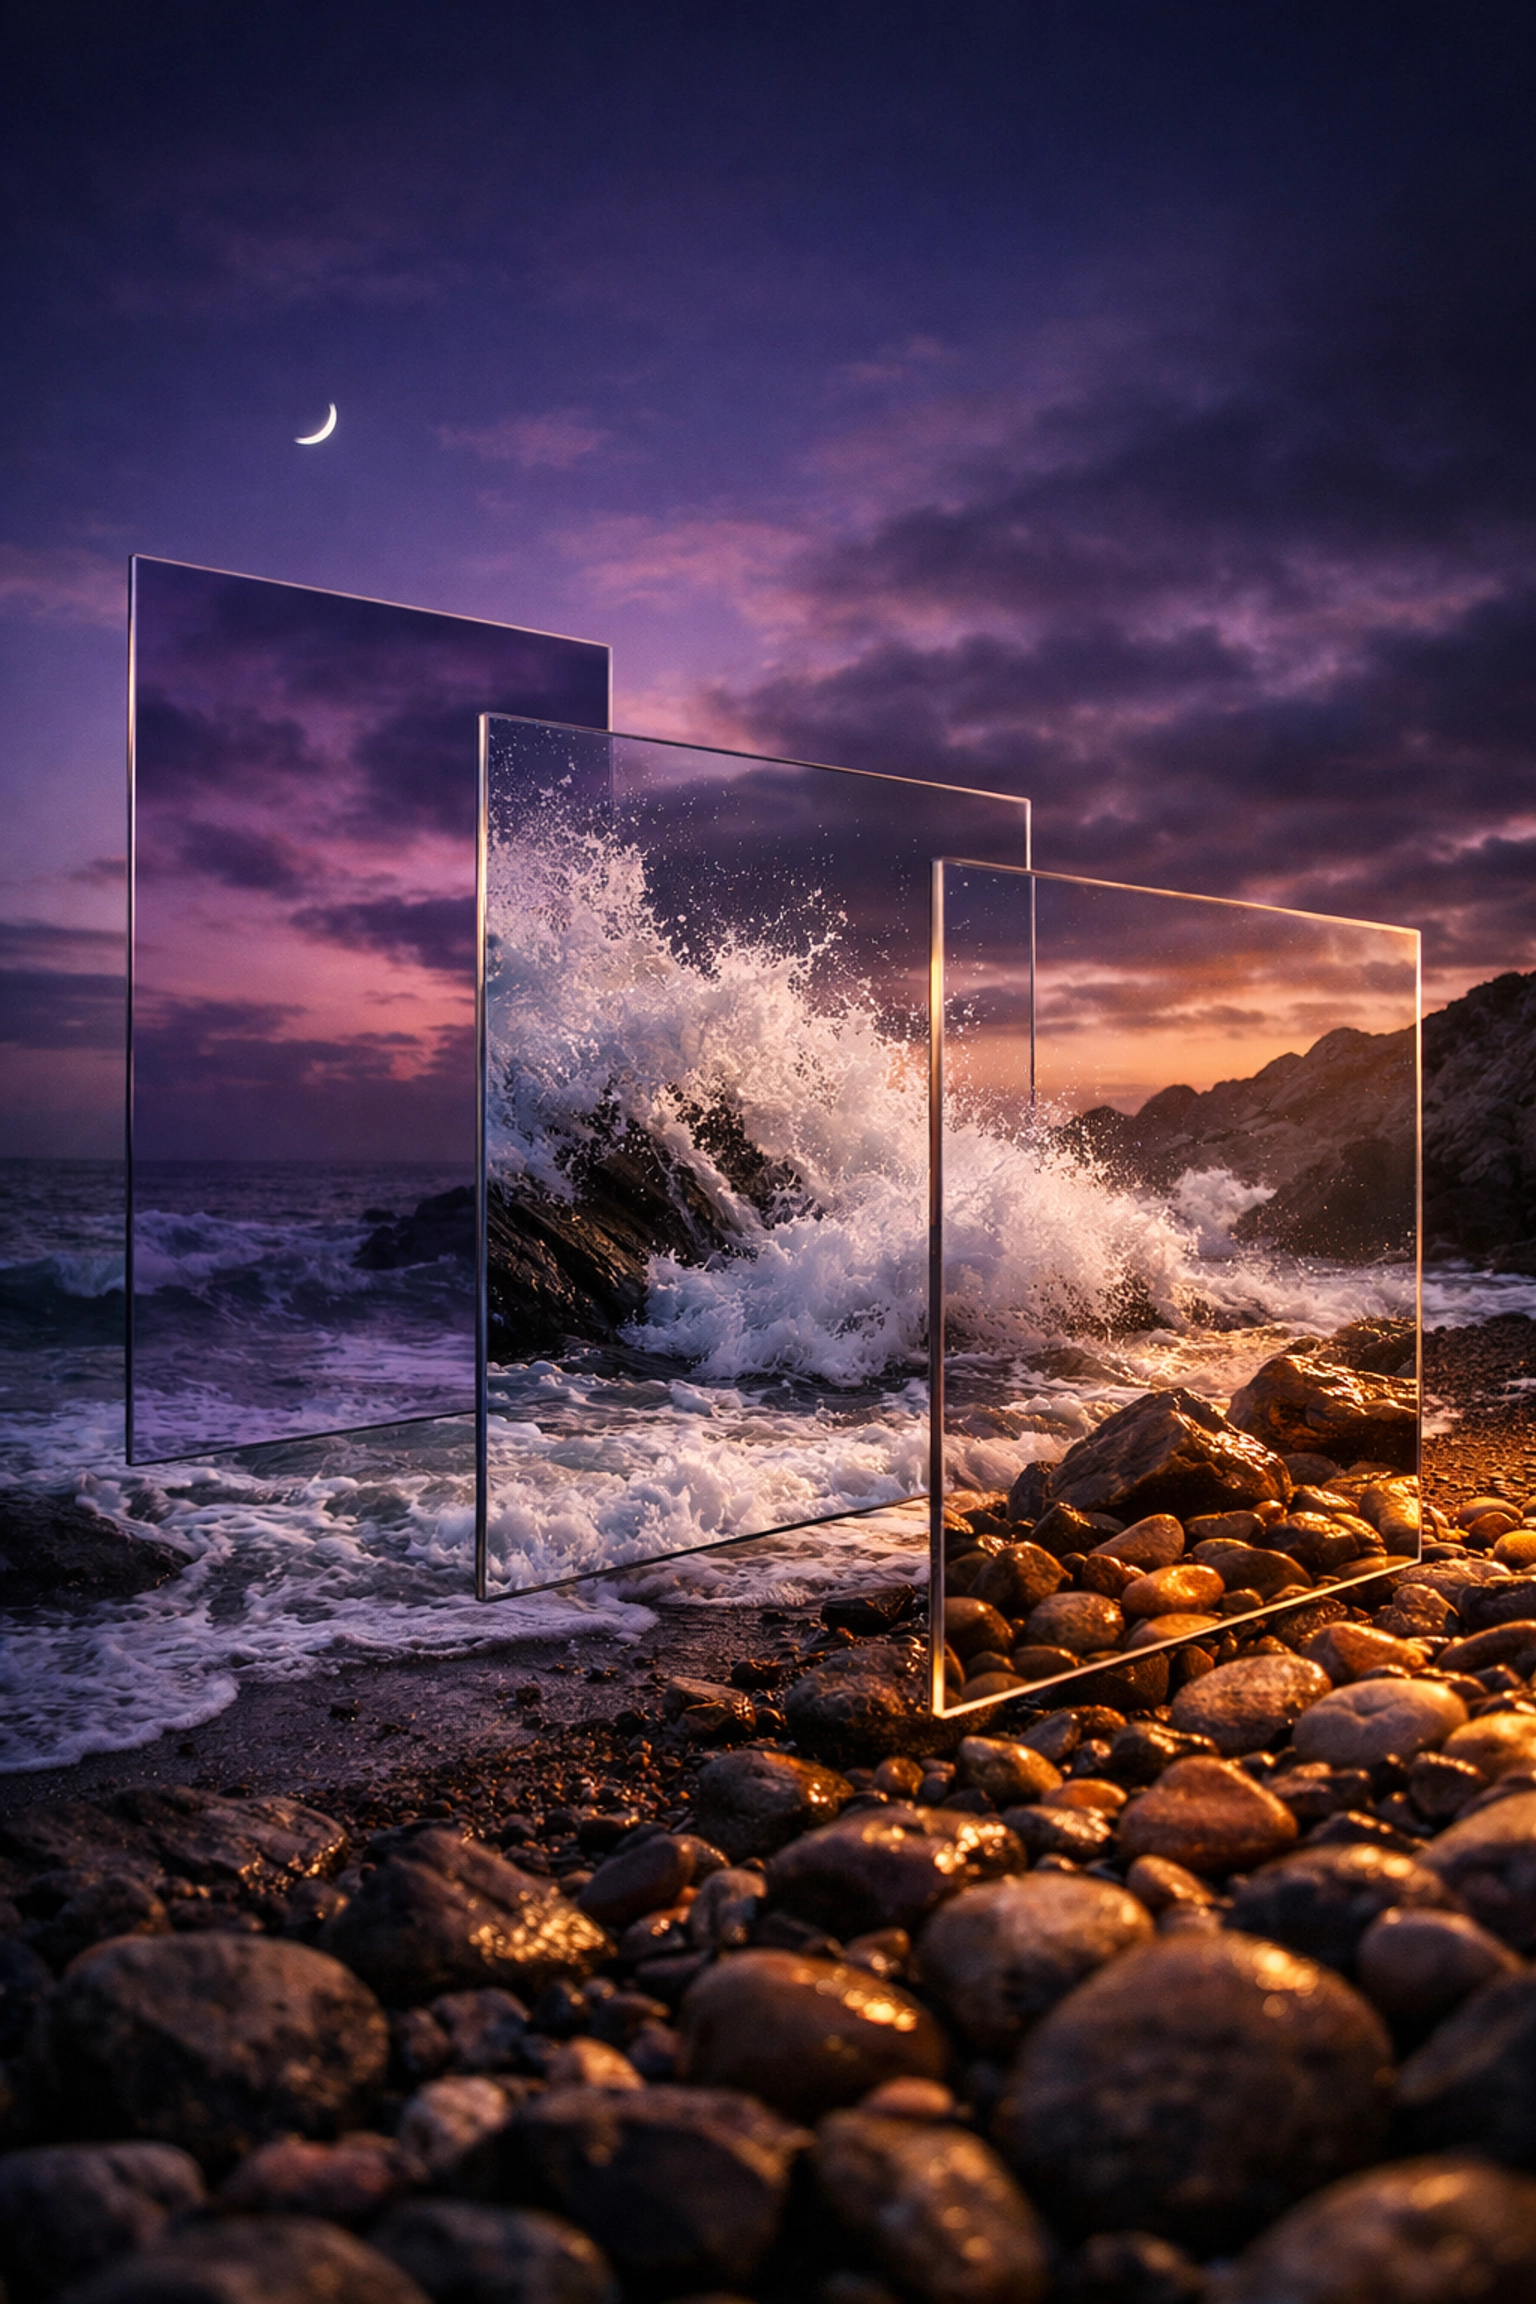
Selective Color Grading
This is how you create a "signature look." By shifting the hues of specific colors (making your blues more teal or your greens more moody), you develop a style that people can recognize as yours. You can see examples of this in the fine art world at Edin Fine Art.
Where to Find the Best Tutorials
The internet is overflowing with tutorials, but not all are created equal. You don't want to learn bad habits from someone who doesn't know their histogram from their heptagon.
- YouTube: Still the king. Look for creators who explain the logic, not just the settings.
- Official Software Blogs: Adobe and Skylum (the makers of Luminar) have incredible internal tutorials.
- Specialized Photography Blogs: We regularly post deep dives here at Shut Your Aperture, and you should definitely check out blog.edinchavez.com for more personal insights into the pro world.
- Interactive Courses: If you want a structured path, sites like ProShoot.io offer courses that take you from zero to hero.
Common Editing Mistakes to Avoid
Even the best of us fall into these traps occasionally. Keep an eye out for these "edit-killers":
- The "Clarity" Craze: Over-using the clarity slider makes your photos look like they were carved out of granite. It adds grit, but it also adds a lot of "haloing" around edges. Use it like salt: a little goes a long way.
- Ignoring the Histogram: Your eyes can lie to you, especially if your monitor isn't calibrated. The histogram is a mathematical graph of your exposure. If the graph is jammed against the right side, you're losing detail in the whites.
- Editing on a Non-Calibrated Screen: If your screen is too bright, your prints will come out too dark. If your screen has a blue tint, your final photos will look yellow to everyone else.
- Not Walking Away: This is the most important tip. After a long editing session, your eyes get "used" to the colors. Walk away, grab a coffee, and come back 15 minutes later. You’ll usually realize you went a bit too far with the saturation.
Editing for Specific Niches
Different types of photography require different editing mindsets.
- Wedding Photography: Here, skin tones are everything. You want a clean, timeless look. If you’re looking for inspiration, check out these innovative wedding photography ideas or explore destination wedding photography growth.
- Black and White: It's not just about removing color. It’s about contrast, texture, and light. See our guide on black and white wedding photography for a masterclass in monochrome.
- Street and Travel: These shots often benefit from a bit more "grit" and storytelling. Don't be afraid of a little grain if it adds to the atmosphere.
The Future of Editing (2026 and Beyond)
As we move deeper into 2026, AI is no longer a "feature": it’s the foundation. We’re seeing tools that can relight a scene after the fact, or change the focal point entirely. While some purists might roll their eyes, these tools are ultimately there to help you express your vision.
The most important thing to remember is that the software is just a tool. A tutorial can show you how to move the slider, but your eye decides when to stop.
Start with the basics. Master the 6-step workflow. Find a piece of software like Luminar or Lightroom that feels intuitive to you. And most importantly, keep shooting. The more you shoot, the better you’ll understand what you need to do in the edit to make your vision a reality.
Photography is about capturing a moment, but editing is about telling the story of that moment. Now get out there, shut your aperture, and start creating something beautiful.


