
Let’s be real: we’ve all seen those jaw-dropping landscape photos on Instagram or in galleries and thought, "I could do that if I lived in Iceland." But then you go out to your local park, snap a photo of a tree, and it looks… well, like a blurry tree.
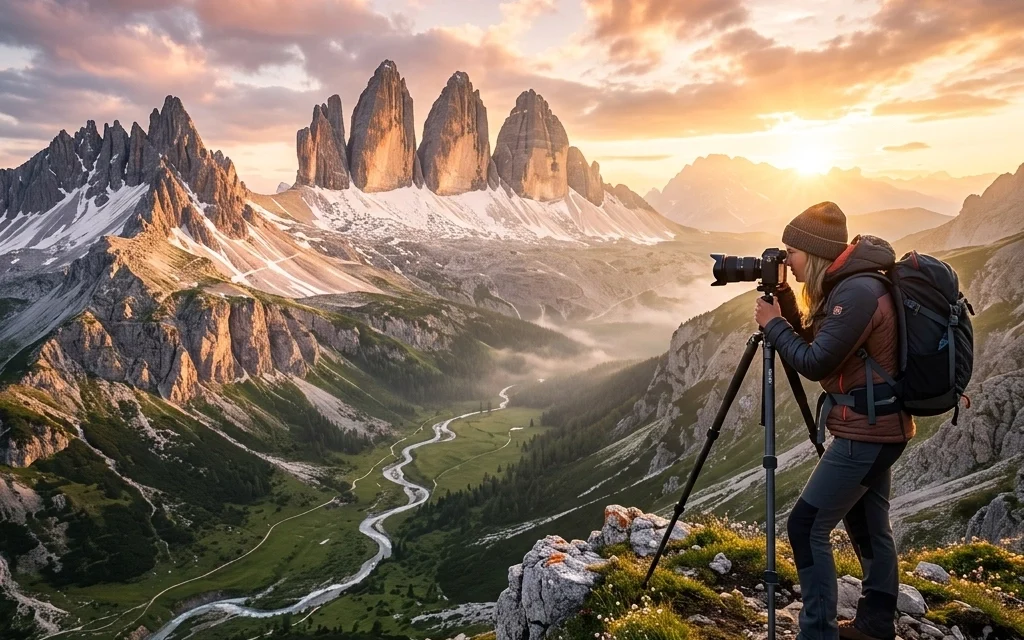
Landscape photography is one of those things that seems easy until you actually try to capture the scale and soul of a place. It’s not just about pointing a camera at a mountain; it’s about patience, gear, and knowing how to dance with the light. Whether you’re just starting out with photography for beginners or you’ve been hiking trails for years, this guide is going to break down the essential landscape photography tips you need to turn those "meh" shots into masterpieces.
Gear Up: What You Actually Need
Before we get into the "how," let’s talk about the "what." You don’t need to mortgage your house for gear, but you do need the right tools for the job. If you’re looking for the best mirrorless cameras, you want something with high dynamic range and a solid sensor.
While a smartphone can do a decent job these days, a dedicated camera allows you much more control. Most pros are leaning towards mirrorless systems now because they are lighter (your back will thank you on an 8-mile hike) and have incredible autofocus. But don't just take my word for it; check out some camera gear reviews to see what fits your budget and style.
The Must-Have List:
- A Sturdy Tripod: This is non-negotiable. If you want those silky smooth waterfalls or sharp-as-a-tack mountain peaks, you need to keep your camera still. Wind is the enemy of sharpness.
- Wide-Angle Lens: A 16-35mm or something similar is the bread and butter of landscape work. It lets you capture the vastness of the scene.
- Telephoto Lens: Don't sleep on the 70-200mm. Sometimes the best landscape is a small detail on a far-away peak.
- Filters: A Circular Polarizer (CPL) is a game-changer. It cuts glare on water and makes the sky pop.
![A professional camera setup on a tripod overlooking a misty valley at dawn.]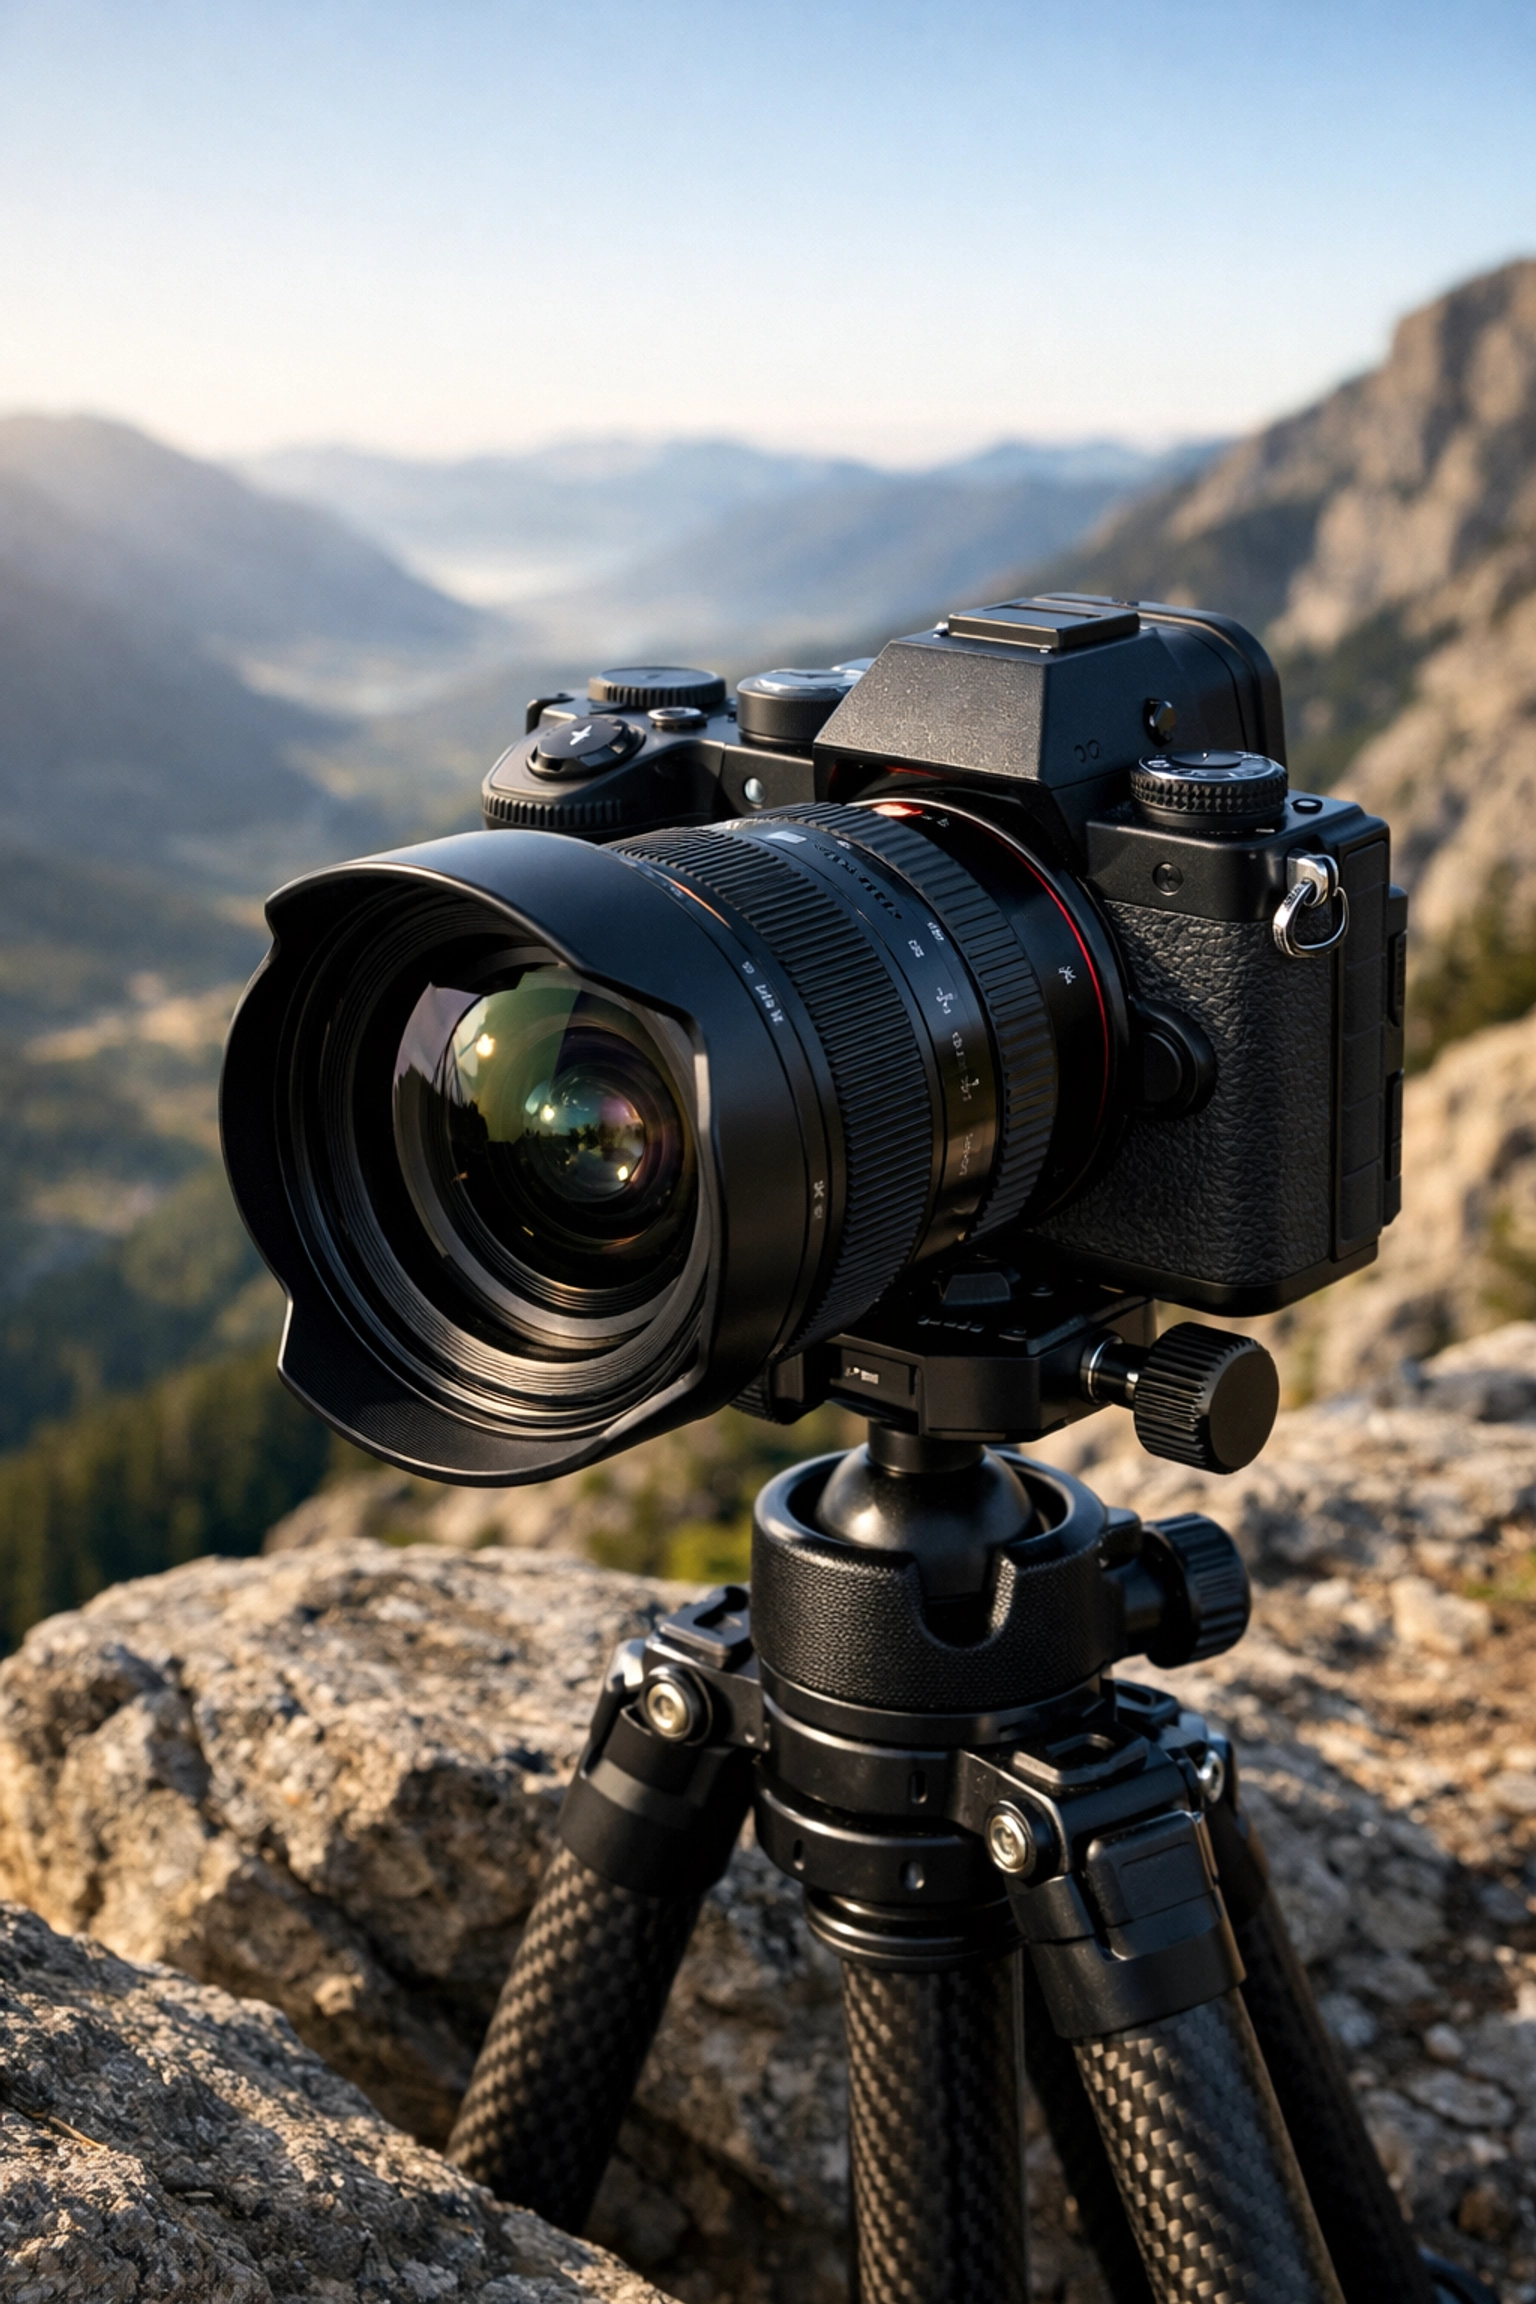
Mastering the Technical Side
You can have the best camera in the world, but if you leave it on "Auto," you’re letting the computer make all the creative choices. Learning how to use manual mode camera settings is the first step to becoming a "real" photographer.
Aperture (f-stop)
In landscape photography, you generally want everything from the flower at your feet to the mountain in the distance to be sharp. This means using a narrower aperture (a higher f-number), like f/8 to f/11. Be careful going to f/22, though, as you might run into "diffraction," which actually makes the image softer.
ISO
Keep it low. ISO 100 is your best friend. A low ISO ensures your images are clean and free of "noise" (that grainy look that ruins a beautiful sunset). If you’re struggling with exposure, use a tripod rather than bumping up the ISO.
Shutter Speed
This is where the magic happens. A fast shutter speed (1/1000s) freezes movement, like a bird flying across the frame. A slow shutter speed (1 second or longer) creates that dreamy, ethereal look in water and clouds.
If you're feeling a bit overwhelmed by settings, take a look at our Manual Mode 101 guide for a deeper dive. It’s basically the "Easy" button for learning your camera.
Composition: Tell a Story
Composition is the difference between a snapshot and a photograph. You want to lead the viewer’s eye through the frame. Think of yourself as a tour guide for their eyeballs.
The Rule of Thirds
Imagine your frame is divided into a 3×3 grid. Instead of putting the horizon right in the middle (which is usually boring), put it on the top or bottom third line. Put your main subject, a lone tree or a lighthouse, on one of the intersections. It’s a simple trick that works every time.
Leading Lines
Use roads, rivers, or even fallen logs to point toward your main subject. Leading lines create a sense of depth and pull the viewer into the scene. This is a staple in most photography tutorials.
Foreground Interest
This is the one most beginners miss. Don’t just stand there and shoot the mountain. Find a cool rock, some colorful flowers, or an interesting pattern in the sand to put in the lower part of your frame. It gives the viewer a "place to stand" and makes the photo feel three-dimensional.
![A wide-angle shot of a rocky coastline with a long-exposure effect on the waves, featuring strong leading lines.]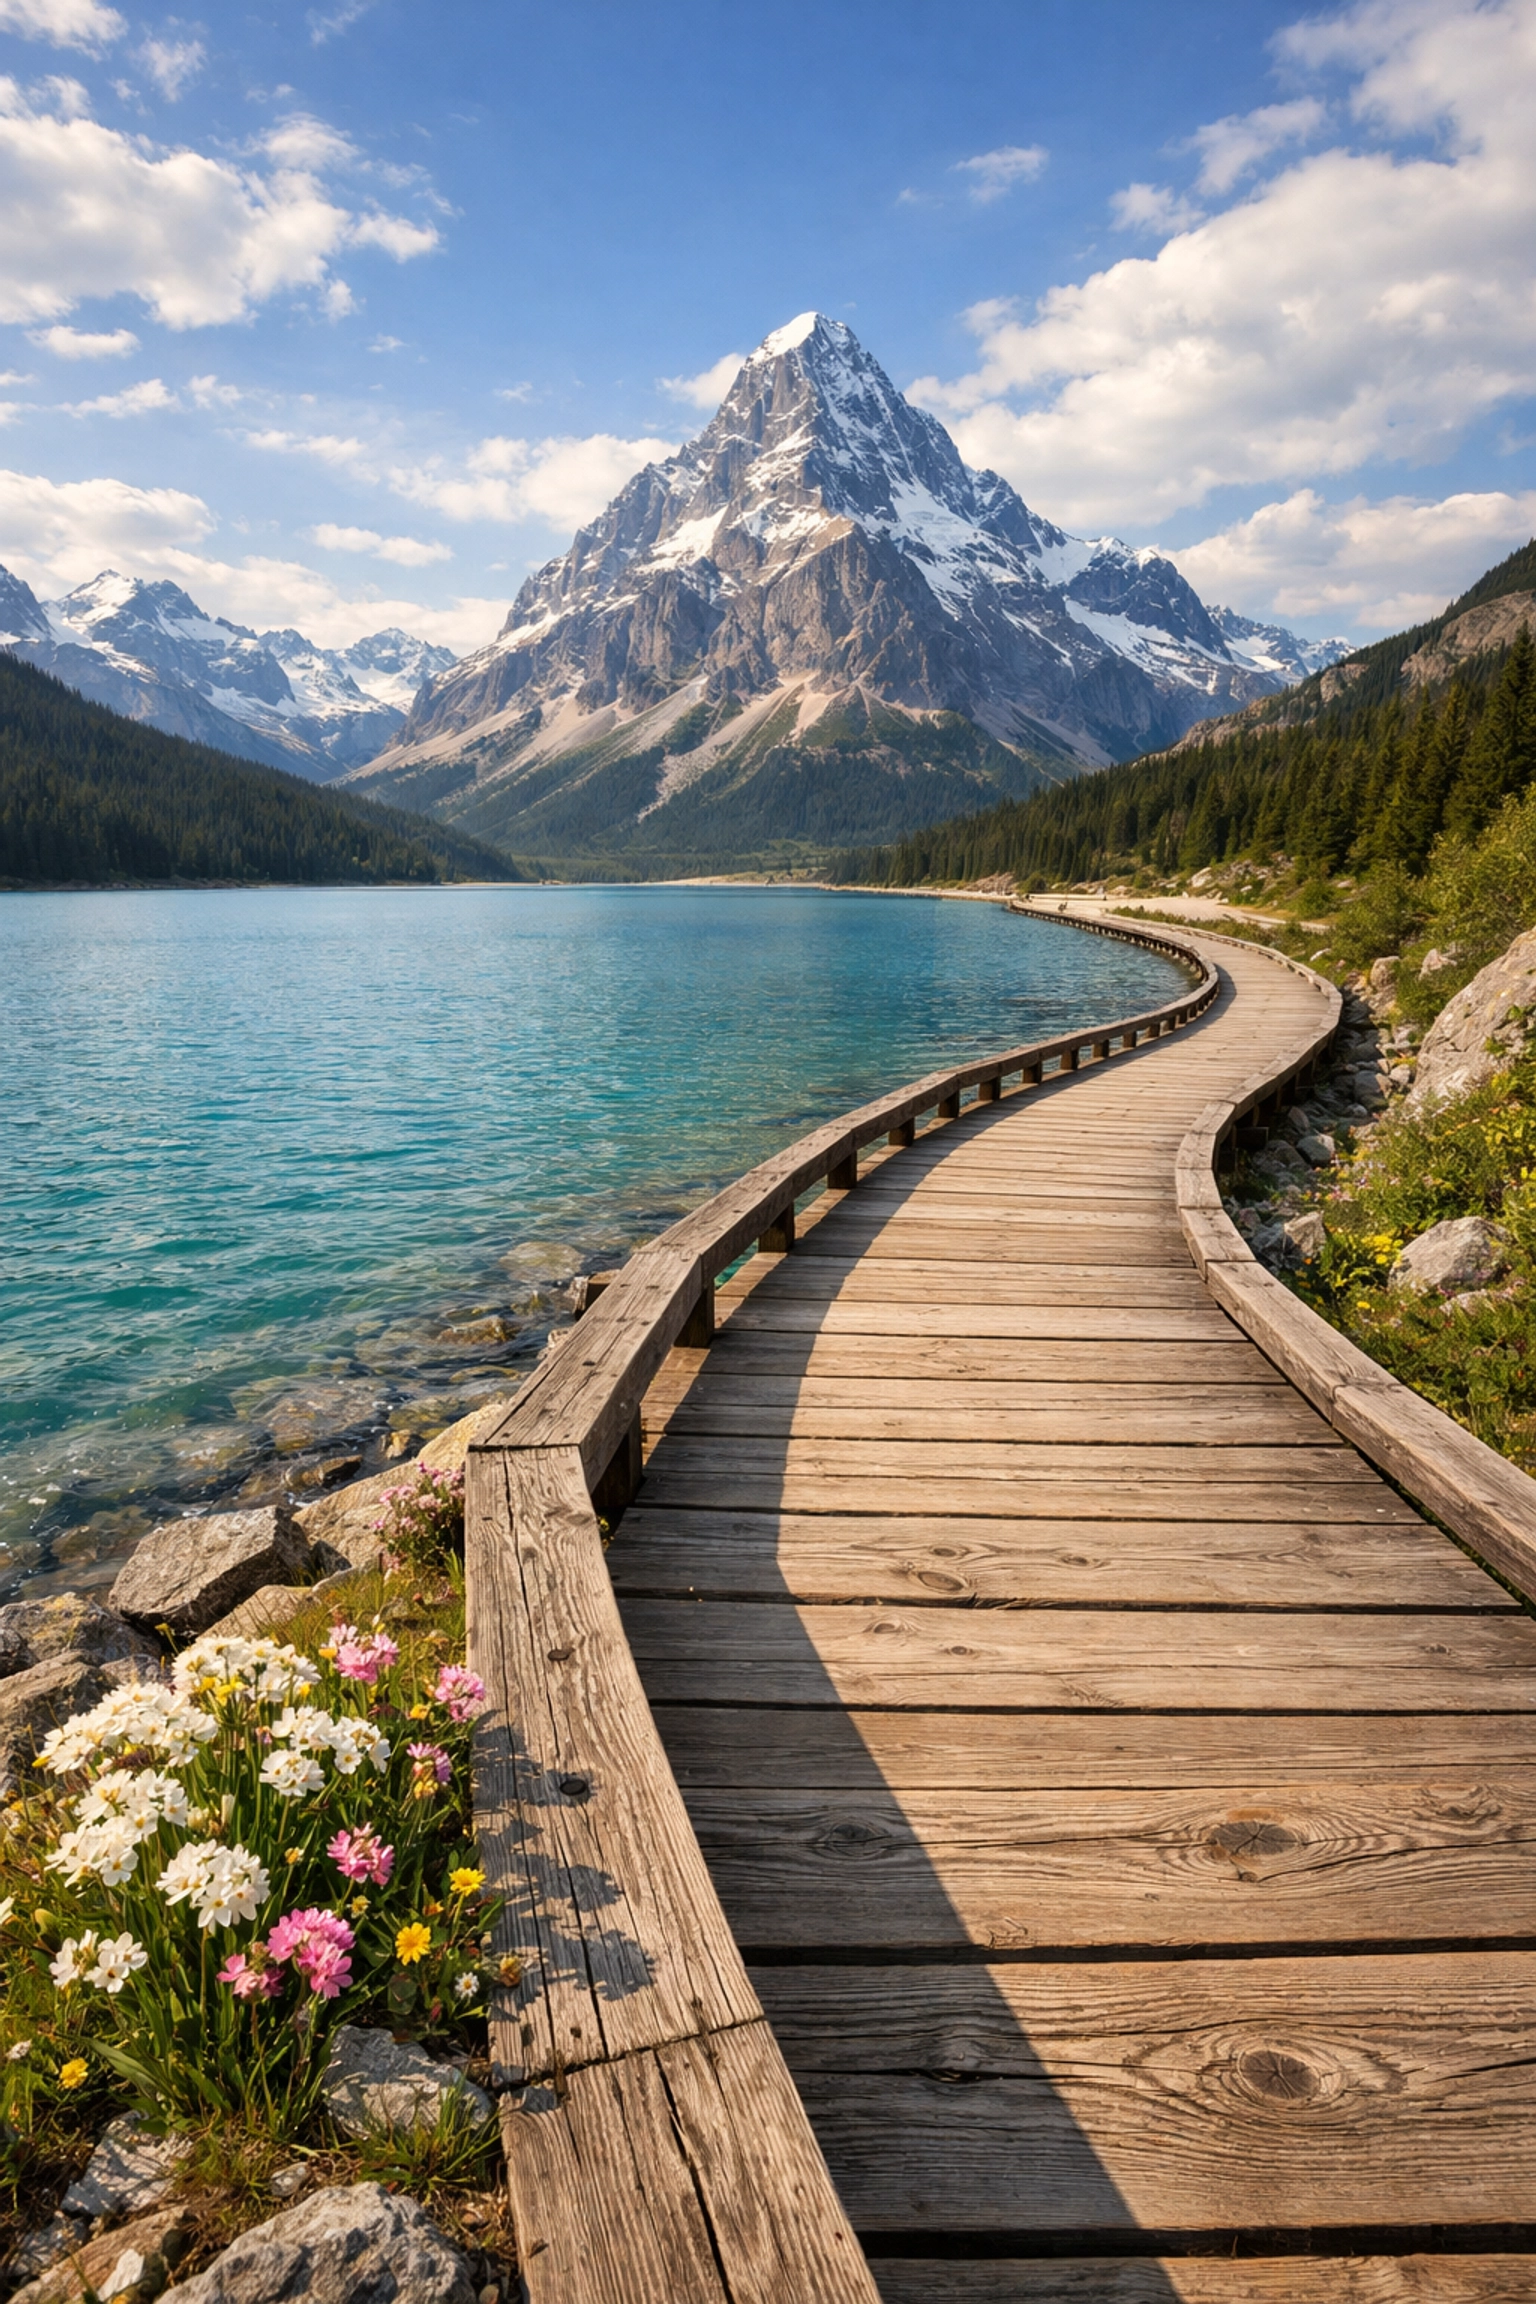
Light is Everything
You could have the most beautiful mountain in the world, but if the light is flat and gray, the photo will be flat and gray. Landscape photography is basically "waiting for the light" photography.
The Golden Hour
This is the hour after sunrise and the hour before sunset. The light is warm, soft, and creates long shadows that show off the texture of the land. This is why we wake up at 4 AM and stand in the cold. It’s worth it.
The Blue Hour
Don't pack up as soon as the sun disappears! The 20-30 minutes after sunset (or before sunrise) is the "Blue Hour." The sky turns a deep, moody blue, and the city lights or stars start to pop. It’s a great time to experiment with long exposures.
Don't Fear "Bad" Weather
Some of the best shots happen right before or right after a storm. Dramatic clouds, rainbows, and "god rays" only happen when the weather is doing something interesting. If it’s a perfectly clear, blue-sky day, I usually stay home or go practice street photography ideas instead. Blue skies are actually kind of boring for landscapes.
Planning and Scouting
Success in the field happens long before you press the shutter. You need to know where you’re going and what the sun is going to be doing.
- Google Earth: Great for finding viewpoints and understanding the terrain.
- PhotoPills or The Photographer's Ephemeris: These apps tell you exactly where the sun and moon will rise and set. They are essential for any pro.
- Scouting: If you can, visit a location during the day when the light is bad. Walk around, find your compositions, and mark them on your GPS. Then, when the light gets good, you aren't scrambling to find a spot.
If you are planning a trip, definitely check out our guide on the best time for USA road trips to make sure you're hitting the right spots at the right time.
Avoid These Common Mistakes
We've all made them. I've hiked four miles only to realize I left my tripod plate on my desk. It happens. But some mistakes are more subtle.
- Crooked Horizons: Please, for the love of all that is holy, level your horizon. Most cameras have a built-in level, use it!
- Too Much Sky: If the sky is just plain blue or flat gray, don't give it two-thirds of the frame. Focus on the ground instead.
- Ignoring the Midground: You have a great foreground and a great background, but the middle is just a big empty space. Try to find a way to connect the two.
For a full breakdown of what not to do, check out 7 mistakes you're making with landscape photography.
Post-Processing: The Final Polish
The RAW file out of your camera is just the beginning. It’s like a digital negative; it needs to be "developed."
Post-processing is where you bring back the shadows, tame the highlights, and add a little bit of your own style. You don't need to overdo it (please, stay away from the "Clarity" slider). Just a few tweaks can make a huge difference.
If you’re looking for a powerful and easy-to-use editor, I highly recommend Luminar. It uses AI to handle the boring stuff so you can focus on the creative side. There are plenty of photo editing tutorials out there that can help you find your "look."
![A side-by-side comparison of a raw landscape photo versus an edited version with enhanced colors and contrast.]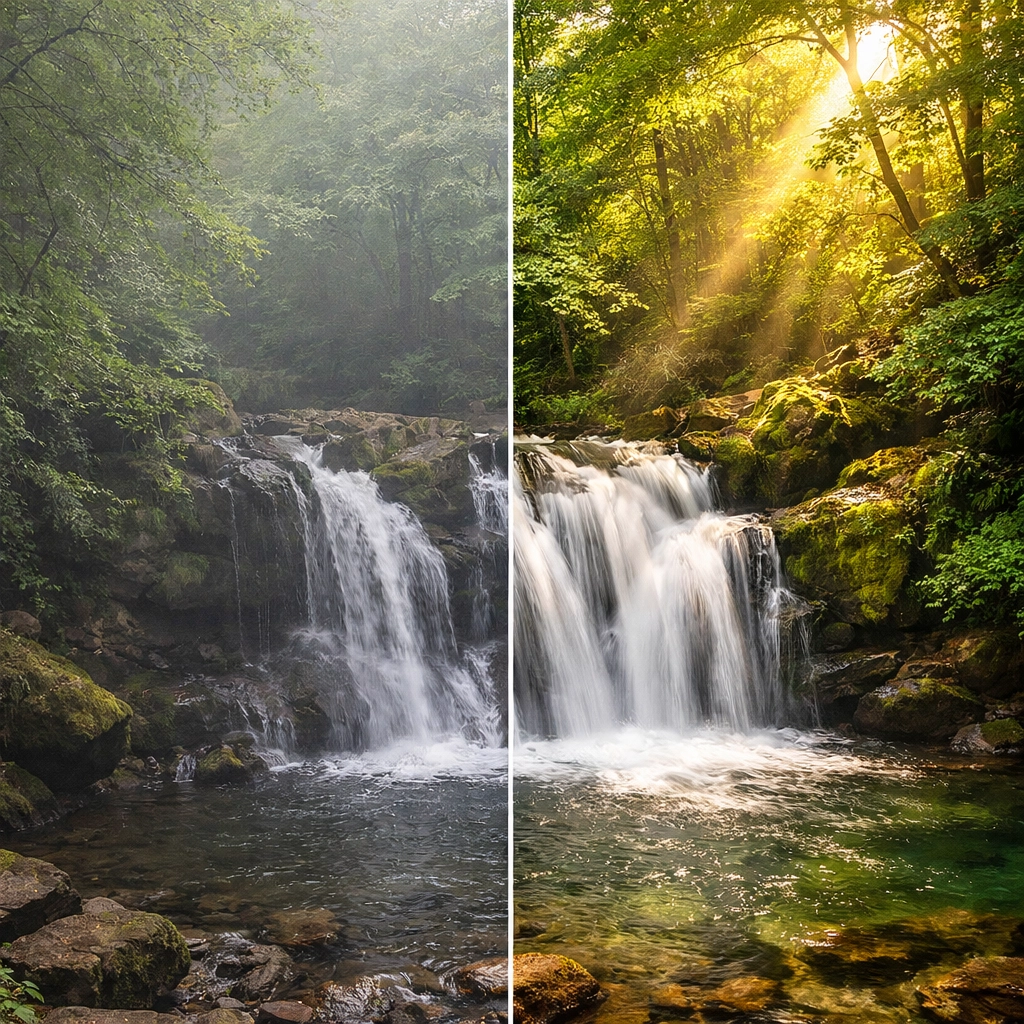
Editing Checklist:
- White Balance: Does the scene look too blue or too yellow? Fix it first.
- Lens Corrections: Every lens has a bit of distortion. Most software can fix this with one click.
- Dust Spot Removal: There is nothing worse than a beautiful sky ruined by a sensor dust spot.
- Contrast and Saturation: Be subtle. You want it to look like the place felt, not like a neon sign.
Taking it to the Next Level: Specialty Shots
Once you’ve mastered the basics, you might want to try something more advanced.
Star Photography (Astrophotography)
Capturing the Milky Way is one of the most rewarding things you can do. You’ll need a wide-angle lens with a fast aperture (f/2.8 or better) and a tripod. Bump your ISO up to 3200 or 6400 and set a 20-second exposure. It's a whole different world out there at night.
Focus Stacking
Sometimes, even at f/11, you can't get everything sharp. Focus stacking involves taking 3-5 shots at different focus points (one for the foreground, one for the middle, one for the mountains) and blending them in Photoshop. It sounds hard, but once you do it, you'll never go back.
Panoramas
If the scene is too big for your wide-angle lens, shoot a panorama. Take several vertical shots overlapping by 30% and stitch them together later. It creates a massive, high-resolution file that looks amazing as a large print. Speaking of prints, if you want to see what high-end landscape work looks like on a wall, visit Edin Fine Art.
![The Milky Way galaxy arched over a dark mountain range with a still lake reflecting the stars.]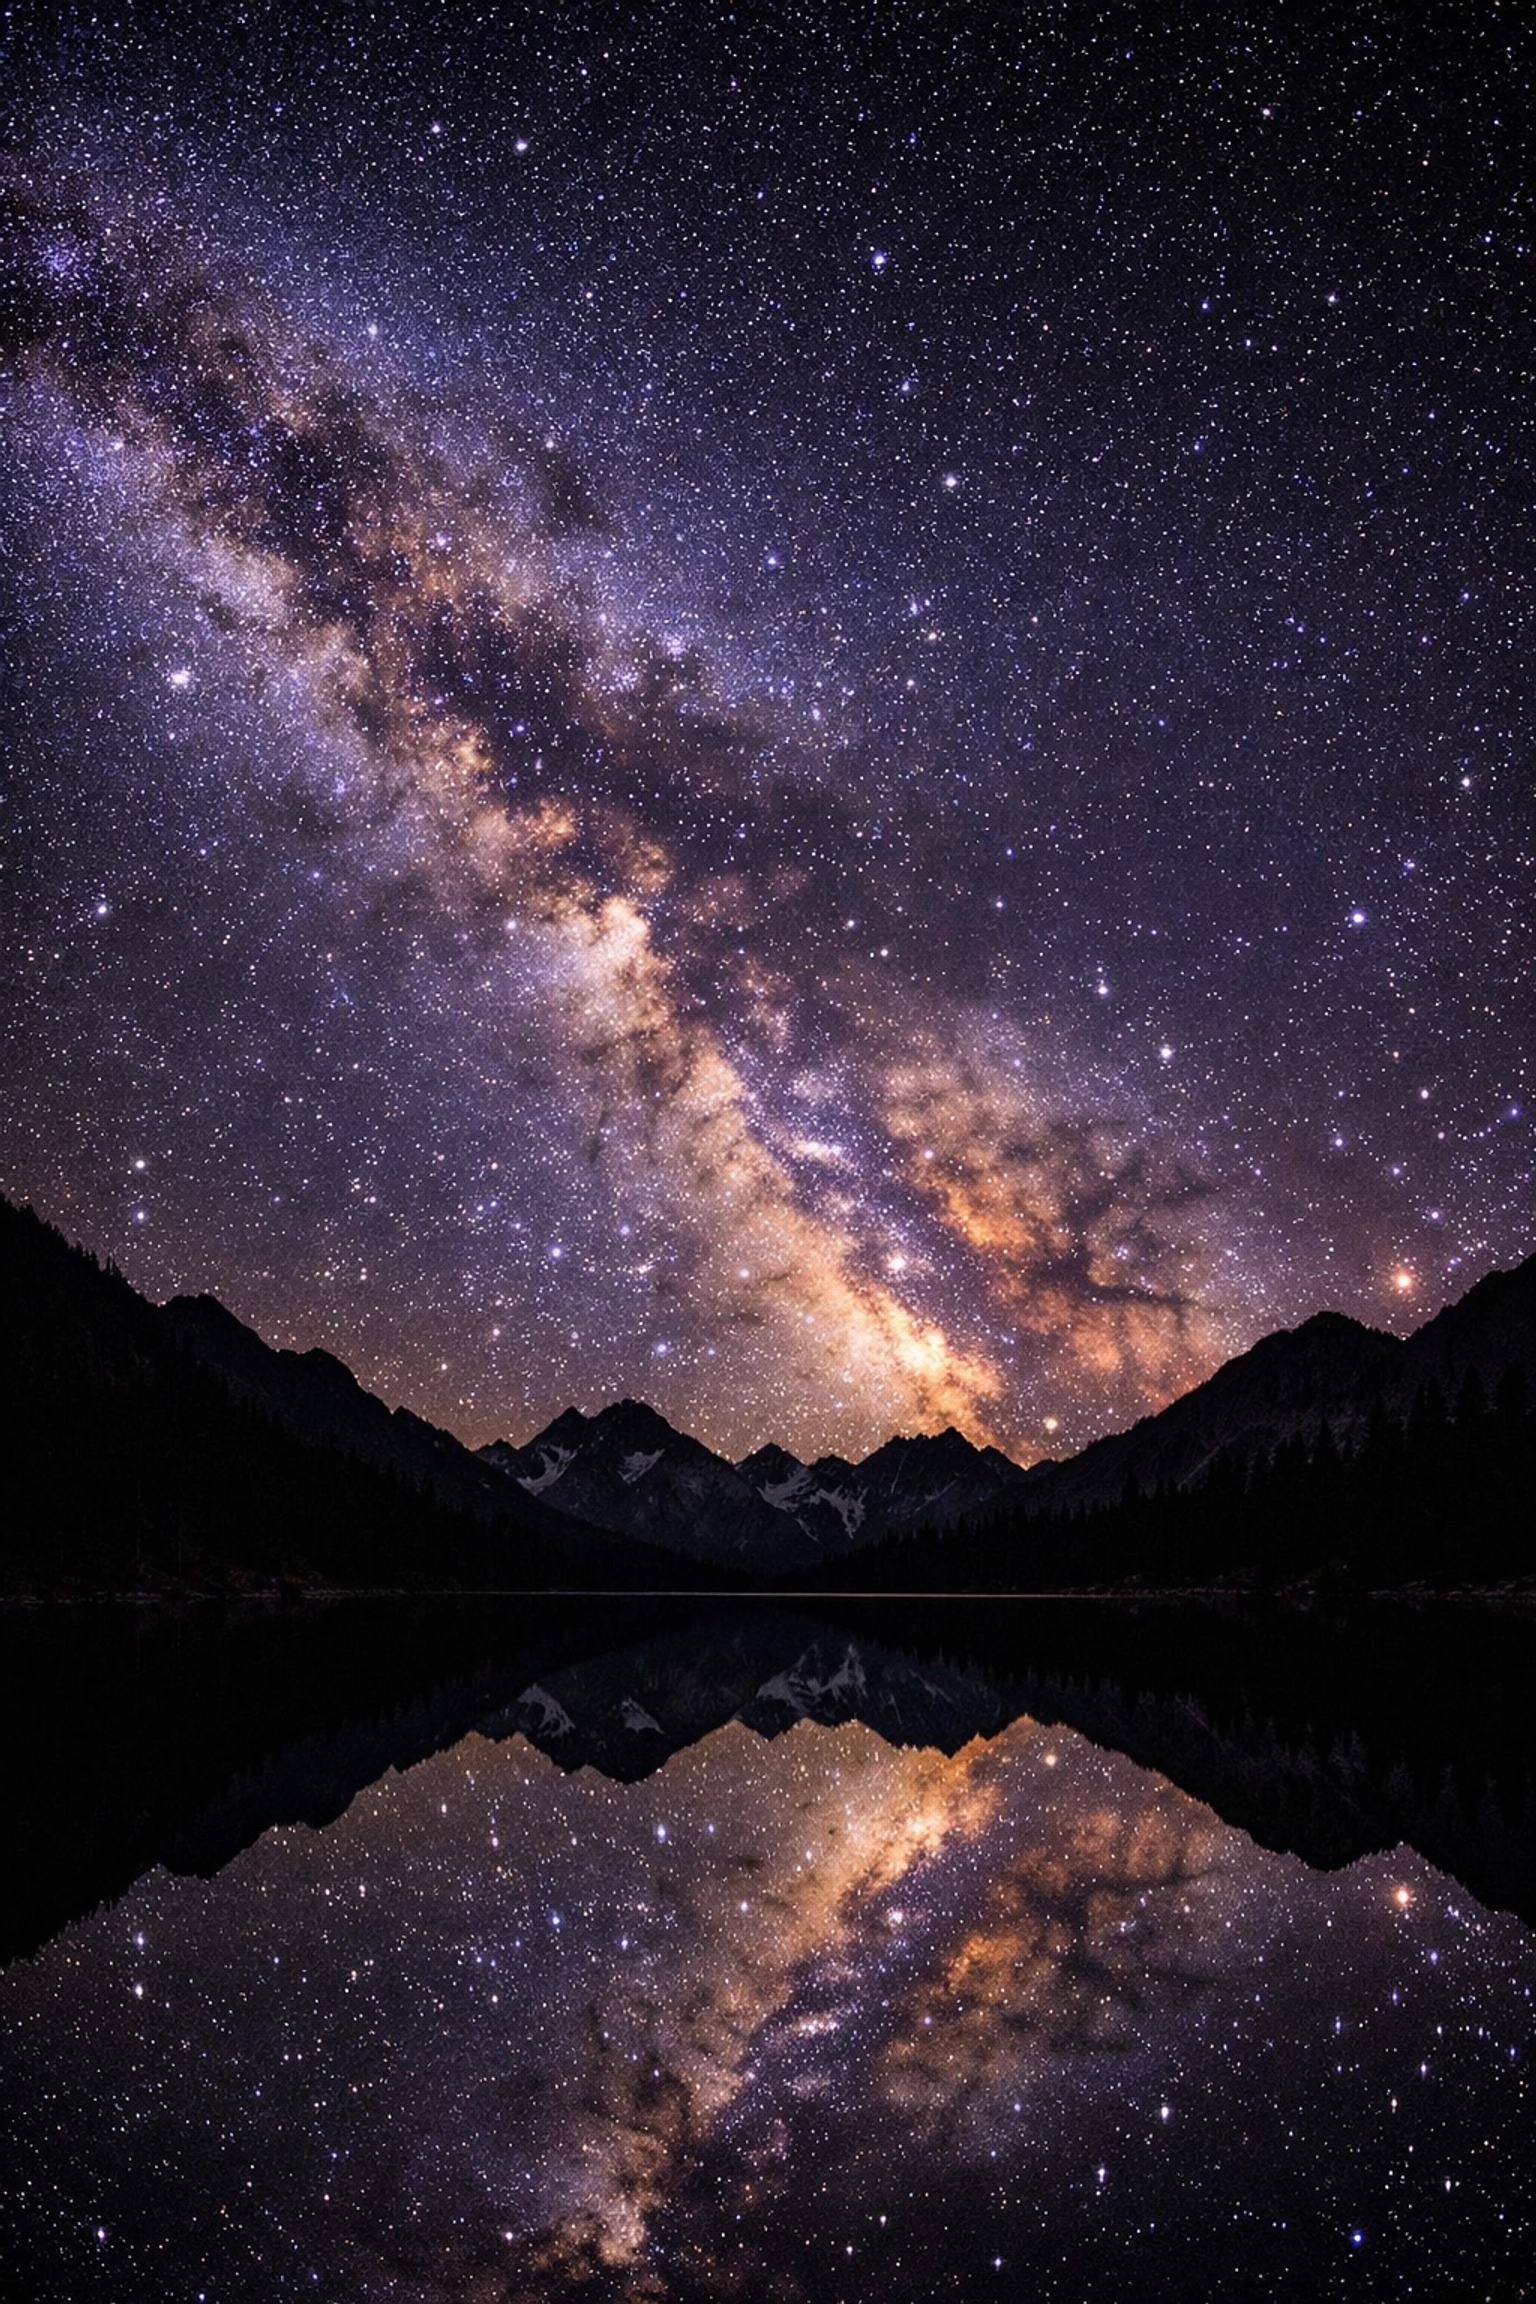
Stay Inspired and Keep Learning
The world of photography is always changing. New sensors, new software, and new styles are popping up every day. Staying updated with photography news is a great way to stay motivated.
Don't get discouraged if your photos don't look like the ones in National Geographic on your first try. Those photographers have spent years: sometimes decades: mastering their craft. Even Edin Chavez started with a basic camera and a dream.
If you find yourself getting bored with landscapes, switch it up! Try some portrait photography techniques or head into the city for some street shots. The skills you learn in one genre usually help in the others. For example, understanding light in landscapes will make you a much better portrait photographer.
Final Thoughts
Landscape photography is a journey, literally and figuratively. It’s about more than just the final image; it’s about the experience of being out in nature, watching the world wake up, and capturing a moment in time that will never happen exactly the same way again.
Get your gear, learn your manual settings, and most importantly, get outside. The mountains are waiting, and the light is getting good.
If you're looking for more inspiration or want to see some of my latest work and tips, hop over to blog.edinchavez.com. There’s always something new to learn in this crazy world of pixels and light.
Happy shooting! Stay creative, keep exploring, and remember: the best camera is the one you have with you, but the best photo is the one you worked for.
For more deep dives into specific topics, don't forget to check out our other photography tutorials. Whether you're mastering the technicals or looking for creative sparks, we've got you covered.


