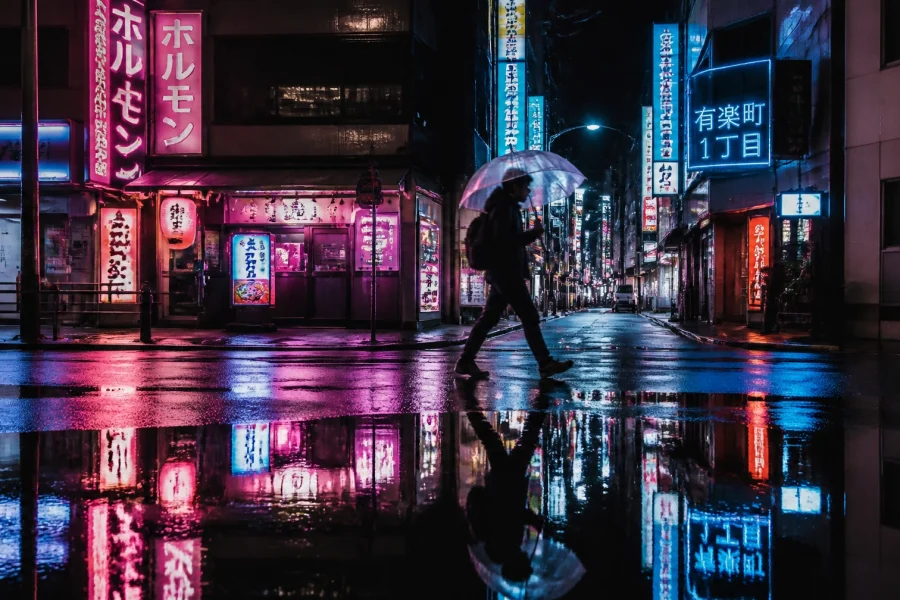
Let’s be real for a second: portrait photography is hard. It’s not just about having a high-end camera and a person willing to stand in front of it. If it were that easy, everyone would be a world-class photographer.
The difference between a "snapshot" and a "portrait" lies in the details, the composition, the connection, and the technical choices you make before you even press the shutter. I see a lot of photographers (both beginners and even some pros) making the same mistakes over and over. These are the "silent killers" of a good photo. They’re the reasons why your shots might feel a little "off" even if the lighting is perfect.
If you’re looking to level up your game, you need to stop making these seven common mistakes. Here is how to fix them right now.
1. Leaving Too Much "Dead Space" Above the Head
This is arguably the most common mistake in amateur portraiture. You frame the shot, you focus on the face, but you leave a massive gap between the top of the subject's head and the top of the frame.
Why is this a problem? Because it draws the eye away from the subject. That empty space (often called "headroom") serves no purpose. It makes your subject look small, lost, and disconnected from the frame. It’s essentially "dead space" that carries no visual weight.
The Fix:
Crop tighter. Be intentional about where your subject sits in the frame. A good rule of thumb is to place the subject's eyes in the upper third of the frame. Don’t be afraid to actually crop into the hair or the top of the head if you’re doing a tight beauty shot. It creates a much more intimate and impactful image. If you’re struggling with composition, check out some of our Street Photography Lightroom Presets to see how a professional crop and tone can change the entire vibe of a photo.
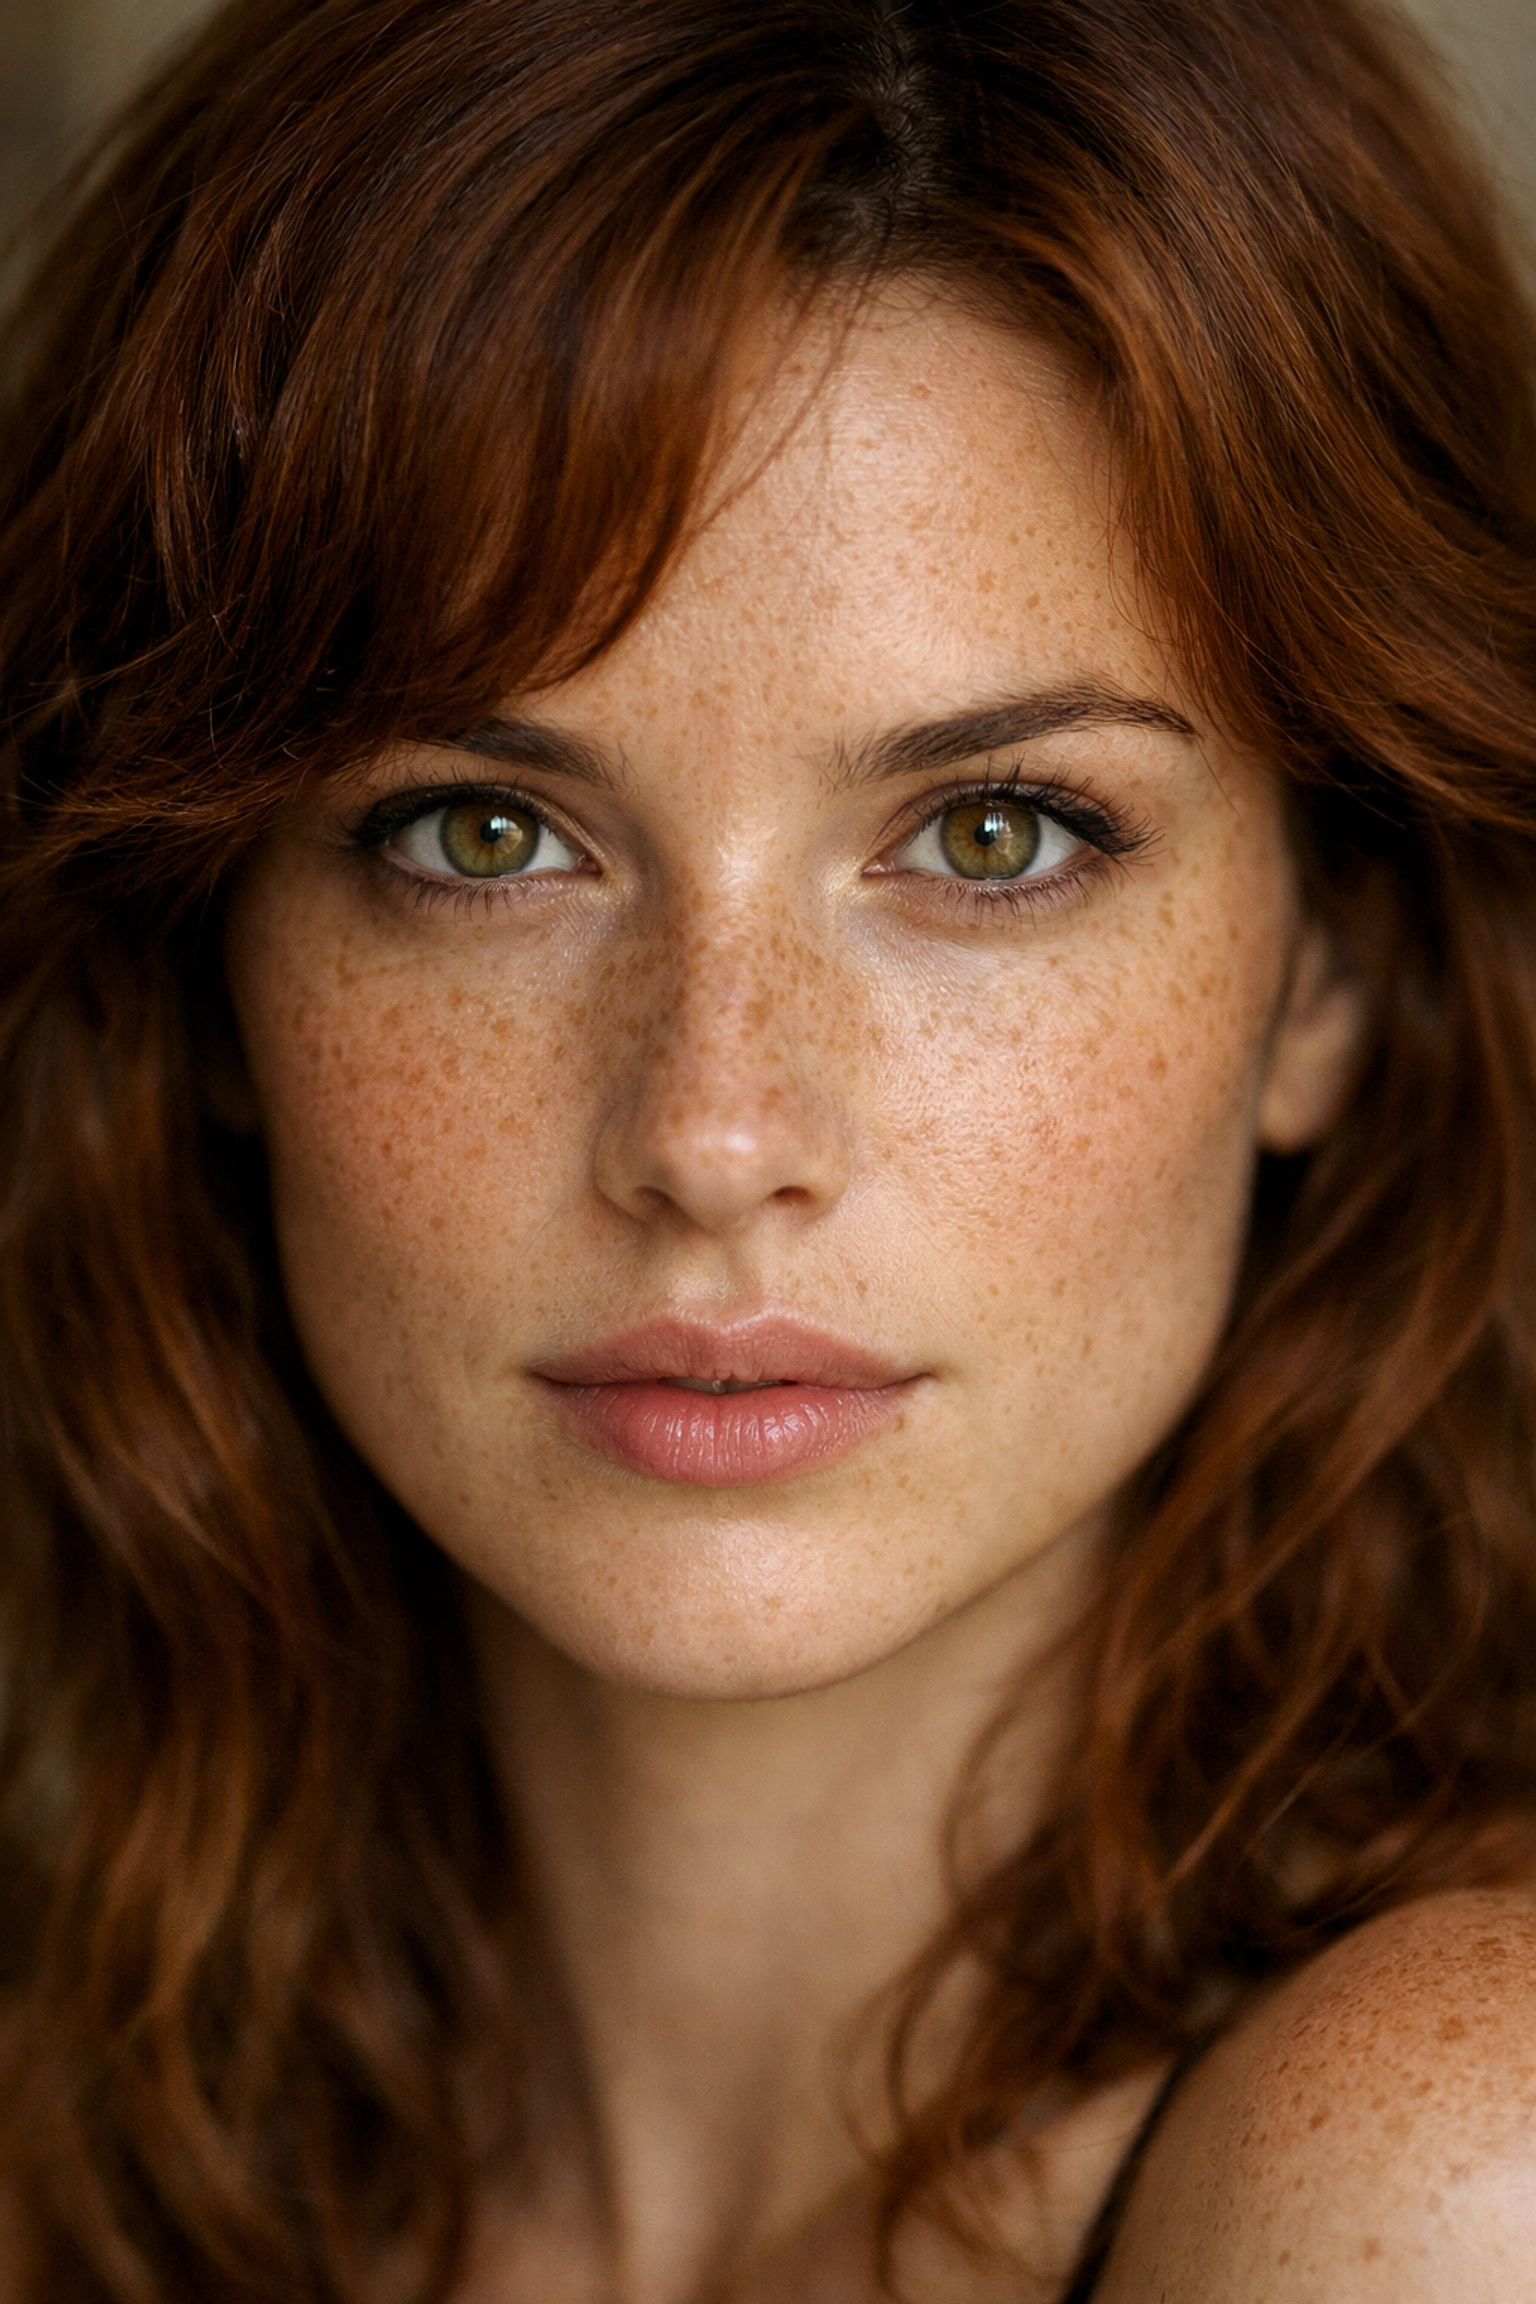
2. Missing the Focus on the Eyes
They say the eyes are the windows to the soul, and in portrait photography, that is a literal truth. If the eyes aren't sharp, the portrait is a failure. I don't care how good the bokeh is or how cool the outfit looks, if the tip of the nose is in focus but the eyes are soft, the viewer will feel a disconnect.
In a world of high-resolution sensors, there is nowhere to hide. Even a slight miss in focus is glaringly obvious.
The Fix:
Use Single Point Focus or, better yet, Eye-AF (Auto Focus) if your camera supports it. If your subject is angled, always focus on the eye closest to the camera. That’s the one the viewer will look at first. If you’re shooting wide open (like at f/1.4 or f/1.8), your depth of field is razor-thin, so you have to be precise.
For more technical basics on how to nail your focus every time, Shut Your Aperture has some great deep-dives into sensor technology and focus modes.
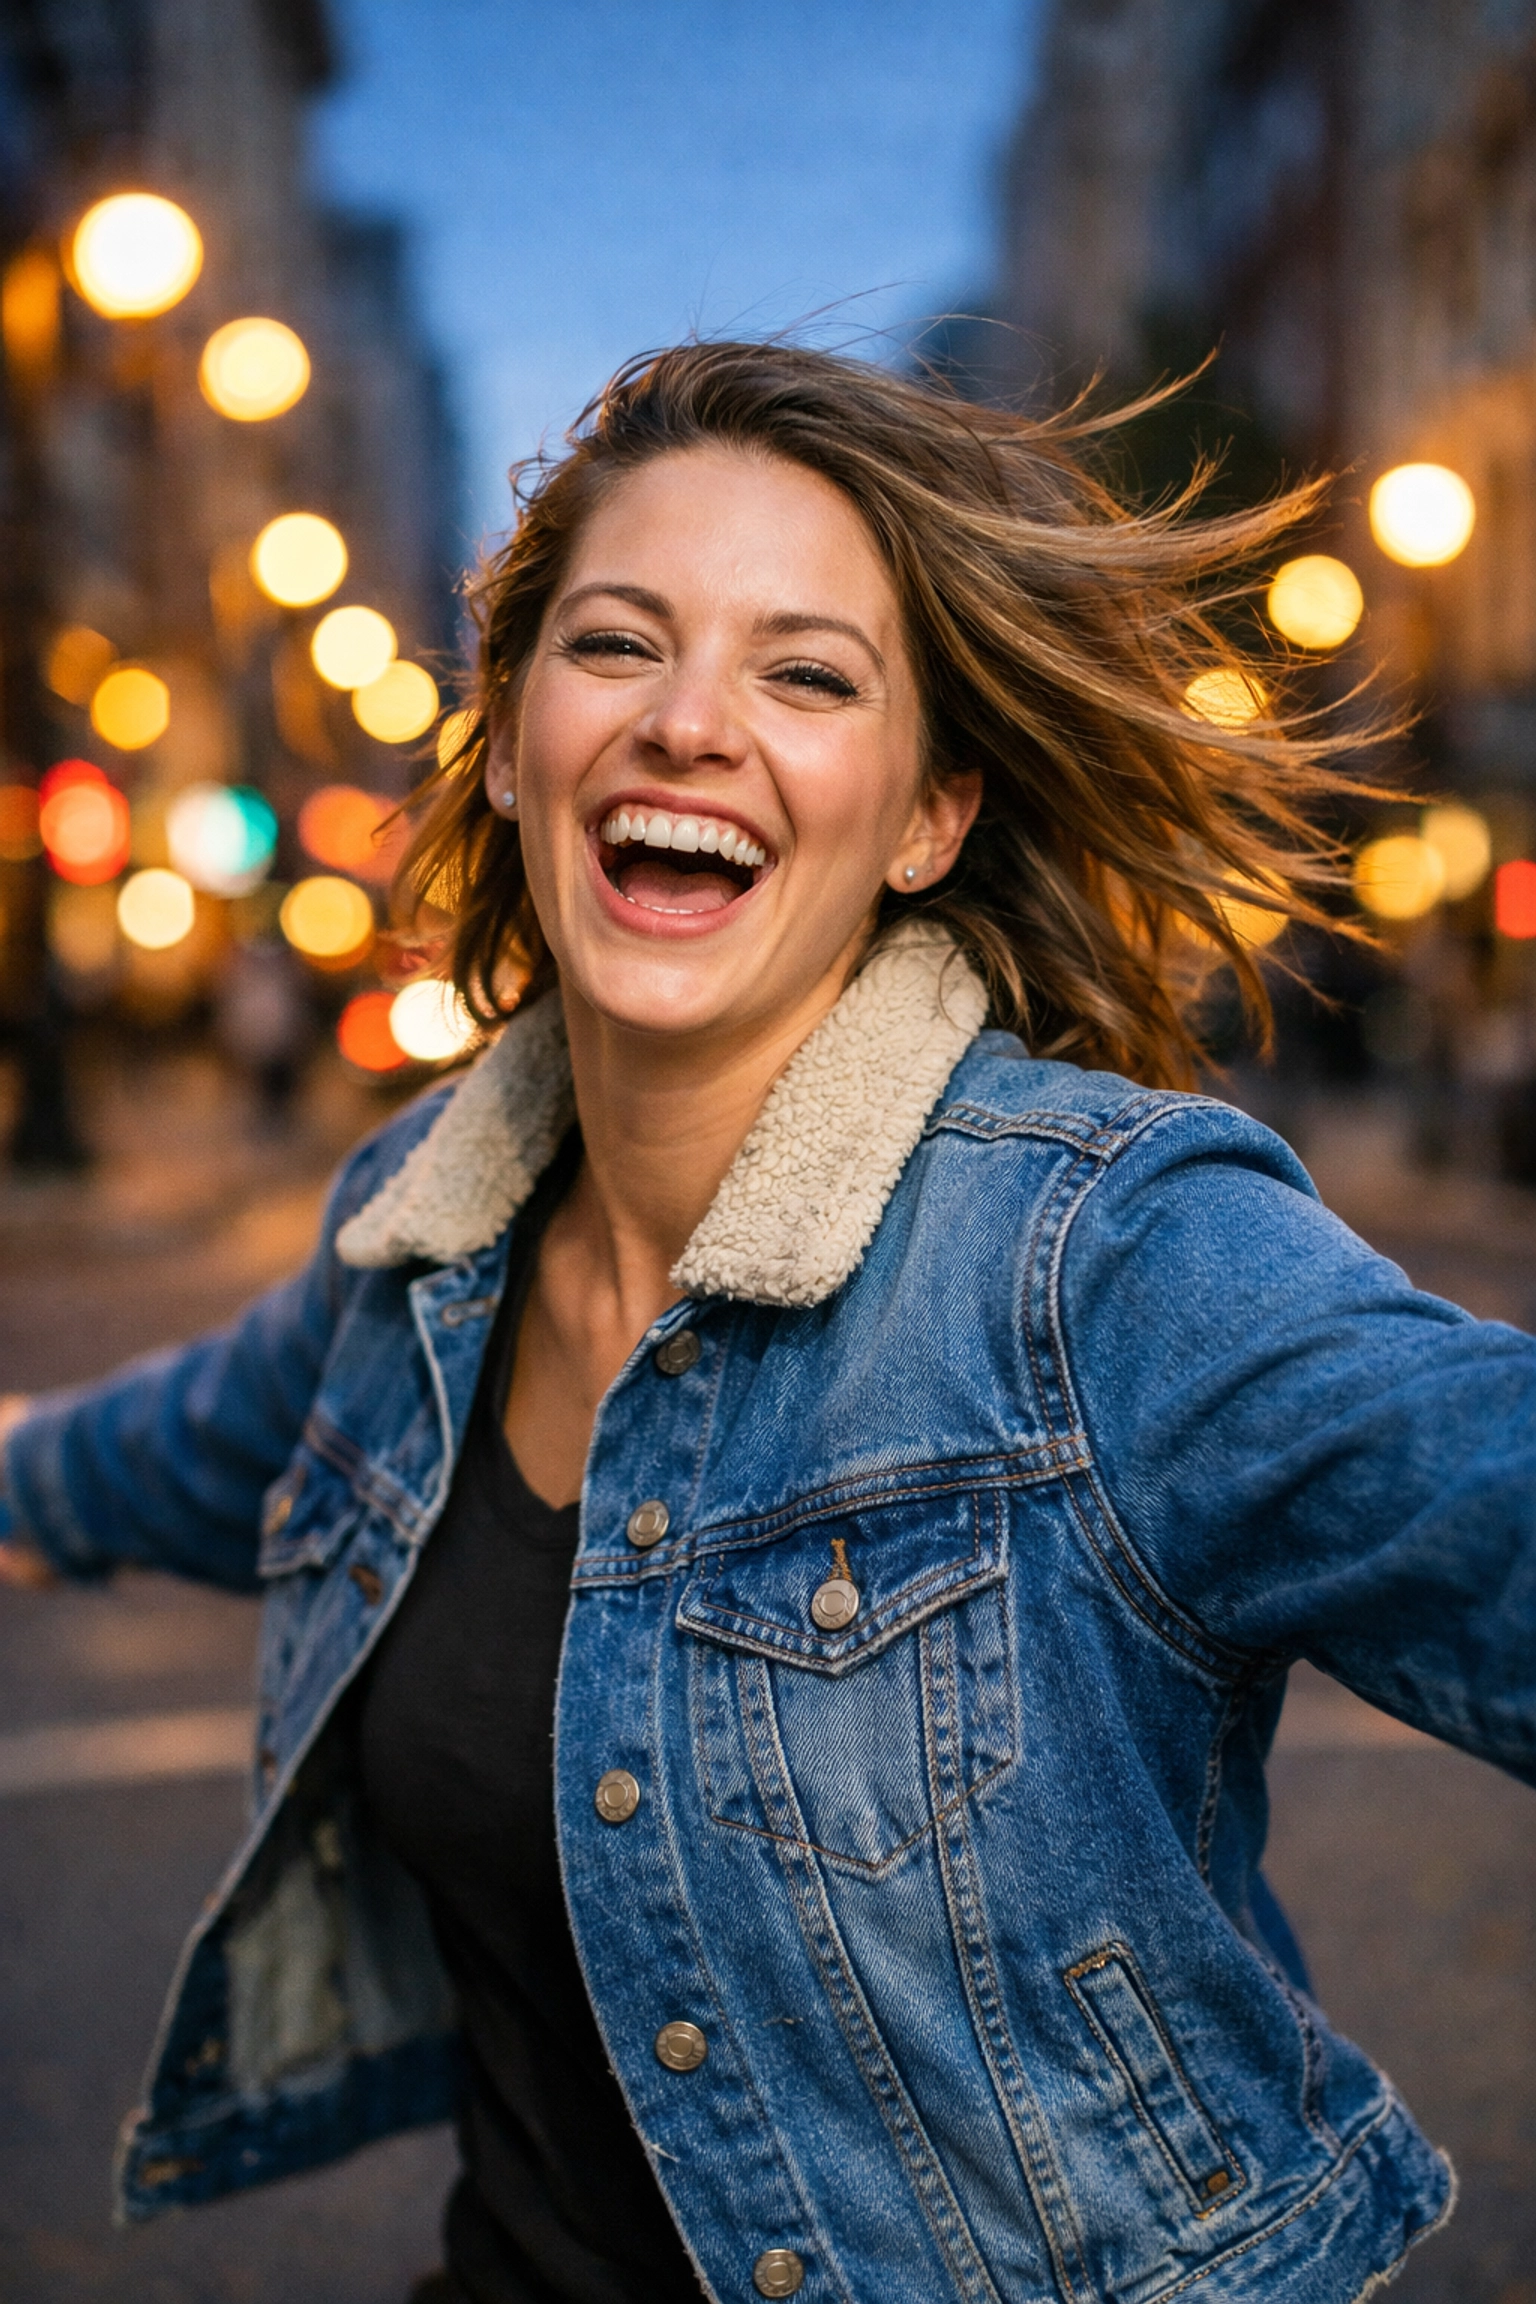
3. Playing It Too Safe with Shutter Speed
You’ve got a steady hand, right? You think you can shoot at 1/60th of a second because you’re a "pro." Well, the truth is, your subject is a human being, not a statue. People breathe, they blink, they shift their weight, and they micro-move.
When you use a slow shutter speed, you’re inviting motion blur into your life. Even if it’s just a tiny bit, it takes away that "crisp" professional look that separates the amateurs from the greats.
The Fix:
Crank it up. For portraits, I rarely drop below 1/250th of a second, especially if I’m shooting handheld. If I’m working with kids or pets, I’m going even faster: 1/500th or higher. You want to freeze that moment in time perfectly. Don't be afraid to bump your ISO a little to compensate for the faster shutter speed. Modern cameras handle noise incredibly well, and a little grain is much easier to fix than a blurry face.
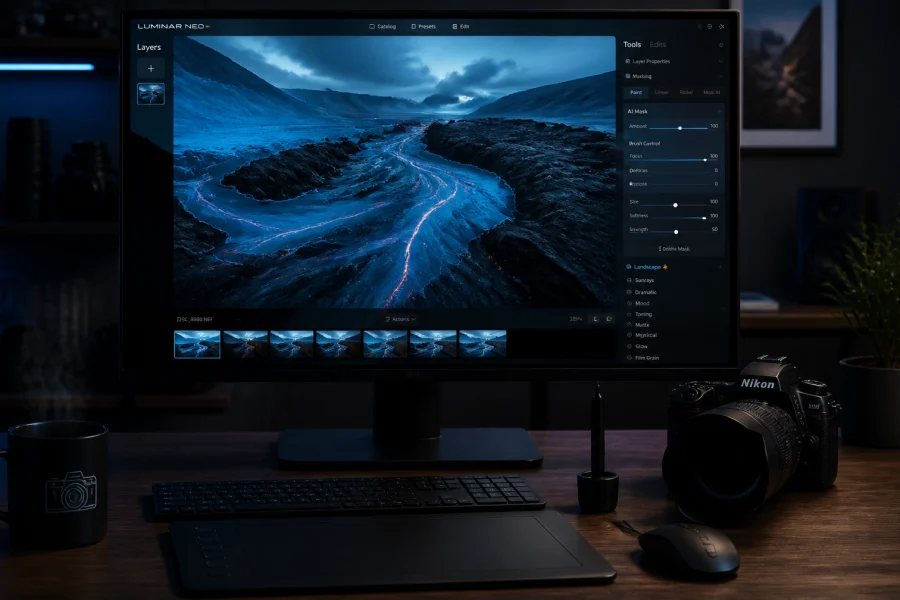
If you do end up with a bit of noise from high ISO, you can easily clean that up in post-processing using Luminar, which has some of the best AI-driven noise reduction on the market.
4. The "Big Nose" Effect: Using the Wrong Lens
We all love a good wide-angle lens for landscapes. But using a 24mm or 35mm lens for a tight headshot is a recipe for disaster. Wide-angle lenses distort features when you get too close. They make things in the center of the frame (like the nose) look much larger, while things on the edges (like ears) look smaller and "stretched."
Unless you are intentionally going for a stylized, distorted look, your subject is not going to thank you for making their nose look twice its actual size.
The Fix:
Stick to the "portrait" focal lengths. Anything from 50mm to 135mm is generally considered the sweet spot. A 85mm prime is often called the "King of Portraits" because it offers a beautiful, flattering compression of facial features and incredible background separation.
If you want to see how different lenses affect the "feel" of an image, take a look at the work over at Edin Fine Art: you’ll see how compression plays a huge role in high-end photography.
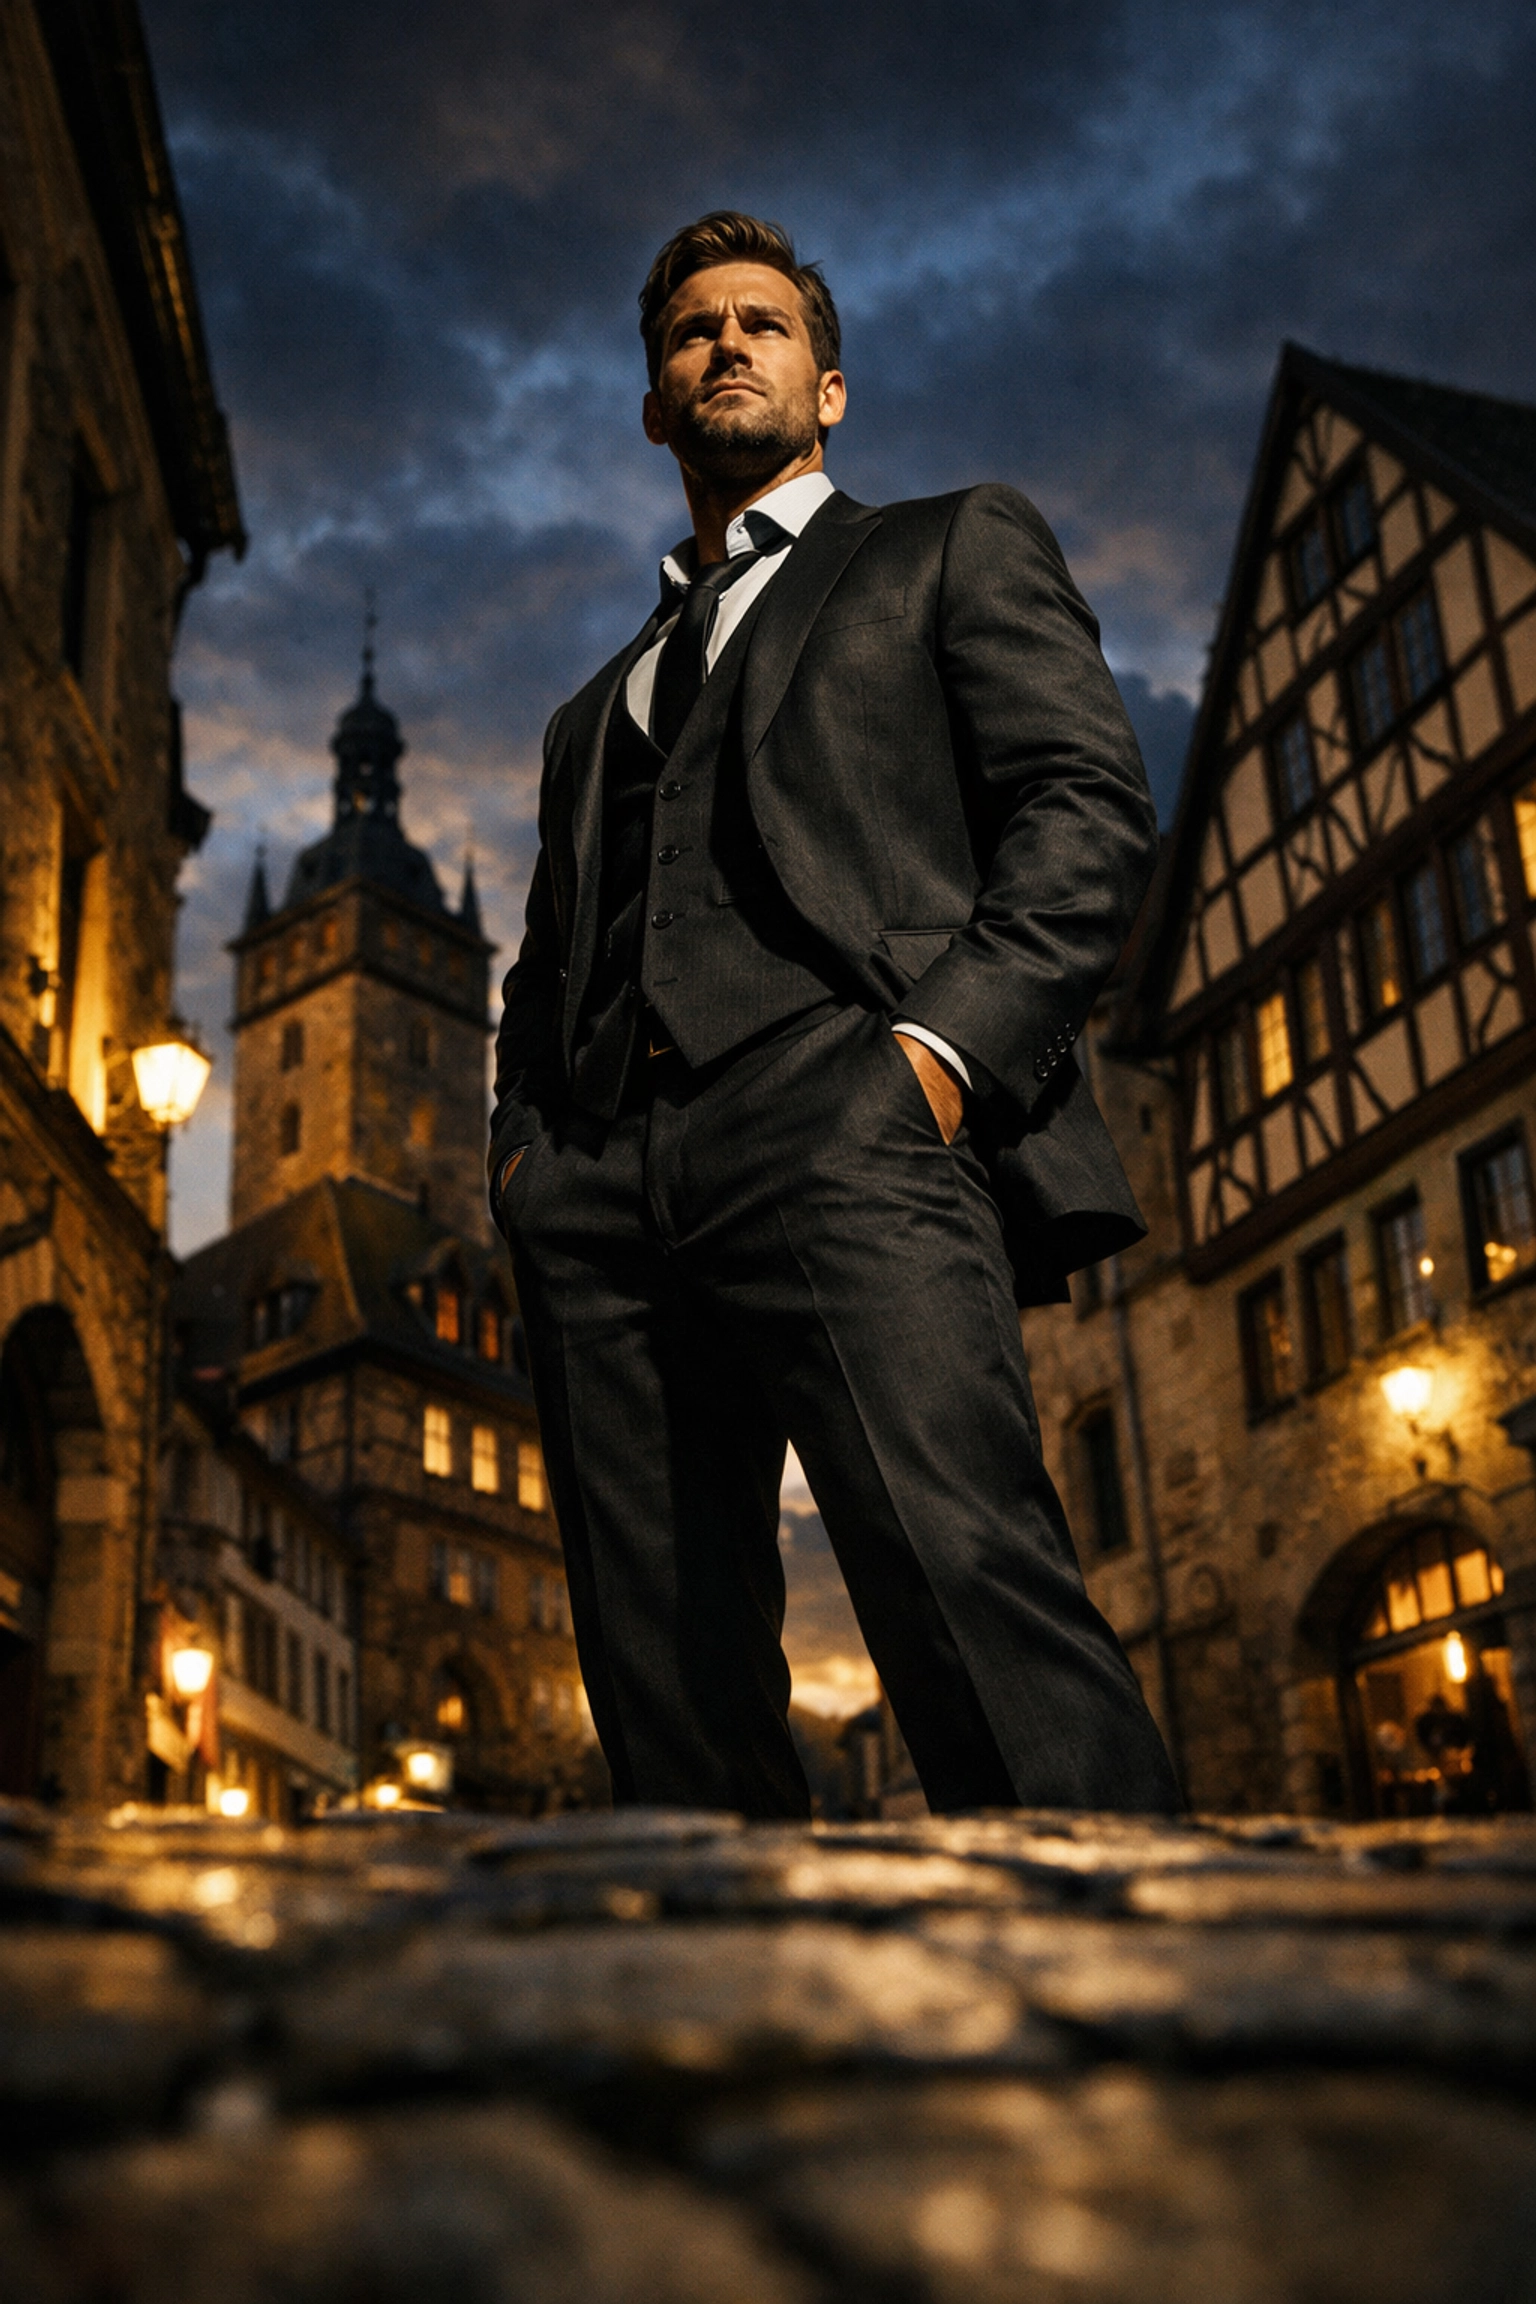
5. Staying Stuck at Eye Level
Most people take photos from exactly where they stand. It’s the easiest way to do it, but it’s also the most boring. When you shoot every portrait from your own eye level, you’re showing the world exactly what they see every single day.
Furthermore, shooting from slightly above can sometimes feel "diminishing" for the subject, while shooting from slightly below can make them feel powerful: but go too far either way without a plan, and it just looks accidental.
The Fix:
Move your body. Get down on one knee. Stand on a chair. Change the perspective to tell a different story. If you’re shooting children, you must get down to their level. If you’re shooting a "power" portrait for a CEO, a slightly lower angle can give them an air of authority.
Experimentation is key. Don’t just stand there: explore the space. If you need inspiration for unique angles, check out some of the hidden gem locations we’ve scouted; the environment often dictates the best angle.
6. Ignoring the "Background Noise"
I’ve seen thousands of otherwise perfect portraits ruined by a telephone pole growing out of someone’s head or a bright red trash can in the corner of the frame. Your background is just as important as your subject. If the background is cluttered or distracting, it competes for the viewer's attention.
A busy background kills the "pop" of your subject. You want the viewer’s eyes to go straight to the person, not to the "EXIT" sign behind them.
The Fix:
Before you click the shutter, do a "perimeter check" of your viewfinder. Look at the edges. Look at what’s directly behind the subject's head. Can you move two feet to the left to hide that distracting element?
You can also use a wide aperture (like f/2.8 or wider) to blur the background into oblivion. This creates that creamy "bokeh" that makes portraits look high-end. If you’re shooting in a city, our Miami Cityscape B&W Preset is great for simplifying busy urban backgrounds and making the subject stand out through contrast.
7. The "Mugshot" Pose
When you ask someone to stand in front of the camera, their natural instinct is to stand square-on, shoulders parallel to the lens, hands at their sides. This is the "mugshot" pose. It’s rarely flattering. It makes people look wider than they are and often results in a stiff, "deer in the headlights" expression.
The Fix:
Give your subject direction. Ask them to turn their shoulders at a 45-degree angle away from the camera. Tell them to shift their weight to their back foot. Give them something to do with their hands: put them in pockets, hold a prop, or touch their hair.
Creating a "natural" look actually takes a lot of work. You have to communicate. If you want to learn more about how to direct subjects and create a vibe, I highly recommend checking out ProShoot.io for professional tips on workflow and subject interaction.
Post-Processing: The Final Touch
Even if you fix all these mistakes in-camera, a great portrait still needs a bit of love in the editing room. This isn't about "fixing it in post," but about enhancing the mood you’ve already captured.
I’m a big fan of using presets as a starting point. It saves time and helps maintain a consistent style across your portfolio. Whether you’re working on wedding portraits or something more fine-art and edgy, having a solid editing workflow is essential.
For those who want to take their editing to the next level, Luminar is a game-changer for portrait photographers. Its AI Portrait tools allow you to enhance eyes, smooth skin (without looking like plastic), and even adjust lighting on the face: all with a few sliders. It’s a massive time-saver.
Putting It All Together
Photography is a journey of a million small corrections. Nobody wakes up and starts hitting home runs every time they pick up a camera. Even the pros have to remind themselves to check the headroom or speed up the shutter.
If you’re feeling stuck, go back to the basics. Focus on the eyes. Watch your backgrounds. Move your feet. And most importantly, keep shooting. The more you practice avoiding these mistakes, the more they will become second nature.
For more tips on how to improve your photography, check out my personal blog at blog.edinchavez.com or dive into our complete B&W editing course to master the art of monochrome portraits.
Now, get out there and stop making these mistakes. Your subjects (and your portfolio) will thank you.
Skylum’s Aperty is purpose-built for portrait retouching with AI skin, eye and detail enhancement. Luminar Neo’s Portrait AI complements it for full-body and editorial work. Tagged as affiliate per FTC.