So, you’ve got a camera, and you’ve got a friend who’s willing to stand still for five minutes. You snap a few photos, and… well, they look okay. But they don't look like the stunning portraits you see on Instagram or in magazines. They look a bit flat, maybe a little blurry, or the background is so distracting you can’t even tell who the subject is.
Don't worry. We’ve all been there. Portrait photography is one of the most rewarding genres, but it’s also one of the trickiest to master. It’s not just about pointing a lens at a person; it’s about capturing a mood, a personality, and a moment.
At Shut Your Aperture, we believe photography should be fun and accessible. You don't need a $10,000 setup to take a great photo. You just need to understand a few core principles. In this guide, we’re going to break down everything from camera settings and lighting to posing and post-processing. Let’s dive in.
1. The Gear: You Don’t Need Everything
Before you go out and buy every lens on the shelf, let’s talk about what actually matters. While you can take a portrait with a wide-angle lens (check out our guide on unlocking secrets to enchanting urban photography for more on that), most portrait photographers prefer specific focal lengths.
The "Nifty Fifty"
The 50mm lens is a classic for a reason. On a full-frame camera, it’s close to what the human eye sees. On a crop-sensor camera, it acts more like an 85mm, which is the "sweet spot" for portraits. These lenses usually have wide apertures (like f/1.8), which are essential for that blurry background we all love.
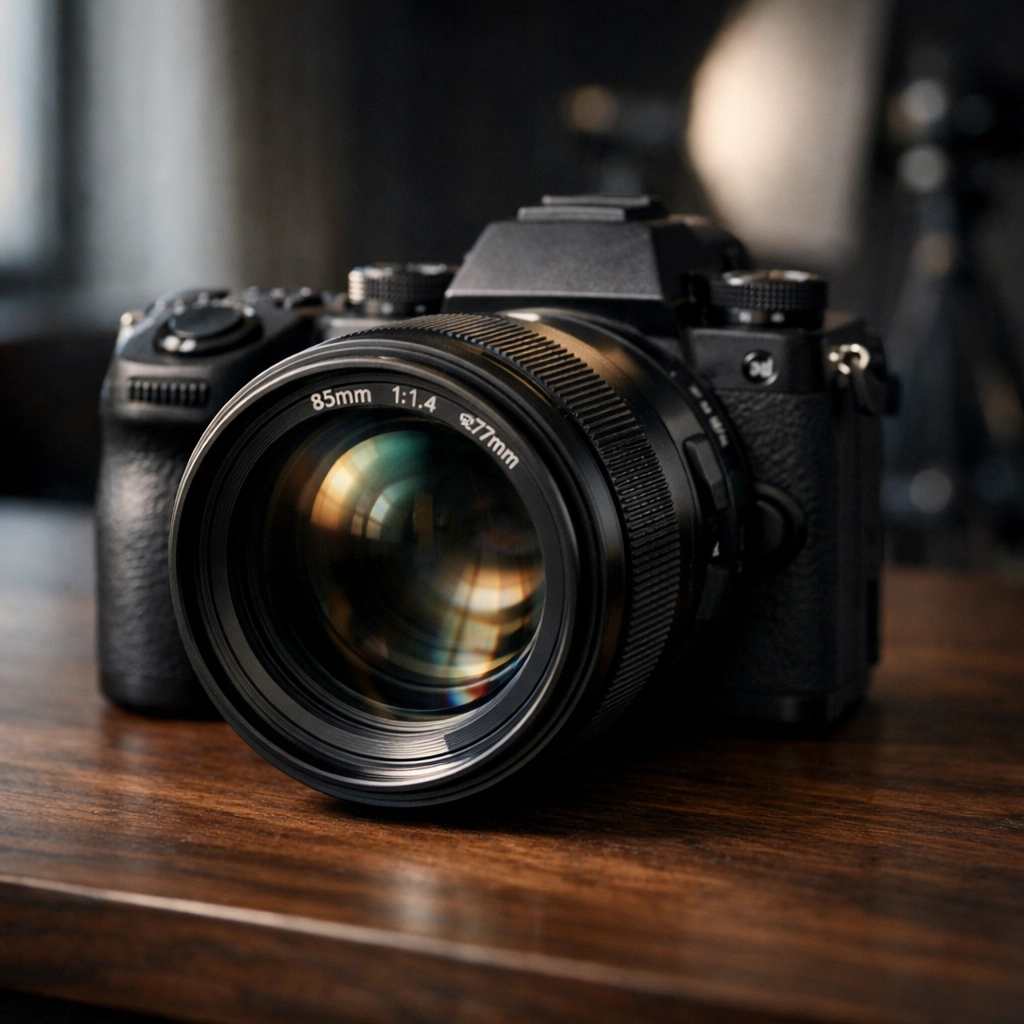
The 85mm Powerhouse
If you’re serious about portraits, the 85mm is the gold standard. It provides a beautiful compression that makes facial features look flattering and creates a smooth, creamy background. It lets you stay a comfortable distance from your subject while still capturing an intimate shot.
2. Mastering the Exposure Triangle
If you want to move beyond "Auto" mode, you have to understand the exposure triangle: Aperture, Shutter Speed, and ISO.
Aperture (Your Best Friend)
In portraiture, aperture is king. It controls the "depth of field." To get that professional look where the subject is sharp and the background is a soft blur (called bokeh), you want a wide aperture. Think f/1.8, f/2.0, or f/2.8.
Using a wide aperture draws the viewer's eye exactly where you want it: on your subject. For more technical deep-dives, you can always check out Shut Your Aperture.
Shutter Speed
If your subject is moving: even just a little bit: you need a fast enough shutter speed to freeze that motion. A good rule of thumb is to stay above 1/125th of a second. If you’re shooting kids or pets, you might need to go even faster.
ISO
Keep your ISO as low as possible (usually ISO 100 or 200) to avoid "noise" or graininess in your photos. Only bump it up if you’re in a dark environment and your shutter speed is getting too slow.
3. The Golden Rule: Focus on the Eyes
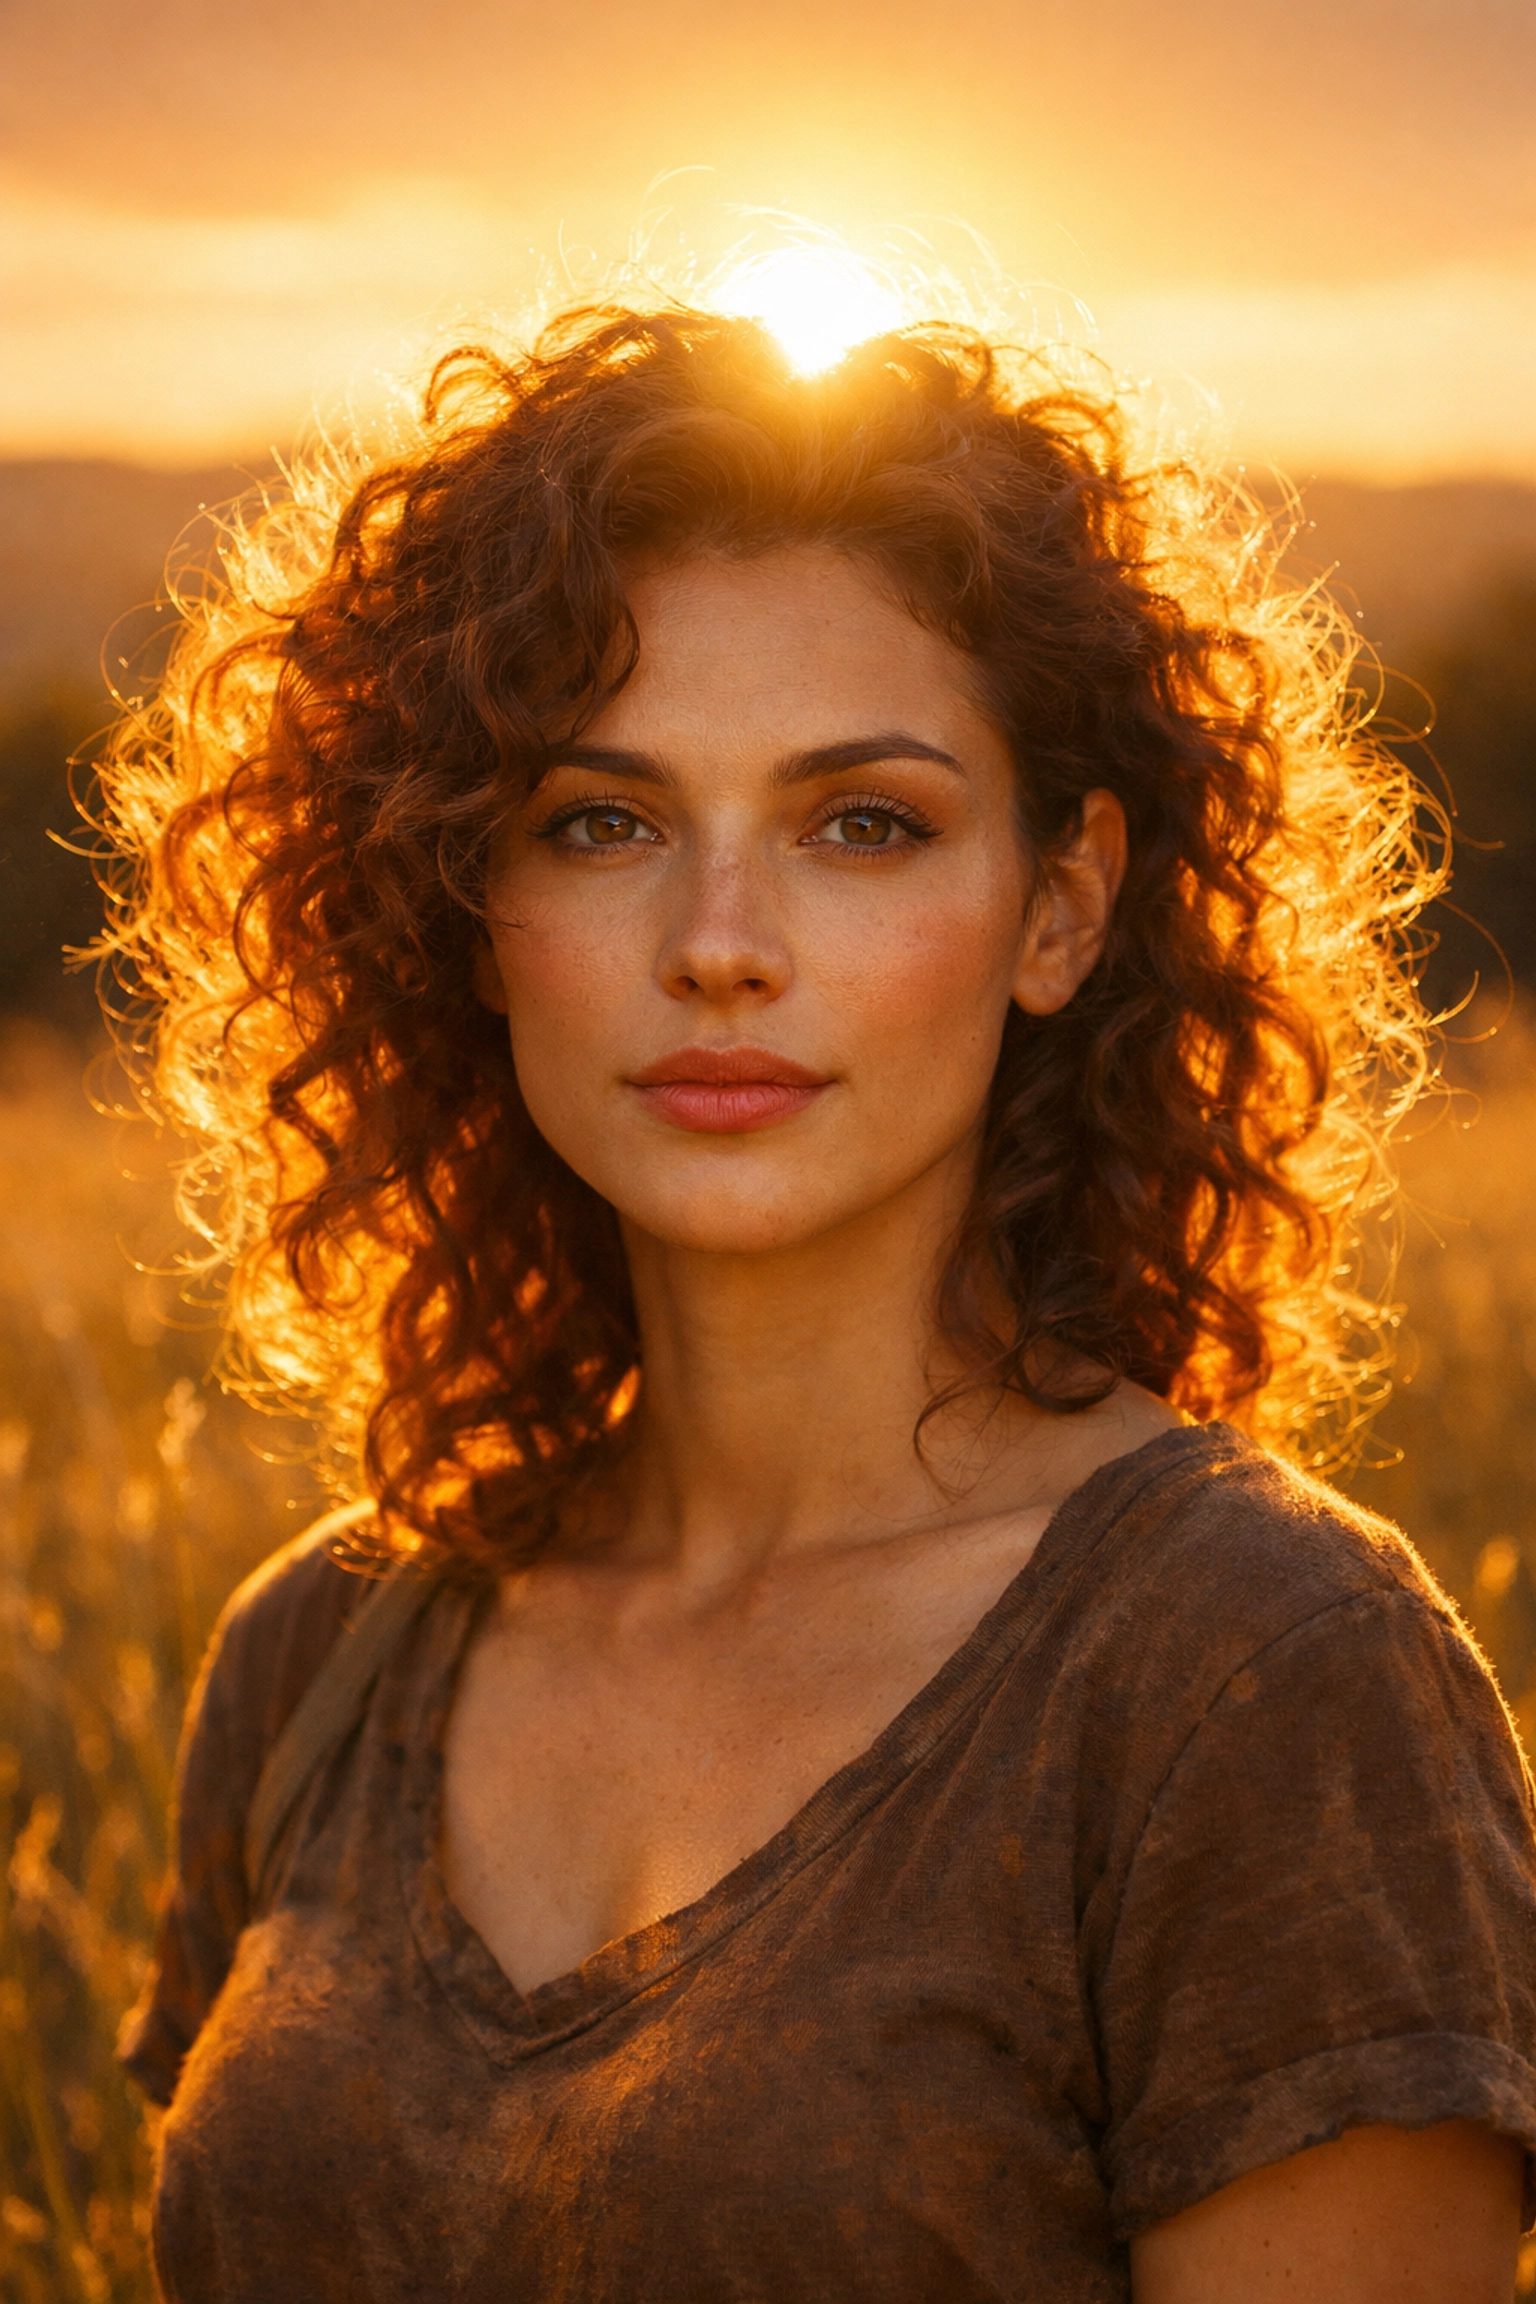
If there is one thing you take away from this guide, let it be this: The eyes must be sharp.
The eyes are the emotional center of any portrait. If the tip of the nose is sharp but the eyes are blurry, the photo will feel "off." Most modern cameras have "Eye Autofocus," which is a total game-changer. If yours doesn't, use a single focus point and aim it right at the eye closest to the camera.
Lock your focus by pressing the shutter halfway, recompose your shot if needed, and then click. It takes practice, but it’s the difference between a snapshot and a masterpiece.
4. Lighting: Natural is Better
You don't need expensive studio strobes to get great lighting. In fact, some of the best portraits are taken with nothing but the sun.
The Magic of the Golden Hour
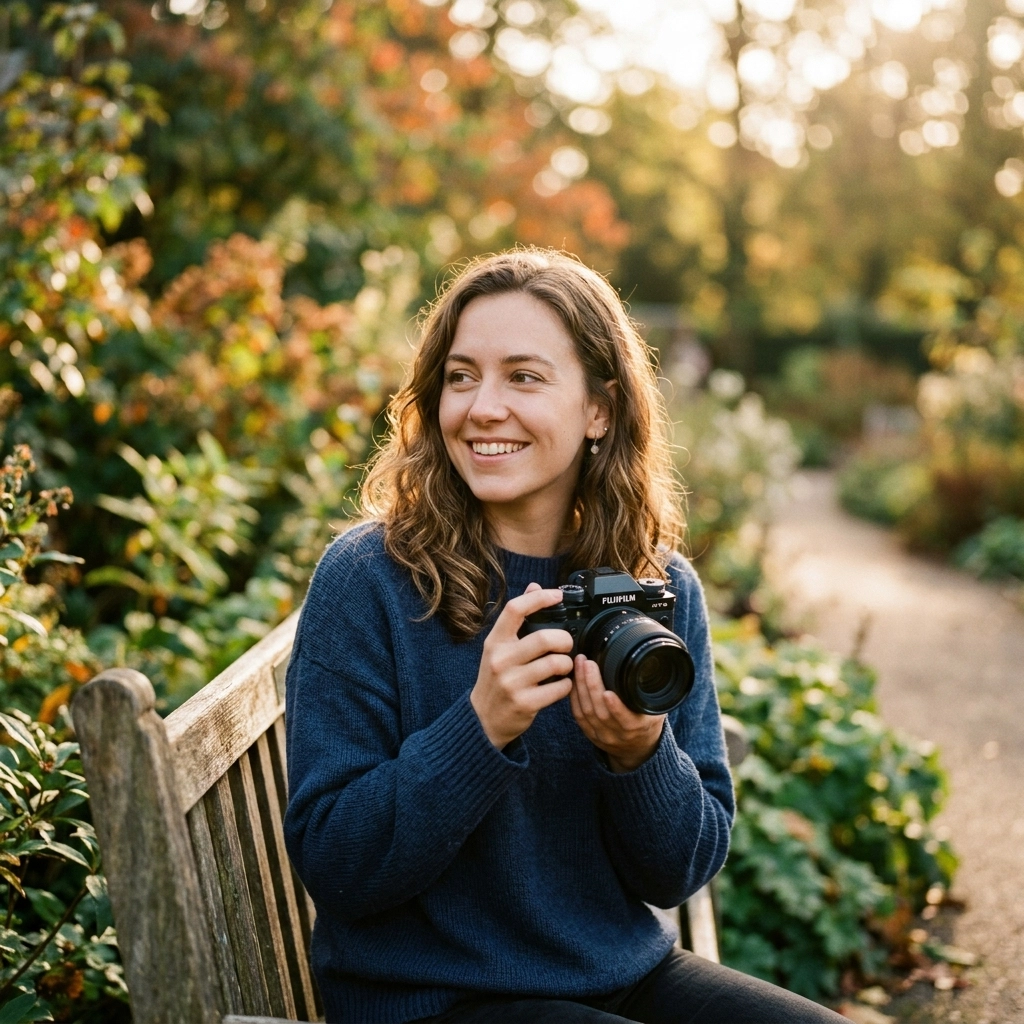
The hour after sunrise and the hour before sunset provide soft, warm, directional light. It’s incredibly flattering on skin tones. If you’re out on a trip, finding the top spots for majestic sunset photography can give you the perfect backdrop for a portrait session.
Overcast Days are a Blessing
Beginners often think they need bright sun for good photos, but harsh sunlight creates "raccoon eyes" (dark shadows under the eyes) and makes people squint. An overcast sky acts like a massive softbox, evening out the light and making your job much easier.
Backlighting
Try placing the sun behind your subject. This creates a "rim light" around their hair and shoulders, separating them from the background. Just make sure to expose for their face, or they’ll end up as a silhouette. (Unless that's what you're going for: check out our tips on mastering light and water for more on exposure balance).
5. Composition and Framing
Once you have your settings and lighting down, you need to think about how you’re framing the shot.
- Rule of Thirds: Don't always put your subject right in the middle. Imagine a grid on your screen and place your subject's eyes on one of the top intersections.
- Eye Level: For a natural feel, shoot at the subject's eye level. If you shoot from above, it can make them look smaller or more vulnerable. From below, they can look more powerful or heroic.
- Simplify the Background: A busy background is a portrait killer. Look for simple textures or colors. If you’re stuck, check out our piece on using rare textures for tangible aesthetic photography.
- Negative Space: Don’t be afraid to leave some "empty" space in the frame. It gives the subject room to "breathe" and makes the composition feel intentional.
6. Environmental Portraits
Sometimes the best way to tell someone's story is to show where they are. This is called an environmental portrait. Instead of blurring out the background, you incorporate it.
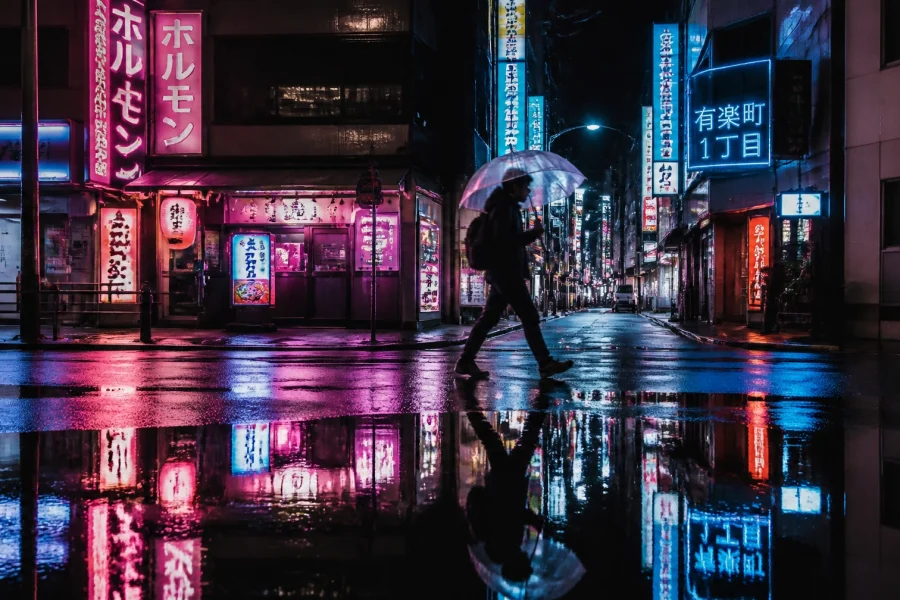
Whether you’re exploring hidden gem locations for travel photography or just in a local park, use the surroundings to add context. Are they a hiker? Get them near a mountain. A fisherman? Try some water photography techniques to capture them in their element.

7. Working with Your Subject
This is the part many photographers struggle with most. It’s not about the camera; it’s about the person. If your subject feels awkward, they will look awkward.
Communication is Key
Talk to them! Don't just stand there in silence clicking away. Tell them they’re doing a great job. Show them a few shots on the back of the screen to build their confidence.
Directing, Not Posing
Instead of saying "put your hand here," try giving them an action. "Walk toward me," "look over your shoulder," or "laugh at that tree." Candid-looking shots are often just carefully directed moments.
The Shoulder Trick
To make someone look more slender and dynamic, have them turn their shoulders at an angle to the camera rather than facing it head-on. It adds depth and prevents that "passport photo" look.
8. Post-Processing: The Finishing Touch
Even the best photos usually need a little bit of love in the digital darkroom. This isn't about "fixing" a bad photo; it's about enhancing a good one.
You can adjust things like:
- Exposure and Contrast: Bring out the details in the shadows and highlights.
- Skin Retouching: Keep it natural. Remove temporary blemishes, but leave the character.
- Color Grading: This is where you create your "look." Do you want it warm and moody or bright and airy?
For a powerful yet simple editing experience, we highly recommend using Luminar. It uses AI to handle the tedious stuff (like masking and sky replacement) so you can focus on the creative side of portrait editing. It’s a favorite over at blog.edinchavez.com for its intuitive workflow.

9. Avoid Common Mistakes
Before you head out, keep these "don'ts" in mind:
- Don't cut off limbs at the joints: If you're cropping, don't cut off hands at the wrists or feet at the ankles. It looks weird. Crop mid-thigh or mid-arm instead.
- Don't ignore the "merges": Make sure there isn't a tree branch looking like it's growing out of your subject's head.
- Don't over-process: It’s easy to go overboard with filters. If the skin looks like plastic, back off a bit.
10. Practice, Practice, Practice
You can read all the guides in the world, but the only way to get better is to shoot. Ask your friends, your family, or even a local model if you can take their photo. Every person has a different face, a different vibe, and a different set of challenges.
If you're feeling adventurous and want to combine your new portrait skills with some travel, why not check out the best time for USA road trips and find some incredible backdrops? Or, if you prefer nature, look into some secluded paradises to really make your portfolio pop.
Portrait photography is about connection. When you master the technical side: the aperture, the focus, the lighting: the camera disappears. What's left is you and the person in front of you. That’s when the magic happens.
For more inspiration and high-end gear talk, feel free to visit www.edinstudios.com or browse the fine art collections at www.edinfineart.com. If you need professional production services, www.proshoot.io is the place to be.
Now, go grab your camera, find a willing subject, and start shooting. Just remember: keep those eyes sharp and keep the vibes high. You’ve got this!
Skylum’s Aperty is purpose-built for portrait retouching with AI skin, eye and detail enhancement. Luminar Neo’s Portrait AI complements it for full-body and editorial work. Tagged as affiliate per FTC.