
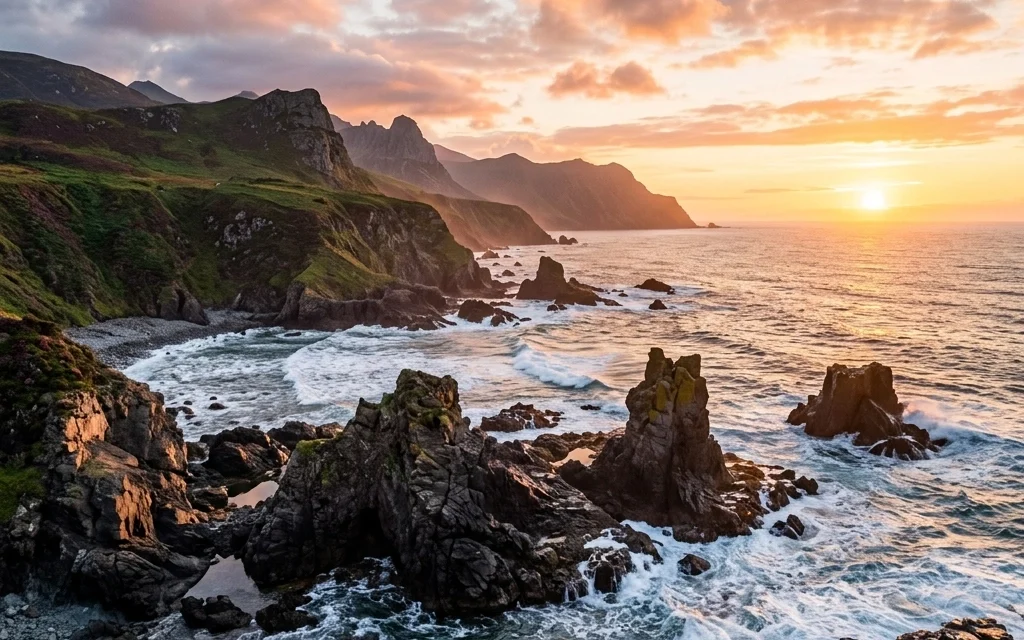
Let’s be honest: landscape photography is one of those things that looks incredibly easy on paper but is surprisingly hard to master. You see a beautiful mountain, you point your camera, you click the shutter, and… it looks like a flat, boring mess. We’ve all been there. Even the pros at PhotoGuides.org will tell you that capturing the "feeling" of a place is way harder than just capturing the light.
Most of the time, the difference between a "wow" shot and a "delete" shot comes down to a few common mistakes. The good news? They are all totally fixable. Whether you are shooting the majestic Niagara Falls or just a local park, avoiding these pitfalls will instantly level up your portfolio.
Here are the seven most common landscape photography mistakes and exactly how to fix them.
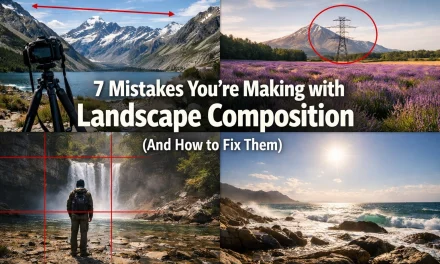
1. The "Drunken" Horizon (Crooked Lines)
This is the absolute king of beginner mistakes. You’re so focused on the mountain or the sunset that you don’t notice your camera is tilted five degrees to the left. A crooked horizon is the fastest way to make a professional-grade scene look like a quick cell phone snap.
When the horizon is off, it creates a sense of "visual tension" that makes the viewer feel like the water is about to leak out of the side of the frame. It’s distracting and amateurish.
How to Fix It:
Most modern cameras have a "Virtual Horizon" or an electronic level built-in. Turn it on. If your camera doesn’t have that, turn on the grid lines in your viewfinder. Align the horizon line with one of those horizontal lines.
If you still mess it up (hey, it happens when you're rushing to catch the light), you can fix it in post-processing. However, remember that rotating an image requires a crop. If you crop too much, you might lose that cool rock in the corner or the tip of a tree. Get it right in the camera first!
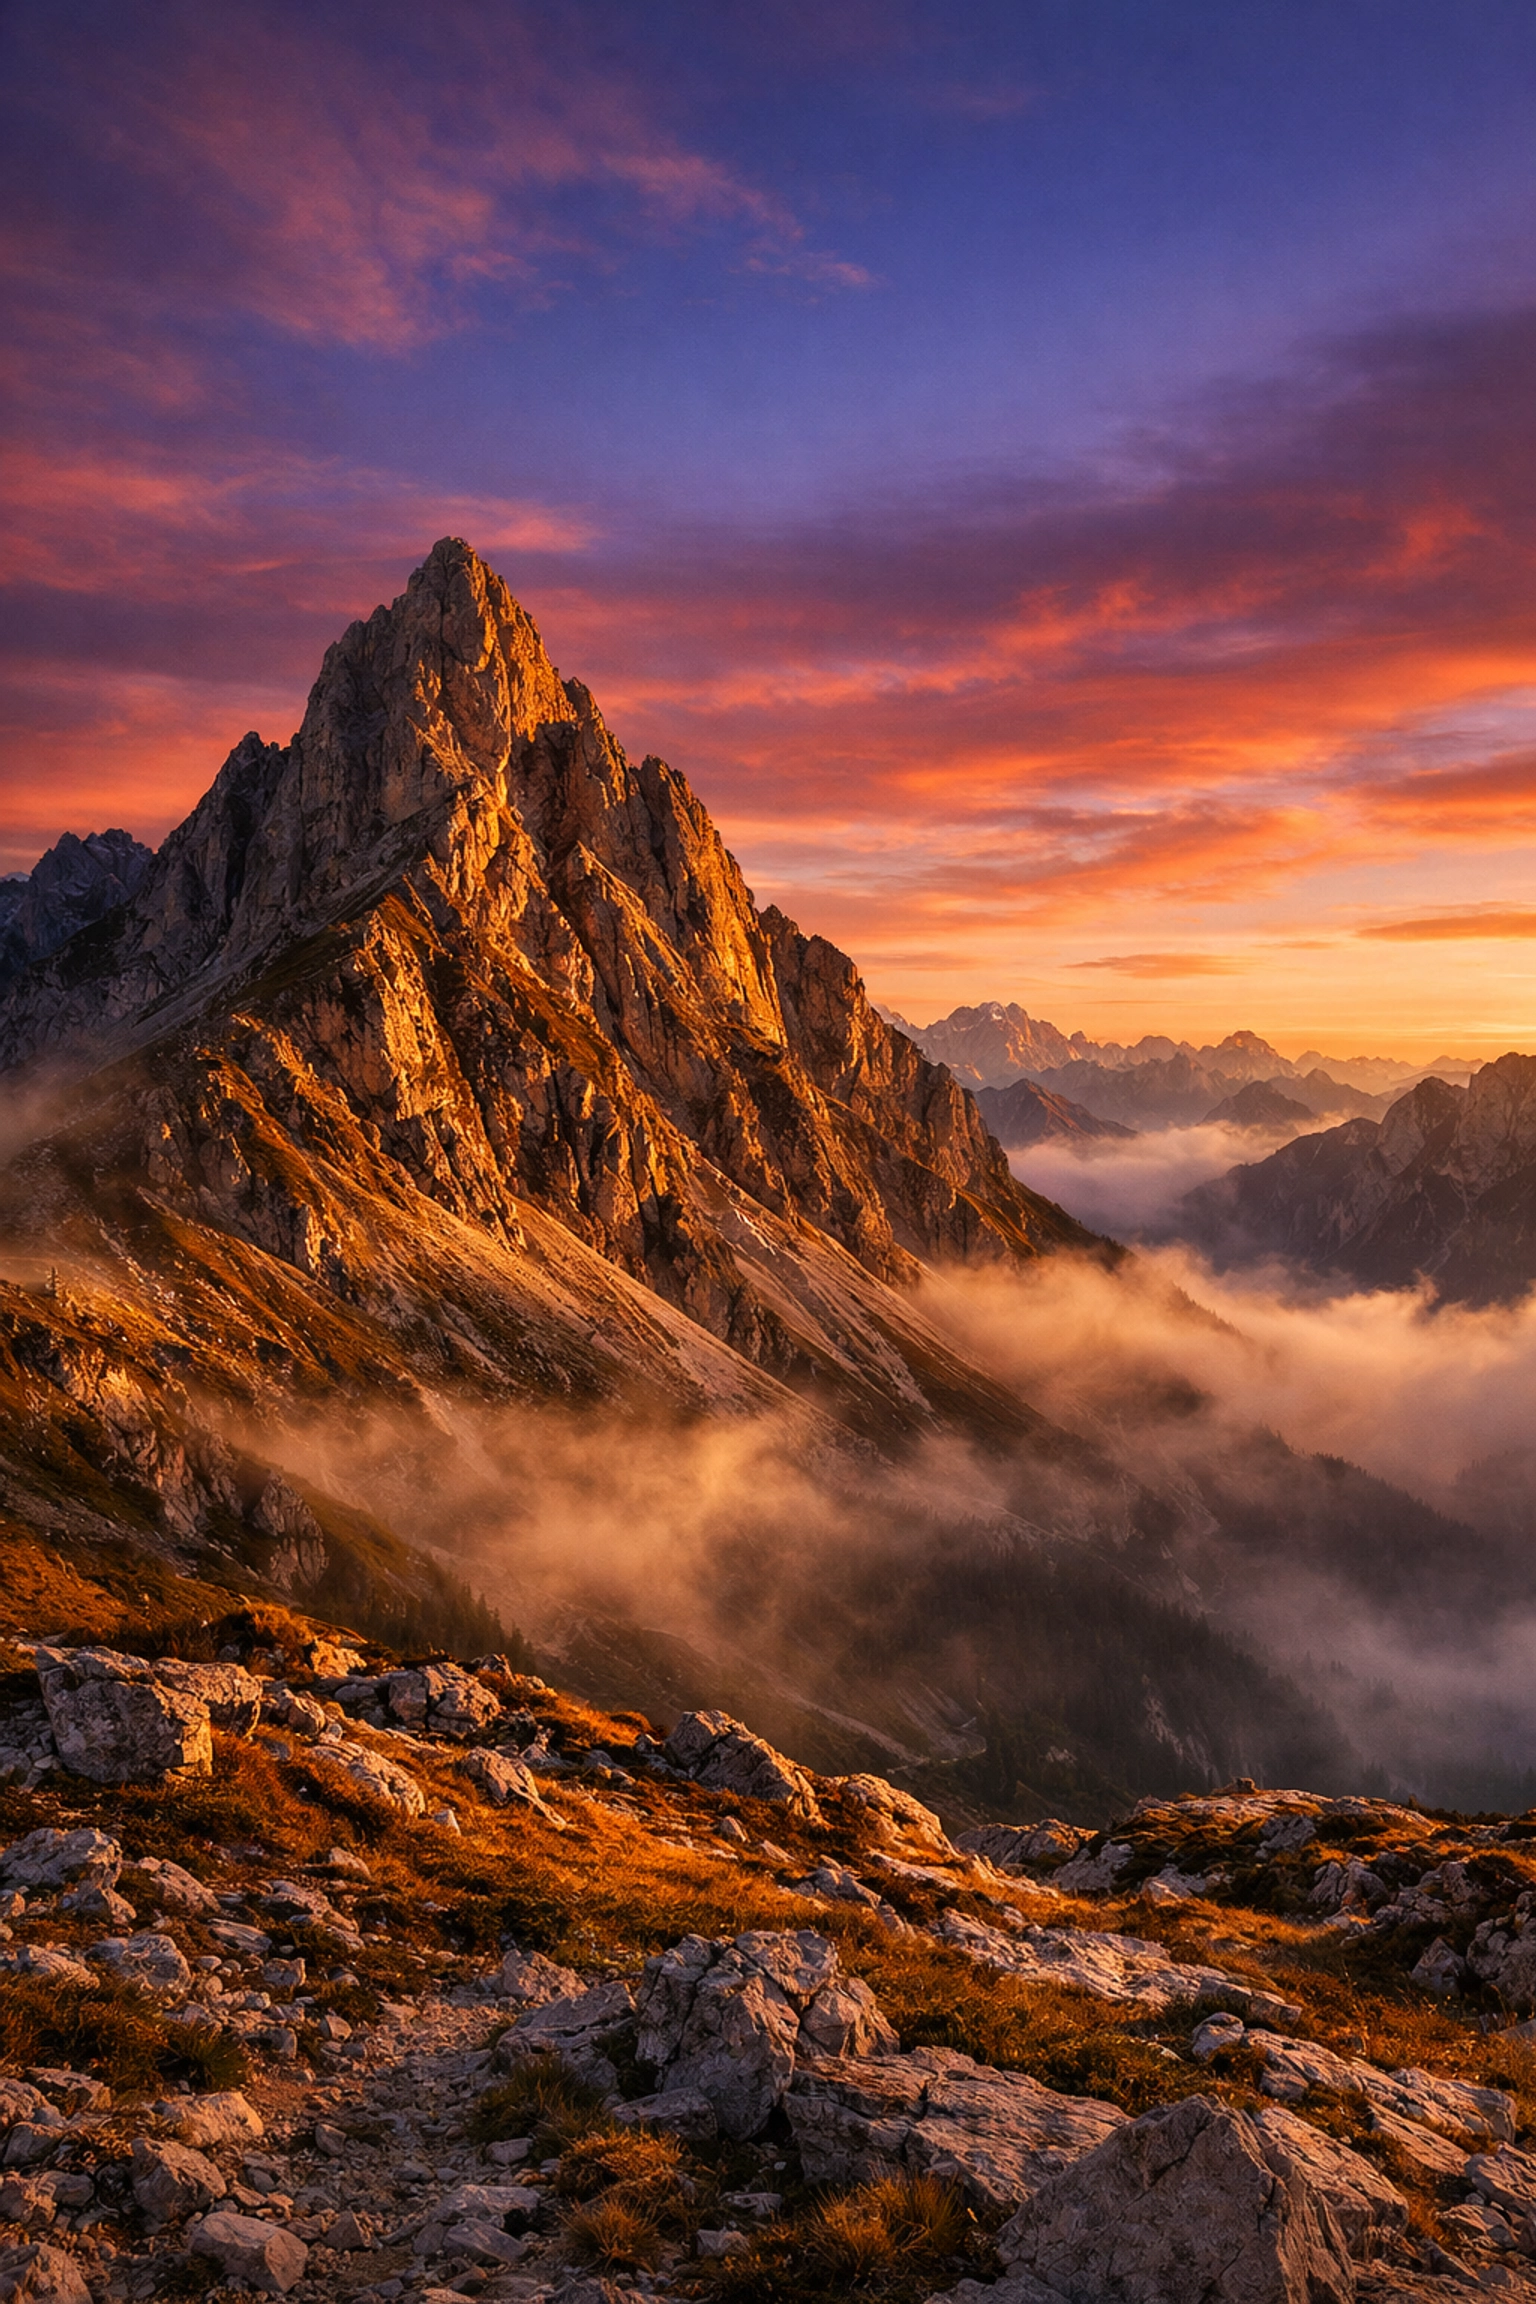
2. Shooting at High Noon
Light is everything in photography. In landscape work, it’s the only thing. A lot of people head out for a hike at 1:00 PM, see a stunning view, and take the shot. The problem? The sun is directly overhead. This creates harsh, ugly shadows and blown-out highlights. It makes colors look washed out and textures look flat.
If you want those deep oranges, soft pinks, and long, dramatic shadows, you have to play by the sun’s rules.
How to Fix It:
Plan your shoots around the "Golden Hour", the hour after sunrise and the hour before sunset. The light is softer, warmer, and hits the landscape at an angle, revealing textures in the rocks and trees. If you find yourself in a high-contrast situation where the sky is too bright and the ground is too dark, check out this HDR tutorial to learn how to blend exposures for a perfect balance.
If you absolutely have to shoot during the day, look for overcast skies. Clouds act like a giant softbox, which is actually great for shooting things like waterfalls or forest floors where you want even light.
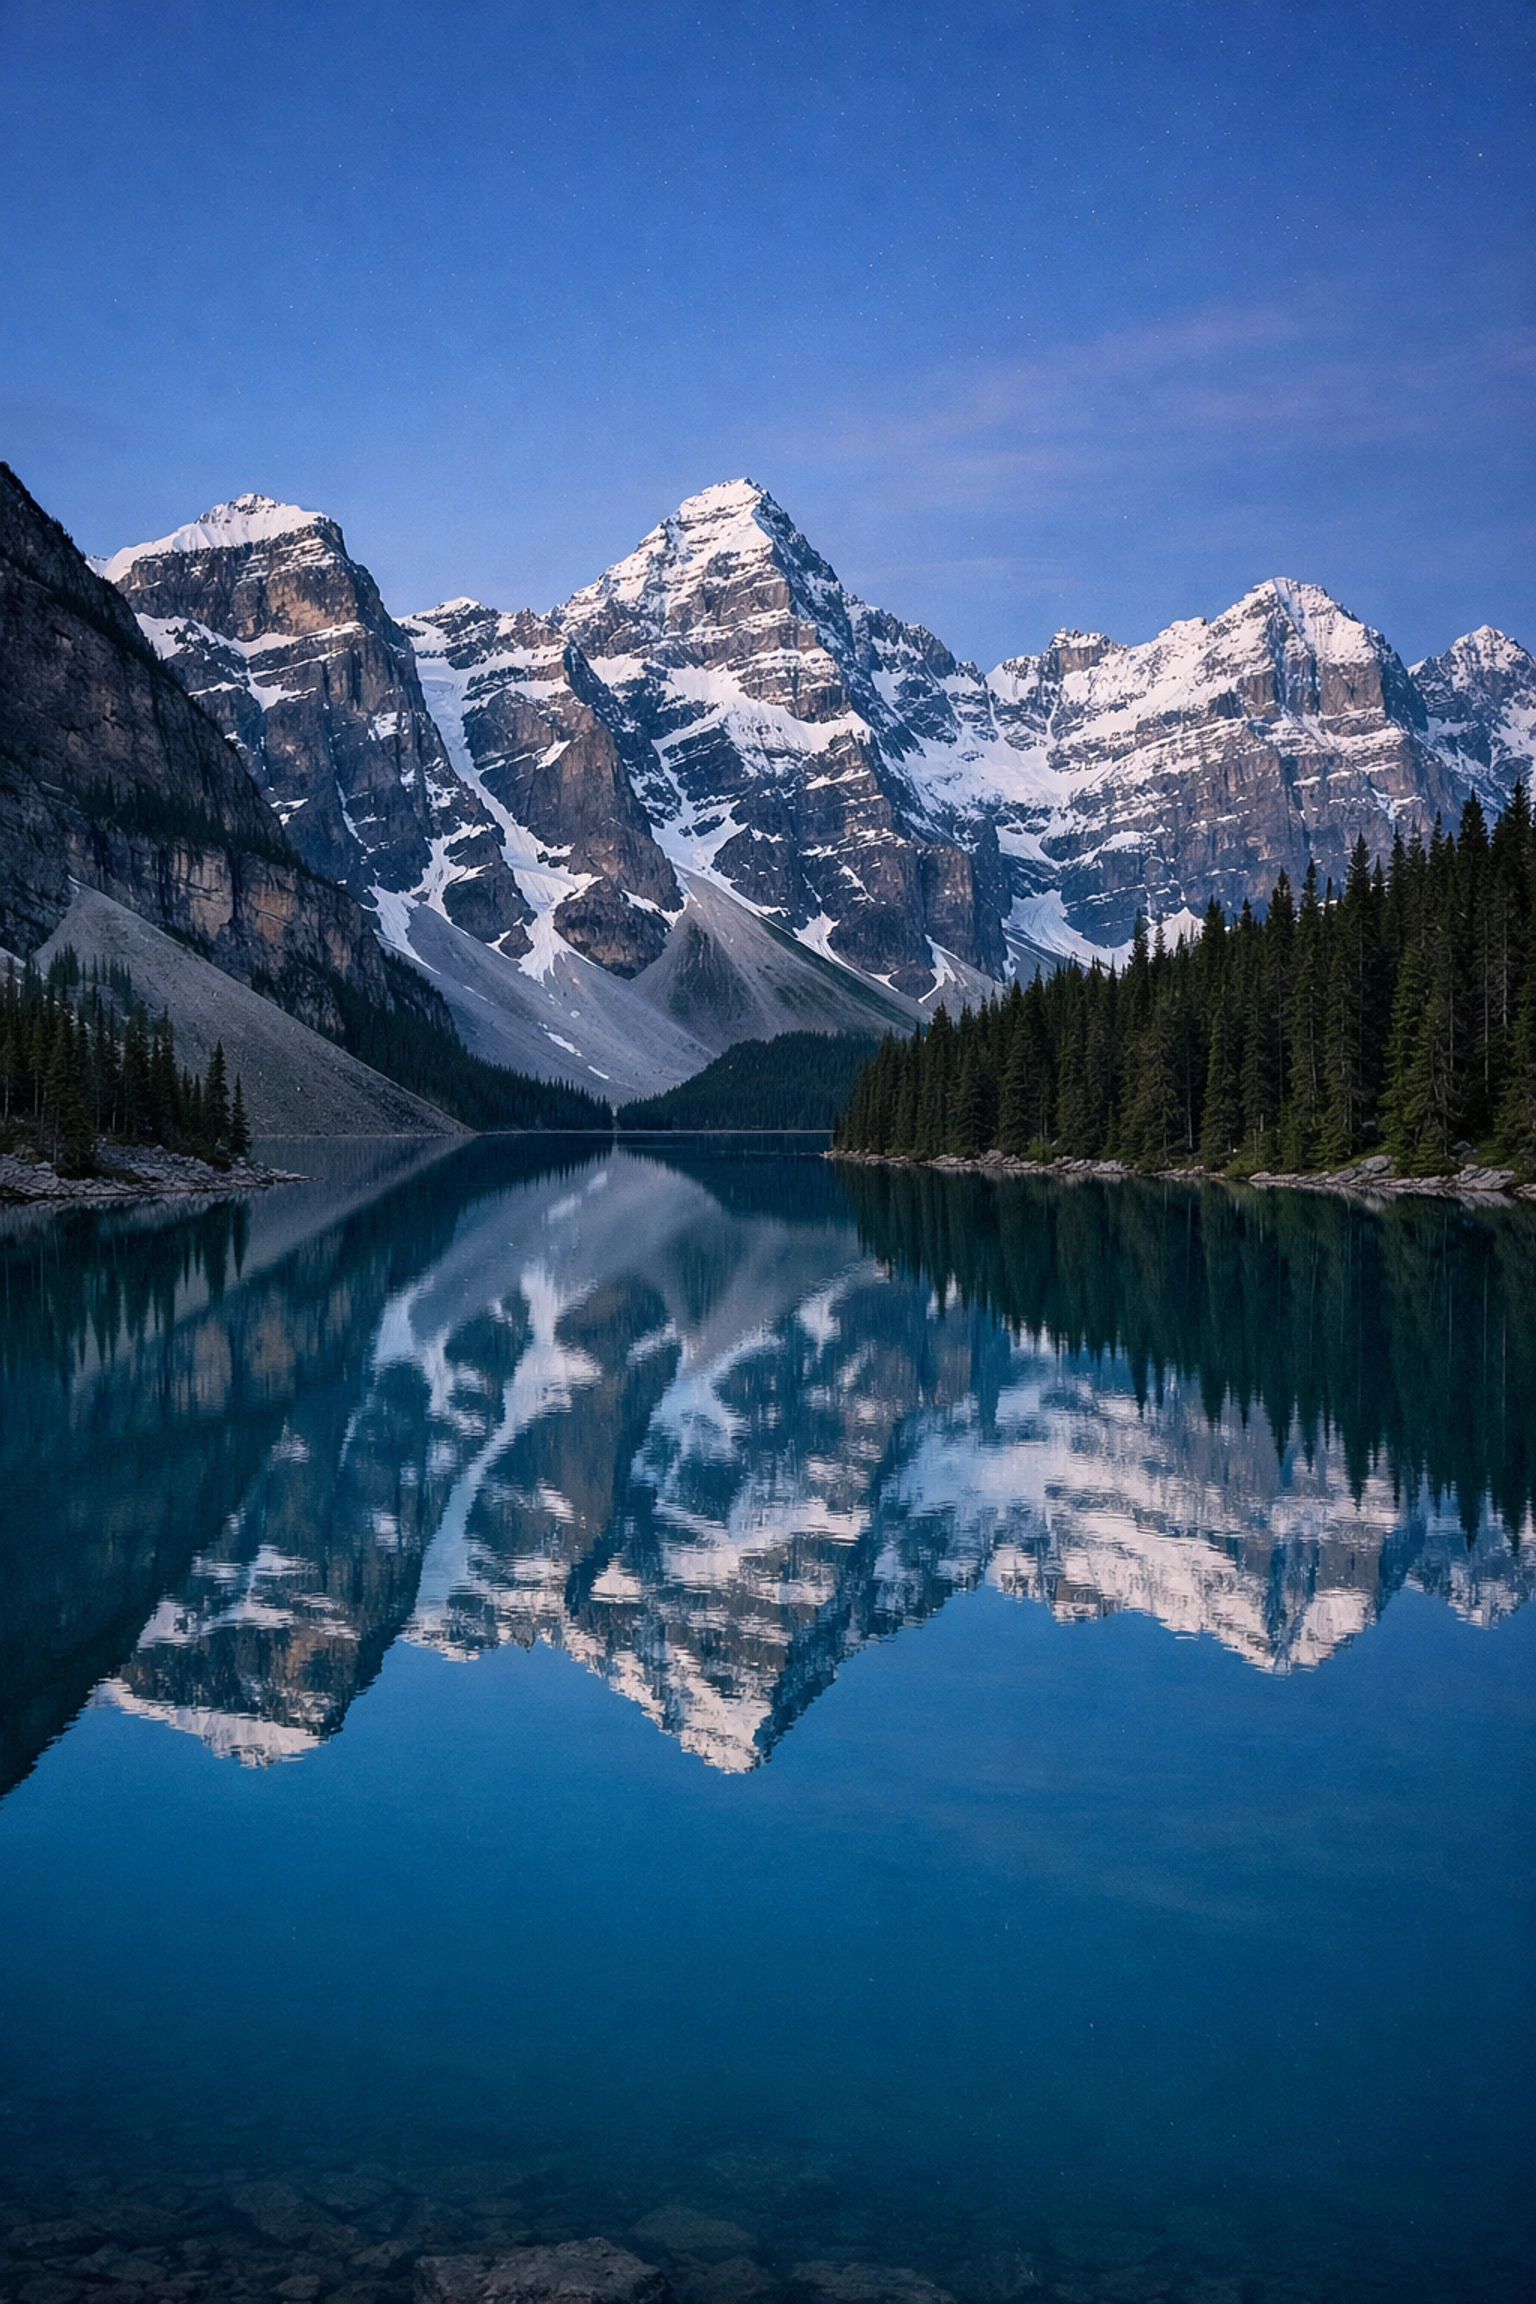
3. The "Empty Void" (Ignoring the Foreground)
One of the biggest mistakes is focusing only on the "big" thing in the distance, the mountain, the ocean, the city skyline. If you only have a subject in the background, your photo lacks depth. It looks 2D.
A great landscape photo should take the viewer on a journey. You want their eyes to start at the bottom of the frame and work their way up to the main subject.
How to Fix It:
Find a foreground element. It could be a cool rock, a patch of wildflowers, a piece of driftwood, or even just some interesting patterns in the sand. Use a wide-angle lens and get close to that foreground object. This creates a sense of scale and pulls the viewer into the scene.
Think about "Leading Lines." Use a path, a river, or a fence line to lead the eye from the front of the photo to the back. If you’re struggling with composition, looking at the work of others, like Esa Heikkilä, can help you see how the pros use space.
4. Messy Backgrounds and Distractions
While you’re focusing on that beautiful mountain, are you noticing the trash can in the corner? Or the power lines cutting through the sky? Or the random branch sticking into the side of the frame?
Landscape photography is often about what you leave out of the frame as much as what you put in. A cluttered background or distracting elements on the edges will pull the viewer's attention away from the subject.
How to Fix It:
Before you click the shutter, do a "border patrol." Run your eyes around the edges of the viewfinder. Is there anything there that shouldn't be? Sometimes moving your tripod just six inches to the left can hide a distracting element behind a tree.
If you can't move it, you’ll have to fix it later. Knowing how to clean up a portrait in Lightroom is a skill that translates perfectly to landscapes. Use the healing brush to get rid of those sensor spots or stray pieces of trash.

5. The "Standing Man" Syndrome (Poor Shooting Angle)
Most people take photos from exactly the same height: eye level. It’s comfortable, it’s easy, and it’s usually boring. If you stand up straight and point your camera forward, you’re getting the same perspective that every other tourist has.
To make your photos stand out, you need to change your perspective.
How to Fix It:
Get low. No, lower than that. Put your camera six inches off the ground. Getting low emphasizes the foreground (see mistake #3) and makes the landscape feel more immersive. Alternatively, find a higher vantage point to look down on the scene.
Changing your angle can also help you find a "main subject" when the landscape feels too vast. If you're feeling stuck, check out some food photos for inspiration on how different angles can completely change the mood of a subject: it’s the same principle for mountains!
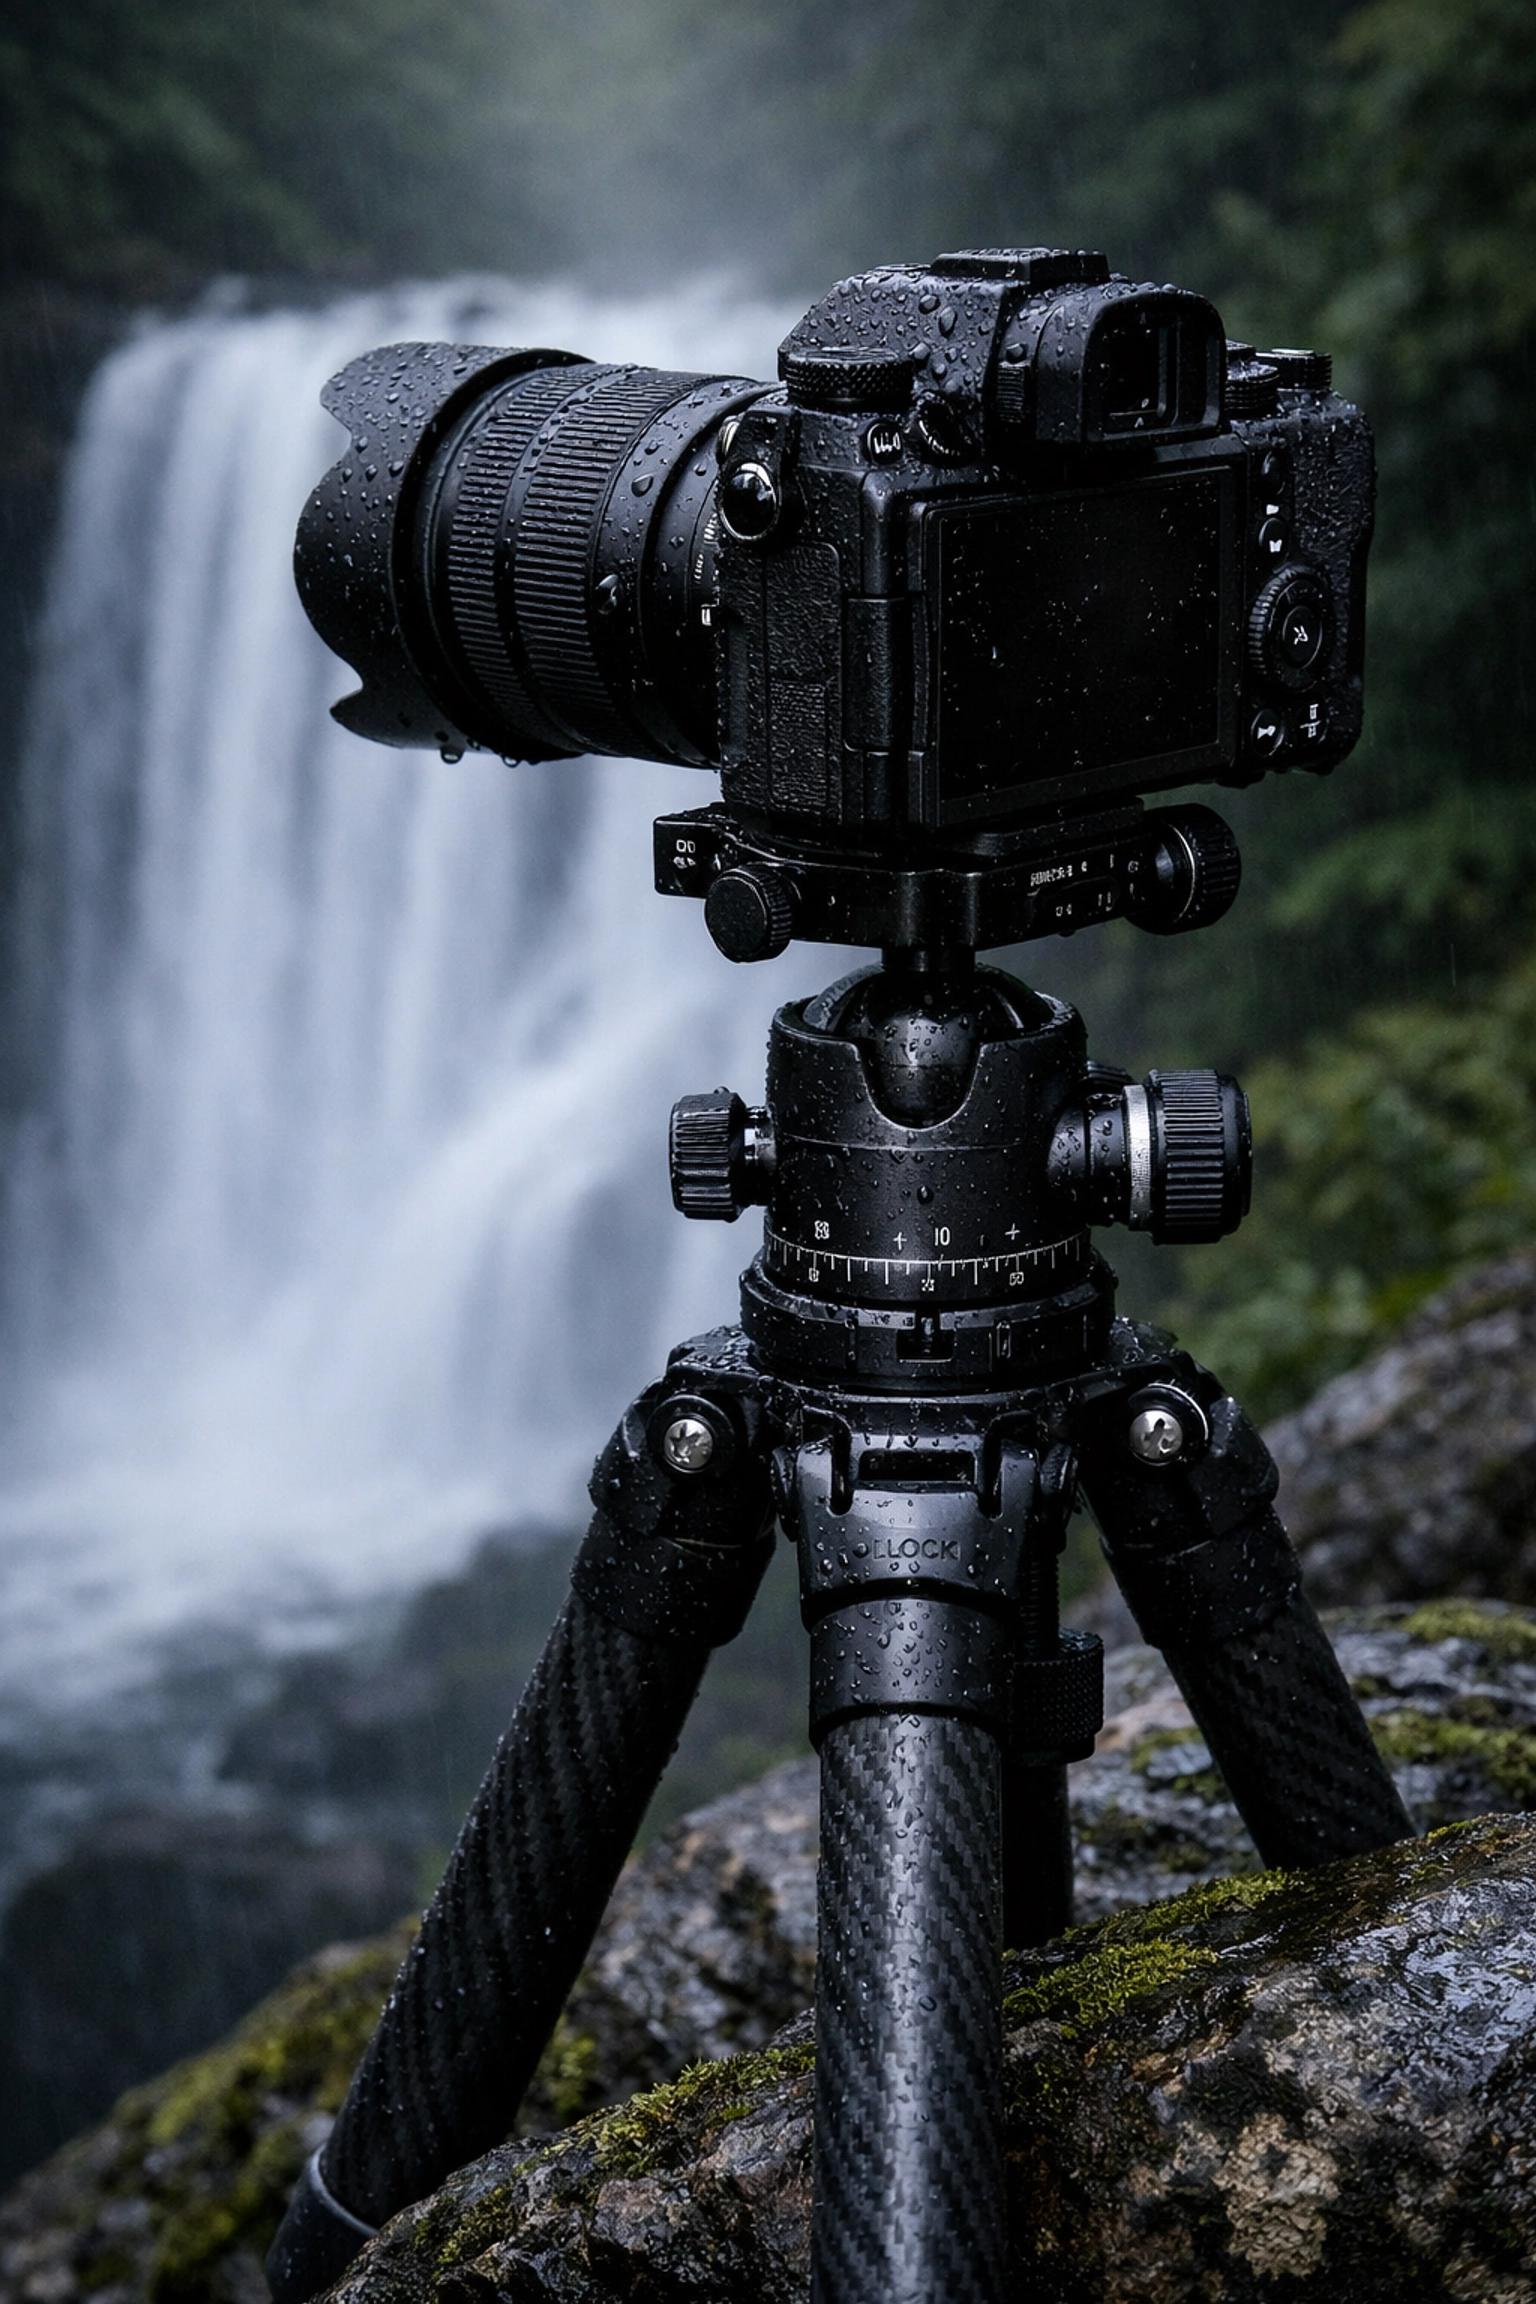
6. Winging It Without a Plan (or a Tripod)
Landscape photography isn't just about being in the right place; it's about being there at the right time with the right gear. If you just show up and hope for the best, you’re gambling with your results.
The biggest technical mistake is leaving the tripod at home. You might think your hands are steady, but at sunset, your shutter speeds are going to drop. Even the slightest bit of camera shake will ruin a high-resolution landscape shot.
How to Fix It:
- Use a Tripod: Always. Even if you think you don't need it. It allows you to use low ISOs (for better quality) and small apertures (for more focus depth).
- Scout the Location: Use apps like Google Earth or PhotoPills to see where the sun will rise and set. Check the weather.
- Prepare for the Long Haul: Sometimes the best light happens 20 minutes after you think the sunset is over. Be patient.
If you’re serious about high-end landscapes, gear matters. While you don’t need a Hasselblad to take a good photo, you do need a stable platform and a plan. You can see some incredibly planned shots over at Edin Fine Art to see what happens when preparation meets opportunity.
7. The "Nuclear" Edit (Over-Processing)
We’ve all seen them: the photos where the sky is neon purple, the grass is radioactive green, and there’s a weird glowing halo around the mountains. In our excitement to make a photo "pop," it’s very easy to push the sliders too far.
Over-processing is the quickest way to ruin a great capture. It makes the photo look "crunchy," introduces digital noise, and loses the natural beauty of the location.
How to Fix It:
The key to a great edit is subtlety. You want to enhance what is already there, not invent a new reality.
- Watch the Saturation: Instead of the Saturation slider, try the Vibrance slider. It’s more selective and less likely to blow out your colors.
- Check for Halos: If you see a bright glow where the mountain meets the sky, you’ve pushed the shadows or contrast too hard. Back it off.
- Use Better Tools: Use a program that handles landscapes intelligently. I highly recommend using Luminar. It has some incredible AI tools that can enhance a sky or add sun rays without making the whole thing look fake.
- Walk Away: After you finish an edit, walk away from your computer for 15 minutes. When you come back with fresh eyes, you’ll often realize you went a bit too far.
If you want to learn how to do it right, check out this guide on how to make colors come to life in Photoshop without making them look like a cartoon.
Putting It All Together
Landscape photography is a journey, not a destination. You’re going to make mistakes. I still make them. The goal isn't to be perfect every time; it's to be intentional.
Next time you’re out in the field:
- Check your horizon.
- Wait for the light.
- Find a cool rock for the foreground.
- Watch out for distractions.
- Get low to the ground.
- Use your tripod.
- Edit with a light touch.
If you follow those steps, I promise your "keeper" rate is going to skyrocket. And remember, photography is supposed to be fun. Don't get so caught up in the technical stuff that you forget to enjoy the view.
Whether you are capturing a miniature look or a wide-open vista, the best photo is the one that makes you feel something. For more inspiration and professional tips, head over to blog.edinchavez.com or check out the latest work at Edin Studios.
Now, grab your gear, check the weather, and go shoot something epic. If you're looking for more technical deep dives, don't miss our HDR Tutorial 2 for those tricky lighting situations. Happy shooting!


