
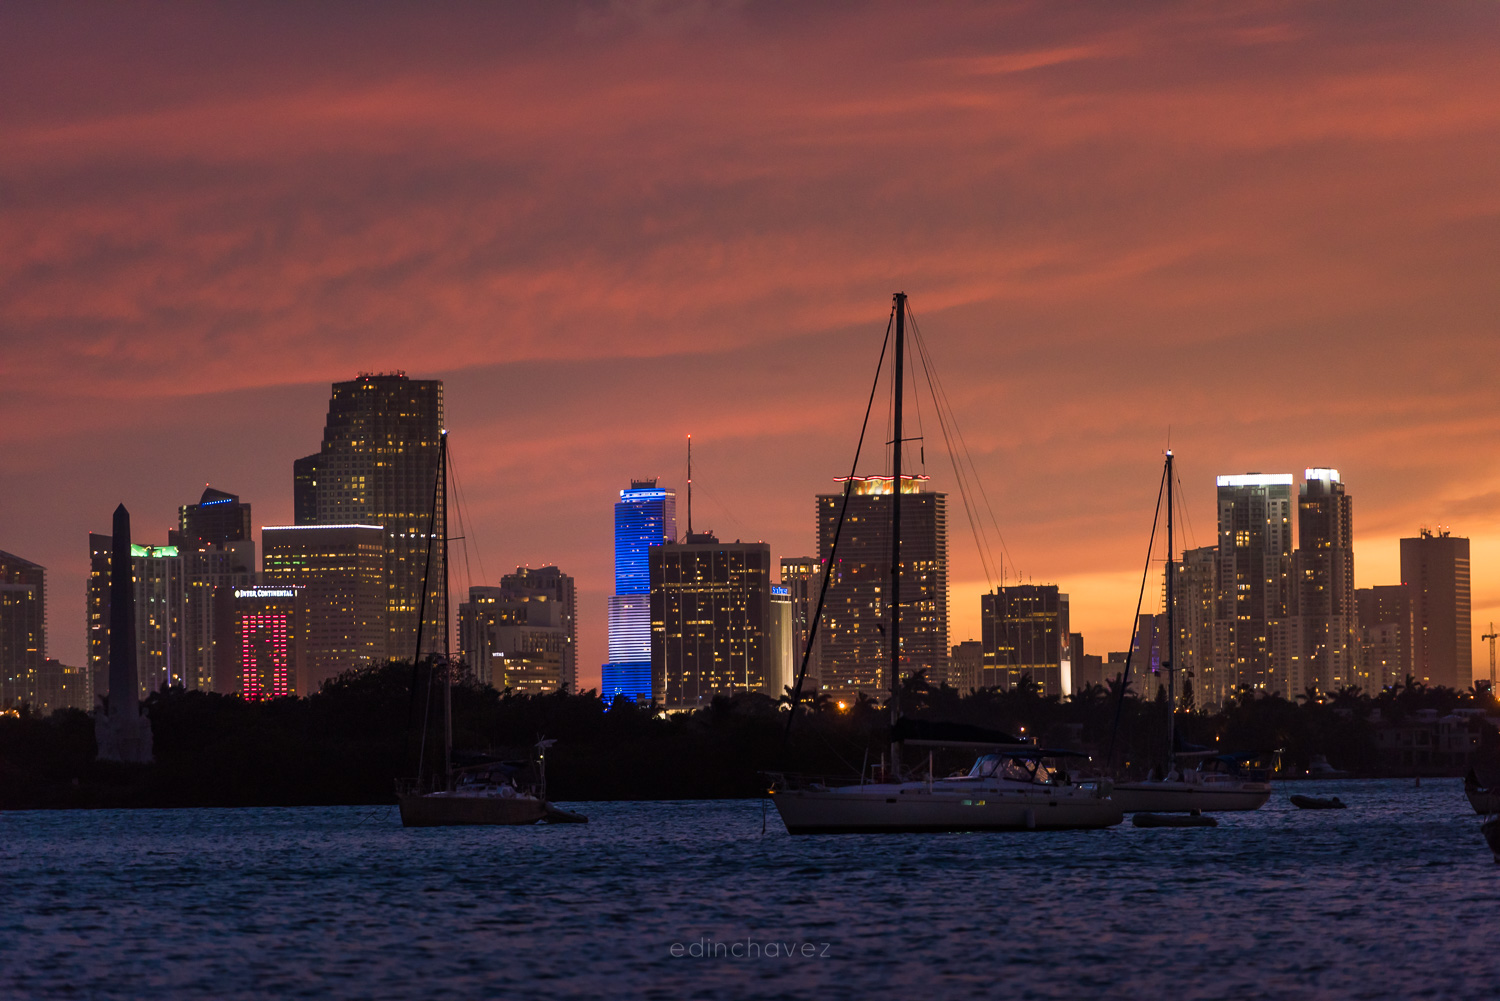
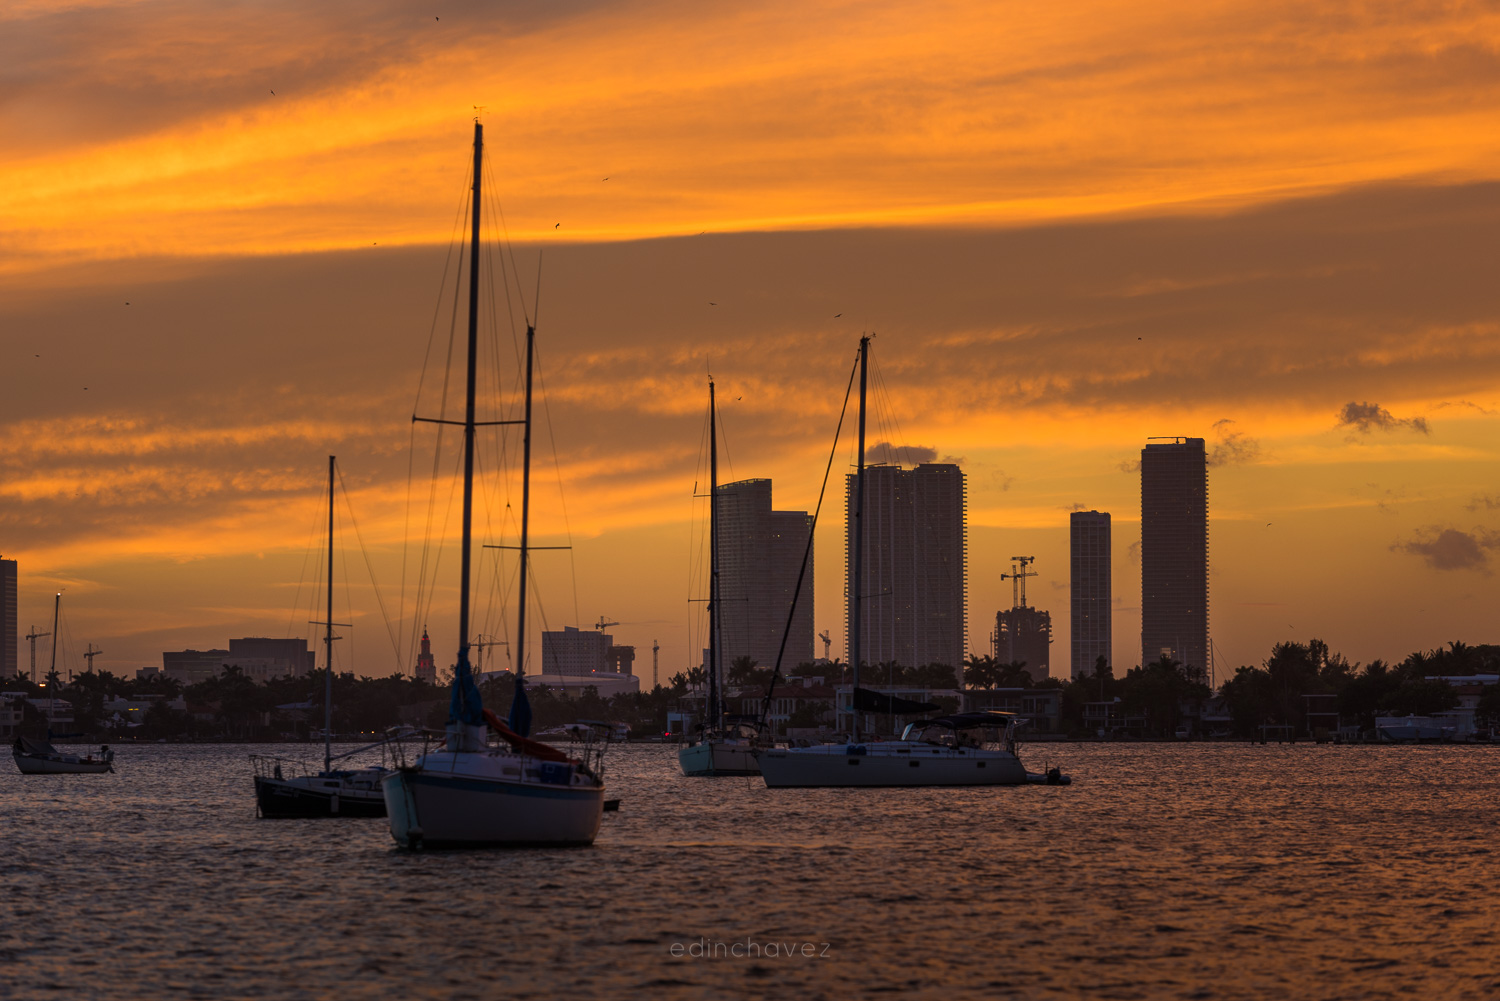
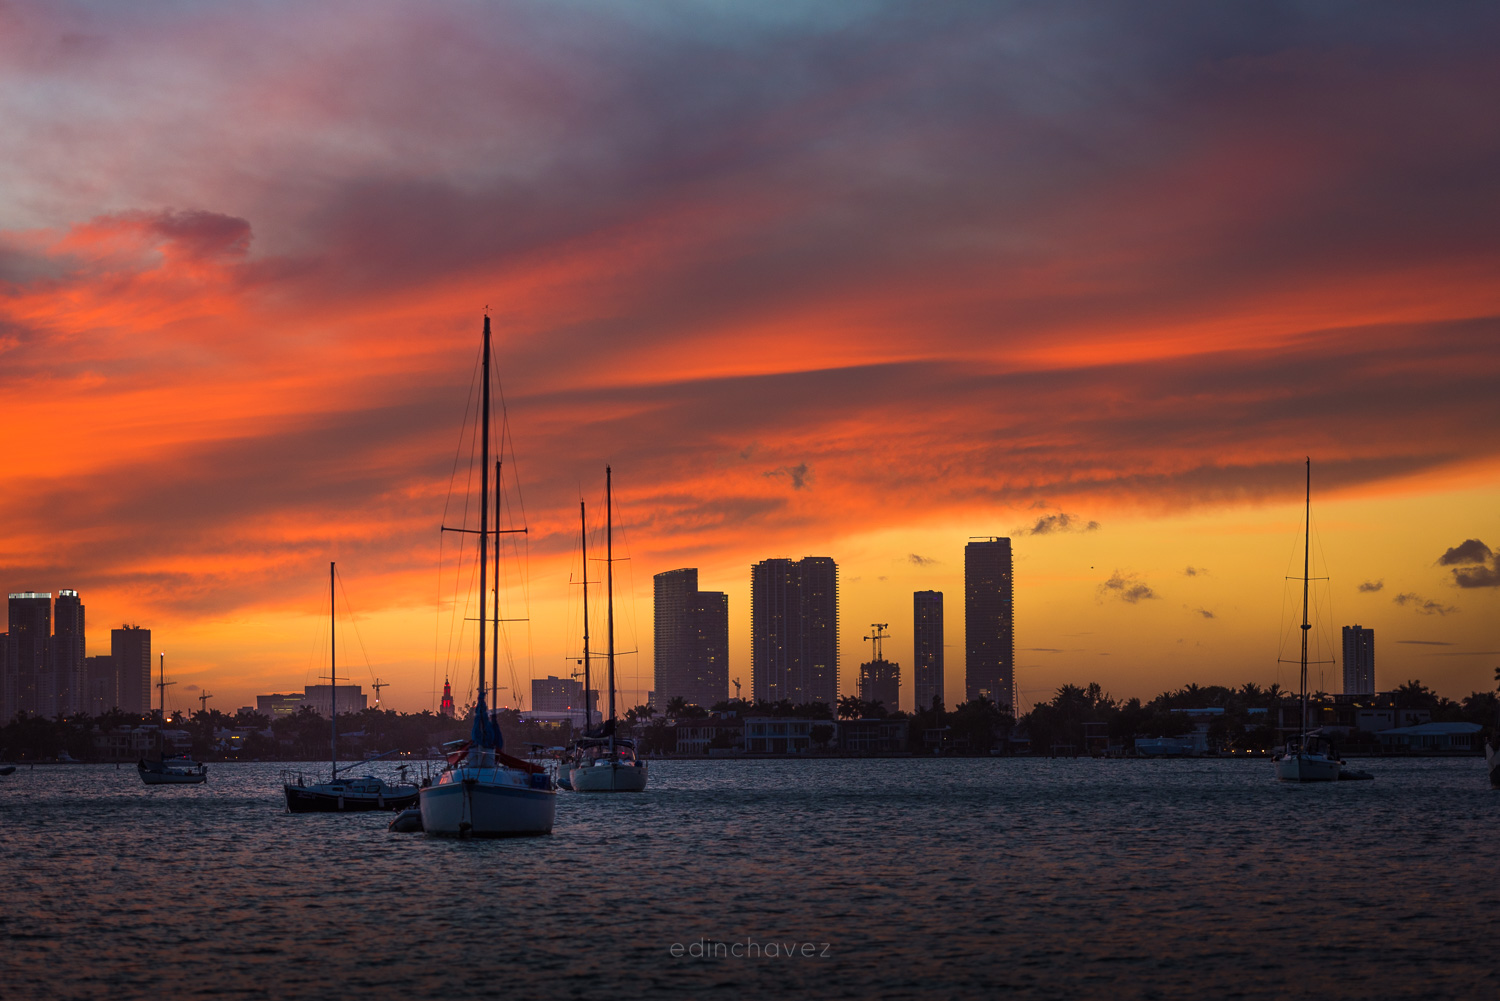
We shot this Miami Beach sunset sequence frame by frame as the sky went from gold to deep red over the marina. The original timelapse video is no longer hosted, but the frames tell the story on their own, and the technique behind them is worth sharing. Below is how the sequence was shot and how you can set up the same shot.
Why this spot works
The marina gives you three layers in one frame: sailboat silhouettes up close, the Miami skyline behind them, and a sky that puts on a show most evenings. A static camera and a good sunset do the rest.
Timelapse settings for a sunset
- Lock everything manual. Manual exposure, manual focus, fixed white balance. Auto anything will flicker frame to frame as the light changes.
- Expose for the sky. Meter so the clouds keep their color and let the boats and skyline go to silhouette.
- Interval: 2 to 5 seconds between frames covers a sunset well. Slower clouds can take longer intervals.
- Frame count: you want at least 300 frames for a smooth 10-second clip at 30fps. This sequence ran 71 frames for the stills you see here; for a finished video, let it run the whole sunset.
- Power and stability: a full battery or dummy battery, a solid tripod, and no touching the camera once it starts.
Assembling the frames
Import the sequence into Lightroom, edit one frame, sync the settings across the whole set, then export and assemble in your video editor at 24 or 30fps. Keep the grade consistent: the magic of a sunset timelapse is watching one sky change, not watching your edit flicker.

