
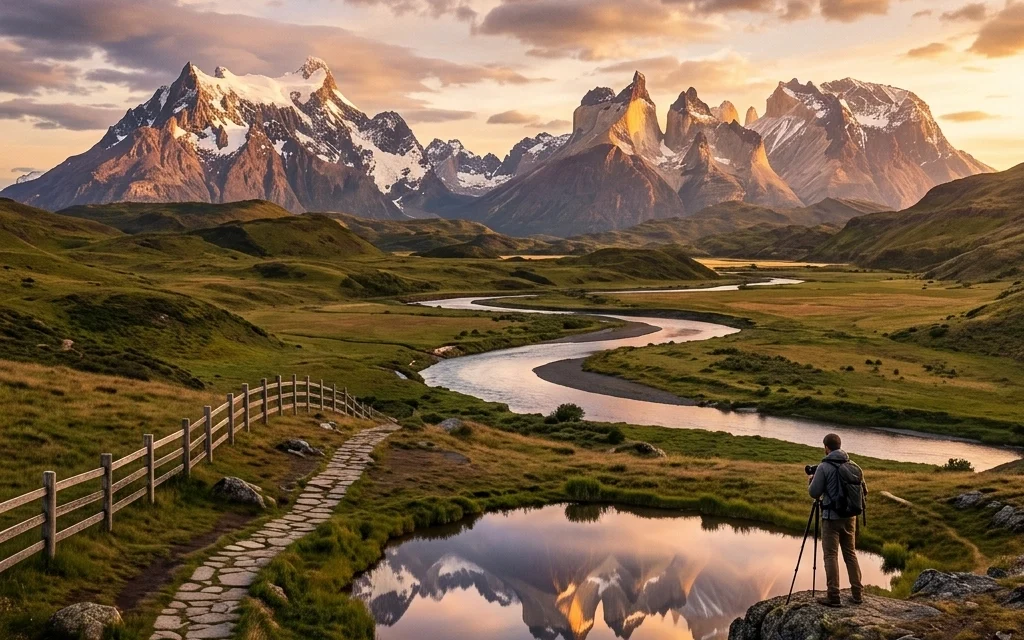
Landscape photography seems easy on paper. You find a pretty mountain, you point your camera at it, and you click the shutter. Boom. National Geographic, right? Not exactly. If it were that easy, everyone would be selling prints for thousands of dollars.
Most of us start out by making the same handful of mistakes that turn a potentially epic shot into a "meh" snapshot. At Shut Your Aperture, we see it all the time. Whether you’re shooting with a high-end mirrorless setup or just your phone, the fundamentals of a great landscape remain the same.
Let’s dive into the seven most common mistakes you’re making with your landscape photography and, more importantly, how you can fix them right now.
1. The Leaning Horizon (The "Ocean is Leaking" Effect)
This is the absolute cardinal sin of landscape photography. You have a beautiful sunset over the Pacific, the colors are popping, the clouds look like cotton candy, and yet… the ocean is slanted at a five-degree angle. It looks like the water is about to pour out of the side of the frame.
A crooked horizon is distracting. It’s one of those things that the human brain picks up on immediately, even if the viewer isn't a photographer. It makes the whole image feel "off" and unprofessional.
How to Fix It:
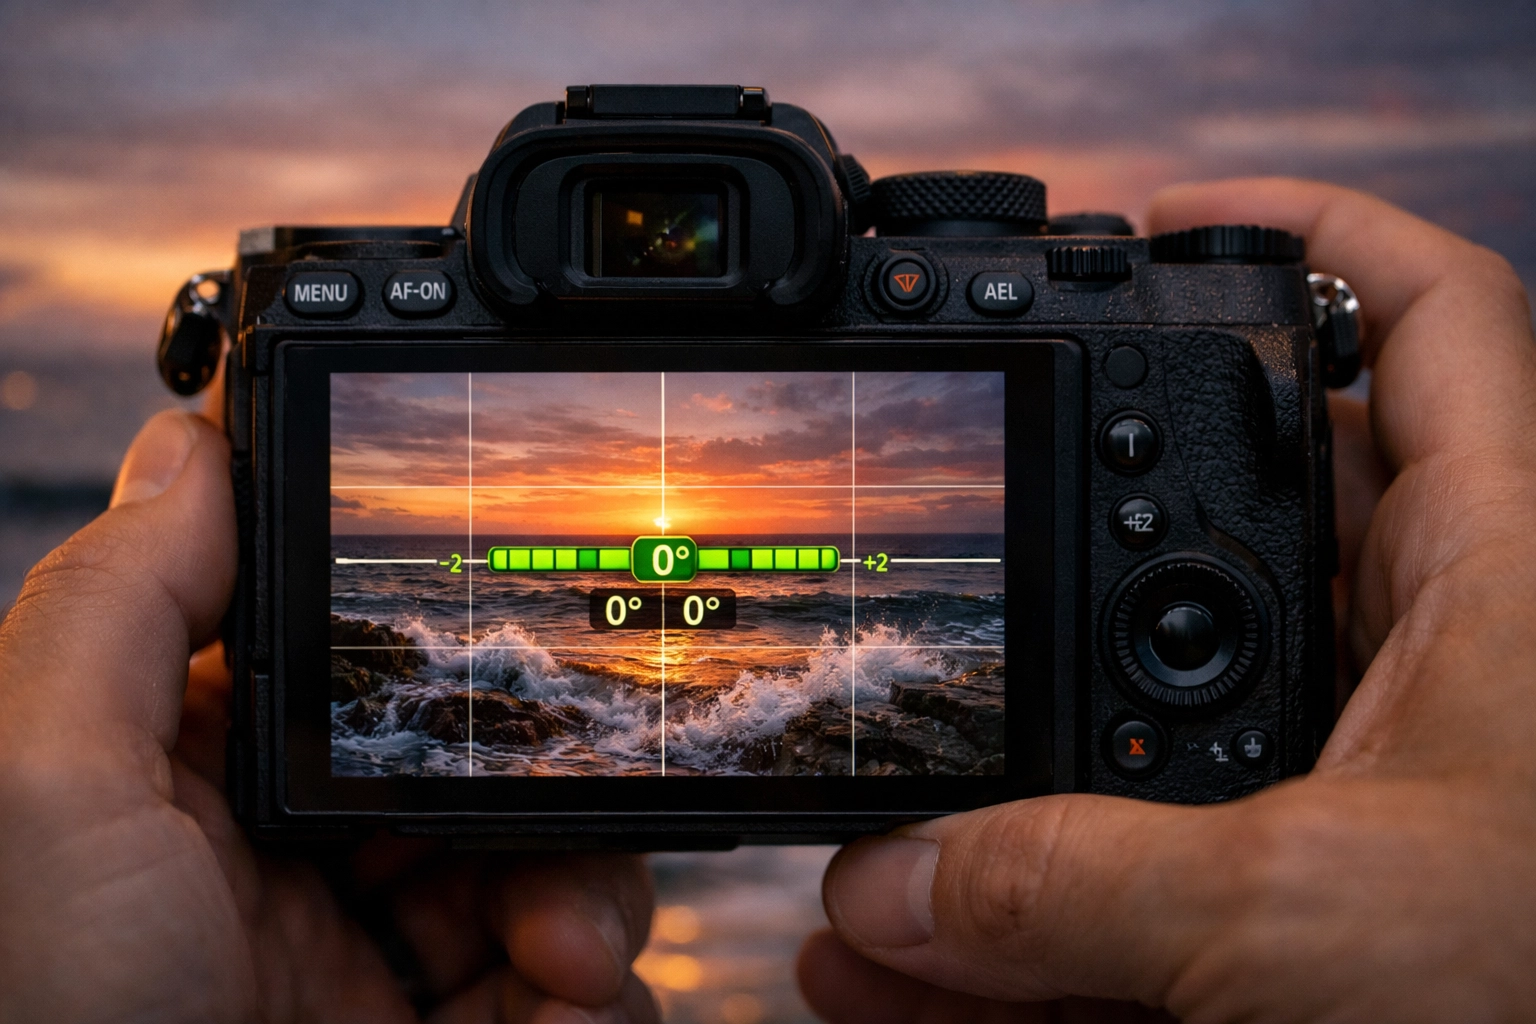
- Enable Your Grid: Almost every modern camera has a "grid display" option for the viewfinder or LCD. Turn it on. Align your horizon with one of those horizontal lines.
- Use an Electronic Level: Many mirrorless cameras have a built-in virtual horizon or level. It turns green when you’re perfectly flat. Use it.
- Fix it in Post: If you messed up in the field, don't worry. Tools like Luminar have incredible auto-alignment tools. Just keep in mind that when you rotate a photo to straighten it, you’ll lose a bit of the edges due to cropping. It’s always better to get it right in-camera.
2. Shooting at High Noon (The Midday Meltdown)
I get it. You’re on vacation, you’re hiking at 1:00 PM, and the view is spectacular. You take the shot. You get home, and the photo looks… flat. The colors are washed out, the shadows are harsh and black, and the highlights are blown out.
Midday sun is the enemy of the landscape photographer. It creates high-contrast, "crunchy" lighting that hides textures and kills the mood. Unless you’re going for a specific high-contrast black-and-white look, midday is the best time to go find a taco and take a nap.
How to Fix It:
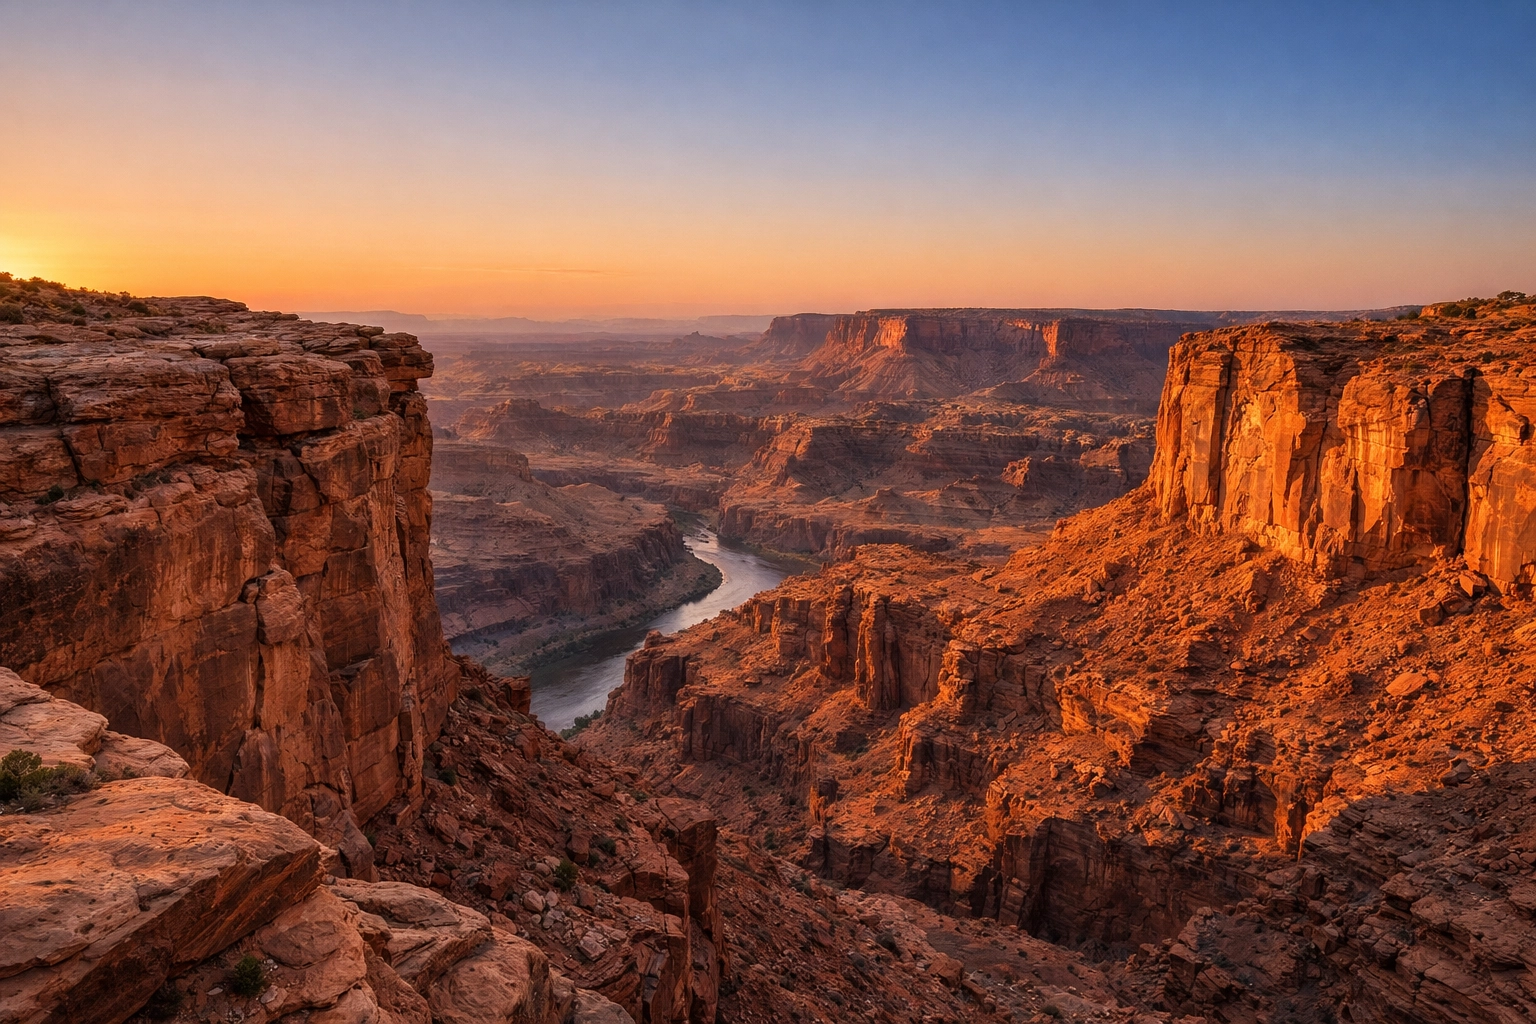
- The Golden Hour: Plan your shoots around sunrise and sunset. This is when the sun is low on the horizon, creating long shadows that add depth and a warm, golden glow that makes everything look magical.
- The Blue Hour: Don't pack up as soon as the sun disappears. The 20-30 minutes after sunset (or before sunrise) provide a soft, cool light that is perfect for long exposures and moody landscapes.
- Check the Weather: Overcast days are actually great for certain landscapes, like waterfalls or forests, because the clouds act as a giant softbox. If you want more tips on handling tricky conditions, check out some resources over at PhotoGuides.org.
3. The "Wide-Angle Only" Tunnel Vision
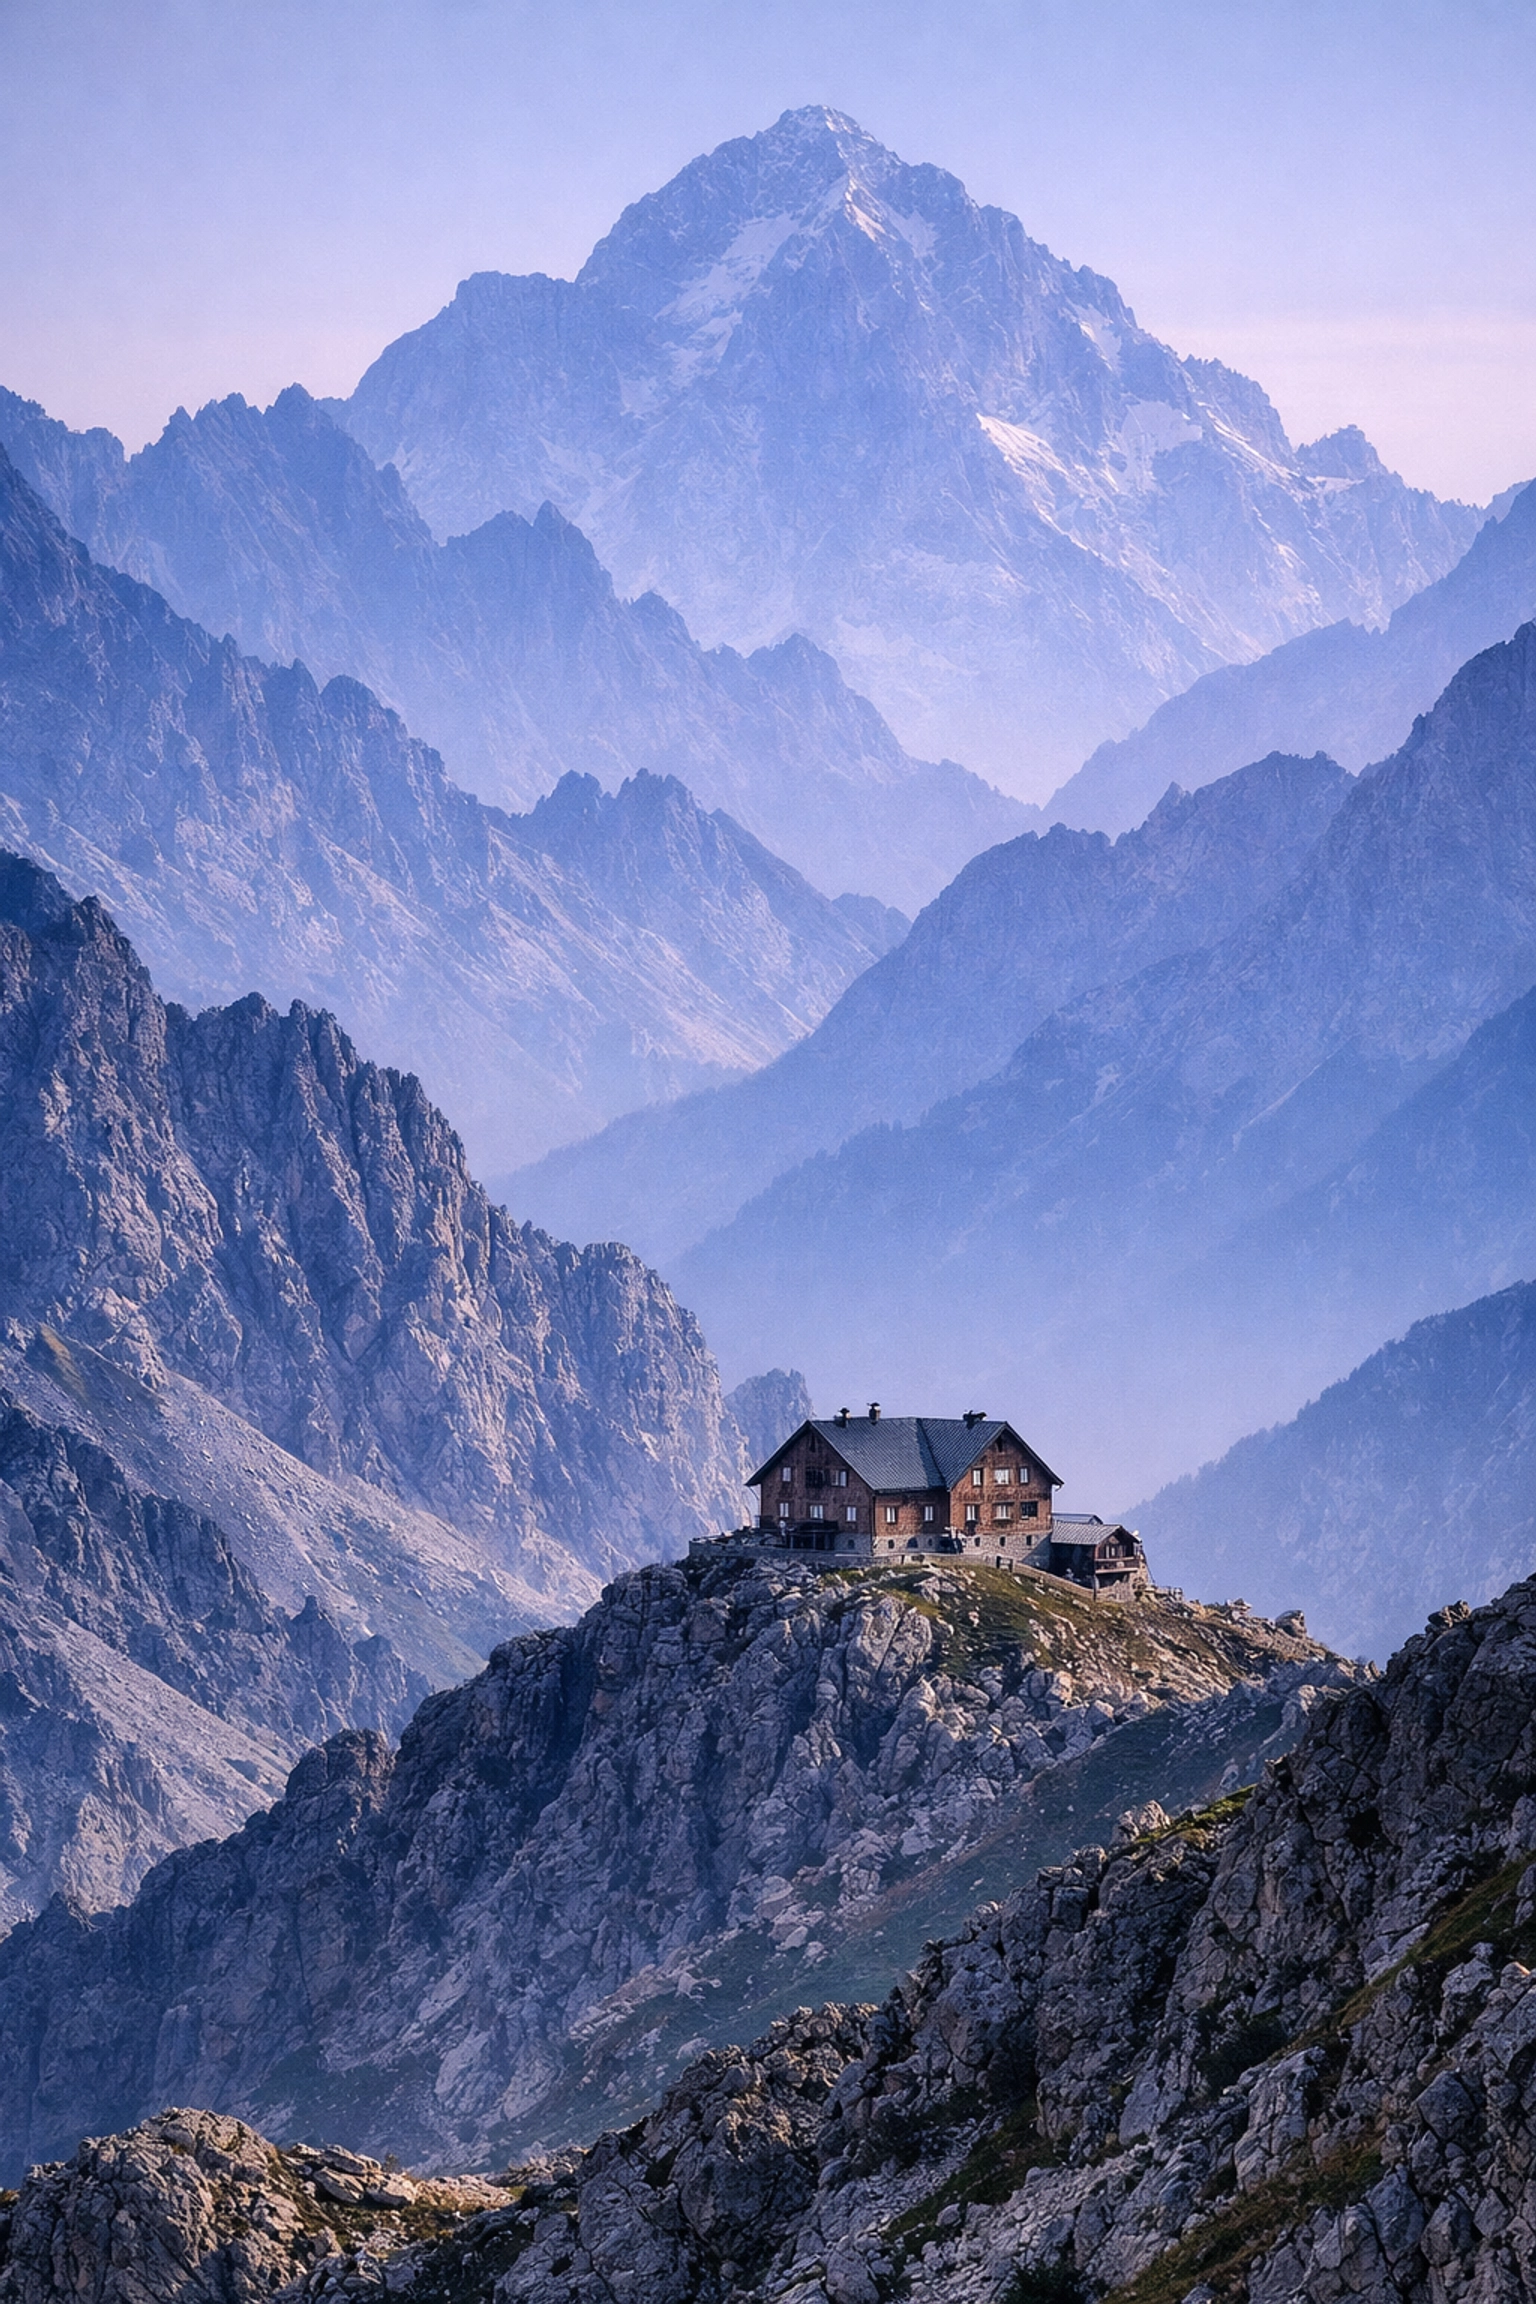
When people think of landscape photography, they immediately think of 14mm or 16mm ultra-wide lenses. They want to "get it all in." But when you try to cram an entire mountain range into one frame, everything ends up looking tiny and distant. The massive mountain that looked so imposing in person now looks like a small hill in your photo.
Wide-angle lenses also tend to push the background away, making your main subject feel insignificant.
How to Fix It:
- Try a Telephoto Lens: Some of the best landscape shots are taken at 70mm, 200mm, or even 400mm. Long lenses allow you to "compress" the scene, making distant peaks look massive and layering different elements of the landscape on top of each other.
- Zoom with Your Feet: Instead of just standing there and zooming out to fit everything in, try moving closer to a specific element.
- Look for Details: Landscape photography isn't just about the "big picture." It's about the patterns in the sand, the texture of the bark, or the way light hits a single tree.
4. Forgetting the Foreground
A very common mistake is focusing entirely on the distant mountains or the sky and leaving the bottom third of the photo empty. An empty foreground leads to a lack of depth. The viewer’s eye has nowhere to start the journey through the image.
Without something in the foreground to provide scale and "entry" into the photo, the image feels two-dimensional.
How to Fix It:
- The Rule of Thirds: Use the bottom third of your frame for something interesting: a rock, a patch of flowers, a winding path, or even some interesting patterns in the mud.
- Leading Lines: Find elements in the foreground that lead the viewer's eye toward the main subject in the background. A river, a fallen log, or a fence line are perfect for this.
- Get Low: Don't just shoot from eye level. Drop your tripod down to the ground. Getting low emphasizes foreground elements and makes them feel more dominant and interesting.
5. Border Patrol: Ignoring the Edges
You’re so focused on the mountain in the center that you don't notice the stray tree branch sticking into the top left corner, or the trash can at the bottom right, or the half-cutoff rock at the edge. These "edge distractions" pull the viewer's eye away from the subject and make the composition feel cluttered.
This is a hallmark of a "snapshot" vs. a "photograph." A photograph is an intentional composition where every element in the frame belongs there.
How to Fix It:
- Scan the Edges: Before you click the shutter, do a manual "scan" of the four edges of your frame. Is there anything cutting into the shot that shouldn't be there?
- Adjust Your Position: Often, moving your camera just a few inches to the left or right can hide a distraction behind a tree or move it out of the frame entirely.
- Crop with Intent: If you couldn't avoid it in the field, crop it out in post-processing. Just like with professional corporate headshots (which you can learn more about here), the framing is everything.

6. Trusting the LCD Screen
Your camera’s LCD screen is a liar. It’s designed to make your photos look good: bright, colorful, and sharp. If you’re shooting in the dark, your screen might look bright, leading you to believe your exposure is perfect, only to find out later on your computer that the photo is underexposed and noisy.
Alternatively, in bright sunlight, you might crank up the screen brightness just to see what you're doing, which makes you think your photos are overexposed when they aren't.
How to Fix It:
- Learn to Read the Histogram: The histogram is a graphical representation of the tonal values in your image. It doesn't lie. If the "mountain" of the graph is pushed all the way to the left, you’re losing detail in the shadows. If it’s crushed against the right side, you’re blowing out your highlights.
- Use "Blinkies": Most cameras have a highlight alert (often called "zebras" or "blinkies") that flashes on the screen where the highlights are blown out. If your sky is flashing, dial back your exposure.
- Review on a Calibrated Monitor: Always wait until you get home to make final judgments on exposure. If you need more professional insights on gear and studio setups, check out Edin Studios.
7. The "Over-Processed" Look
Post-processing is a huge part of landscape photography. Digital RAW files are meant to be edited. However, there is a fine line between "enhancing" a photo and "destroying" it.
We’ve all seen those photos on Instagram where the saturation is turned up to 100, the "clarity" slider is abused until there are glowing halos around the trees, and the sky looks like a deep, radioactive purple. This is often called the "crunchy" look, and it’s a quick way to lose credibility as a photographer.
How to Fix It:
- Subtlety is Key: Use a "scalpel, not a sledgehammer" approach. If you think the saturation looks good, back it off by 10%.
- Watch the Halos: When you push shadows or highlights too far, or go crazy with the "Clarity" or "Dehaze" sliders, you’ll see white halos appearing where dark objects meet the sky. Stop before that happens.
- Remove Chromatic Aberration: Those annoying purple or green fringes on the edges of leaves or mountains? Most editing software, like Luminar, has a one-click fix for this. Use it.
- Take a Break: After you finish an edit, walk away for 15 minutes. When you come back with fresh eyes, you’ll often realize you went a little too far with the sliders.
Putting It All Together
Landscape photography is a journey. You aren't going to become Ansel Adams overnight. It takes time to train your eyes to see the light, to understand how your gear works, and to master the art of composition.
The most important thing you can do is to keep shooting. Don't be afraid to make these mistakes: everyone does. The difference between a hobbyist and a pro is that the pro recognizes the mistake and knows how to fix it for the next shot.
If you’re looking for more inspiration or want to see some world-class landscape work, head over to Edin Fine Art or check out the Edin Chavez blog.
Photography is about more than just settings; it's about how you see the world. So grab your camera, find a sturdy tripod (not a cheap $20 one that will blow over in a breeze!), and get out there. The light is waiting.
Quick Checklist for Your Next Shoot:
- Is my horizon level? (Check the grid!)
- Is the light right? (Is it Golden Hour yet?)
- Do I have a clear subject? (Why am I taking this photo?)
- Is there something in the foreground? (Get low!)
- Are the edges clean? (Check for "intruders" in the corners.)
- What does the histogram say? (Don't trust the screen!)
- Am I over-editing? (Keep it natural!)
By focusing on these seven areas, you’ll see an immediate improvement in the quality of your landscapes. You'll move away from "snapshots" and start creating "images" that people actually want to hang on their walls.
For more tips, gear reviews, and photography tutorials, stay tuned to Shut Your Aperture. We’re here to help you stop making the easy mistakes so you can start making the hard shots look easy. If you're interested in the business side of things, like how to value your work, ProShoot.io is a great place to start.
Now, stop reading this and go take some photos!


