
Let’s be honest for a second: nobody actually "wakes up like this." Not models, not influencers, and certainly not your RAW camera files.
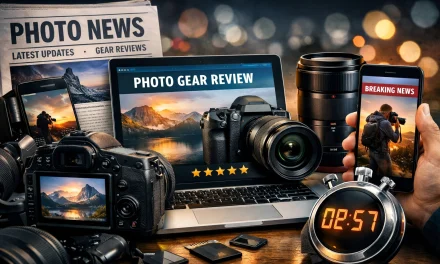
If you’ve ever looked at a professional photographer’s portfolio and wondered why your shots look a bit "meh" in comparison, the secret sauce isn’t just a fancy lens or a $5,000 body. The secret is the digital darkroom. Photo editing is where the magic happens. It’s where a flat, boring image becomes a masterpiece that stops people mid-scroll.
At Shut Your Aperture, we believe that taking the photo is only 50% of the job. The other 50% is the edit. Whether you’re trying to fix a technical mistake or you’re pushing the creative boundaries of digital art, knowing how to edit is non-negotiable.
In this guide, we’re going to break down everything from the basic workflow to the advanced tricks that will make your photos pop. Let’s dive in.
The Foundation: Why We Edit
Some purists will tell you that editing is "cheating." Those people are usually the ones with boring photos.
Editing isn't about lying; it's about bringing the image closer to how you actually saw it with your eyes, or how you felt it in your head. Cameras are amazing, but they don't have the dynamic range of the human eye. They struggle with high contrast, they get white balance wrong, and sometimes they just make everything look a bit grey.
Editing allows you to:
- Fix Mistakes: Correct exposure, wonky horizons, or distracting sensor dust.
- Direct the Viewer: Use light and color to tell the viewer exactly where to look.
- Establish a Style: Create a consistent "look" that makes your work recognizable.
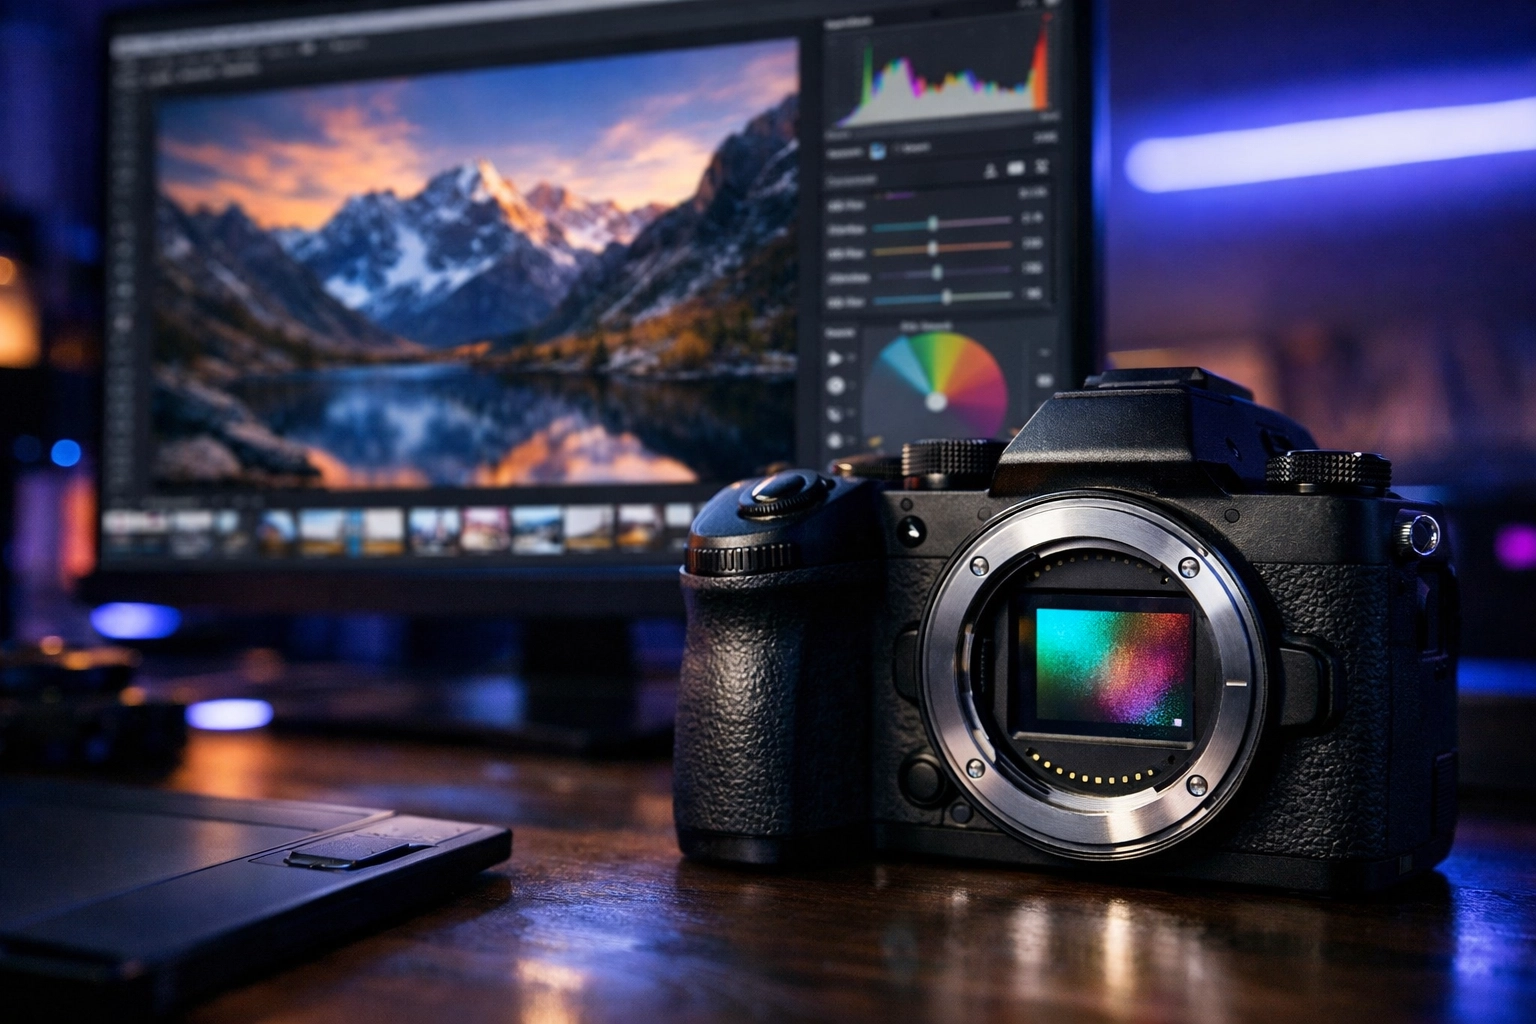
Step Zero: Shoot in RAW (Please)
Before you even open an editing app, you need to make sure you’re feeding it the right data. If you’re still shooting in JPEG, you’re basically trying to bake a cake with a pre-mixed box from the grocery store. It’s fine, but you can’t change the flavor much.
Shooting in RAW is like having all the raw ingredients, flour, sugar, eggs, and cocoa. You have total control. RAW files contain all the data captured by your camera sensor. JPEGs are compressed, meaning the camera has already made decisions about color, contrast, and sharpening, and then discarded the rest of the data to save space.
If you try to recover shadows in a JPEG, you’ll get "noise" (grainy artifacts). If you do it in a RAW file, you’ll find detail you didn't even know was there. If you want to learn more about the technical side of gear and capture, check out PhotoGuides.org.
Choosing Your Weapons: The Software
You don't need every program on the market, but you do need one that fits your workflow. Here are the heavy hitters:
Adobe Lightroom
The industry standard. It’s great for organizing thousands of photos and doing 90% of your editing. It’s built for speed and consistency.
Luminar
If you want results fast without spending years learning the "curve tool," Luminar is a game-changer. It uses AI to handle things like sky replacement, skin smoothing, and lighting enhancements. It’s incredibly intuitive and perfect for those who want to focus on the creative side rather than the technical grind.
Adobe Photoshop
This is for the heavy lifting. If you need to remove a person from a crowd, combine multiple exposures, or do high-end frequency separation for skin, Photoshop is the king.
Mobile Apps
Don't sleep on mobile editing. Apps like Snapseed or VSCO are great for quick social media posts. Our social media manager, Sonny, often coordinates with our blog content to show how these quick edits can drive massive engagement on Instagram and X.
The Standard Editing Workflow: A Step-by-Step Guide
Don't just start moving sliders randomly. Having a system will save you time and keep your images looking professional.
1. Culling and Organization
Before you edit, you have to choose. Don't edit 50 versions of the same sunset. Pick the best one (the "hero" shot) and move on. Be ruthless.
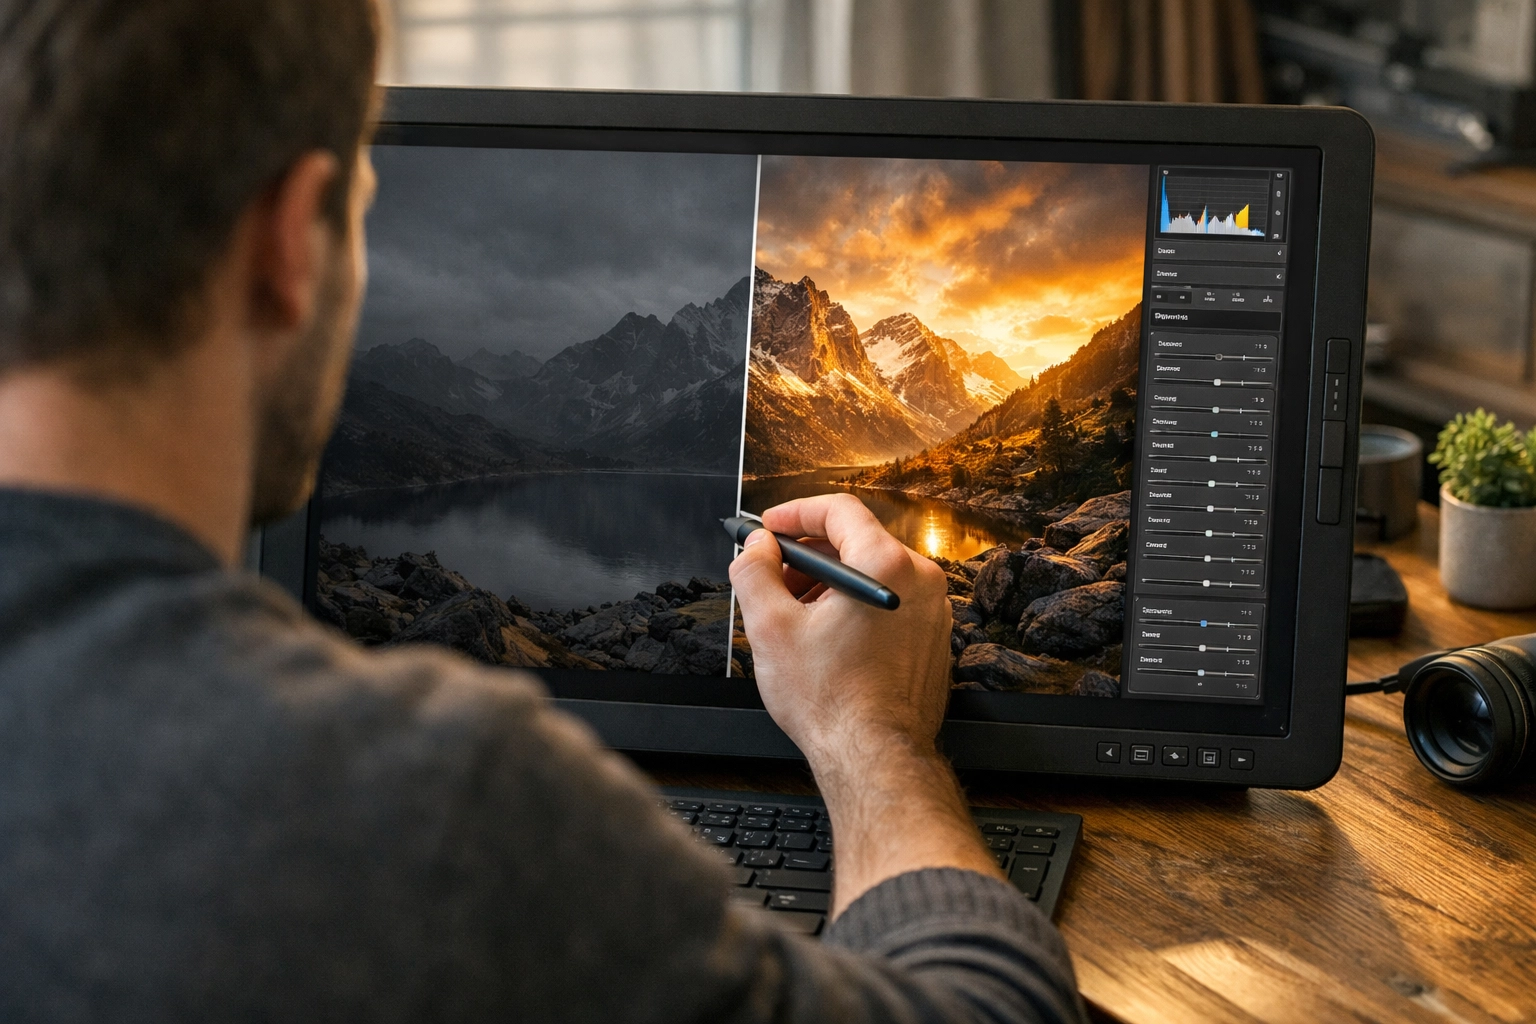
2. Composition: Crop and Straighten
Nothing screams "amateur" like a crooked horizon. Use the crop tool to level out your lines. This is also your chance to fix your composition. Maybe that tree on the left is distracting? Crop it out. Use the Rule of Thirds or Golden Ratio overlays to find the balance.
3. The Basic Adjustments (The Meat and Potatoes)
- White Balance: Does the photo look too blue (cold) or too orange (warm)? Fix this first, as it affects every other color adjustment you’ll make.
- Exposure: Get the overall brightness right. Check your histogram, that little mountain graph. You want to avoid "clipping" (pushing the graph all the way to the left or right), which means you’re losing detail in the shadows or highlights.
- Contrast: This adds "pop" by making the darks darker and the lights lighter.
- Highlights and Shadows: This is where the RAW magic happens. Pull down the highlights to recover detail in the clouds. Pull up the shadows to see what’s hiding in the dark corners.
4. Color and Presence
- Vibrance vs. Saturation: Saturation is a blunt instrument; it boosts every color. Vibrance is smarter, it boosts the less saturated colors while leaving skin tones alone so people don't end up looking like Oompa Loompas.
- Clarity and Texture: Use these sparingly. Clarity adds "punch" to the midtones, which is great for landscapes but can make people look ten years older if you're not careful.
- HSL (Hue, Saturation, Luminance): This is where you get creative. Want the greens in your forest shot to look more moody and teal? Change the "Hue" of the greens. Want the red dress to stand out? Boost the "Saturation" of the reds.
5. Detail and Correction
- Sharpening: Every RAW file needs a little sharpening. Just don't overdo it, or you'll see "halos" around edges.
- Noise Reduction: If you shot at a high ISO in low light, you’ll have grain. Use noise reduction to smooth it out, but keep an eye on the detail, too much and your photo will look like a plastic painting.
- Lens Corrections: Most software has profiles for your specific lens. Checking this box will fix distortion (like that "fish-eye" look on wide angles) and vignetting (dark corners).
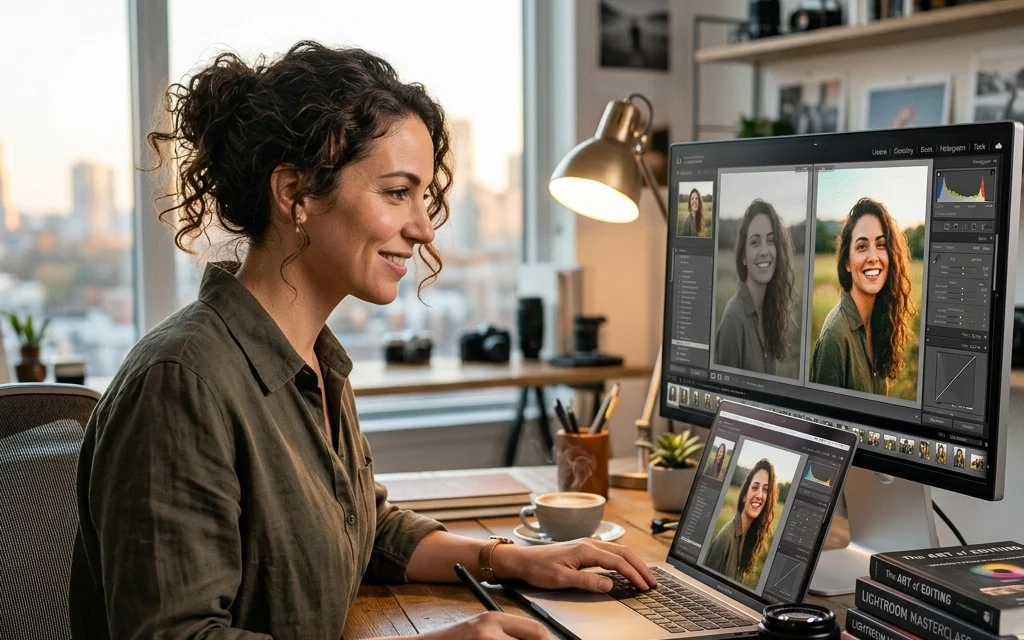
Advanced Retouching: People and Portraits
When it comes to portraits, the stakes are higher. You’re dealing with skin, hair, and eyes. One of the biggest traps beginners fall into is over-editing skin until it looks like a blurry mess.
If you’re doing corporate work, check out our guide on 7 mistakes you’re making with professional corporate headshots and how to fix them. It covers why "less is more" when it comes to retouching professionals.
For general portrait work:
- Healing Brush: Use this for temporary blemishes like acne or stray hairs. Don't remove permanent features like moles or scars unless the client asks.
- Dodge and Burn: This is an old darkroom technique. "Dodge" means to lighten, and "Burn" means to darken. Use a low-opacity brush to subtly highlight cheekbones or add depth to hair.
- Eyes: A tiny bit of extra exposure and contrast on the iris can make a portrait feel alive.

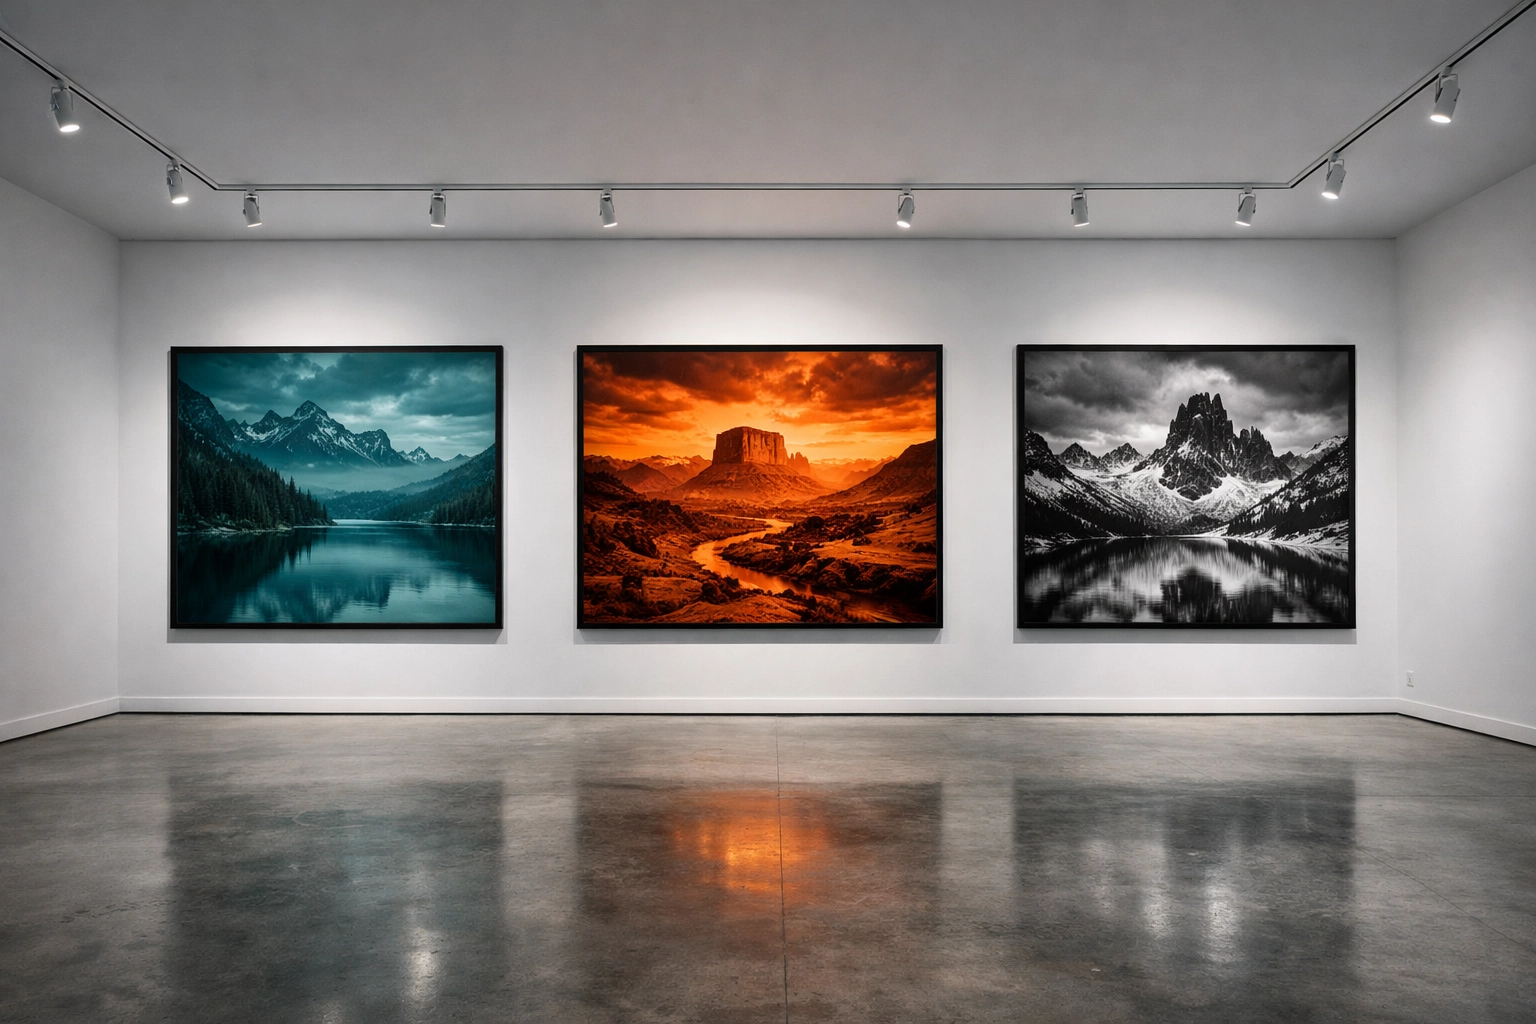
Developing Your Signature Style
The goal of learning all these tools isn't just to make "correct" photos. It's to make your photos.
Take a look at Edin Chavez's blog or his fine art at EdinFineArt.com. You’ll notice a consistent vibe. That doesn't happen by accident.
To find your style:
- Analyze your favorites: Look at photographers you admire. Are their shadows crushed? Are their colors muted or neon?
- Experiment with Presets: Don't just click a preset and walk away. Use it as a starting point, then look at what sliders it moved to get that look.
- Limit your palette: Try sticking to a specific color grade for a month. Maybe everything is warm and cinematic, or maybe it’s cool and airy.
Efficiency: Work Smarter, Not Harder
If you find yourself making the same 10 adjustments to every photo, you’re wasting time.
- Batch Processing: In Lightroom or Luminar, you can "sync" your edits. Edit one photo, select the rest of the batch, and hit sync. Boom. Done.
- Keyboard Shortcuts: Learn them. It feels like homework, but shaving two seconds off every edit adds up to hours over a year.
- AI Tools: Embrace the future. Tools like the "AI Structure" or "AI Enhance" in Luminar can intelligently analyze a scene and apply corrections that would take you 20 minutes to do manually with masks.
Common Mistakes to Avoid
Even the pros mess up sometimes. Here are the red flags to watch for:
- The "Clarity" Trap: We get it, you discovered the clarity slider and suddenly everything looks "gritty." Ease off. Over-clarity makes photos look dirty.
- Selective Color: Making the whole photo black and white except for a red rose? Don't. Just… don't. It's 2026, let's leave that in 2005.
- Over-Saturation: If your grass looks like radioactive waste, dial it back. Natural colors usually have more impact.
- Ignoring the Background: You spent an hour retouching a face but didn't notice the trash can growing out of the subject's head. Always check the edges of your frame.
Exporting for Success
You’ve finished the edit. It looks incredible. Now, don't ruin it with bad export settings.
- For Web/Social Media: Use sRGB color space. If you use Adobe RGB, the colors will look dull and "off" on most browsers and phones. Set your quality to around 80%, it keeps the file size down without a visible loss in quality.
- For Print: Use the highest resolution possible and check with your printer (like ProShoot.io) for their preferred color profile (usually CMYK or a specific ICC profile).
- Sharpen for Output: Photos look different on a screen than they do on paper. Most software has a checkbox for "Sharpen for Screen" or "Sharpen for Glossy Paper." Use it.
Practice Makes… Better
Photo editing is a muscle. The more you do it, the more intuitive it becomes. You’ll start to see a RAW file and instantly know, "Okay, I need to drop the highlights, boost the oranges, and add a radial filter to the subject."
Don't be afraid to go back to photos you edited a year ago and re-edit them. It’s the best way to see how much you’ve improved and how your taste has evolved.
Photography is a journey of constant learning. For more deep dives into the world of photography, check out our other resources and keep an eye on our latest updates. Whether you're shooting landscapes, street photography, or high-end commercial work, the edit is where you find your voice.
Now, stop reading and go open some RAW files. Your masterpiece is waiting in the sliders.


