
Let’s be real for a second. That little green “Auto” icon on your camera dial is like the comfort food of the photography world. It’s easy, it’s safe, and it’s usually "fine." But "fine" doesn't win awards, and "fine" certainly doesn't capture the magic of a sunset over the Pacific or the raw energy of a bustling city street. If you really want to make your photos pop, you have to take the training wheels off. You have to switch to Manual Mode.
I know, I know. Looking at all those numbers and dials can feel like trying to land a 747 without a manual. But I promise you, it’s not as scary as it looks. At Shut Your Aperture, we believe photography should be accessible. You don't need a PhD in physics to understand how light works; you just need a little practice and a solid grasp of the basics.
In this guide, we’re going to break down the "Exposure Triangle" in the simplest way possible. By the time we’re done, you’ll be making intentional choices that transform your images from snapshots into art.
The Big Secret: The Exposure Triangle
Every single photo you take, whether it’s on a $10,000 Leica or a dusty old DSLR you found in your uncle’s attic, relies on three things: Aperture, Shutter Speed, and ISO. Think of these three as the legs of a tripod. If you move one, the others have to adjust to keep everything balanced. This balance is what we call "Exposure."
If you get too much light, your photo is "overexposed" (bright and washed out). If you don't get enough, it’s "underexposed" (dark and muddy). Manual mode is simply the process of you deciding how to balance these three elements yourself rather than letting a computer chip guess what you’re trying to do.
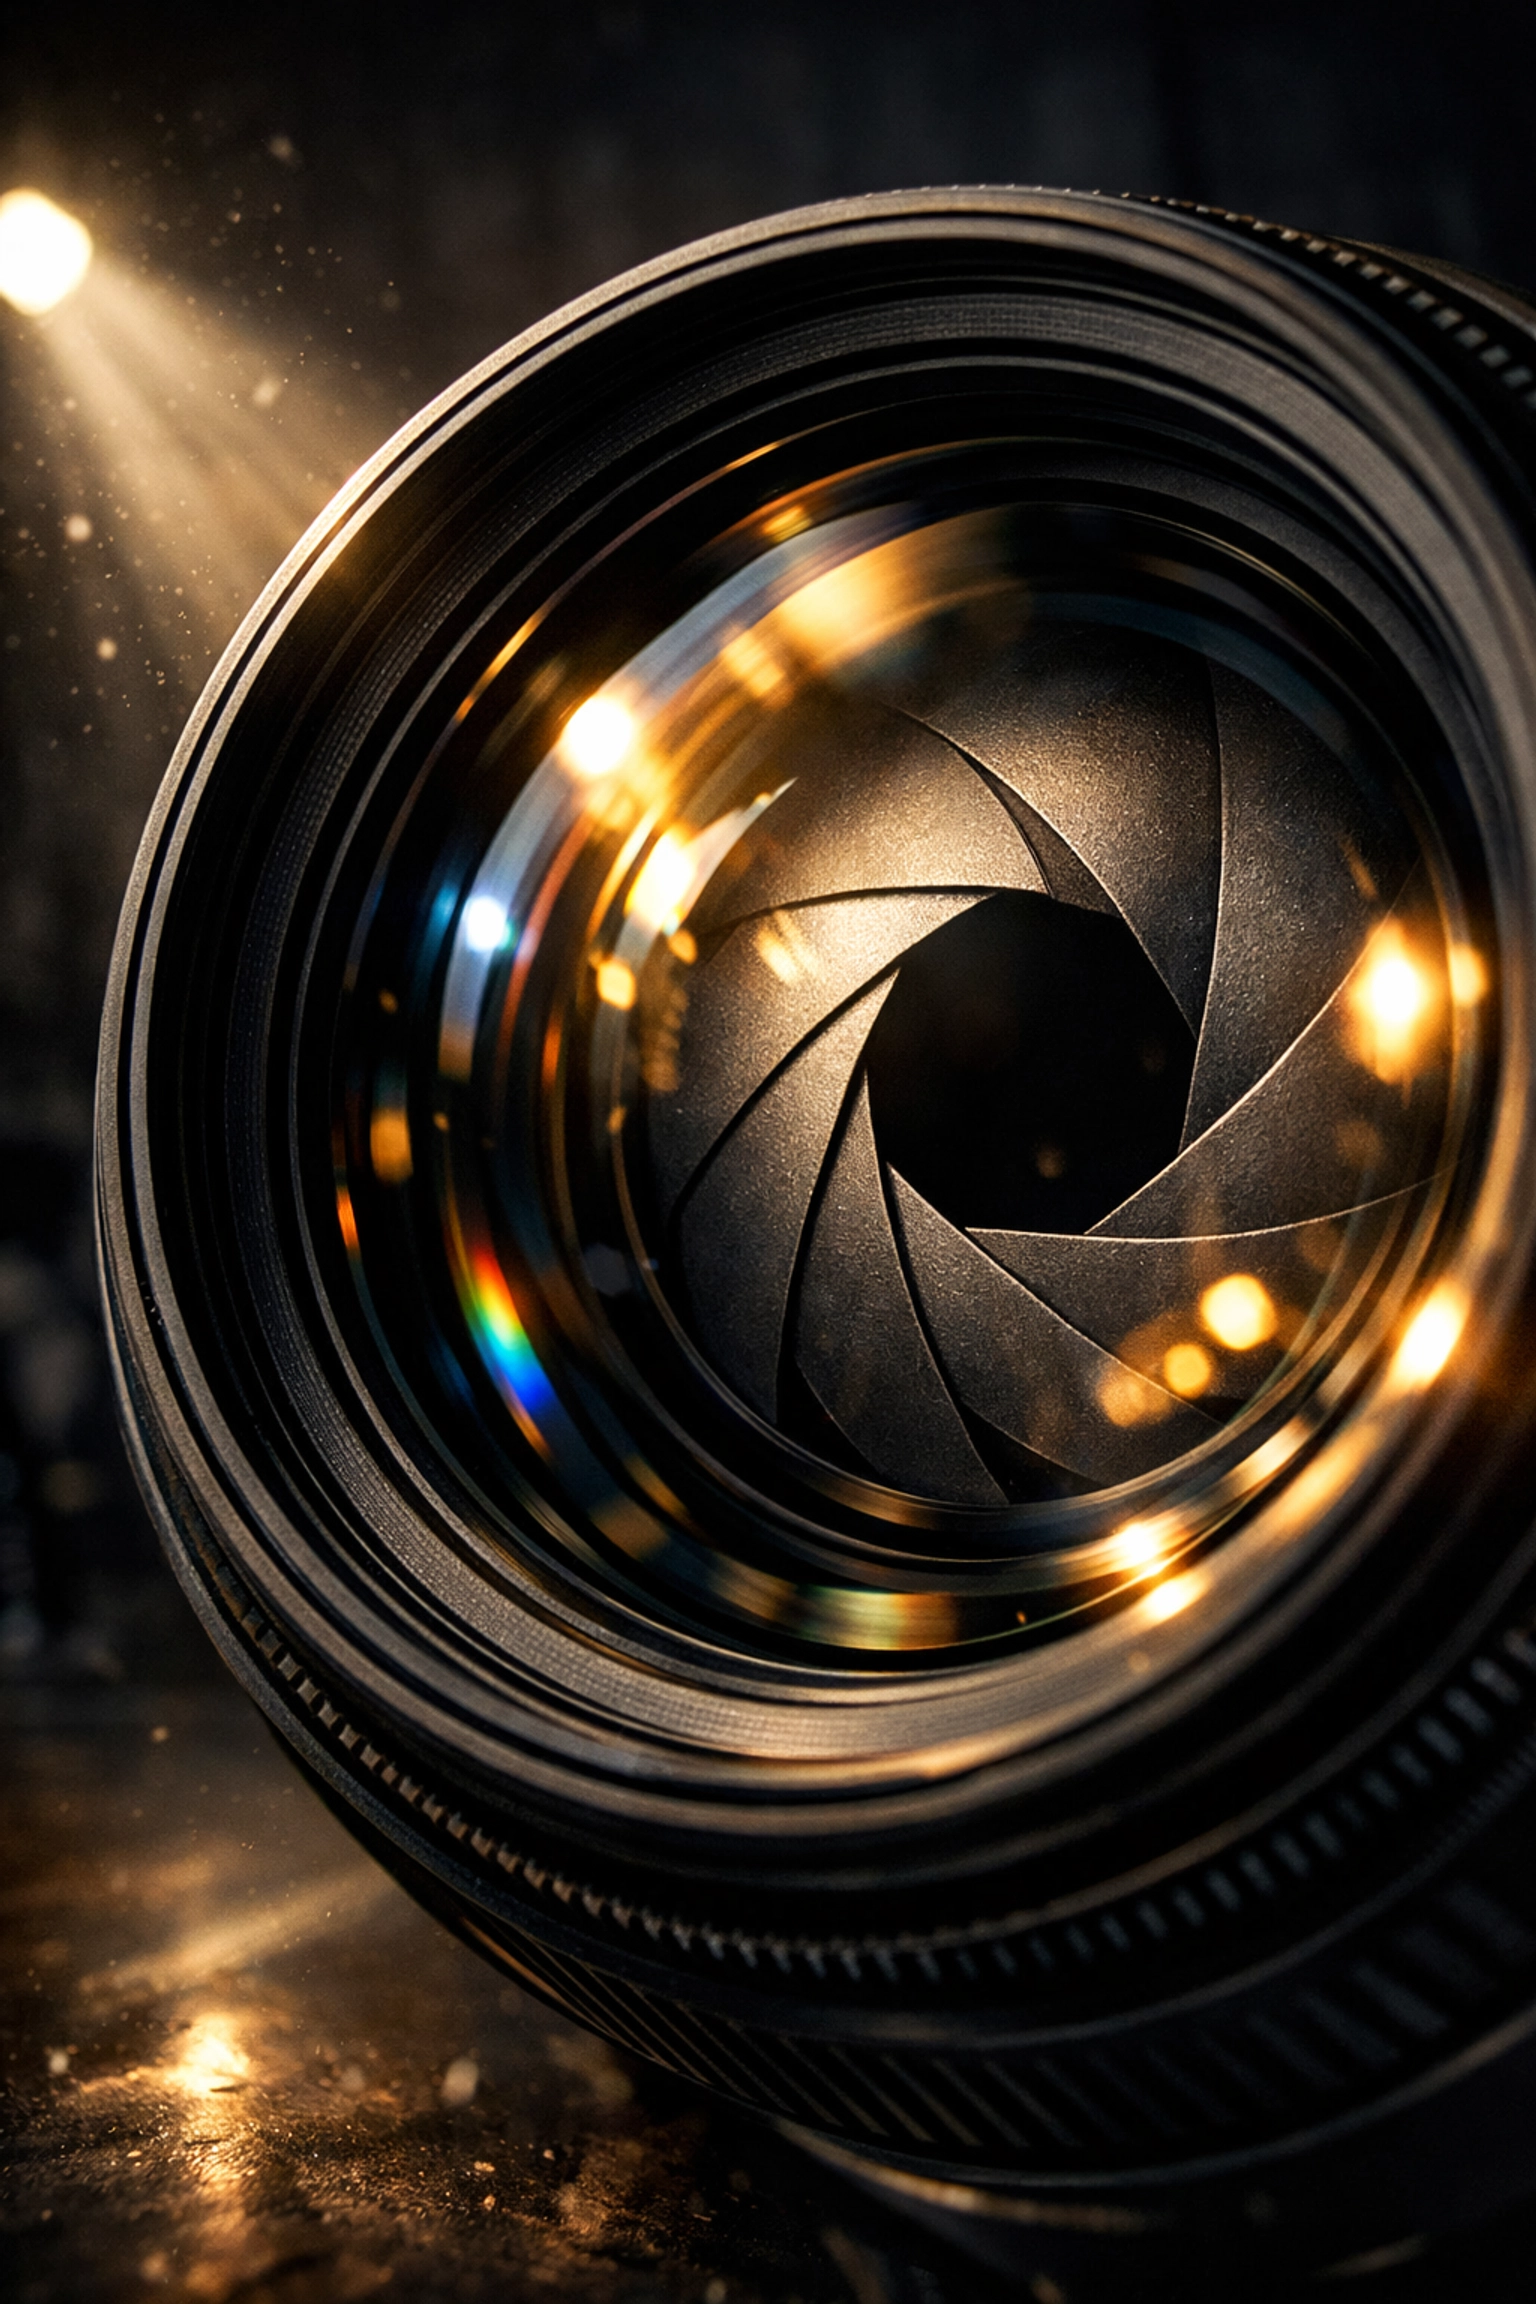
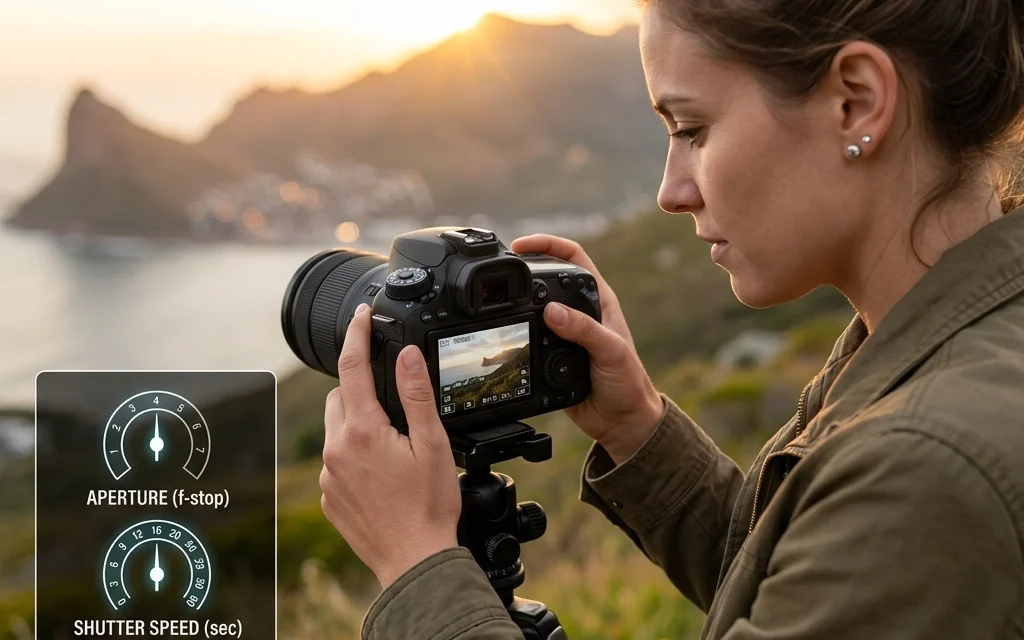
1. Aperture: The Eye of the Lens
Aperture is basically the "pupil" of your camera lens. Just like your own eyes, the lens can open wide to let in a lot of light or squint down to let in just a little.
In camera terms, we measure this in "f-stops" (like f/1.8, f/4, or f/11). This is where it gets a little counter-intuitive:
- Small Number (f/1.8): Wide opening, lots of light.
- Large Number (f/22): Small opening, very little light.
But Aperture does more than just control light; it controls your "Depth of Field." This is the fancy term for how much of your image is in focus.
If you want those creamy, blurred-out backgrounds that make portraits look professional, you want a wide aperture (a low f-stop number). This creates a shallow depth of field. If you’re shooting a massive landscape and want everything from the pebbles at your feet to the mountains in the distance to be sharp, you’ll want a narrow aperture (a high f-stop number).
For those interested in how the pros use these settings for specific niches, check out our piece on the distinctive elements of real estate photography, where aperture choice can make or break a room's vibe.
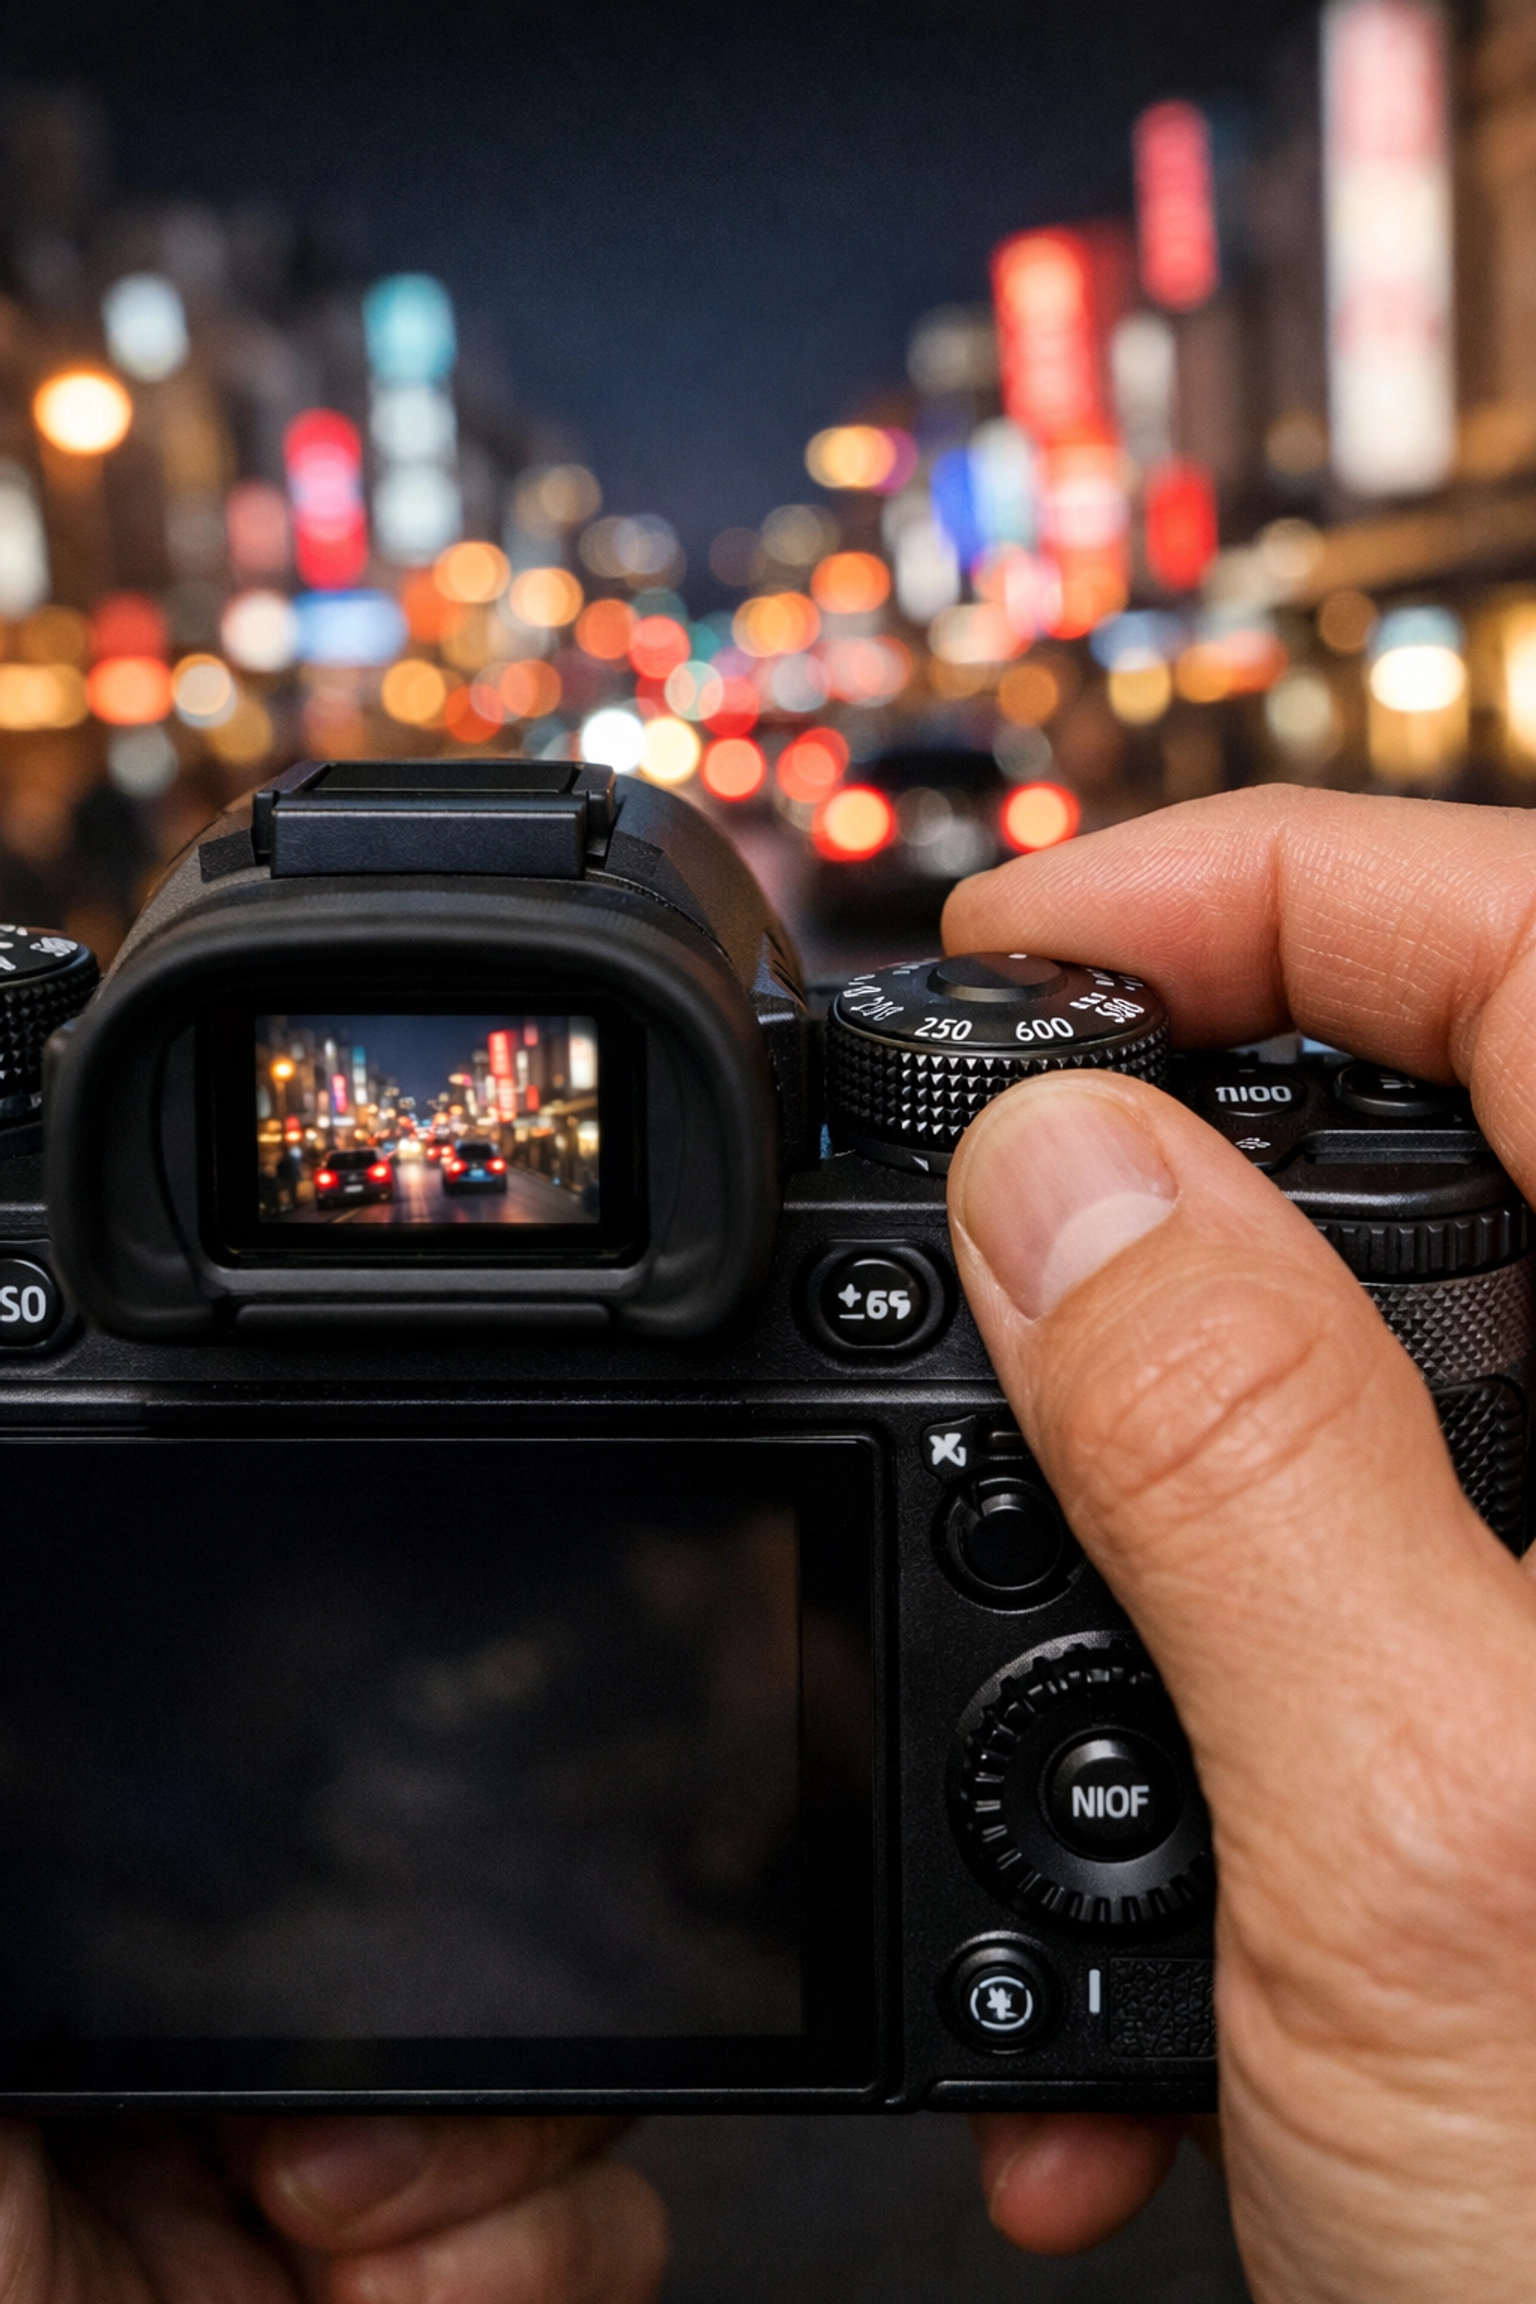
2. Shutter Speed: The Gatekeeper of Time
While Aperture is about how much light, Shutter Speed is about how long that light hits your sensor. It’s measured in fractions of a second.
- Fast Shutter Speed (1/1000): Freezes action. Great for sports, birds in flight, or a splashing drink.
- Slow Shutter Speed (1/2 or several seconds): Blurs motion. Think of those silky waterfalls or light trails from cars at night.
If you’re shooting handheld, you generally want to keep your shutter speed faster than 1/60th of a second. Anything slower, and the natural shake of your hands will make the whole image blurry. If you want to dive deeper into capturing fast-paced environments, our corporate event photography tips cover how to manage shutter speed when people are constantly on the move.

3. ISO: The Sensitivity Factor
ISO is the third piece of the puzzle. It determines how sensitive your camera's sensor is to the light reaching it.
- Low ISO (100 or 200): Use this when you have plenty of light (like outdoors during the day). It gives you the cleanest, sharpest images.
- High ISO (3200 or 6400): Use this when it’s dark. It "boosts" the signal so you can still see the image, but the trade-off is "noise" or graininess.
Ideally, you always want to keep your ISO as low as possible. But don't be afraid to bump it up if it means getting the shot. A grainy photo is better than a blurry, unusable one. If you find yourself with a bit too much noise in your shots, you can always clean it up later using software like Luminar, which has some pretty incredible AI-powered noise reduction tools.
How to Start Shooting in Manual Today
Don't just switch the dial and hope for the best. Follow this workflow for your first few sessions:
- Pick your Aperture first. Ask yourself: "Do I want a blurry background or a sharp one?" Set your f-stop accordingly.
- Adjust your Shutter Speed. Look through the viewfinder at the "Light Meter" (the little bar with a 0 in the middle). Move your shutter speed dial until the marker is close to that 0.
- Check your ISO. If your shutter speed is getting too slow (below 1/60) and you're not using a tripod, you'll need to increase your ISO to let yourself use a faster shutter speed.
It’s all about compromise. If you want a really dark, moody shot, you might purposefully underexpose. This is a technique often used in high-end art; for instance, understanding the role of luminosity in real estate photography helps photographers create depth and drama.
Why Bother with Manual?
You might be thinking, "Edin, my camera is smart. Why shouldn't I just let it do the work?"
The problem is that your camera is a calculator, not an artist. It doesn't know that you want the bride's eyes in focus but the flowers blurred. It doesn't know that you want the waterfall to look like silk. It just tries to make everything "average gray."
By mastering manual mode, you gain the ability to replicate the styles of masters. If you look at stunning landscape photography tips inspired by Peter Lik, you’ll see that his iconic "Sunlight" look comes from precise control over exposure and light: something Auto mode would likely ruin.
The Light Meter: Your Secret Weapon
Inside your viewfinder is a little scale that looks like this: -2...1...0...1...+2. This is your Light Meter.
When you’re in Manual Mode, this is your guide. If the little tick mark is on the plus (+) side, your photo will be bright. If it's on the minus (-) side, it will be dark. For most situations, you want it right in the middle at 0. However, as you get more comfortable, you’ll learn when to break the rules. For example, when shooting snow, the camera often gets confused and tries to make the snow gray. You actually have to "overexpose" (move the meter to +1) to make the snow look white.
For more technical breakdowns, I always recommend checking out resources like PhotoGuides.org to see how different lighting conditions affect these readings.
Practical Exercises to Try This Weekend
Knowledge is useless without action. Grab your camera, head outside, and try these three drills:
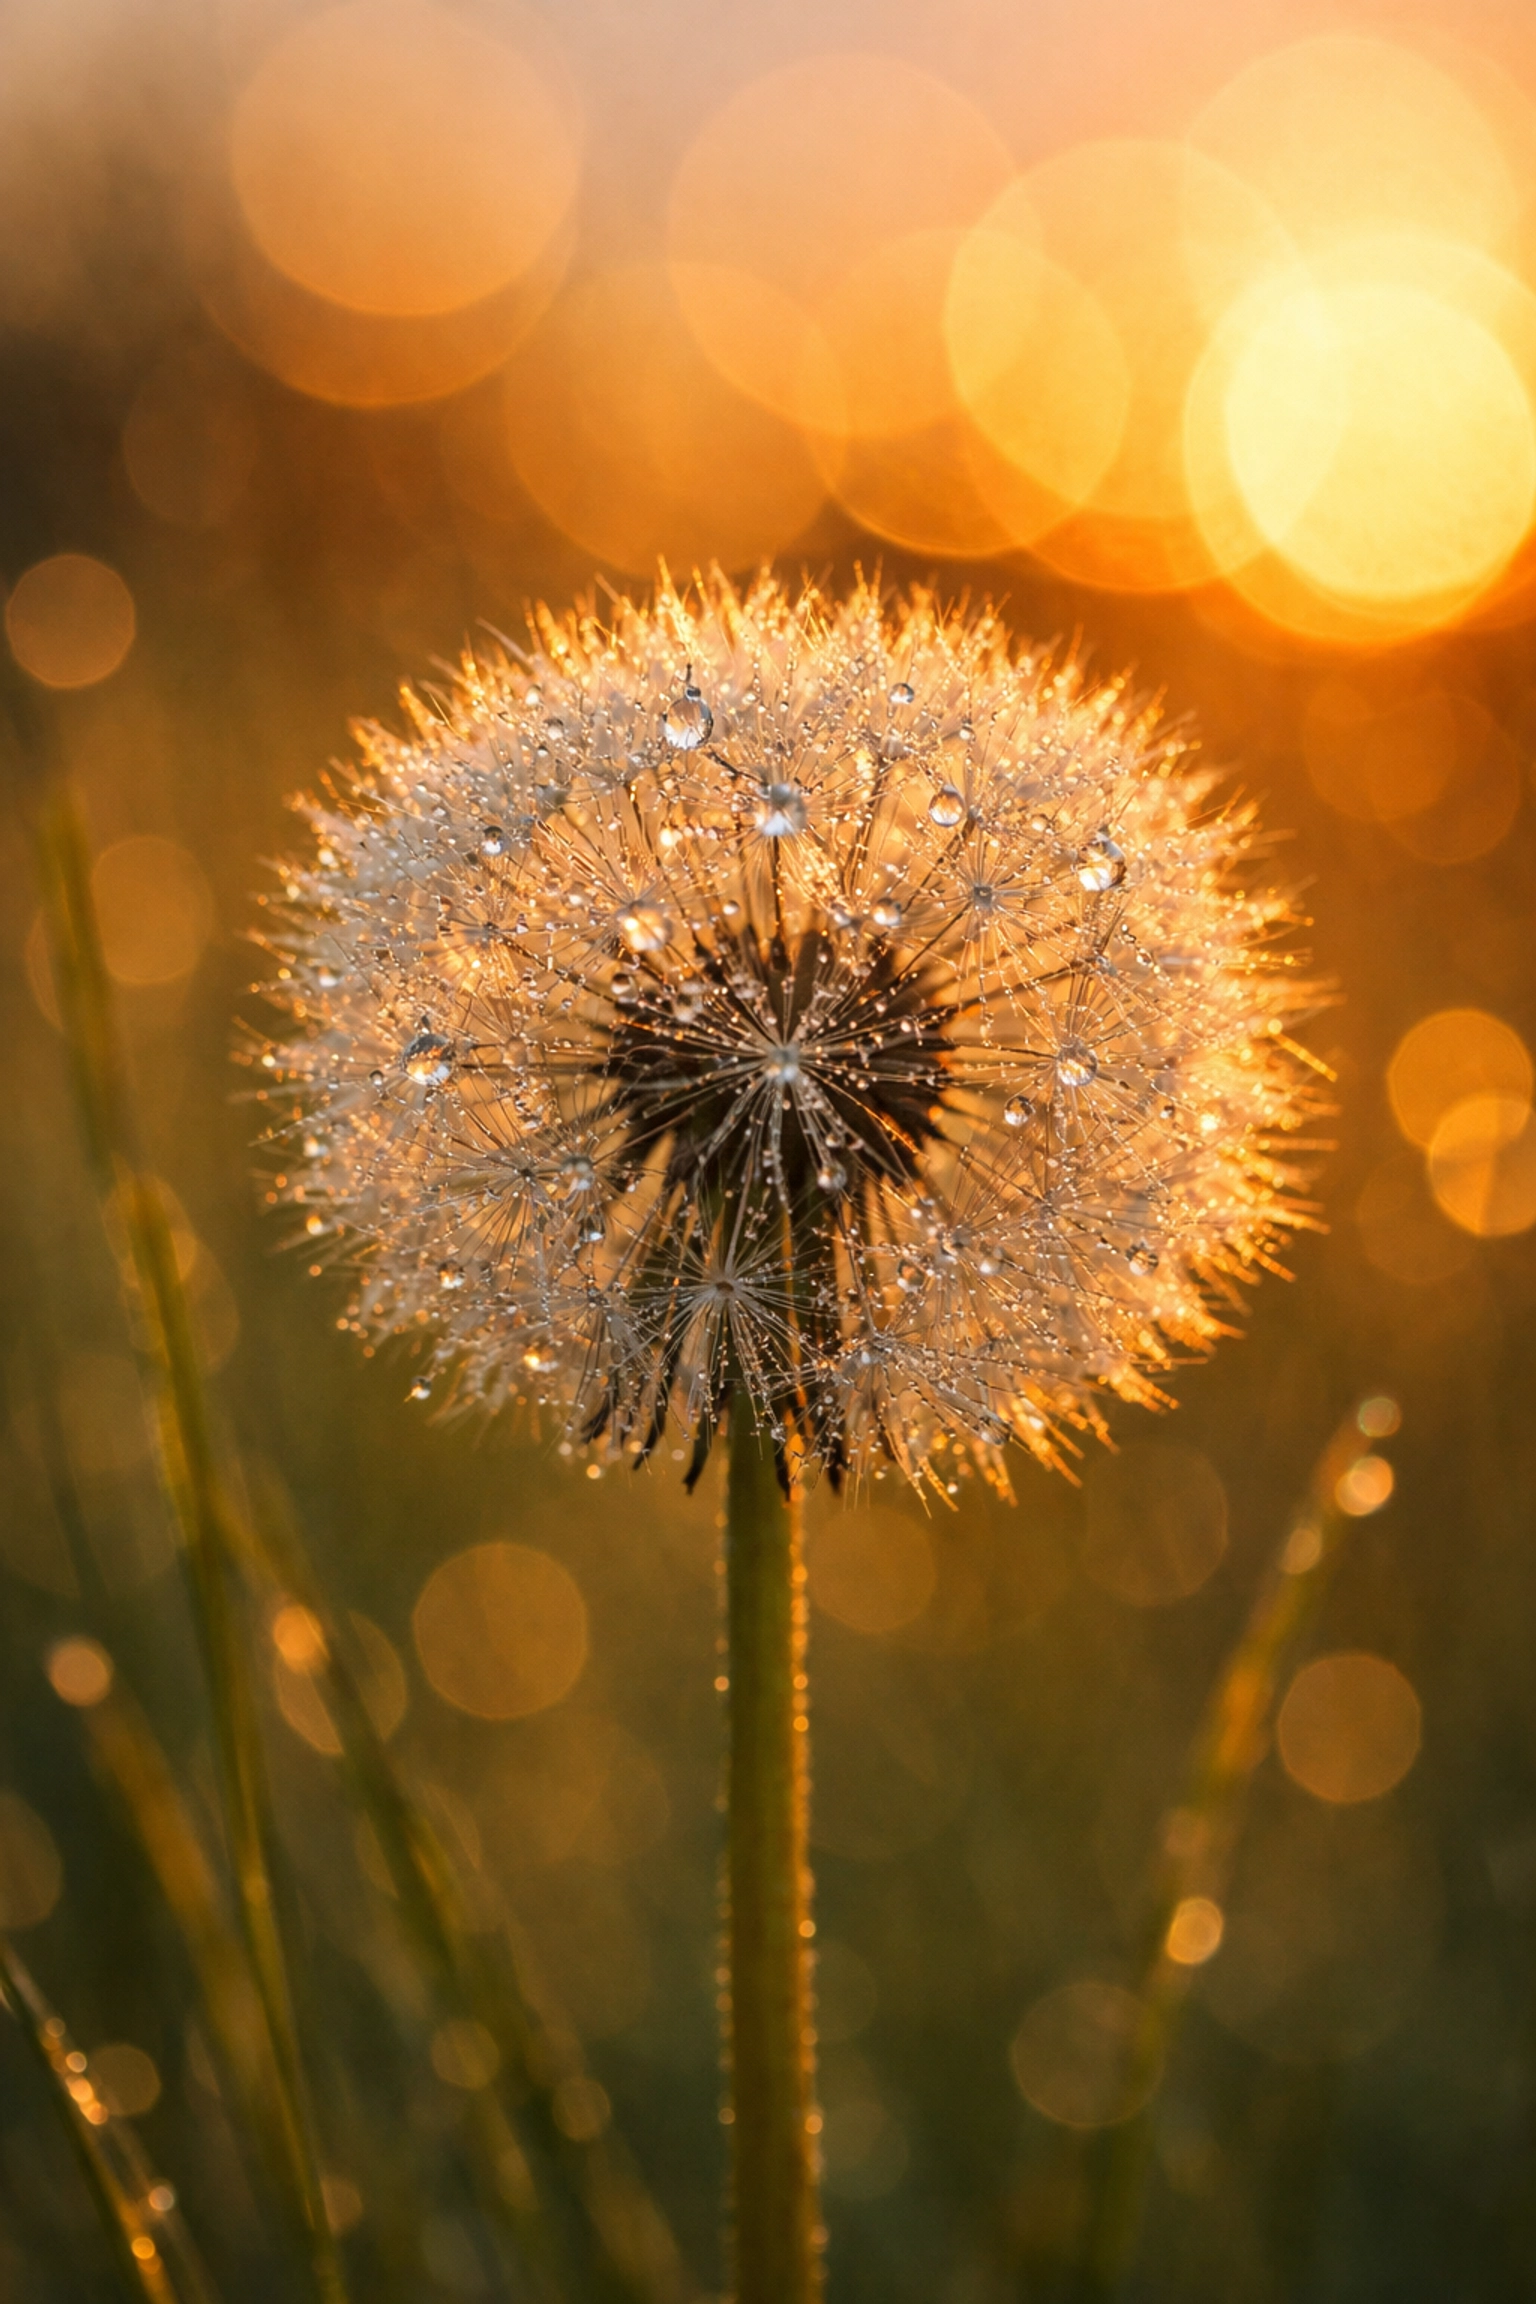
1. The Bokeh Challenge (Aperture)
Find a flower or an object on a table. Set your camera to its lowest f-number (maybe f/1.8 or f/3.5). Get close to the object and take a photo. Now, change your f-number to f/16 and take the same photo. Look at the difference in the background. See how the low number makes the object "pop"?
2. The Motion Freeze (Shutter Speed)
Find something moving: a car, a pet, or even a friend jumping. Try to freeze them perfectly mid-air using a shutter speed of 1/1000. Then, try to take the same photo at 1/10 and see how the motion turns into a ghostly blur. To see how this applies to professional marketing, read about shot compositions' impact on buyer attraction.
3. The Dark Room Test (ISO)
Go into a dimly lit room. Try to take a photo at ISO 100. It will probably be black or very blurry. Now, crank that ISO up to 3200 or 6400. You’ll see the image appear, but you’ll also see the "noise." Learning where your camera's "limit" is for ISO is vital for any photographer.
RAW vs. JPEG: The Power Combo
If you’re going to shoot in Manual Mode, you should also consider switching your file format to RAW. While JPEG files are compressed and "finished" by the camera, RAW files contain all the data the sensor captured.
Think of a JPEG as a meal someone cooked for you, and a RAW file as the ingredients. If the meal is too salty (overexposed), you're stuck. If you have the ingredients, you can adjust the seasoning yourself. Using Luminar to process RAW files gives you an incredible amount of latitude to fix exposure mistakes or enhance colors that you just can't get with JPEGs.
Consistency is King
One of the biggest reasons pros use Manual Mode is consistency. Imagine you’re shooting a series of headshots or photos for a luxury dining guide. If you’re on Auto, the camera might change the exposure slightly between every single shot as people move or lights flicker. This makes editing a nightmare.
In Manual, once you find the "sweet spot" for the lighting in that room, every single photo will look exactly the same. You can copy and paste your edits across 100 photos in seconds. This is a trick I discuss often on blog.edinchavez.com, where I talk about the workflow of a professional photographer.
Don't Overthink It
The biggest hurdle to mastering your camera isn't the technology: it's the fear of messing up. Here’s a secret: every professional photographer has thousands of "messed up" photos on their hard drives. We’ve all taken photos that were pitch black or blindingly white.
The difference is that we used those mistakes to learn.
Manual mode isn't about being perfect; it's about being intentional. It's about deciding that you are the one in charge of the story being told through the lens. Whether you're interested in elevating your real estate listings or just taking better photos of your kids, the principles remain the same.
Final Thoughts on Your Manual Journey
Mastering Manual Mode is a rite of passage. It changes the way you look at light. You’ll start noticing how the sun hits a building or how a streetlamp creates a pool of orange glow. You’ll start thinking in f-stops and shutter speeds.
If you're looking for more inspiration on what’s possible once you master these basics, take a look at Peter Lik’s iconic works through the years. His ability to manipulate these three simple settings is what turned him into a global phenomenon.
For even more tips, check out our 10 essential tips for mastering photography. It’s a great companion piece to this guide and will help you round out your skills.
Now, stop reading, pick up your camera, flip that dial to 'M', and go make something awesome. The world looks different when you’re the one calling the shots.
And remember, if you need a little help in the "digital darkroom" after your shoot, Luminar is there to help you bring that vision to life. Happy shooting!


