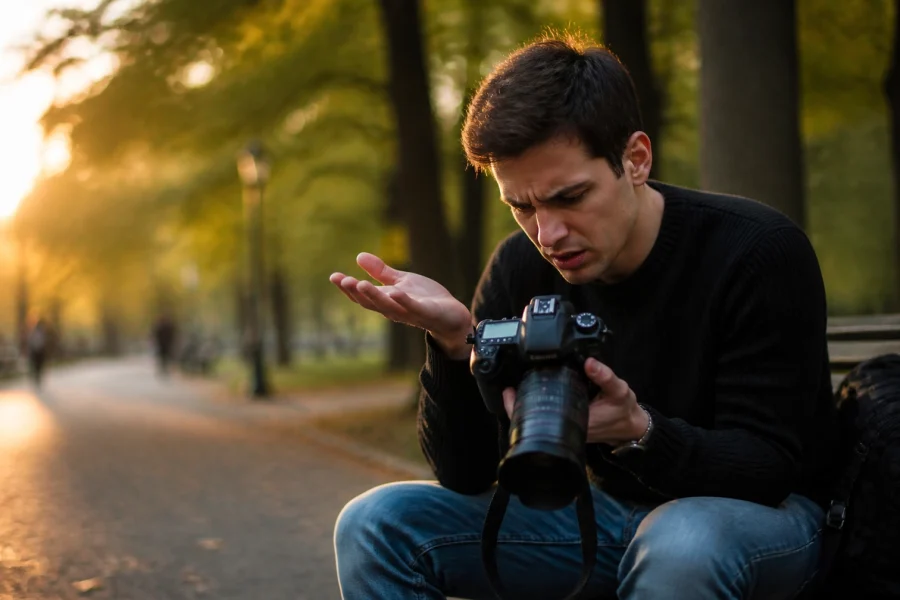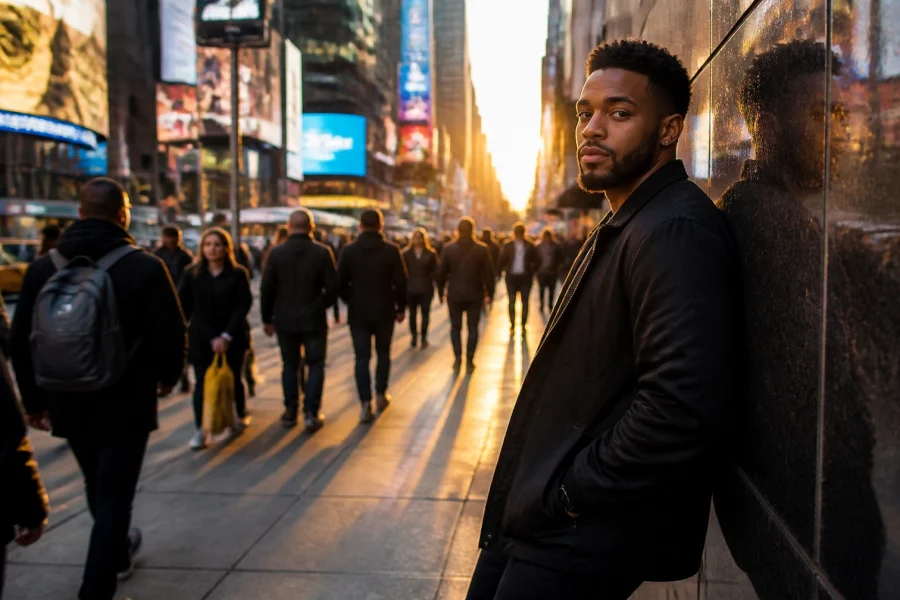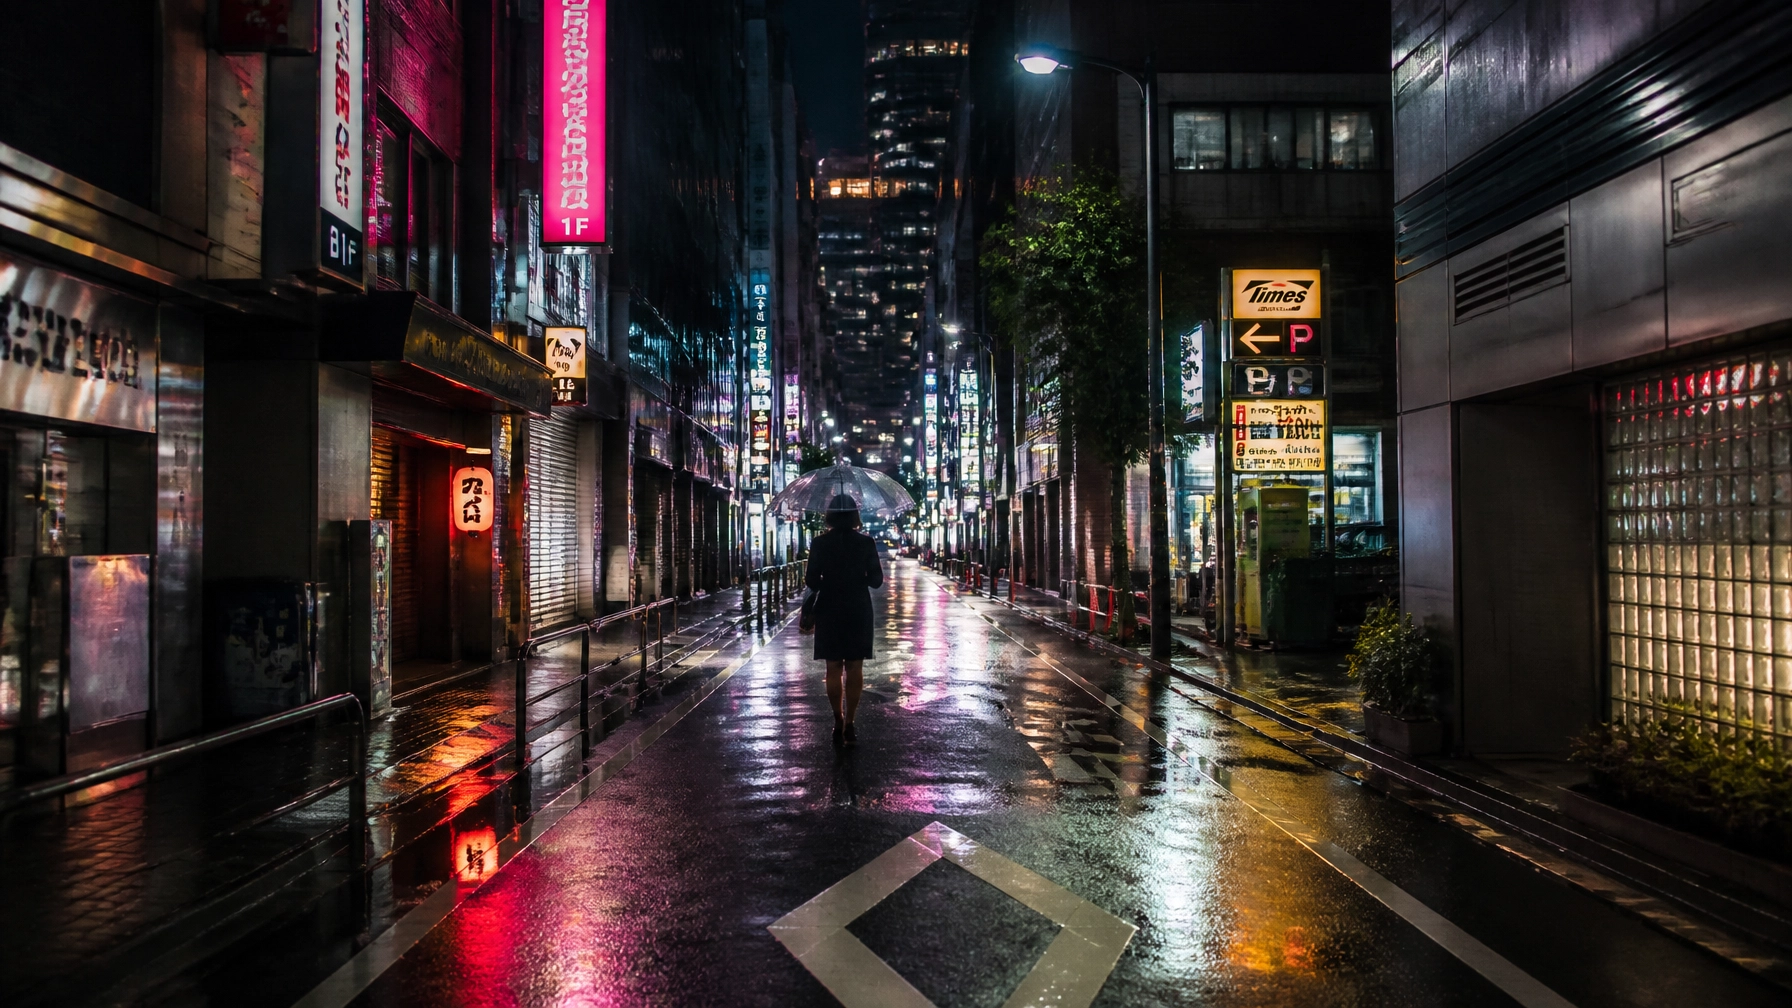
Street photography is the ultimate adrenaline rush for photographers, but it’s also one of the hardest genres to master because you can't control the environment, the light, or the people. The most common mistakes people make in street photography include shooting from too far away, hesitating due to fear, relying on gear rather than timing, and over-processing images in post-production. To fix these, you need to physically move closer to your subjects, master your technical settings like shutter speed and zone focusing, and learn to anticipate the "decisive moment" rather than just reacting to it.
Street photography is the wild west of the camera world. There are no stylists, no lighting assistants, and definitely no "can you do that one more time?" from your subjects. It’s raw, it’s fast, and if you’re like most people starting out, you’re probably making a handful of mistakes that are keeping your photos in the "okay" pile instead of the "holy cow" pile.
I’ve spent years wandering cities with a camera glued to my face, and I’ve made every single one of these mistakes. Heck, I still make some of them when I’m tired or caffeinated on too much espresso. But identifying them is the first step to fixing them. Whether you’re shooting with a Sony A6700 or a high-end Leica, the principles remain the same.
Here are the 7 biggest mistakes you’re making with street photography and exactly how to stop doing them.
1. The "Sniper" Complex: Not Getting Close Enough
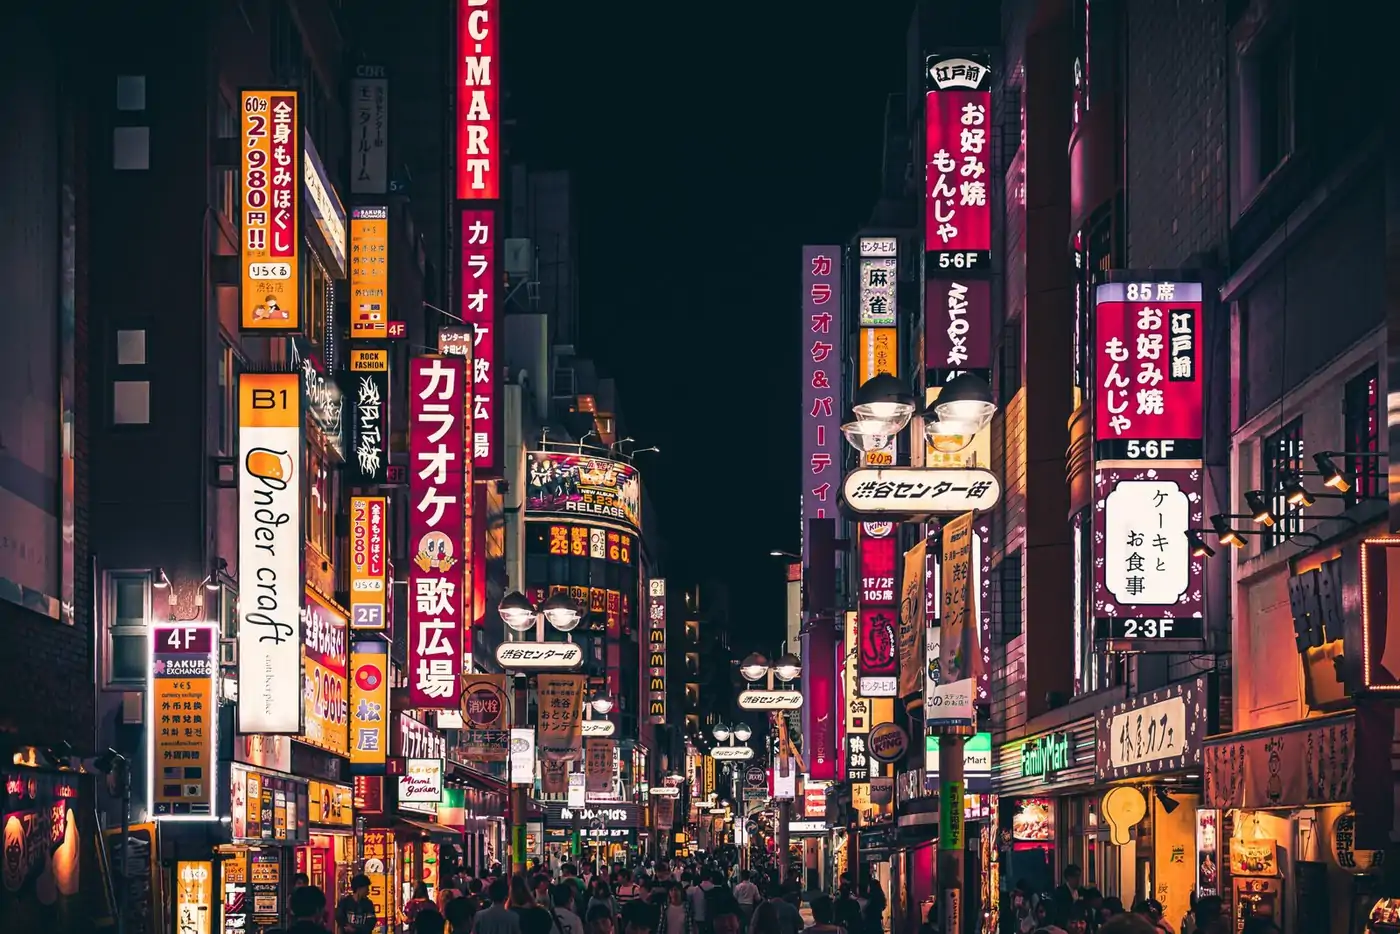
This is the number one mistake I see. Most beginners are terrified of people, so they buy a 70-200mm lens and try to shoot "street" from half a block away. This results in flat, voyeuristic photos that lack any sense of intimacy or presence.
When you use a long zoom lens, you’re compressing the scene. You aren't in the world; you’re an observer looking through a keyhole. Robert Capa famously said, "If your pictures aren't good enough, you aren't close enough." He wasn't talking about your zoom ring; he was talking about your feet.
How to Fix It:
Force yourself to use a prime lens, either a 35mm or a 50mm. If you really want to challenge yourself, go 28mm. These focal lengths require you to be physically close to the action. When you’re three feet away from a subject, the viewer feels like they are standing right there with you.
Start by visiting busy places like markets or festivals where people expect to see cameras. It’s much easier to blend in when everyone is distracted. If you're looking for more structured guidance on how to approach people, check out the resources at PhotoGuides.org.
2. The "Ghost" Problem: Letting Fear Dictate the Shot
Fear is the biggest hurdle in street photography. You see a great moment, but you hesitate because you don't want to be "creepy" or get yelled at. By the time you’ve debated the ethics of the shot in your head, the moment is gone. Or worse, you try to be "sneaky" by shooting from the hip or hiding your camera, which actually makes you look more suspicious.
People can sense your energy. If you act like you’re doing something wrong, they will treat you like you’re doing something wrong.
How to Fix It:
Stop being a ghost and start being a photographer. Own your space. If someone catches you taking their photo, don't look down at your screen and scurry away like a guilty squirrel. Smile, nod, and maybe even show them the photo.
A great way to build confidence is to start with street portraits. Ask someone, "Hey, I love your hat/look/vibe, can I take a quick photo of you?" Nine times out of ten, they’ll say yes. This breaks the "fear barrier" and makes you realize that most people are actually quite nice. You can find more mindset tips over at blog.edinchavez.com to help you get over the mental block.
3. Relying on Bokeh as a Crutch
We all love a blurry background. It’s the easiest way to make a photo look "professional," right? Wrong. In street photography, the environment is often just as important as the subject. If you’re shooting everything at f/1.4, you’re blurring out the very context that makes the photo interesting. Is that man reading a newspaper in a library, on a bus, or in the middle of a protest? If the background is just a soup of creamy bokeh, we’ll never know.
How to Fix It:
Stop shooting wide open. Try shooting at f/8 or even f/11. This is called "deep depth of field," and it’s a staple of classic street photography. It forces you to actually compose the entire frame rather than just blowing out the background to hide a messy composition.
Using a narrower aperture also allows you to use "zone focusing." You set your focus to a specific distance (say, 2-3 meters) and anything that enters that zone will be sharp. This is much faster than relying on even the best autofocus systems. If you're choosing between cameras for this kind of work, see our comparison of the Panasonic Lumix S5 II vs Sony A7 IV.
4. Technical Tumbles: Shutter Speed and Focus Failures
There is nothing more heartbreaking than capturing the perfect "decisive moment" only to find out it's blurry because your shutter speed was too slow or your focus was hunting. Street photography moves fast. People walk, cars drive, and birds fly. If your camera isn't set up to handle that speed, you’re going to miss the shot every single time.
How to Fix It:
Prioritize your shutter speed. In broad daylight, I never let my shutter speed drop below 1/500th of a second. If it’s cloudy or I’m in the shadows, I might go down to 1/250th, but that’s the limit for freezing a walking person. Don't be afraid to bump up your ISO. Noise is much easier to fix in Luminar than motion blur is to fix in… well, nothing can fix motion blur.
Also, get to know your camera’s autofocus modes. For street work, I usually prefer a small single-point AF or a wide tracking mode. If you want to dive deeper into the technical side of things, our Shut Your Aperture Academy has a whole section dedicated to mastering manual controls in high-pressure environments.
5. Visual Clutter and Sloppy Edges
The street is messy. There are trash cans, street signs, power lines, and random tourists walking into your frame. A common mistake is focusing so hard on the subject that you forget to look at the rest of the frame. You end up with a great subject, but there’s a telephone pole growing out of their head or a bright red fire hydrant at the edge of the frame that pulls the viewer's eye away.
Sloppy edges are also a hallmark of a rushed shot. Cutting off someone’s feet or just the tip of their umbrella can make an image feel claustrophobic and unintentional.
How to Fix It:
Work on your "peripheral vision" as a photographer. When you look through the viewfinder, don't just look at the middle. Run your eyes around the edges of the frame. Is the horizon straight? Are the corners clean?
One great technique is to find a "clean" background first: a nice wall, a shaft of light, or an interesting storefront: and then wait for the right subject to walk into it. This is called the "fishing" technique, and it results in much cleaner compositions than "hunting" (walking around and snapping at things as you see them). If you're serious about fine art composition, take a look at the galleries on www.edinfineart.com to see how clean backgrounds can elevate a subject.
6. Shooting "Just Walking": The Lack of a Moment
Just because you took a photo of a person on a street doesn't mean it’s "street photography." One of the biggest pitfalls is taking thousands of photos of people simply walking down the sidewalk. These photos are usually boring because there is no story, no emotion, and no "moment."
A person walking is just a person walking. What makes it a photograph is the interaction between that person and their environment, or a specific gesture they make.
How to Fix It:
Look for the "extra." Wait for a gesture: a hand raised to hail a cab, a child pulling on a parent's sleeve, or two people sharing a glance. Look for juxtaposition: a tall man walking past a short door, or someone dressed in all red standing in front of a blue wall.
You want to capture a slice of time that feels unique. If the scene looks exactly the same one second before and one second after you pressed the shutter, you probably didn't capture a "moment." Patience is key here. You might stand on a corner for thirty minutes and not take a single photo, and that’s okay.
7. Over-Editing: The "Clarity Slider" Trap
We’ve all been there. You get home, the photo is a little flat, so you go into your editing software and crank the clarity, contrast, and saturation to 100. Suddenly, the sky looks like an alien planet and the subject’s skin looks like textured leather. Over-editing is a quick way to ruin a perfectly good street photo. Street photography is supposed to feel grounded in reality; when the editing becomes the subject, the soul of the image is lost.
How to Fix It:
Keep it simple. Start with the basics: exposure, white balance, and shadows/highlights. If you’re using Luminar, use the AI tools sparingly to enhance what’s already there rather than creating something fake.
Black and white is a classic choice for street photography because it strips away the distraction of color and focuses on light, shadow, and form. But don't just turn a photo B&W because the colors are "ugly." Make sure the B&W conversion serves the story of the image. A good rule of thumb: if you can't tell what the photo is about without the heavy editing, the photo probably isn't very good to begin with.
Bonus Tip: The Gear Doesn't Matter (But It Does)
People love to argue about gear. Should you use a Leica? A Fuji? Your iPhone? The truth is, the best camera for street photography is the one you actually have with you and the one you know how to use without looking at the buttons.
However, big cameras can be intimidating. If you show up with a giant DSLR and a battery grip, you’re going to get noticed. Small, discreet mirrorless cameras are generally better for the street because they make you look like a tourist rather than a pro. And for heaven's sake, leave the tripod at home. If you need a tripod, you're probably doing landscape photography, not street. Check out our camera tripods guide if you want to know when to actually use one, but for the street, keep it handheld.
Wrapping It Up
Street photography is a marathon, not a sprint. You're going to have days where you walk 10 miles and come home with nothing but a blister and a dead battery. That’s part of the process. The goal isn't to get a masterpiece every time you step out the door; the goal is to refine your eye, sharpen your reflexes, and slowly stop making these seven mistakes.
Start by picking one mistake from this list and focusing on fixing it during your next walk. If you struggle with distance, spend two hours only shooting within three feet of people. If you struggle with settings, practice your zone focusing until it's second nature.
The more you practice, the more the world will start to "open up" to you. You’ll begin to see the light, the moments, and the stories before they even happen. And when that happens, you won't just be taking photos; you'll be making art.
Now, grab your camera, get out there, and remember: shut your aperture (or open it, depending on the shot) and just keep shooting.