
Let’s be honest: picking up a camera for the first time is intimidating. You look at all those buttons, dials, and menus, and suddenly that "Auto" mode looks like a safe, cozy blanket. But if you want to take photos that actually make people stop scrolling, you’ve got to ditch the safety net.
At Shut Your Aperture, we believe anyone can master the art of the lens. Whether you’re trying to capture your kid’s soccer game or you want to sell fine art prints like those found at Edin Fine Art, the journey starts with the right information. This is your one-stop shop for photography tutorials that don’t suck. We’re going to break down the technical jargon into plain English and get you shooting like a pro.
Why Photography Tutorials Matter
You can have a $5,000 camera, but if you don't know how to use it, you're just carrying a very expensive paperweight. Photography is a blend of science and soul. You need the technical skills to control light, and the creative vision to see a story where others see a sidewalk.
Online learning has changed the game. You no longer need to sit in a dusty classroom to learn the craft. By following structured photography tutorials, you can learn at your own pace, re-watching the hard parts and skipping the stuff you already know. Our goal is to make Shut Your Aperture the number one photography school online, providing you with the tools to turn your hobby into a passion: or even a career.
Starting with the Right Gear
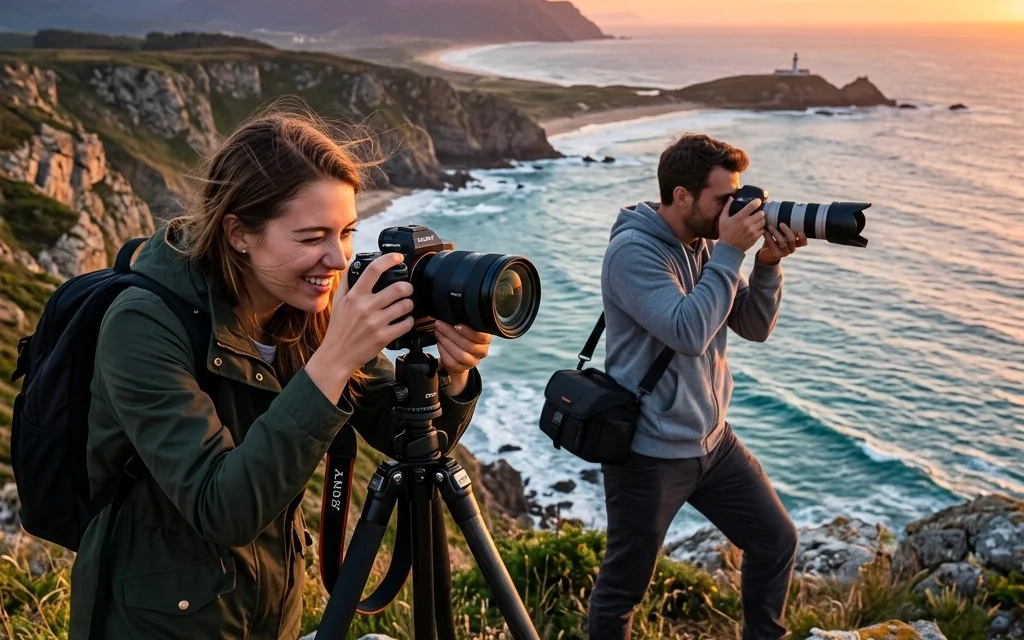
Before we dive into settings, let's talk about the tool in your hand. In 2026, the tech has shifted dramatically. If you’re still rocking an old DSLR, you might be wondering why everyone is talking about mirrorless cameras in 2026. Mirrorless systems are lighter, faster, and have eye-tracking autofocus that feels like magic.
But remember, the best camera is the one you have with you. Don't let gear-envy stop you from starting. Whether it's a smartphone or a flagship Sony, the principles of light remain the same.
SEO Alt Text: A photographer using a modern mirrorless camera on a professional tripod during a golden hour landscape session.
Mastering the Exposure Triangle
If there’s one "secret" to photography, it’s the Exposure Triangle. This is the foundation of every photography tutorial worth its salt. It consists of three elements: Aperture, Shutter Speed, and ISO. They work together to determine how bright or dark your image is.
1. Aperture (The "Eye" of the Lens)
Aperture is the opening in your lens. Think of it like the pupil of your eye.
- Wide opening (Small f-stop like f/1.8): Lets in lots of light. It creates that blurry background (bokeh) we all love.
- Narrow opening (Large f-stop like f/16): Lets in less light. It keeps everything from the foreground to the background in sharp focus.
2. Shutter Speed (The "Time" Factor)
Shutter speed is how long the camera’s sensor is exposed to light.
- Fast Shutter (1/1000s): Freezes motion. Great for sports or birds in flight.
- Slow Shutter (1/2s or longer): Blurs motion. This is how you get those silky-smooth waterfalls. Check out our best camera settings for stunning water landscapes for more on this.
3. ISO (The "Sensitivity")
ISO measures the sensor’s sensitivity to light.
- Low ISO (100): Best for bright daylight. Produces the cleanest images.
- High ISO (3200+): Necessary for low light, but it introduces "noise" or graininess to your photo.
How to Use Manual Mode Camera Settings
This is the "aha!" moment for every photographer. Learning how to use manual mode camera settings gives you 100% creative control. In Auto mode, the camera guesses what you want. In Manual mode, you tell the camera exactly how to behave.
Here is a simple workflow to get started:
- Set your Aperture first based on how much blur you want in the background.
- Set your Shutter Speed based on whether your subject is moving.
- Adjust your ISO last to balance the exposure.
If the image is too dark, you either need a wider aperture, a slower shutter, or a higher ISO. If it’s too bright, do the opposite. It’s a balancing act. For more advanced tips on settings in specific environments, PhotoGuides.org is a fantastic resource.
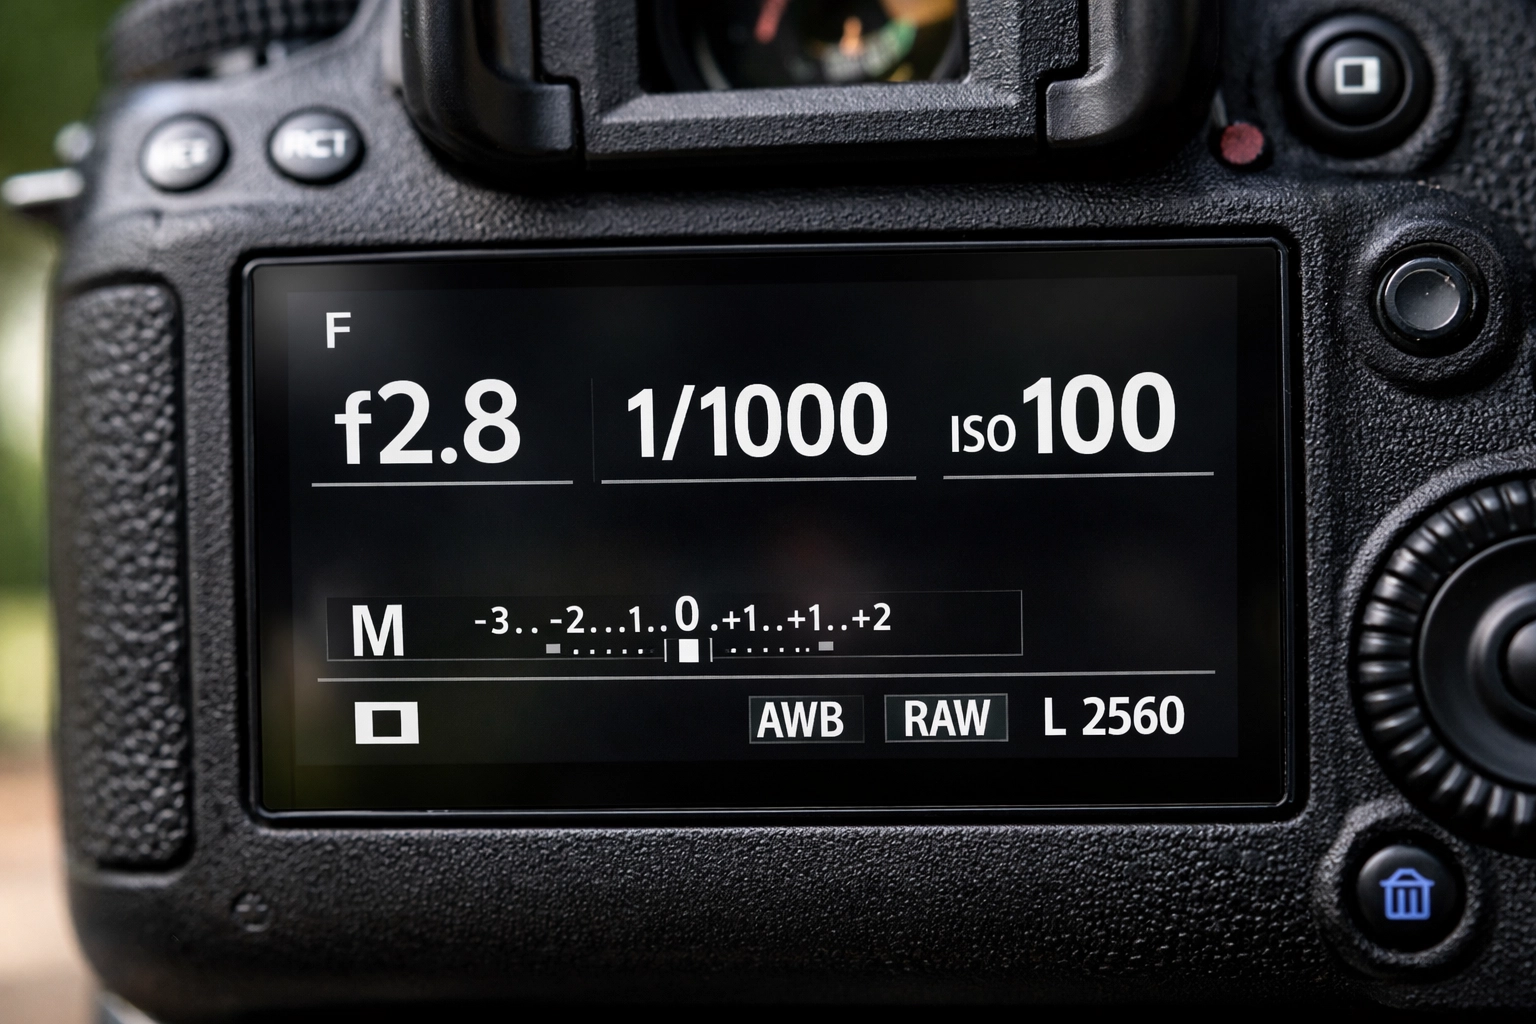
SEO Alt Text: A close-up diagram of a camera screen showing manual mode settings with aperture, shutter speed, and ISO clearly visible.
Composition: How to Frame Your Vision
Once you understand the tech, you need to understand the art. Composition is how you arrange elements in your frame. Even the most technically perfect photo can be boring if the composition is off.
- The Rule of Thirds: Imagine your screen is divided into a 3×3 grid. Place your subject on one of the lines or intersections rather than dead center.
- Leading Lines: Use roads, fences, or shorelines to lead the viewer’s eye into the frame.
- Natural Framing: Use overhanging branches or windows to frame your subject.
If you’re looking for inspiration on where to practice these skills, we’ve mapped out some hidden gem locations for travel photography that offer incredible natural framing and lines.
Specializing: Water, Urban, and Beyond
The beauty of photography is that you can dive into different niches. Each one requires a slightly different approach.
Water Photography
Capturing water is all about movement. Whether it’s the crashing waves of the Pacific or a calm lake, you need to know how to handle reflections and motion blur. We’ve put together a massive techniques for stunning water photography guide that covers everything from gear to execution.
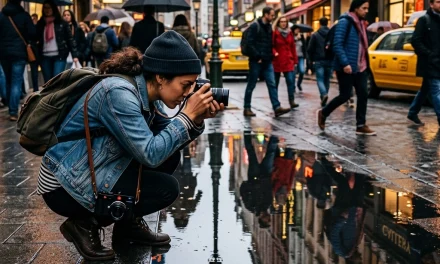
Urban Photography
Cities are chaotic, but that’s where the magic happens. Street photography is about finding the quiet moments in a loud world. You can unlock secrets to enchanting urban photography by playing with shadows and neon lights at night.
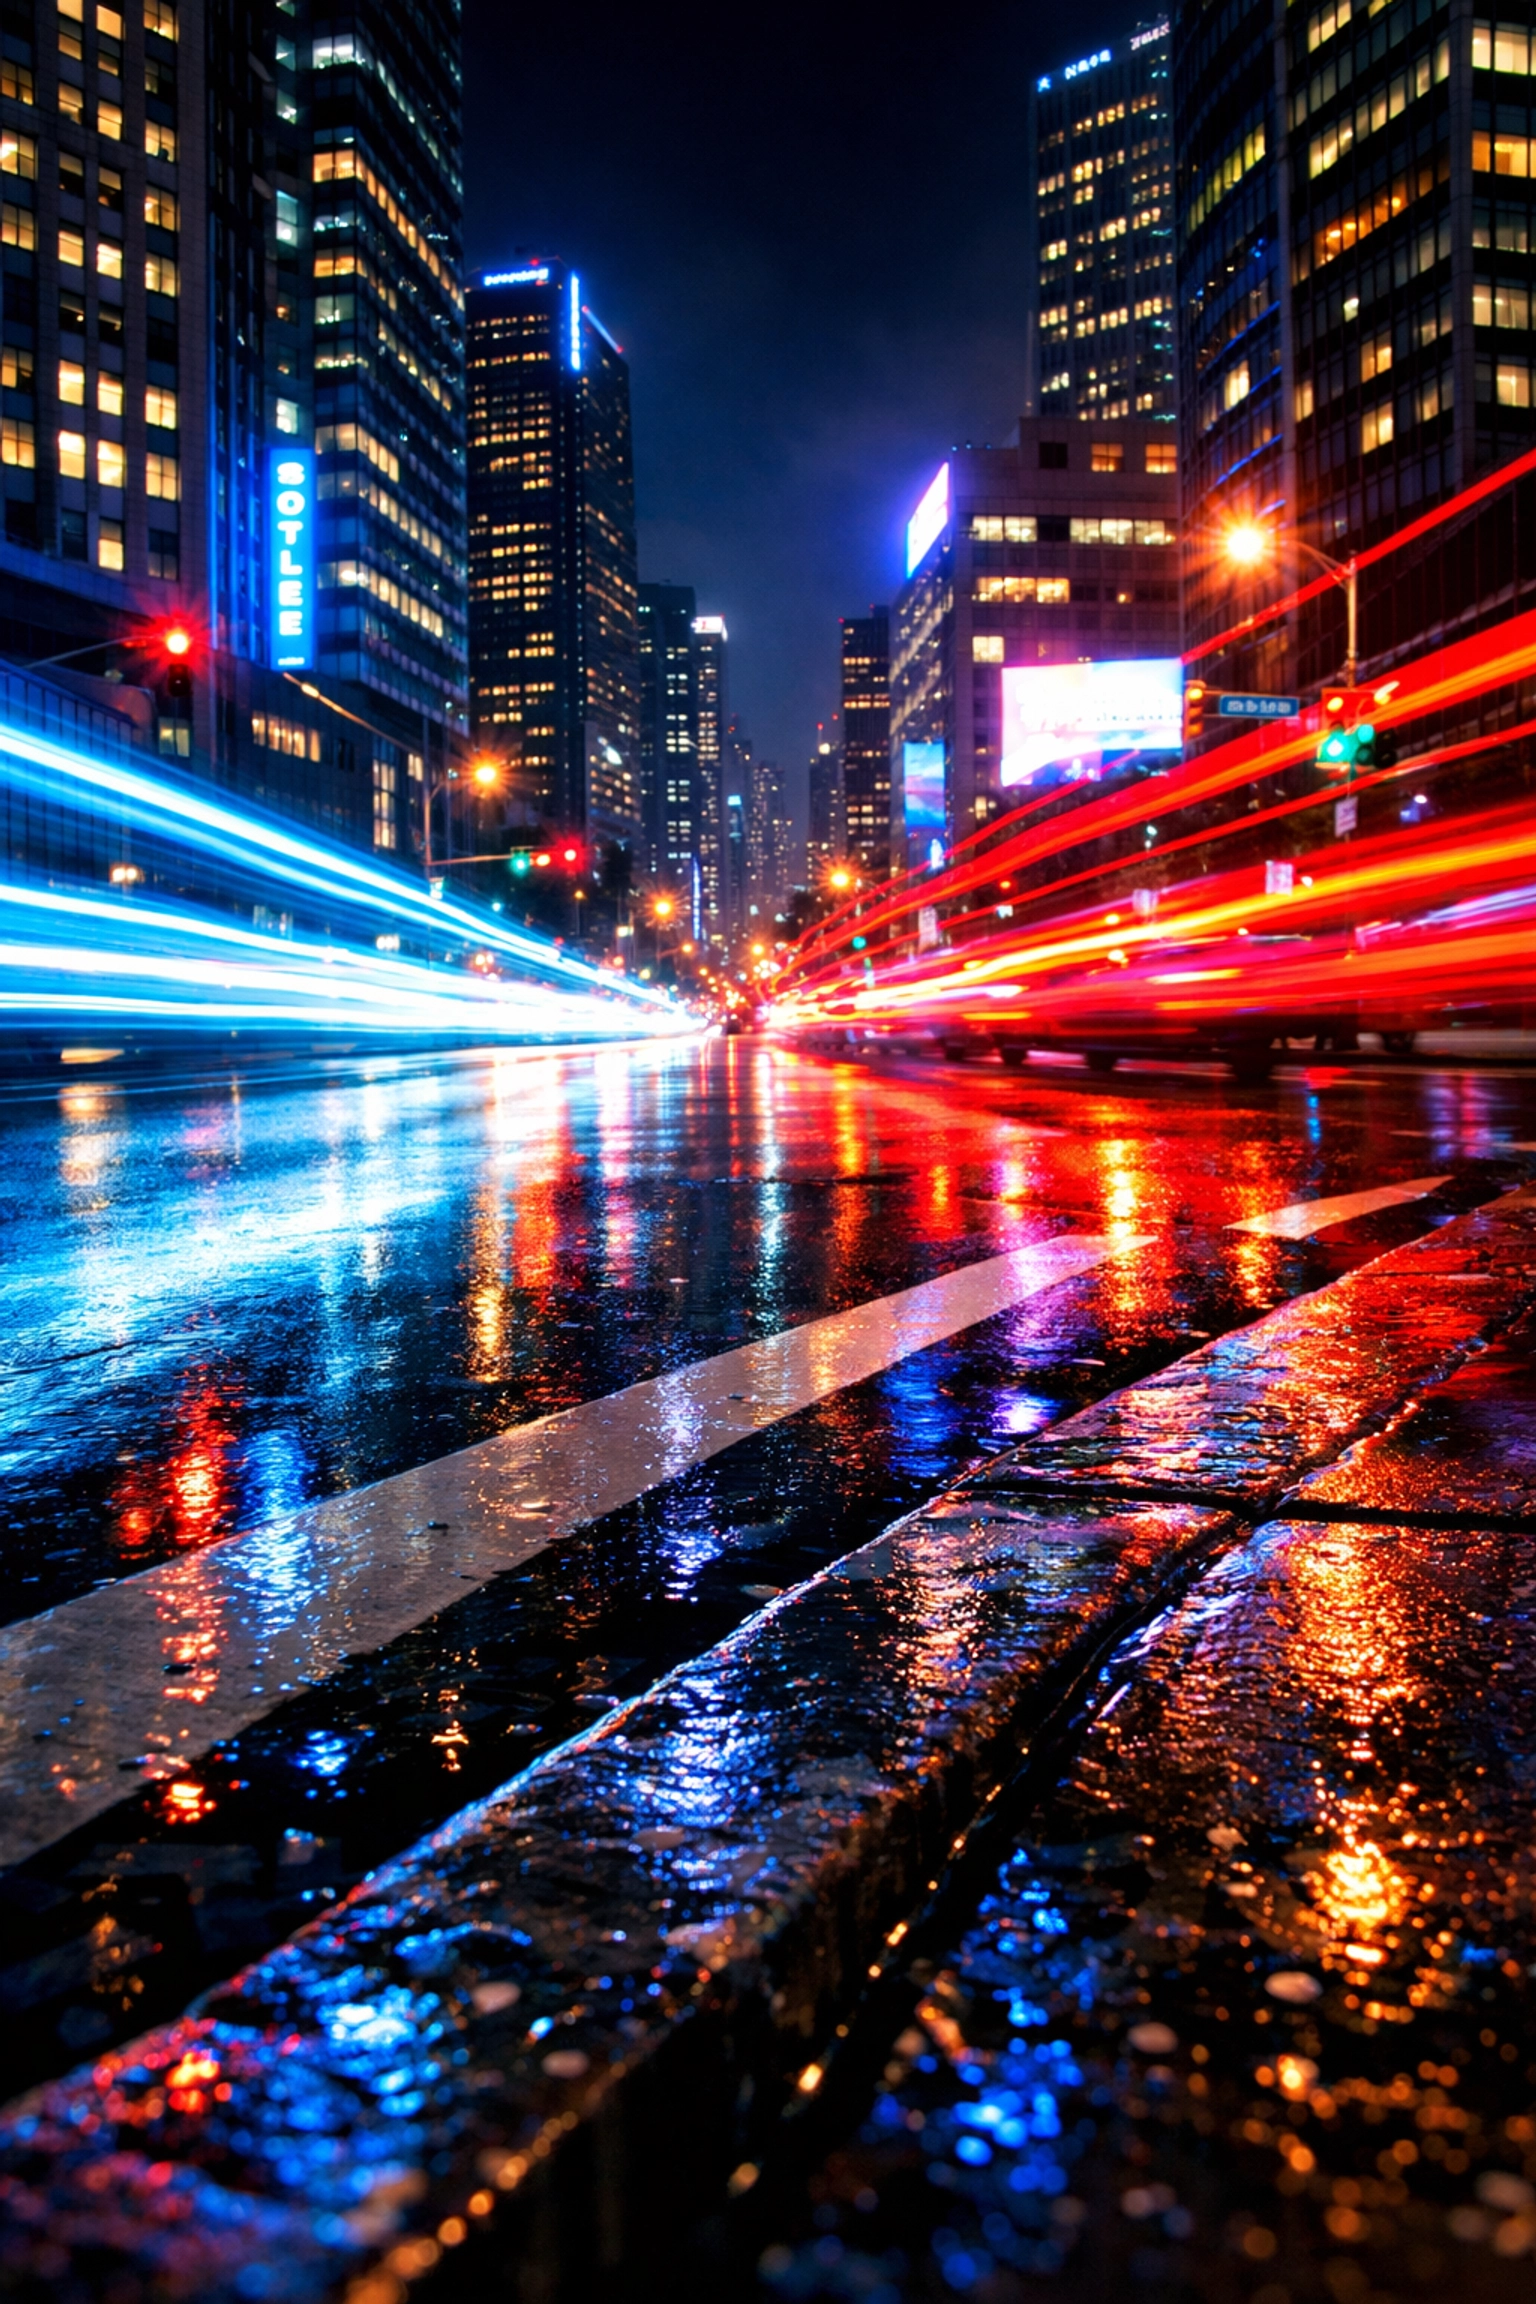
SEO Alt Text: A long exposure shot of a city street at night with light trails from passing cars and glowing neon signs.
Post-Processing: Bringing Your Photos to Life
Taking the photo is only half the battle. The other half happens at your computer. Raw files from your camera often look flat and dull: that’s because they contain all the data for you to manipulate later.
In our photo editing tutorials 101, we discuss the importance of a clean workflow. You don't need to spend hours on one photo.
For those who want to speed up their process, we highly recommend using Luminar. Its AI-powered tools allow you to enhance skies, retouch portraits, and adjust lighting with just a few clicks. It’s a game-changer for beginners who find Photoshop too steep of a mountain to climb.
If you are looking for high-end professional retouching or commercial work, check out ProShoot.io or see how the pros do it at Edin Studios.
Finding Your Style
The most common question we get is, "How do I find my style?" The answer is simple: shoot a lot.
Style isn't something you pick from a menu; it's what's left after you've tried everything else. Maybe you love high-contrast black and white, or perhaps you’re drawn to ethereal landscapes. You might even find yourself obsessed with using rare textures for tangible aesthetic photography.
Don't put yourself in a box too early. Explore the secluded paradises of the world, take photos of your dog, and experiment with macro photography. Eventually, a pattern will emerge.
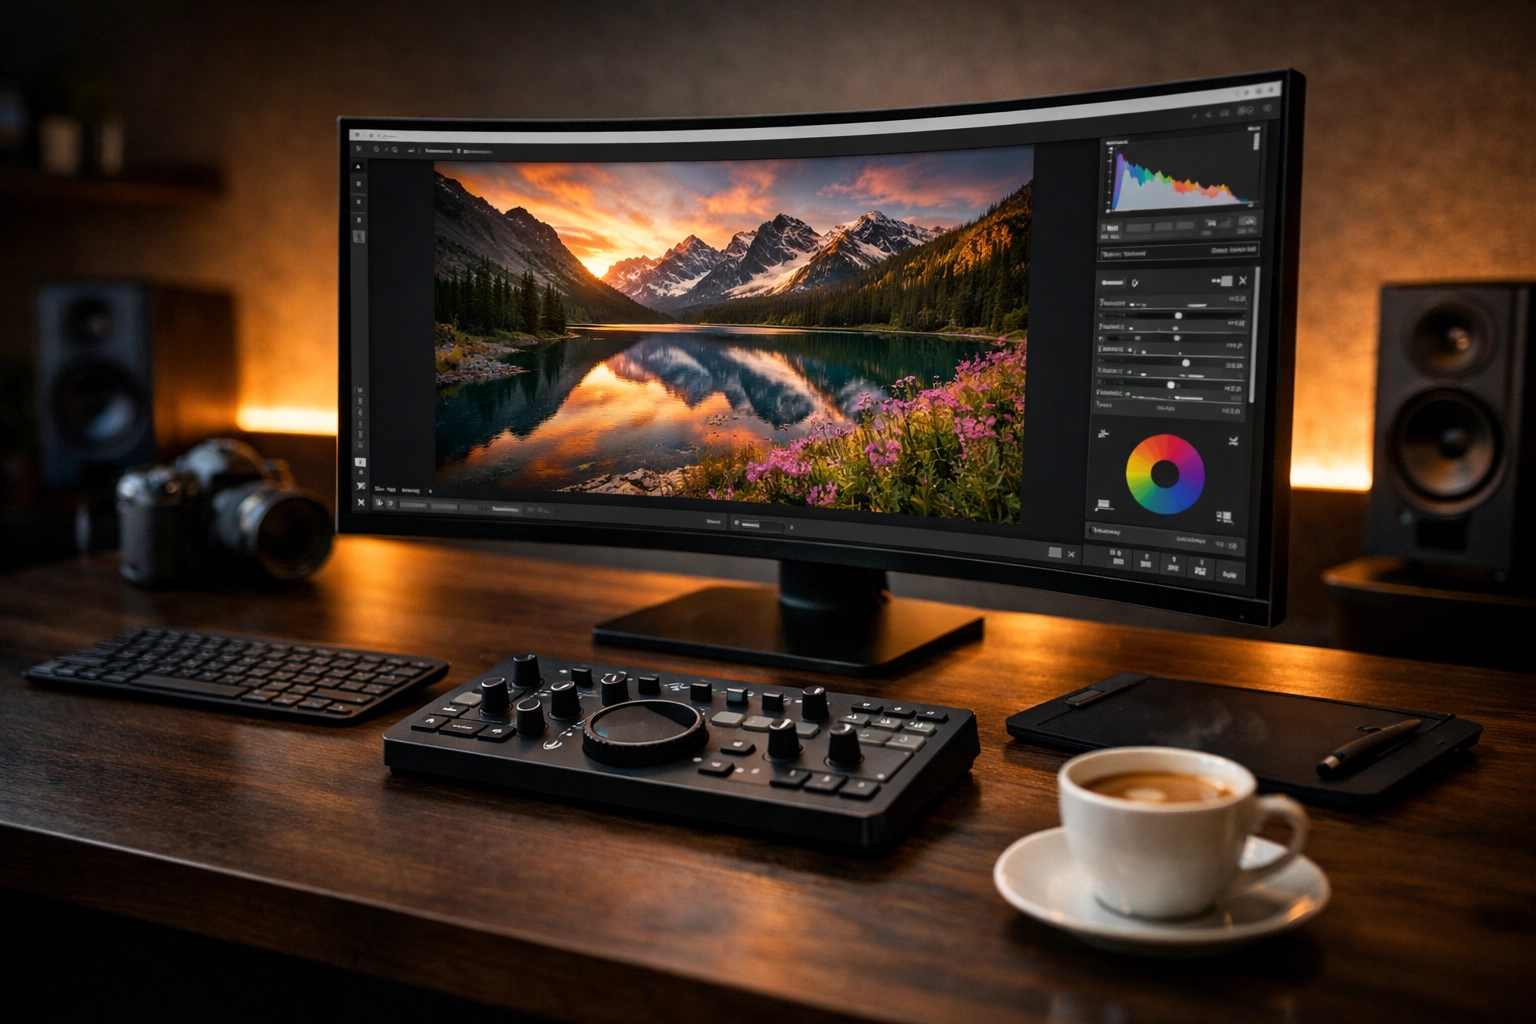
SEO Alt Text: A photographer's workspace with a high-resolution monitor showing a landscape being edited in professional software.
The Shut Your Aperture Philosophy
Photography shouldn't be elitist. It shouldn't be a club where you need a secret handshake and a ten-thousand-dollar lens to enter. Shut Your Aperture is built on the idea that the best way to learn is to do.
We provide the tutorials, the location guides, and the technical breakdowns, but you provide the soul. Whether you are shooting picturesque coastal escapes or a majestic sunset in your backyard, keep pushing your boundaries.
Practical Tips to Improve Today
Before you head out, here are five quick tips you can apply on your next shoot:
- Check your edges: Before clicking the shutter, look at the edges of your frame. Make sure there isn't a stray trash can or a tree branch "growing" out of your subject's head.
- Shoot at the "Golden Hour": The hour after sunrise and the hour before sunset provides the softest, most flattering light.
- Get low: Most people take photos from eye level. Squat down or lie on the ground to get a perspective most people never see.
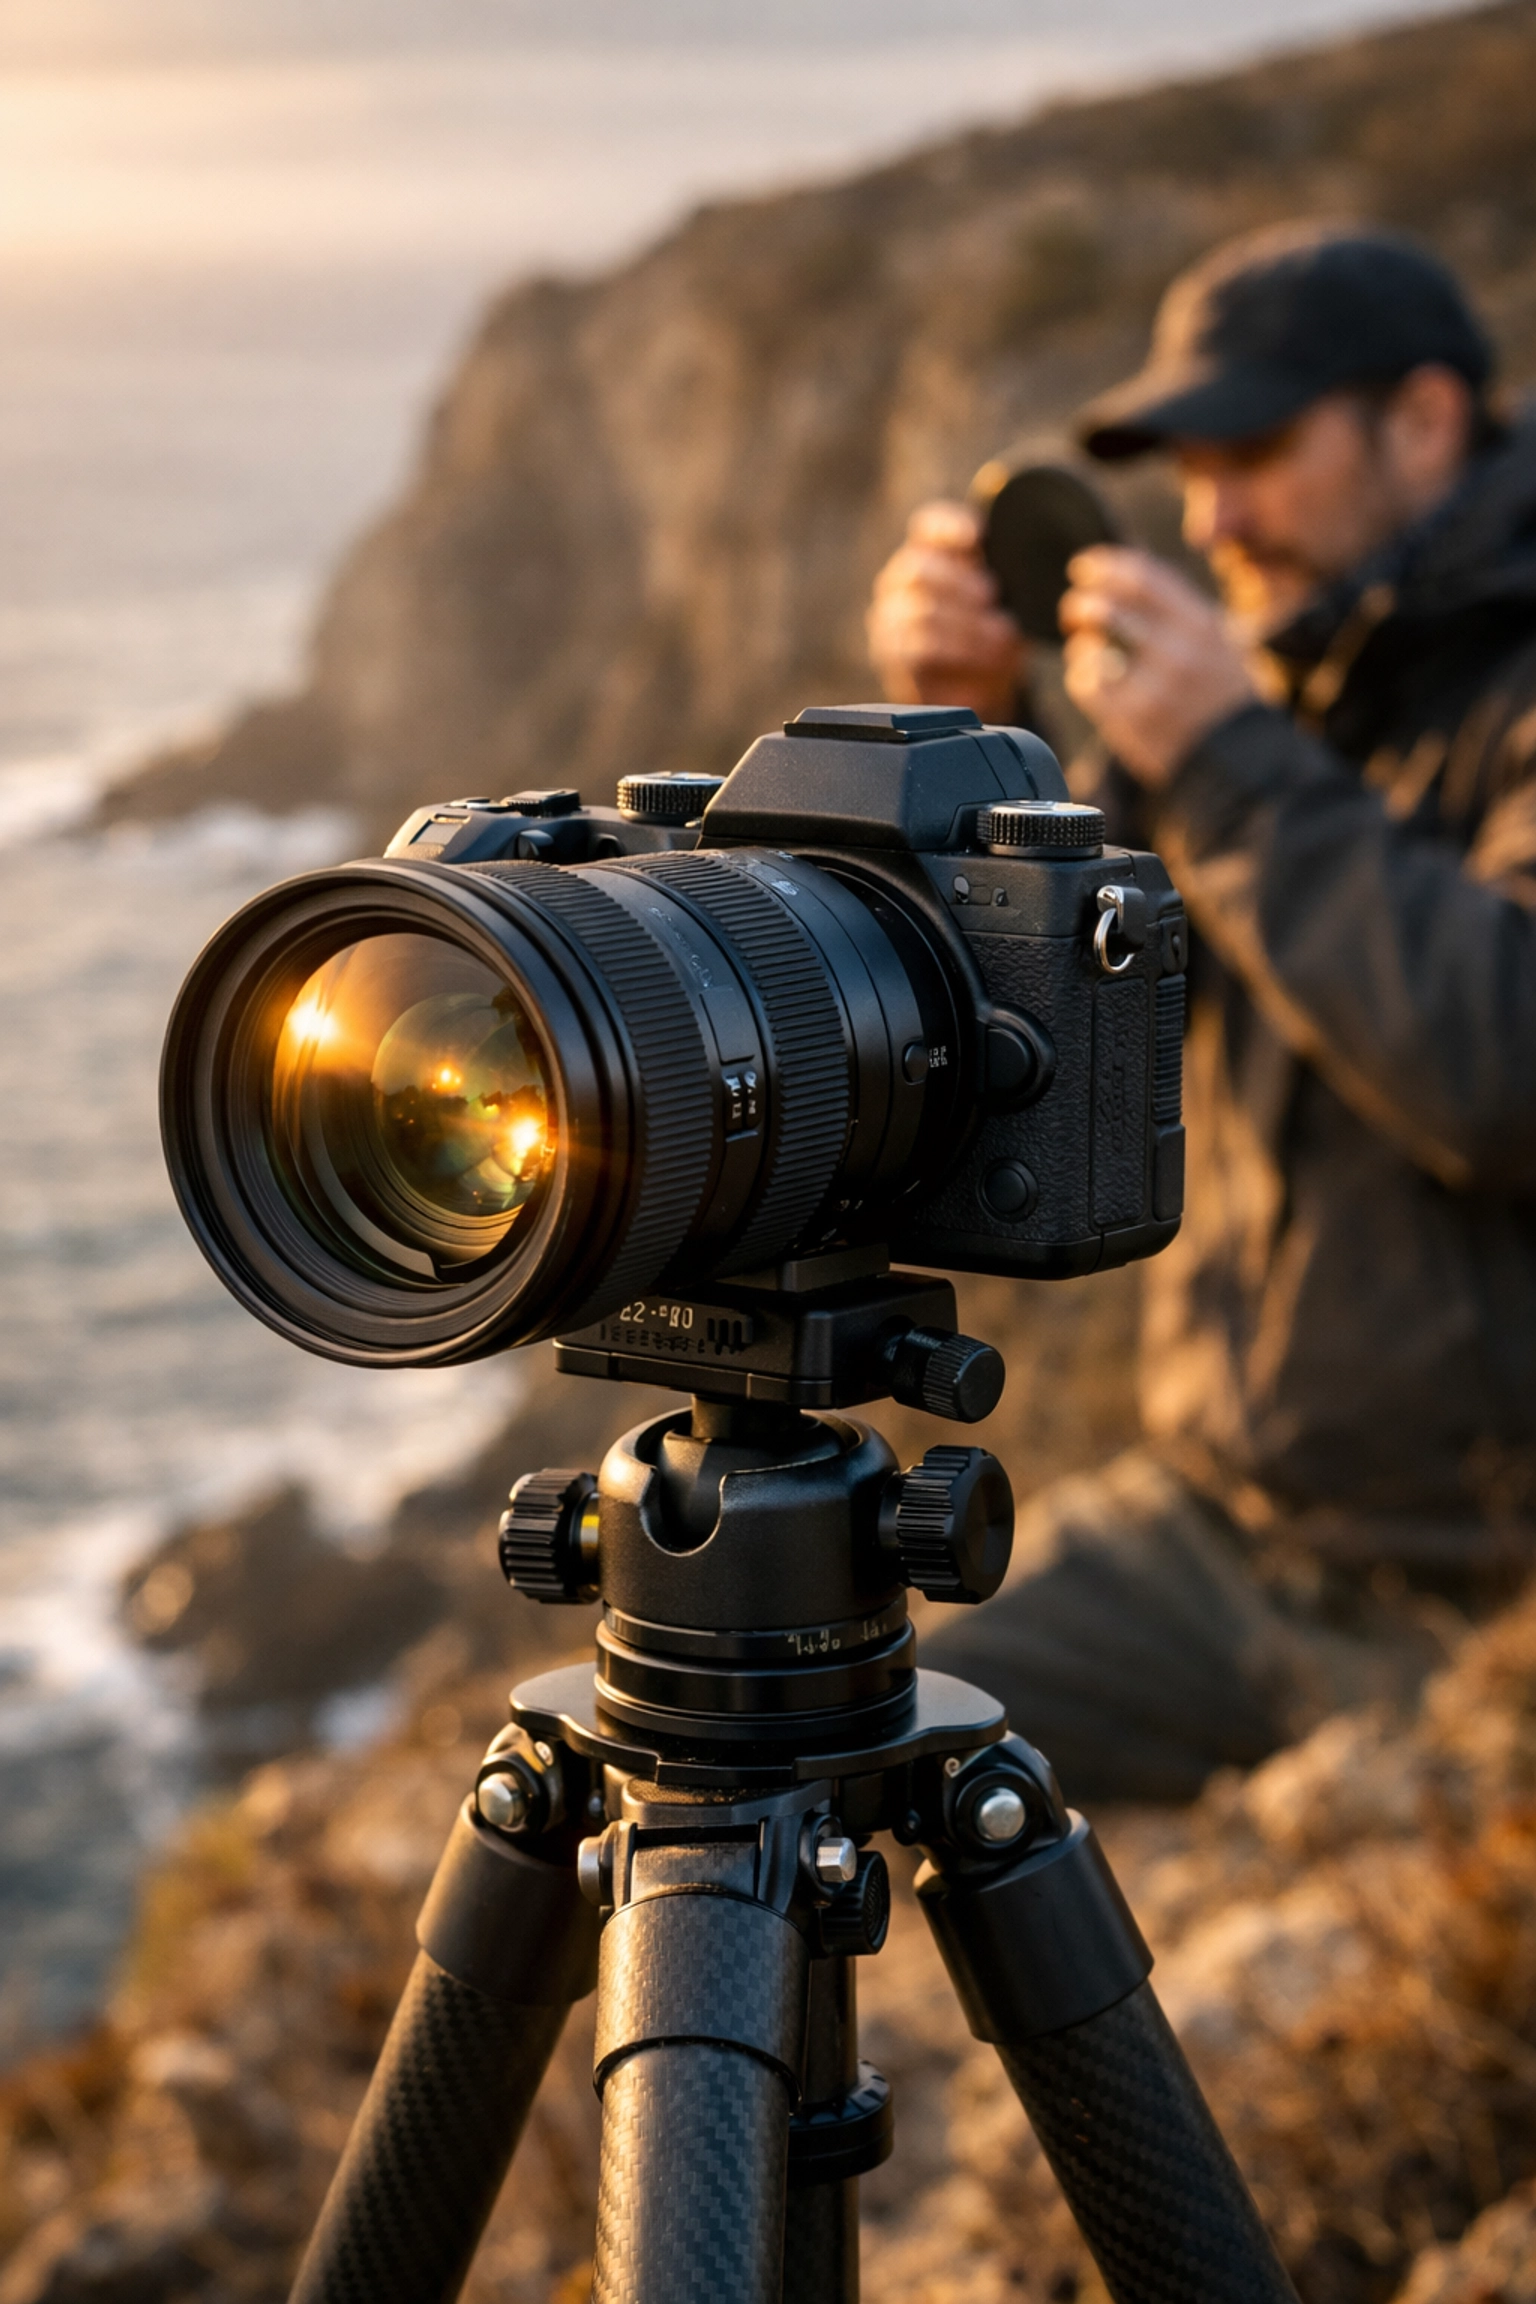
- Use a Tripod for Landscapes: Even if you think your hands are steady, a tripod ensures tack-sharp images, especially when using a slow shutter speed.
- Focus on the eyes: If you're taking a portrait, the eyes must be in sharp focus. If the eyes are blurry, the photo is usually a discard.
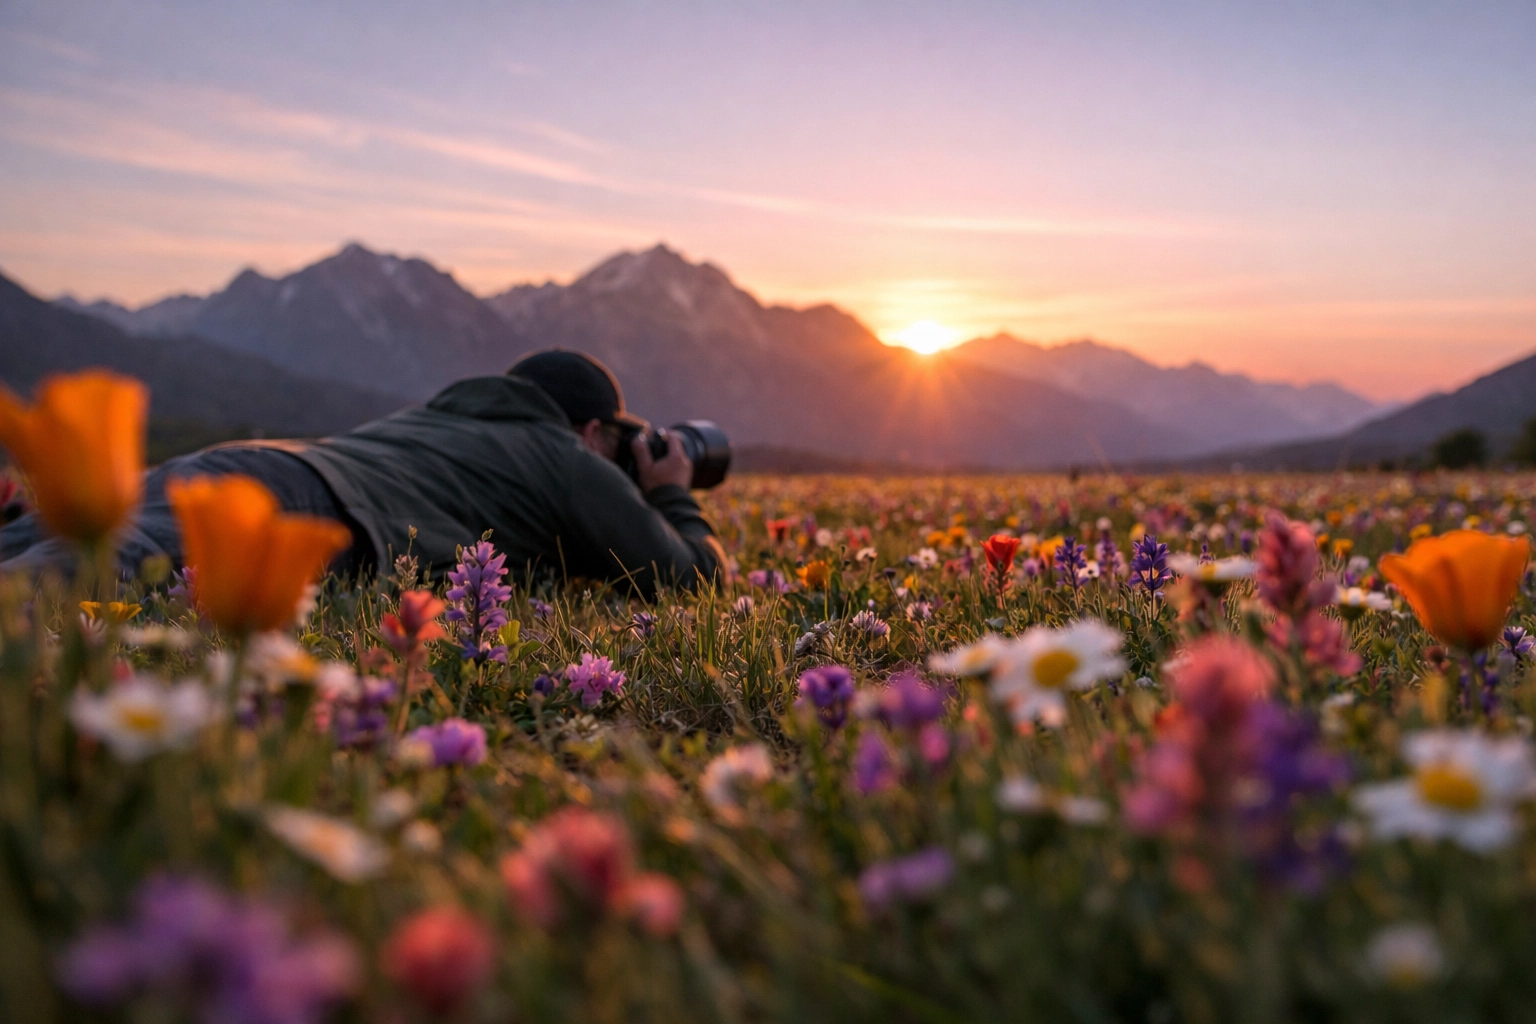
SEO Alt Text: A photographer lying on the ground to capture a low-angle shot of a field of wildflowers during sunset.
Final Thoughts on Learning Photography
Success in photography doesn't happen overnight. It’s a series of "bad" photos that eventually lead to one great one. The more you study photography tutorials, the faster that curve becomes.
Stick with us. Explore our archives, try out Luminar, and keep your camera bag packed. We are here to help you navigate everything from water photography basics to the most complex lighting setups.
Now, go out there, shut your aperture, and start creating something beautiful. The world is waiting to see it through your lens.


