

We’ve all been there. You’re standing on the edge of a canyon, or maybe a foggy beach at sunrise, and it looks like something straight out of a dream. You click the shutter, feeling like the next Ansel Adams, only to get home, open the file, and realize it looks… well, flat. Boring. Like a postcard from a gift shop you’d never actually buy.
Landscape photography is one of the most accessible genres, but it’s also one of the hardest to master. Why? Because nature doesn’t care about your framing. It doesn't move its mountains three feet to the left just because the light is better there. You have to do the work. Most of the time, the difference between a "snapshot" and a "photograph" comes down to one thing: composition.
If you’re struggling to capture the magic you see with your eyes, you’re probably making one of these seven common mistakes. Let’s break them down and get you back to bagging epic shots.
1. The "Kitchen Sink" Approach (Overcrowding the Frame)
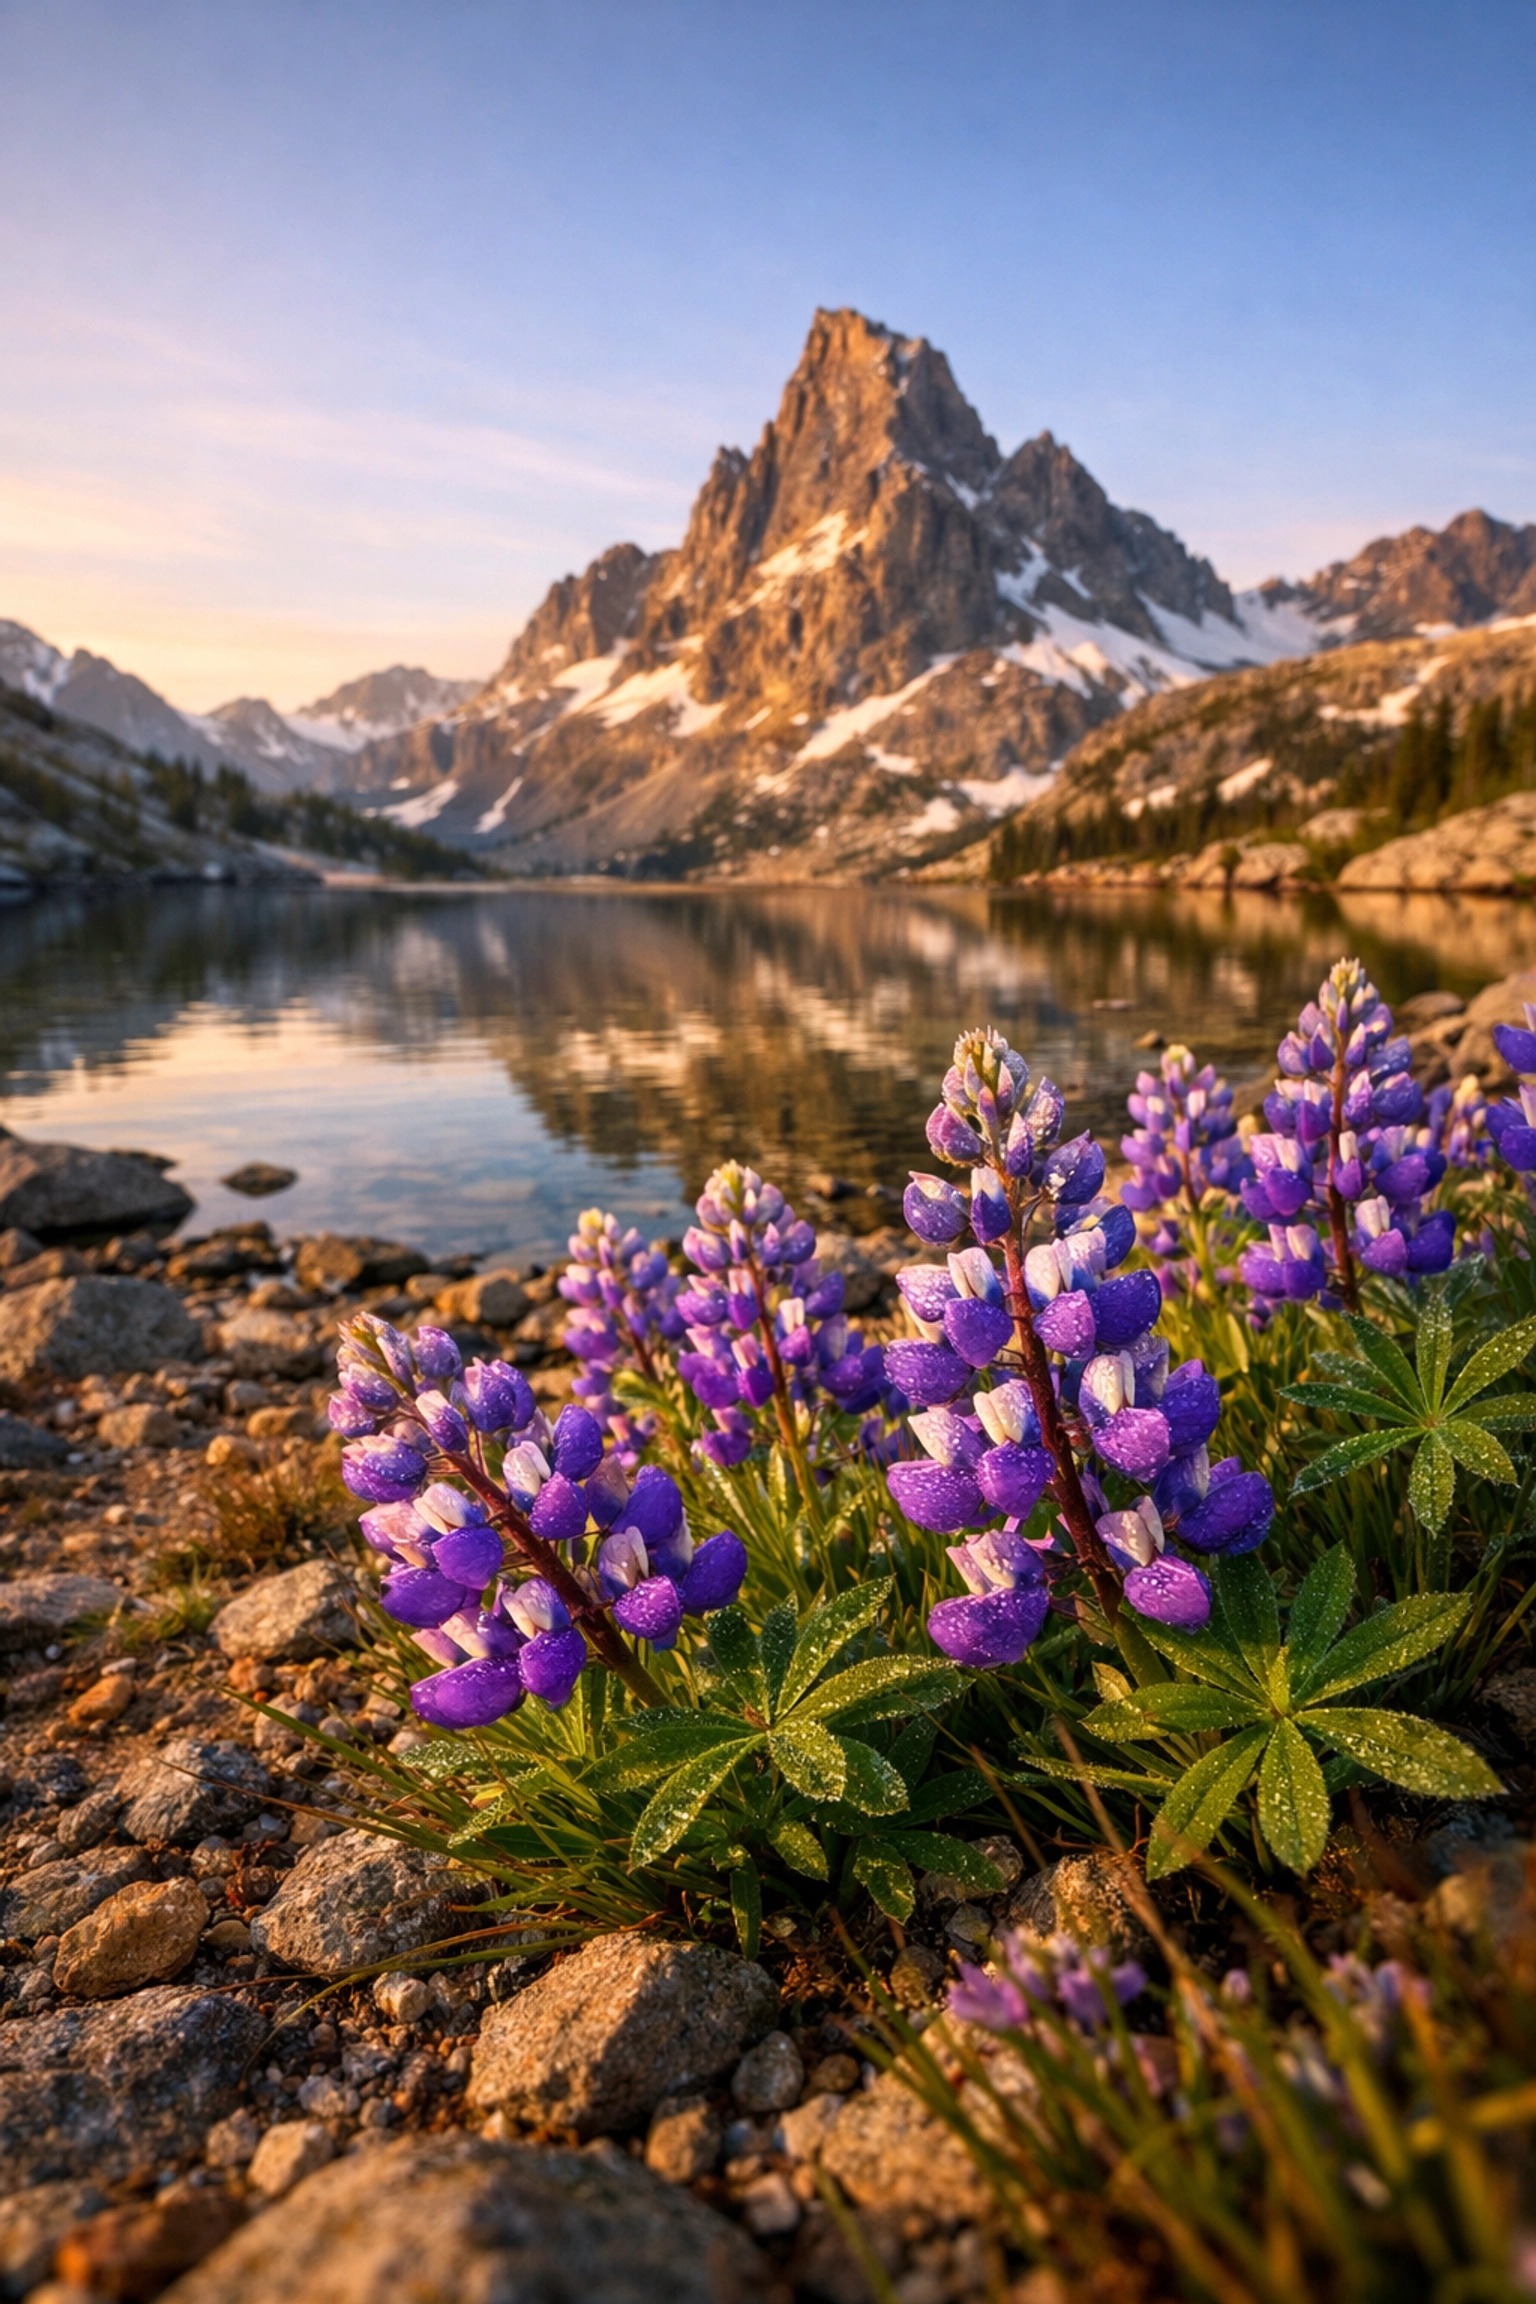
The most common mistake beginners make is trying to fit everything into one shot. You see a beautiful mountain, a crystal-clear lake, a field of wildflowers, and a cute little cabin. You think, "If I use my widest lens, I can get all of it!"
The result? Visual noise. When everything is in the frame, nothing is the subject. Your viewer’s eye wanders around the image like a lost tourist, not knowing where to land. It’s overwhelming and, frankly, a bit messy.
How to Fix It: Simplify and Isolate
Before you even touch your tripod, take a second to look at the scene. Ask yourself: "What is the one thing that made me stop and pull out my camera?" If it’s the reflection in the lake, focus on that. If it’s the texture of the mountain peak, maybe zoom in.
Give your main elements room to breathe. Don't let your subjects "touch" the edges of the frame, this creates what we call "tangents," which feel cramped and uncomfortable. Think of your composition like a room; if you put too much furniture in it, you can’t walk around. Leave some space. If you're just starting out, check out our guide on photography for beginners to help you understand how to control your camera while focusing on the art.
2. Neglecting Negative Space
Building on the "simplify" rule, a lot of photographers are terrified of empty space. They feel like every square inch of the sensor needs to be filled with "stuff." But negative space, like a vast, clear sky or a large expanse of still water, is actually a powerful compositional tool.
Negative space defines your subject. It gives the viewer’s eye a place to rest and emphasizes the scale of the landscape.
How to Fix It: Use the "Less is More" Philosophy
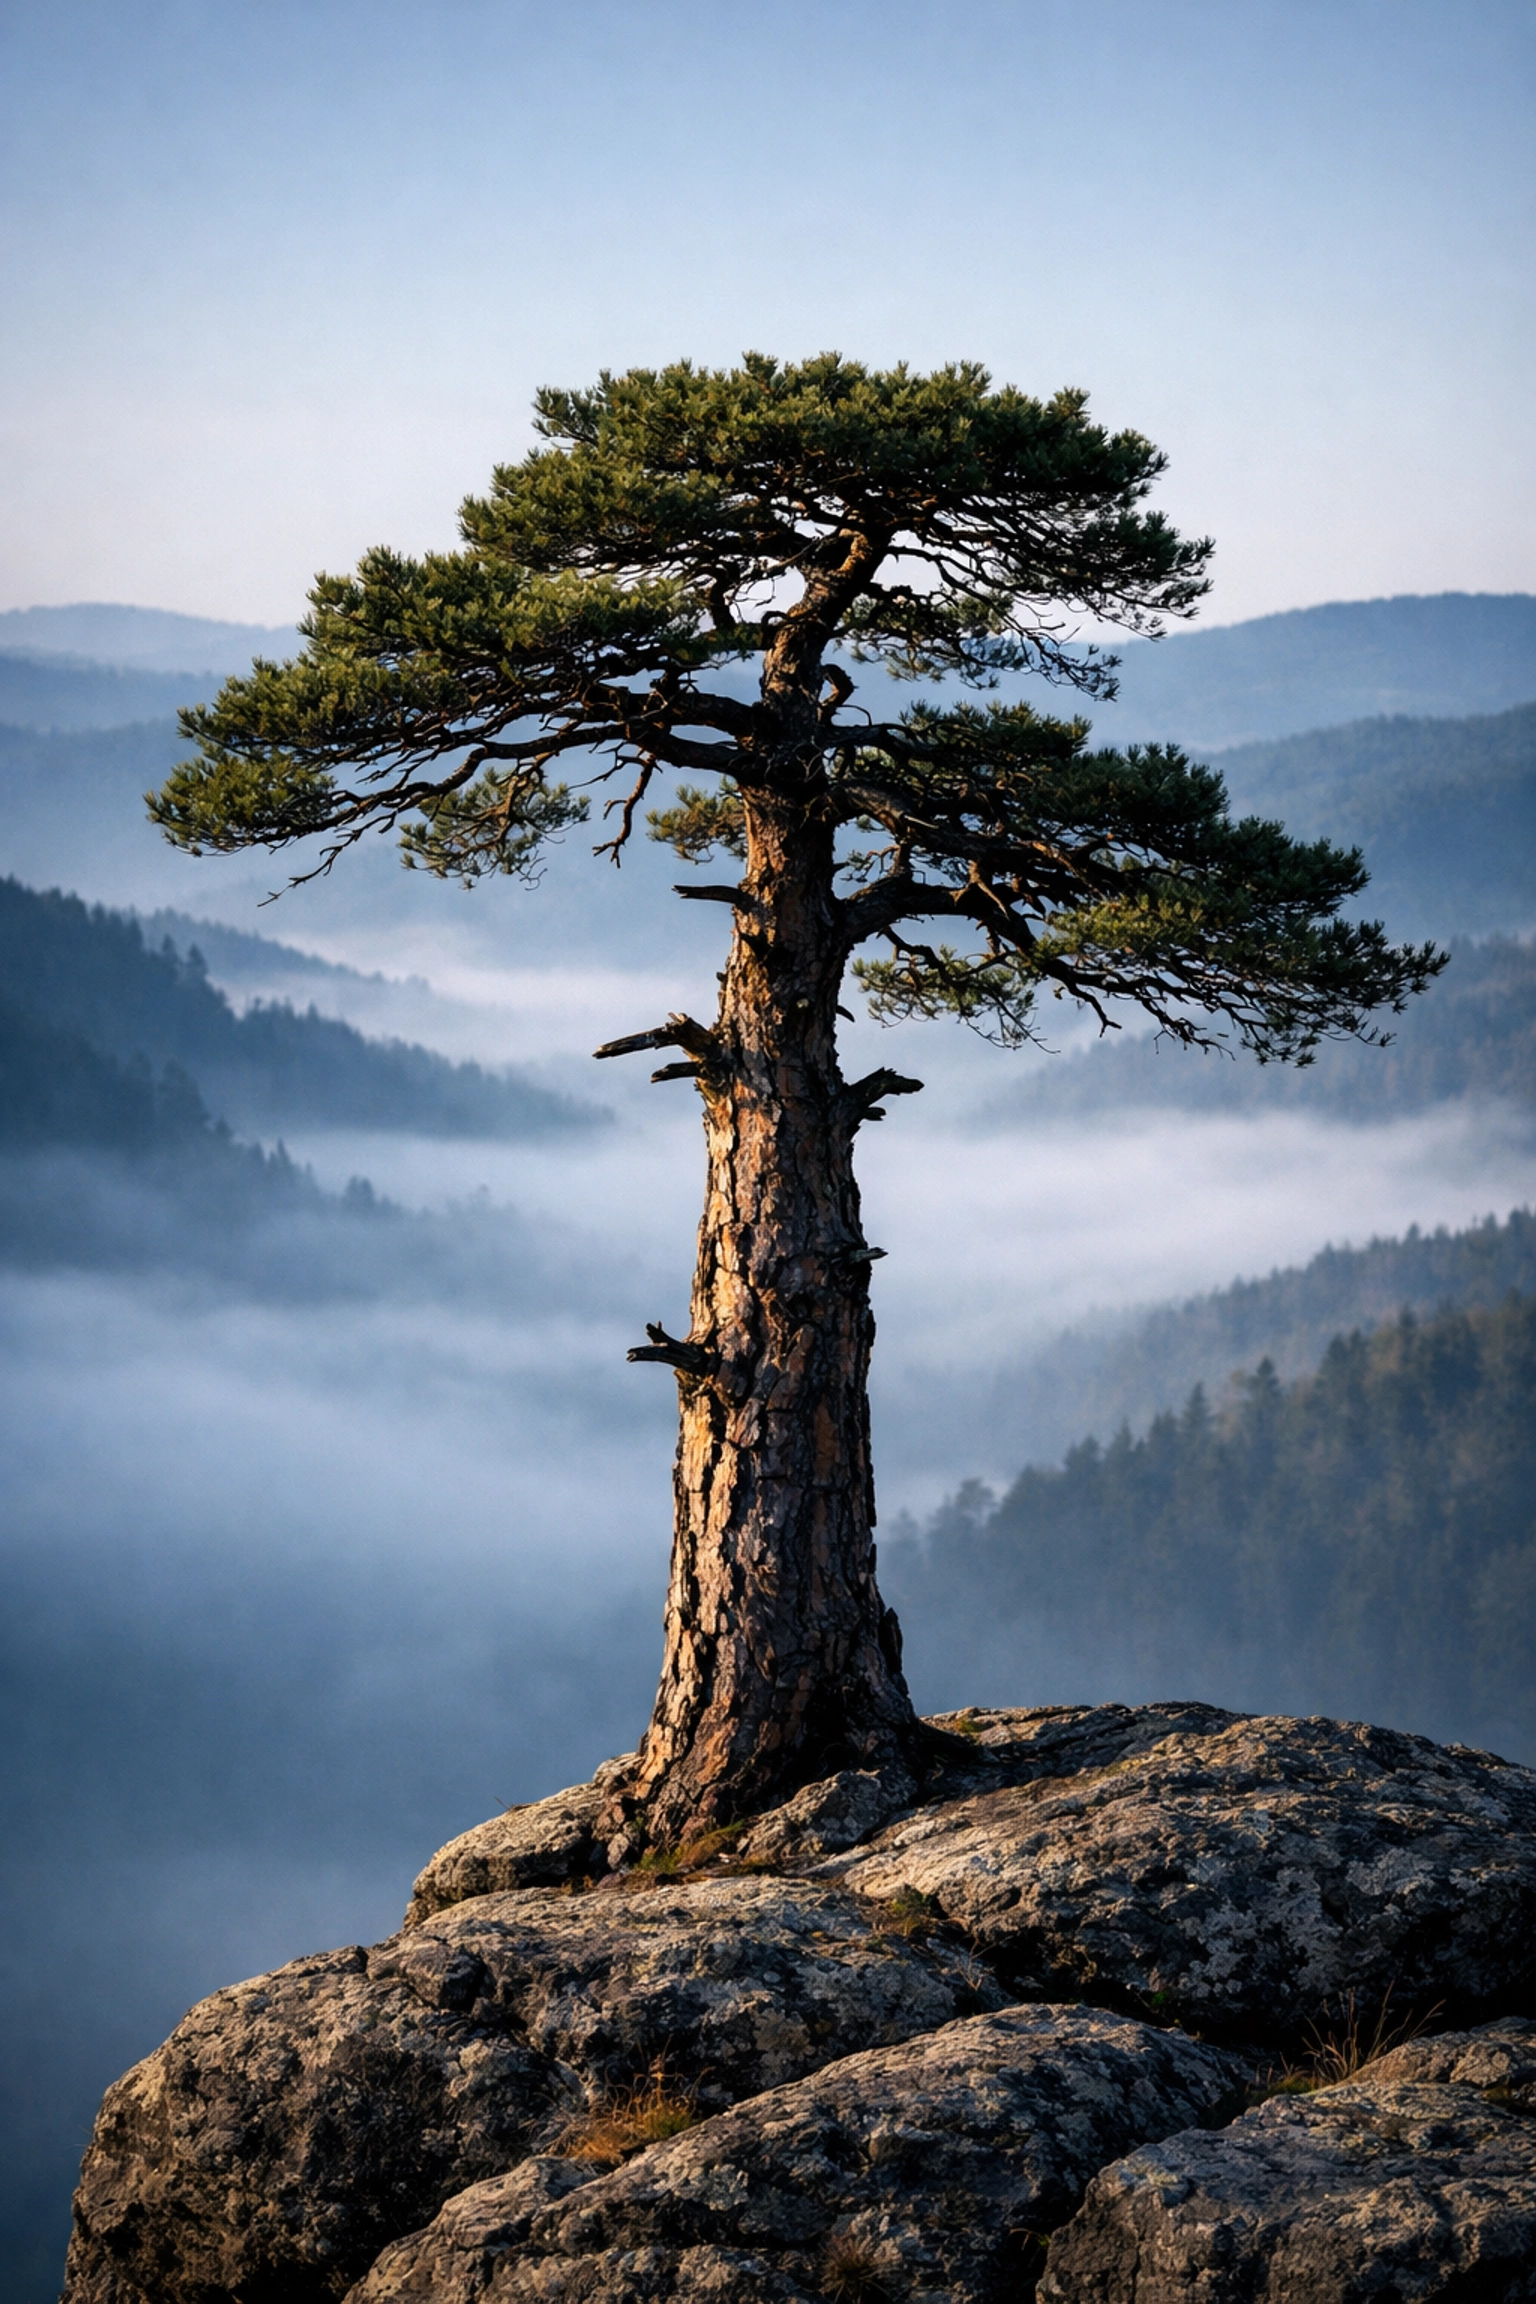
Try composing a shot where the subject only takes up a small portion of the frame. This is especially effective for creating a sense of solitude or grand scale. Imagine a tiny lone tree in a massive field of snow. The snow (negative space) tells the story just as much as the tree does. For more ideas on how to use space creatively, you might find inspiration in our post about street photography ideas, which covers similar compositional ground in a different setting.
3. Lacking a Strong Foreground Element
If you’ve ever taken a photo of a stunning mountain range only to find it looks tiny and far away in the final image, you probably missed a foreground element. Wide-angle lenses are great for capturing a big view, but they also push things into the distance. Without something close to the camera, the image lacks depth and feels two-dimensional.
How to Fix It: Find an "Anchor"
You need a "hook" to pull the viewer into the scene. Look for a rock, a patch of flowers, a piece of driftwood, or even leading lines in the sand.
Get low. Like, "dirt-on-your-knees" low. By getting close to a foreground object, you create layers: foreground, middle ground, and background. This creates a 3D effect that makes the viewer feel like they could walk right into the photo. This is a core pillar of our ultimate guide to landscape photography.
4. Bisecting the Frame (The Middle Horizon Trap)
It is our natural instinct to put the horizon line right in the middle of the frame. It feels balanced, right? Wrong. In most cases, putting the horizon in the dead center cuts the image in half and makes it look static and boring. It forces the viewer to choose between the top and bottom halves, rather than seeing them as a cohesive whole.
Also, please: for the love of all that is holy: keep your horizons straight. A tilted ocean is the fastest way to ruin a professional shot.
How to Fix It: The Rule of Thirds (and Beyond)
The Rule of Thirds is your best friend here. Imagine your frame is divided into a 3×3 grid. Place your horizon on the top third line if the ground is more interesting, or on the bottom third line if the sky is the star of the show.
If you have an incredible sunset with dramatic clouds, give the sky two-thirds of the frame. If you have amazing textures in the foreground rocks, give the land two-thirds. If you find yourself struggling with these rules in the field, check out more photography tutorials to sharpen your eye.

5. Ignoring the "Light Path"
Composition isn't just about where you place the physical objects; it’s about where you place the light. A common mistake is composing a shot without considering how the light interacts with the elements. The human eye is naturally drawn to the brightest part of an image. If the brightest part is a random cloud in the corner rather than your subject, your composition is broken.
How to Fix It: Compose with the Sun
Pay attention to how shadows and highlights create lines. Side-lighting (common during the "Golden Hour") is fantastic because it creates long shadows that emphasize texture and form.
Use light to lead the eye. Maybe there’s a "path" of sunlight hitting a ridge that leads directly to a mountain peak. That’s a "light path." If the light isn't perfect in the field, you can often save or enhance these elements in post-processing. I personally use Luminar to dodge and burn, accentuating the natural light flow to make the composition pop. For more tips on post-processing, check out our guide on fixing photo editing mistakes.
6. Messy Edges and Distracting Tangents
This is the "pro level" mistake that separates the amateurs from the veterans. You get so focused on your subject that you don't notice the stray branch poking in from the left or the half-cutoff rock at the bottom of the frame. These "edge distractions" act like visual magnets, pulling the viewer's eyes away from your subject and out of the photo entirely.
How to Fix It: The "Four-Corner Check"
Before you press the button, make it a habit to look at the four corners of your viewfinder. Scan the edges of the frame. Is there anything there that shouldn't be? If there’s a distracting element, move your tripod a few inches, zoom in slightly, or change your angle to crop it out in-camera.
It’s much easier to fix this while you’re standing in the field than it is to try and clone it out later. For more advice on high-end techniques, you can visit PhotoGuides.org for deep dives into specific landscape scenarios.
7. Having No Clear Main Subject
This might sound obvious, but it’s the most frequent issue in landscape photography. A beautiful view is not a subject. A subject is a specific point of interest. Without a clear subject, the viewer doesn't know where to look, and the photo feels aimless.
Think of it this way: if you had to describe your photo in three words, and "mountain" or "tree" isn't the primary one, you might not have a subject. "A pretty sunset" is a setting, not a subject.
How to Fix It: The "Why" Test
Before you click the shutter, ask yourself: "What is the hero of this photo?" Once you identify the hero (the subject), every other element in the frame should be there to support it. Leading lines should point to it. The Rule of Thirds should highlight it. Light should hit it.
If you can’t find a clear subject, keep walking. Sometimes the best thing you can do for your composition is to keep your camera in the bag until you find a story worth telling.
Bonus: Tools to Enhance Your Composition
While composition is a mental game, having the right tools can help you execute your vision.
- A Sturdy Tripod: You can’t fine-tune your edges or check your corners if you’re wobbling around. A tripod slows you down and forces you to be intentional.
- Circular Polarizers: These help cut glare on water or foliage, allowing the "true" composition and colors to shine through.
- Post-Processing Software: Sometimes you need a little help to guide the viewer’s eye. Using Luminar can help you emphasize your leading lines and clean up minor distractions. It’s a great way to refine the "visual hierarchy" of your shot.
- Filters: ND filters allow for long exposures, which can turn "messy" water or clouds into smooth negative space, simplifying your composition instantly.

The Human Element and Scale
One "secret" tip for landscape composition is adding a human element. While we often think of landscapes as pristine wilderness, adding a person (even just a small silhouette in the distance) provides an immediate sense of scale. It gives the viewer a "proxy" to imagine themselves in the scene.
If you want to see how this translates to other genres, take a look at our ultimate guide to portrait photography. While the subjects are different, the rules of light and placement are surprisingly similar.
Bringing It All Together
Landscape photography is a puzzle. You have all these pieces: light, land, sky, foreground: and your job is to fit them together into a single, cohesive frame.
Mistakes are part of the process. I’ve taken thousands of photos with crooked horizons and messy edges. The key is to stop and analyze your work. Look at your old photos and try to identify which of these seven mistakes you made.
- Did you try to fit too much in?
- Did you forget the foreground?
- Was your horizon stuck in the middle?
Once you start seeing these mistakes in your past work, you’ll stop making them in your future work. And that’s when the "epic" shots start happening.
If you're hungry for more gear news and how it affects your shooting, stay updated with the latest camera releases and software updates. It’s always good to know what new tech can help you overcome the physical limitations of the field.
You can also check out more of Edin’s work over at EdinFineArt.com or read his personal insights on blog.edinchavez.com. Getting out there and seeing how pros handle these same challenges is the best way to learn.
Now, grab your gear, find a horizon, and remember: keep it simple, find an anchor, and watch those corners!


