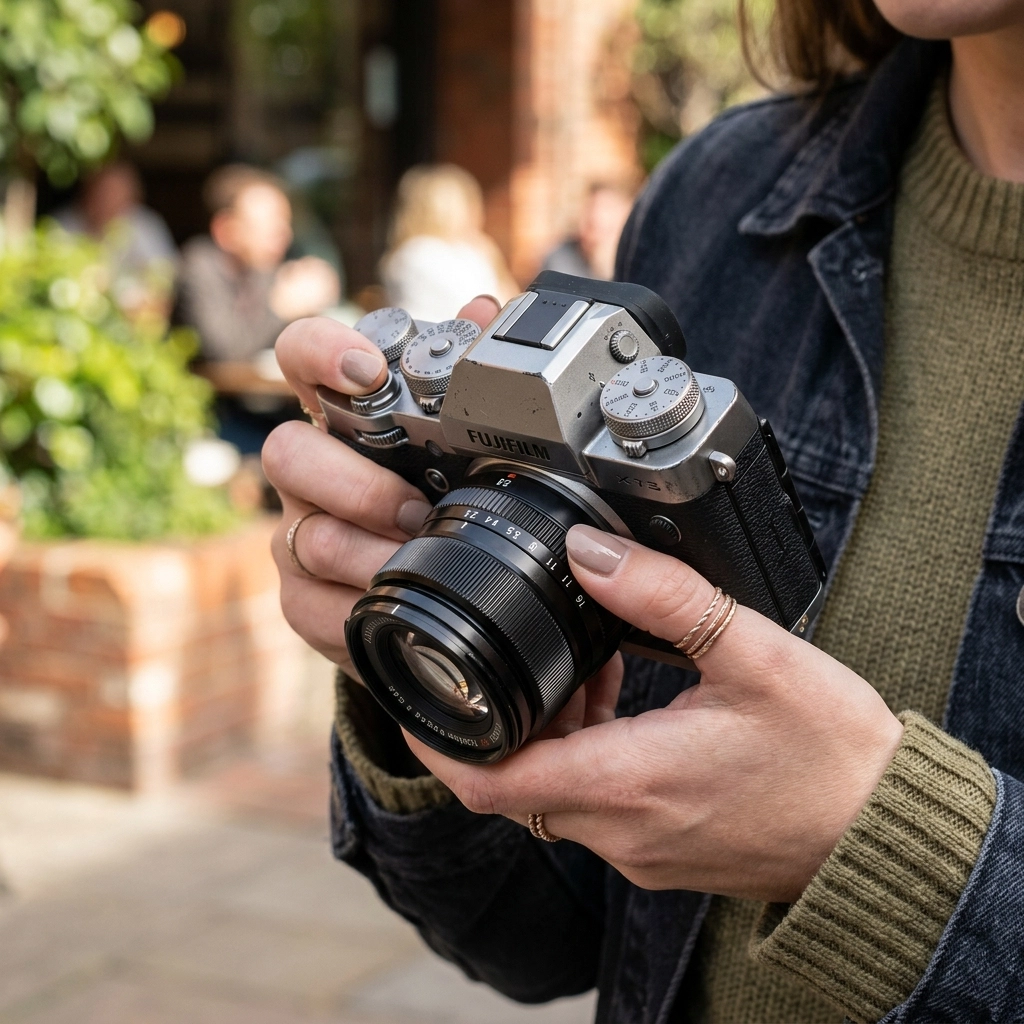
Let’s be real for a second. You bought a fancy camera because you wanted those blurry backgrounds and crisp, professional-looking shots. But the moment you took it out of the box and switched the dial to "M," everything went black. Or maybe everything went white. Either way, it wasn't the masterpiece you imagined.
Most people get intimidated by manual mode and crawl back to the safety of "Auto" faster than a cat hitting water. But here’s the secret: Manual mode isn't about being a math genius or a technical wizard. It’s about taking the steering wheel away from the computer inside your camera and deciding for yourself how your memories should look.
At Shut Your Aperture, we believe photography should be fun, not frustrating. If you’ve been wondering why everyone is talking about mirrorless cameras in 2026, it’s because these new tools make learning manual mode easier than ever.
In this guide, I’m going to break down the "Big Three" settings, Aperture, Shutter Speed, and ISO, without the boring textbook jargon. By the end of this, you’ll be able to twist those dials with confidence.
The Exposure Triangle: Your New Best Friends
Think of exposure like baking a cake. If you leave it in the oven too long (too much light), it burns. If you don't use enough heat (not enough light), it’s raw. To get a perfect "bake," you need to balance three things: Aperture, Shutter Speed, and ISO. This is what photographers call the Exposure Triangle.
1. Aperture: The Eye of the Lens
Aperture is basically the "pupil" of your camera lens. Just like your eyes, it opens wide when it’s dark and shrinks when it’s bright. In the photography world, we measure this in "f-stops" (like f/1.8, f/5.6, or f/11).
Here is where it gets a little weird: Small numbers mean a big opening, and big numbers mean a small opening.
- Low f-stop (f/1.8, f/2.8): The lens is wide open. This lets in a ton of light and creates that creamy, blurry background (called "bokeh") that everyone loves. This is perfect for portraits.
- High f-stop (f/11, f/16): The lens opening is tiny. This lets in less light but keeps everything from the foreground to the background in sharp focus. This is what you want for landscapes.
If you’re looking for deeper technical dives on lenses, check out Shut Your Aperture.
 Save
Save
2. Shutter Speed: The Speed of Light
Shutter speed is exactly what it sounds like: how fast the camera’s shutter blinks. It’s measured in fractions of a second (like 1/500 or 1/60).
- Fast Shutter Speed (1/500, 1/1000): This "freezes" time. If you’re shooting a splashing wave or a dog running, you need a fast shutter speed so the subject isn't a blurry mess.
- Slow Shutter Speed (1/30, 1/2, or several seconds): This lets in light for a longer time. Anything moving while the shutter is open will look blurry. This is how photographers get those silky-smooth waterfall shots or light trails from cars at night.
Pro Tip: If you’re holding the camera with your hands (not using a tripod), try not to go slower than 1/60. Any slower, and the natural shake of your hands will make the whole photo blurry. For more tips on keeping things sharp, jump over to blog.edinchavez.com.
3. ISO: The Light Booster
ISO is your camera’s sensitivity to light. Back in the day, this was about the type of film you bought. Now, it’s a digital setting.
- Low ISO (100-400): Use this when you have plenty of light (like outdoors during the day). It gives you the cleanest, highest-quality images.
- High ISO (1600, 3200, 6400+): Use this when it’s dark. It boosts the light digitally, but there’s a trade-off: it adds "noise" or grain to your photo. It can make your image look a bit "crunchy."
Save
How to Shoot in Manual Without Losing Your Mind
Alright, you know what the buttons do. Now, how do you actually use them together? Don't try to change all three at once. That’s a recipe for a headache. Instead, follow this simple 3-step workflow.
Step 1: Decide on your "Look" (Aperture First)
Ask yourself: Do I want a blurry background or a sharp one?
If you’re shooting a person, set your Aperture to something low (like f/2.8). If you’re shooting a mountain range, set it to something high (like f/11). Set this first and leave it alone for a bit.
Step 2: Check Your Subject (Shutter Speed Second)
Is your subject moving?
If you’re shooting a kid playing soccer, you need a fast shutter speed (at least 1/500). If you’re shooting a stationary flower, you can go slower (like 1/125). Dial this in based on the motion in your frame.
Step 3: Balance the Scale (ISO Last)
Now, look through your viewfinder. You’ll see a little horizontal line with a "0" in the middle. This is your Exposure Meter.
- If the ticker is moving toward the minus (-) side, your photo is too dark.
- If the ticker is moving toward the plus (+) side, your photo is too bright.
Since you’ve already picked your Aperture and Shutter Speed for creative reasons, use your ISO to move that ticker back to the "0". If it’s too dark, turn the ISO up. If it’s too bright, turn the ISO down.
Practice Scenarios: Manual Mode Cheat Sheet
Sometimes it helps to have a starting point. Here are a few "recipes" for common situations:
The Sunny Day Portrait:
- Aperture: f/2.8 (for that blur)
- Shutter Speed: 1/1000 (because it’s bright out)
- ISO: 100
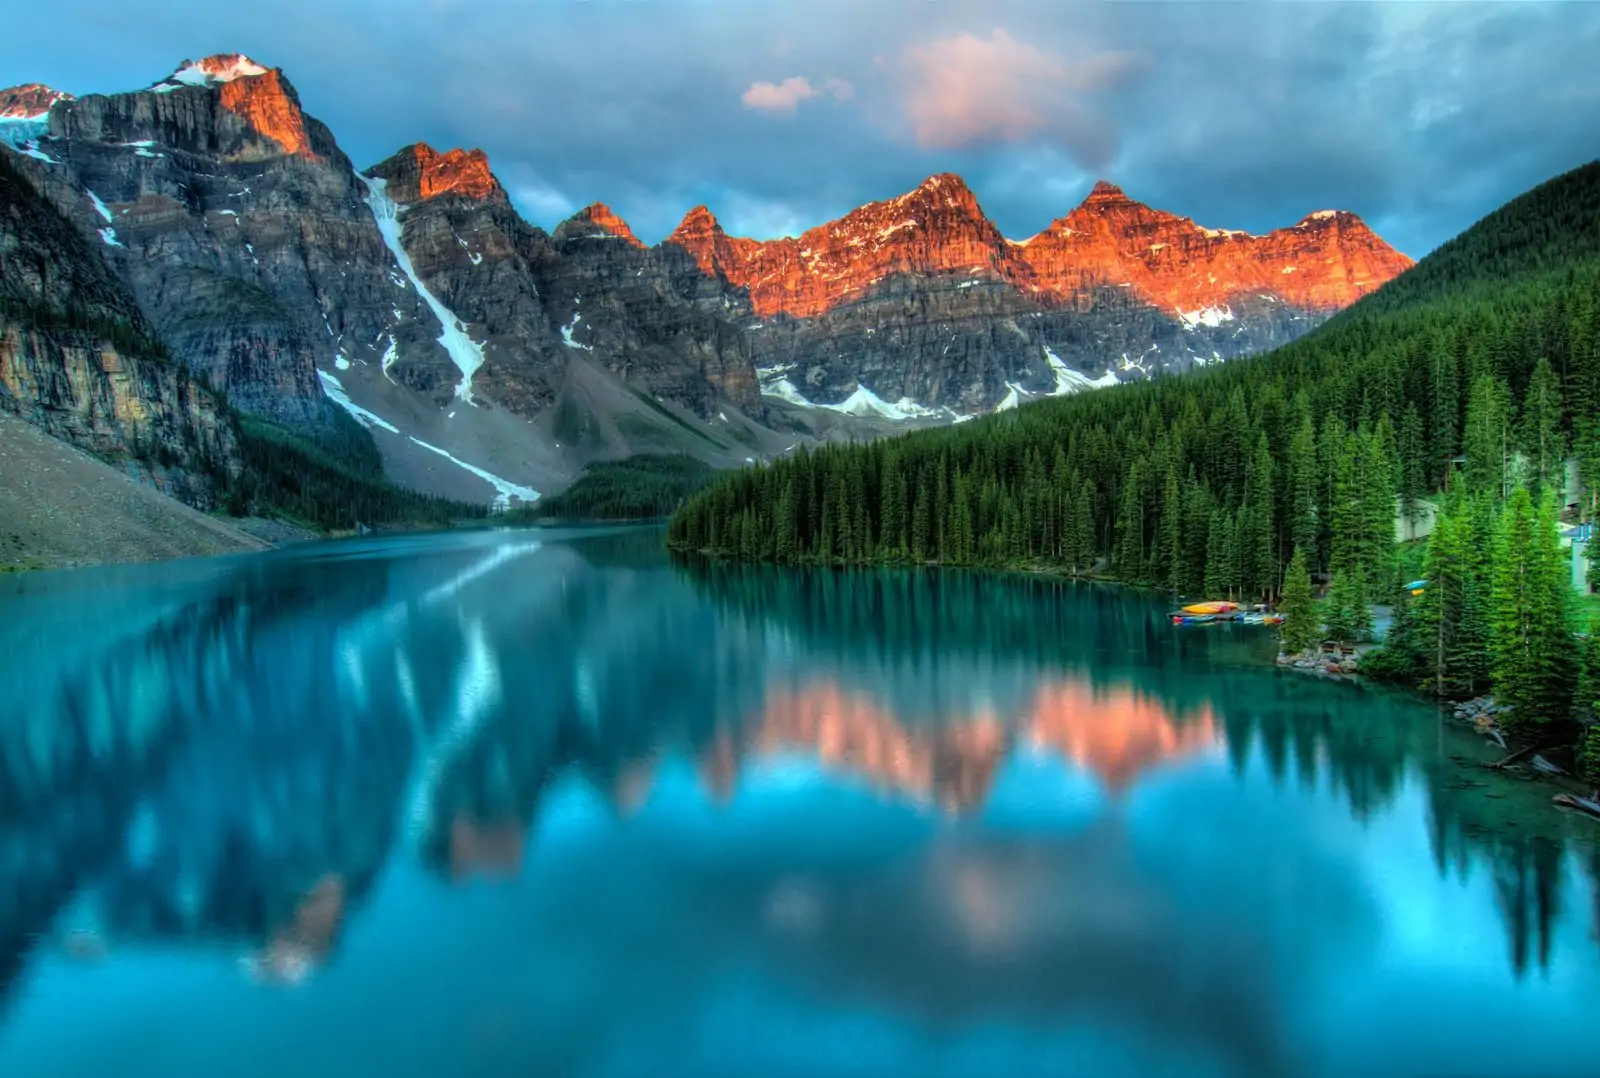
The Sunset Landscape:
- Aperture: f/11 (to keep the mountains sharp)
- Shutter Speed: 1/60 (assuming you have a steady hand)
- ISO: 400 (to help as the sun goes down)
The Dark Room / Indoor Party:
- Aperture: f/1.8 (let in all the light you can!)
- Shutter Speed: 1/125 (to keep people from being blurry when they move)
- ISO: 1600 or 3200 (you’ll need the boost)
If you find that your photos are looking a bit flat even after getting the exposure right, that’s where post-processing comes in. I always recommend using Luminar for quick, AI-powered edits that make your manual shots pop. If you're just starting out with editing, check out our Photo Editing Tutorials 101.
Why Bother with Manual Mode Anyway?
You might be thinking, "Edin, my iPhone does this automatically. Why am I twisting dials like it’s 1995?"
Because Auto mode is a guesser. It doesn't know you want the background blurry; it just sees a dark scene and tries to make everything bright. It doesn't know you want to show the movement of a waterfall; it just tries to stop the motion.
Manual mode is how you develop a "style." It's how you go from "taking a picture" to "making a photograph." Plus, once you master the basics, you can start exploring niche fields like real estate photography. We even have a Real Estate Lightroom Preset Collection to help you get that professional look instantly.
Save
Common Mistakes to Avoid
- Ignoring the Meter: Beginners often forget to look at the exposure meter in the viewfinder. If you don't look at it, you're just guessing in the dark.
- Fear of High ISO: People are terrified of "noise." Look, a grainy photo is better than a blurry, unusable photo. Don't be afraid to push that ISO to 3200 if you need to.
- Forgetting to Reset: You finish shooting in a dark room and head outside into the sun. If you don't reset your settings, your first shot outside will be a solid block of white. Always "zero out" your settings when the light changes.
I was chatting with Sonny, our Social Media Manager, about this the other day, and we're going to be posting some quick "cheat sheet" videos on our Instagram to help you visualize these settings. So, keep an eye out for those!
Technical Gear and Manual Mode
Whether you are using a DSLR or a mirrorless camera, the principles are the same. However, mirrorless cameras have a "Live View" or an Electronic Viewfinder (EVF). This is a game-changer for beginners. In a mirrorless camera, when you change your shutter speed, you actually see the screen get darker or brighter in real-time. It takes the guesswork out of the equation.
If you’re looking to upgrade your gear or find the best tools for the job, head over to our resources page.
And hey, if you’re already getting the hang of manual mode and want to take your editing to the next level, our Ultimate Lightroom Preset Collection is designed to work perfectly with RAW files shot in manual mode.
The Secret Ingredient: Practice
You aren't going to get this on your first try. You’re going to take some photos that are way too dark and some that look like a nuclear explosion of light. That’s okay. That’s how you learn.
Pick one subject: maybe your dog, a coffee mug, or a tree in your yard: and spend 20 minutes just changing one setting at a time. See what happens when you go from f/2.8 to f/22. Watch how the background changes. See what happens when you change the shutter speed.
If you feel like you’ve captured something truly awesome, don't keep it to yourself! We love seeing what our community creates. You can even submit your work to be featured.
Manual mode isn't a chore; it’s the key to the kingdom. It’s what separates the hobbyists from the pros. It gives you the power to capture the world exactly the way you see it, not just how the camera thinks it should look.
If you run into any trouble or have questions about a specific camera model, feel free to contact us. We’re always here to help you shut your aperture and open your creativity.
Save
Final Thoughts on Mastering the Dials
By now, "Aperture, Shutter Speed, and ISO" should feel a little less like a foreign language and more like a set of tools in your belt. Remember:
- Aperture = Depth (Blurry vs. Sharp)
- Shutter Speed = Motion (Frozen vs. Flowy)
- ISO = Light Sensitivity (Clean vs. Grainy)
Once you get these down, the sky is the limit. You can move into specialized tutorials, like our Fine Art Nude Photography Tutorial with Tatiana Isakova, or learn how to fly with our DJI Drone Lightroom Presets.
The most important thing is to keep that camera in your hand. Manual mode becomes muscle memory faster than you think. Soon, you won't even be thinking about the numbers; you'll just be thinking about the art.
Now, go grab your camera, find some light, and start messing around. The best way to learn is to make mistakes: so go make some beautiful ones! For more inspiration and professional tips, don't forget to visit www.edinstudios.com and www.proshoot.io.


