
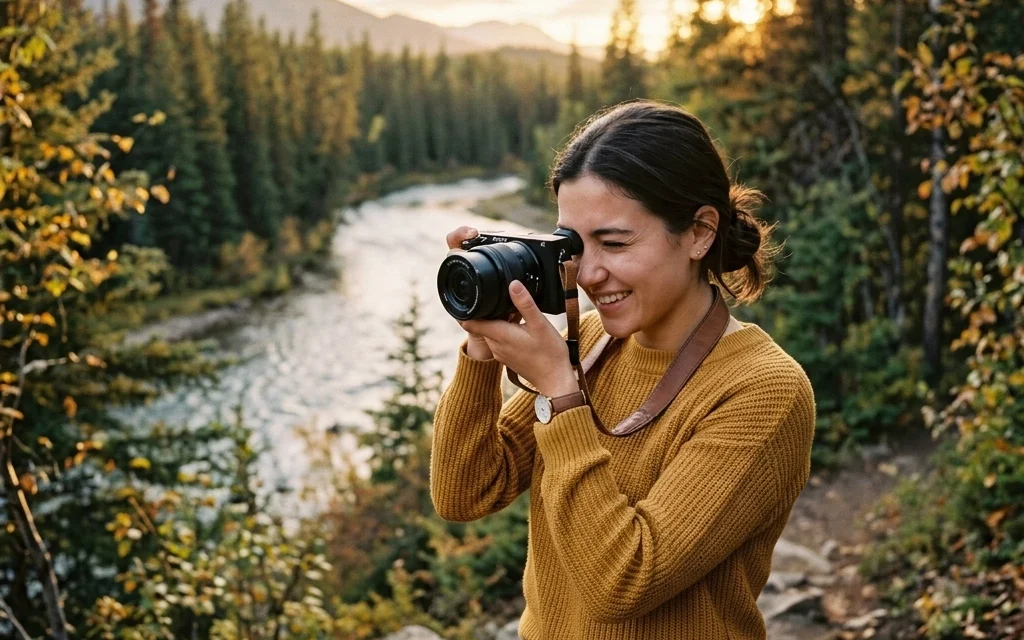
So, you finally did it. You stopped using your phone for everything and bought a "real" camera. Maybe it was a gift, or maybe you finally decided to drop some cash on a DSLR or mirrorless body after scrolling through Instagram for too many hours. Either way, welcome to the club.
Right now, looking at all those buttons, dials, and menus probably feels like sitting in the cockpit of a 747. It’s intimidating. You might even be tempted to leave it on that little green "Auto" icon and never look back. Don't do that. You didn't buy a Ferrari just to drive it to the grocery store at 20 mph.
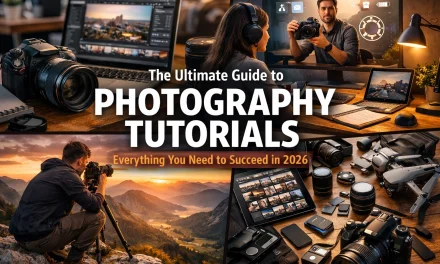
This guide is designed to take you from "I have no idea what I’m doing" to "I actually meant to do that." We’re going to break down the technical stuff into simple, bite-sized pieces so you can start taking the kind of photos you actually want to hang on your wall.
Choosing Your Weapon: DSLR vs. Mirrorless
Before we dive into the settings, let’s talk about the gear. If you haven't bought a camera yet or you’re wondering what you’re holding, there are two main players today: DSLRs and Mirrorless cameras.
Digital Single-Lens Reflex (DSLR) cameras have been the gold standard for decades. They use a mirror to reflect light into an optical viewfinder. When you click the shutter, the mirror flips up, and the light hits the sensor. They’re rugged, have great battery life, and there are millions of used lenses available for them.
Mirrorless cameras are the new kids on the block (though they’ve been around a while now). They ditch the mirror, making them smaller and lighter. The big perk? What you see on the screen or in the electronic viewfinder is exactly what the photo will look like. It’s like having a live preview of your final shot.
Regardless of what you have, the fundamentals are the same. Whether you’re rocking a vintage Nikon or the latest Sony, the way light works doesn't change. If you're still looking for inspiration on what to shoot once you've picked your gear, check out these 25 creative street photography ideas.
The Holy Trinity: The Exposure Triangle
If you learn nothing else today, learn this: Exposure is everything. A photograph is just a recording of light. To get a perfect image, you need to control how much light hits your camera sensor.
This is controlled by three things, known as the Exposure Triangle:
- Aperture
- Shutter Speed
- ISO
Think of it like a three-legged stool. If you change one leg, you have to adjust the others to keep the stool level.
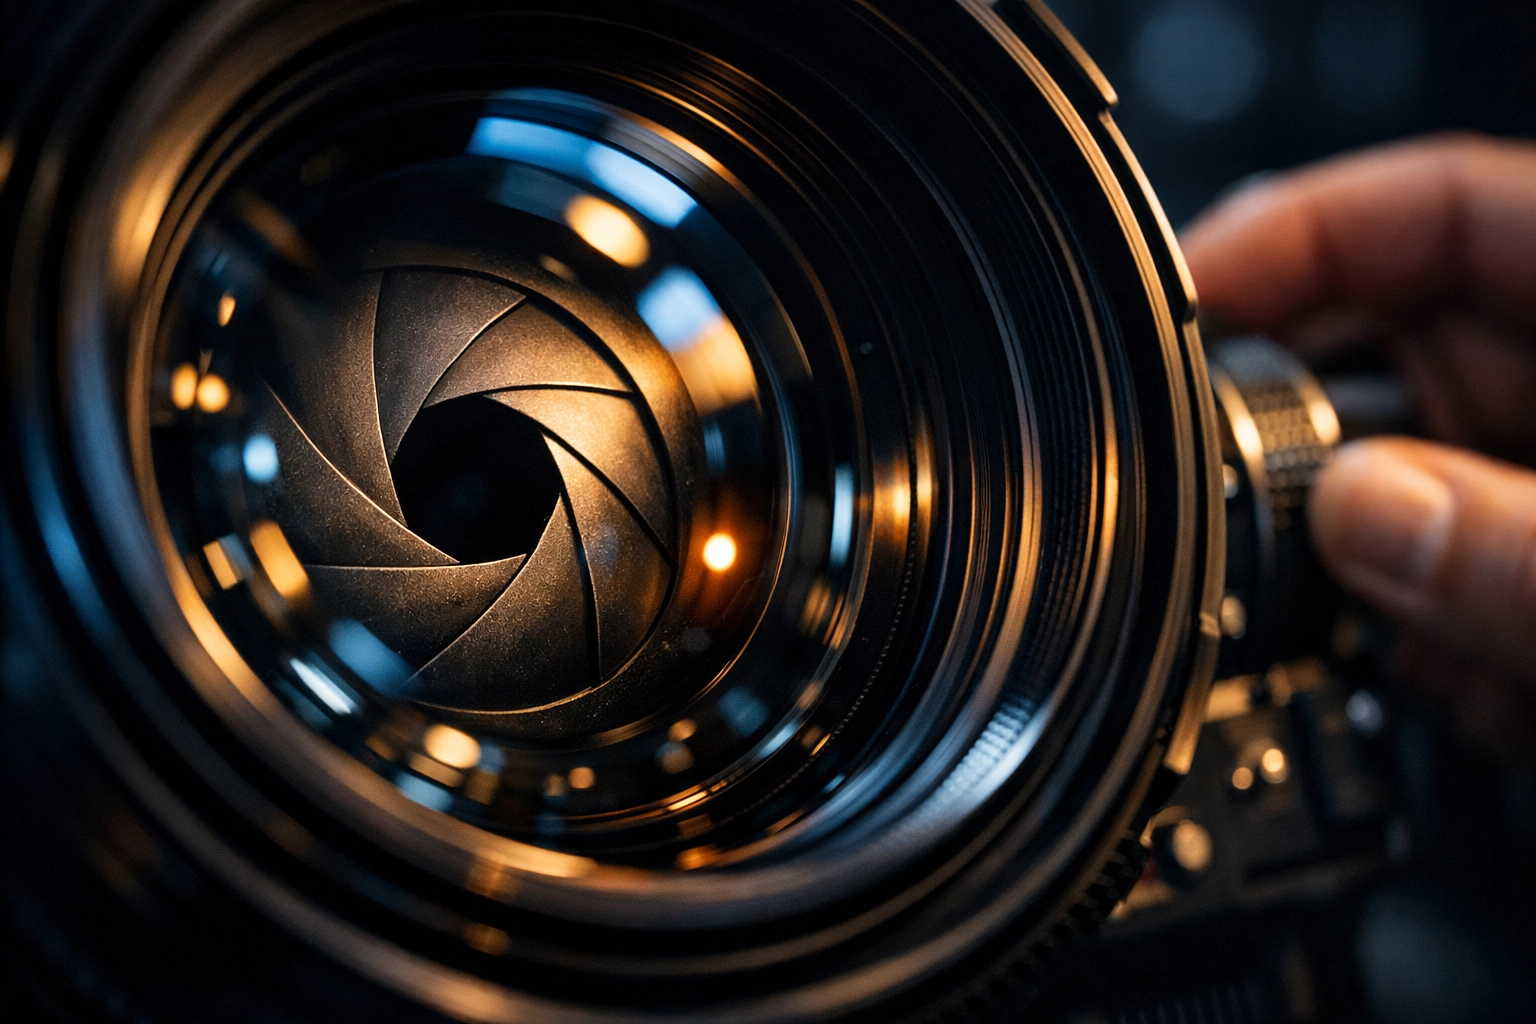
1. Aperture: The "Eye" of the Lens
Aperture is the opening in your lens. Think of it like the pupil of your eye. When it’s dark, your pupil gets bigger to let in more light. When it’s bright, it gets smaller.
In photography, aperture is measured in "f-stops" (like f/1.8, f/4, f/11). This is where it gets a little confusing:
- Small f-number (f/1.8) = Big opening = Lots of light.
- Large f-number (f/22) = Small opening = Very little light.
But aperture doesn't just control light; it controls Depth of Field. This is how much of your image is in focus.
- If you want that blurry, creamy background (the "bokeh" effect) for a portrait, use a wide aperture (small f-number like f/1.8 or f/2.8).
- If you’re shooting a massive mountain range and want everything from the rocks at your feet to the peaks in the distance to be sharp, use a narrow aperture (large f-number like f/11 or f/16).
If you want to see how this applies specifically to taking pictures of people, dive into our ultimate guide to portrait photography.
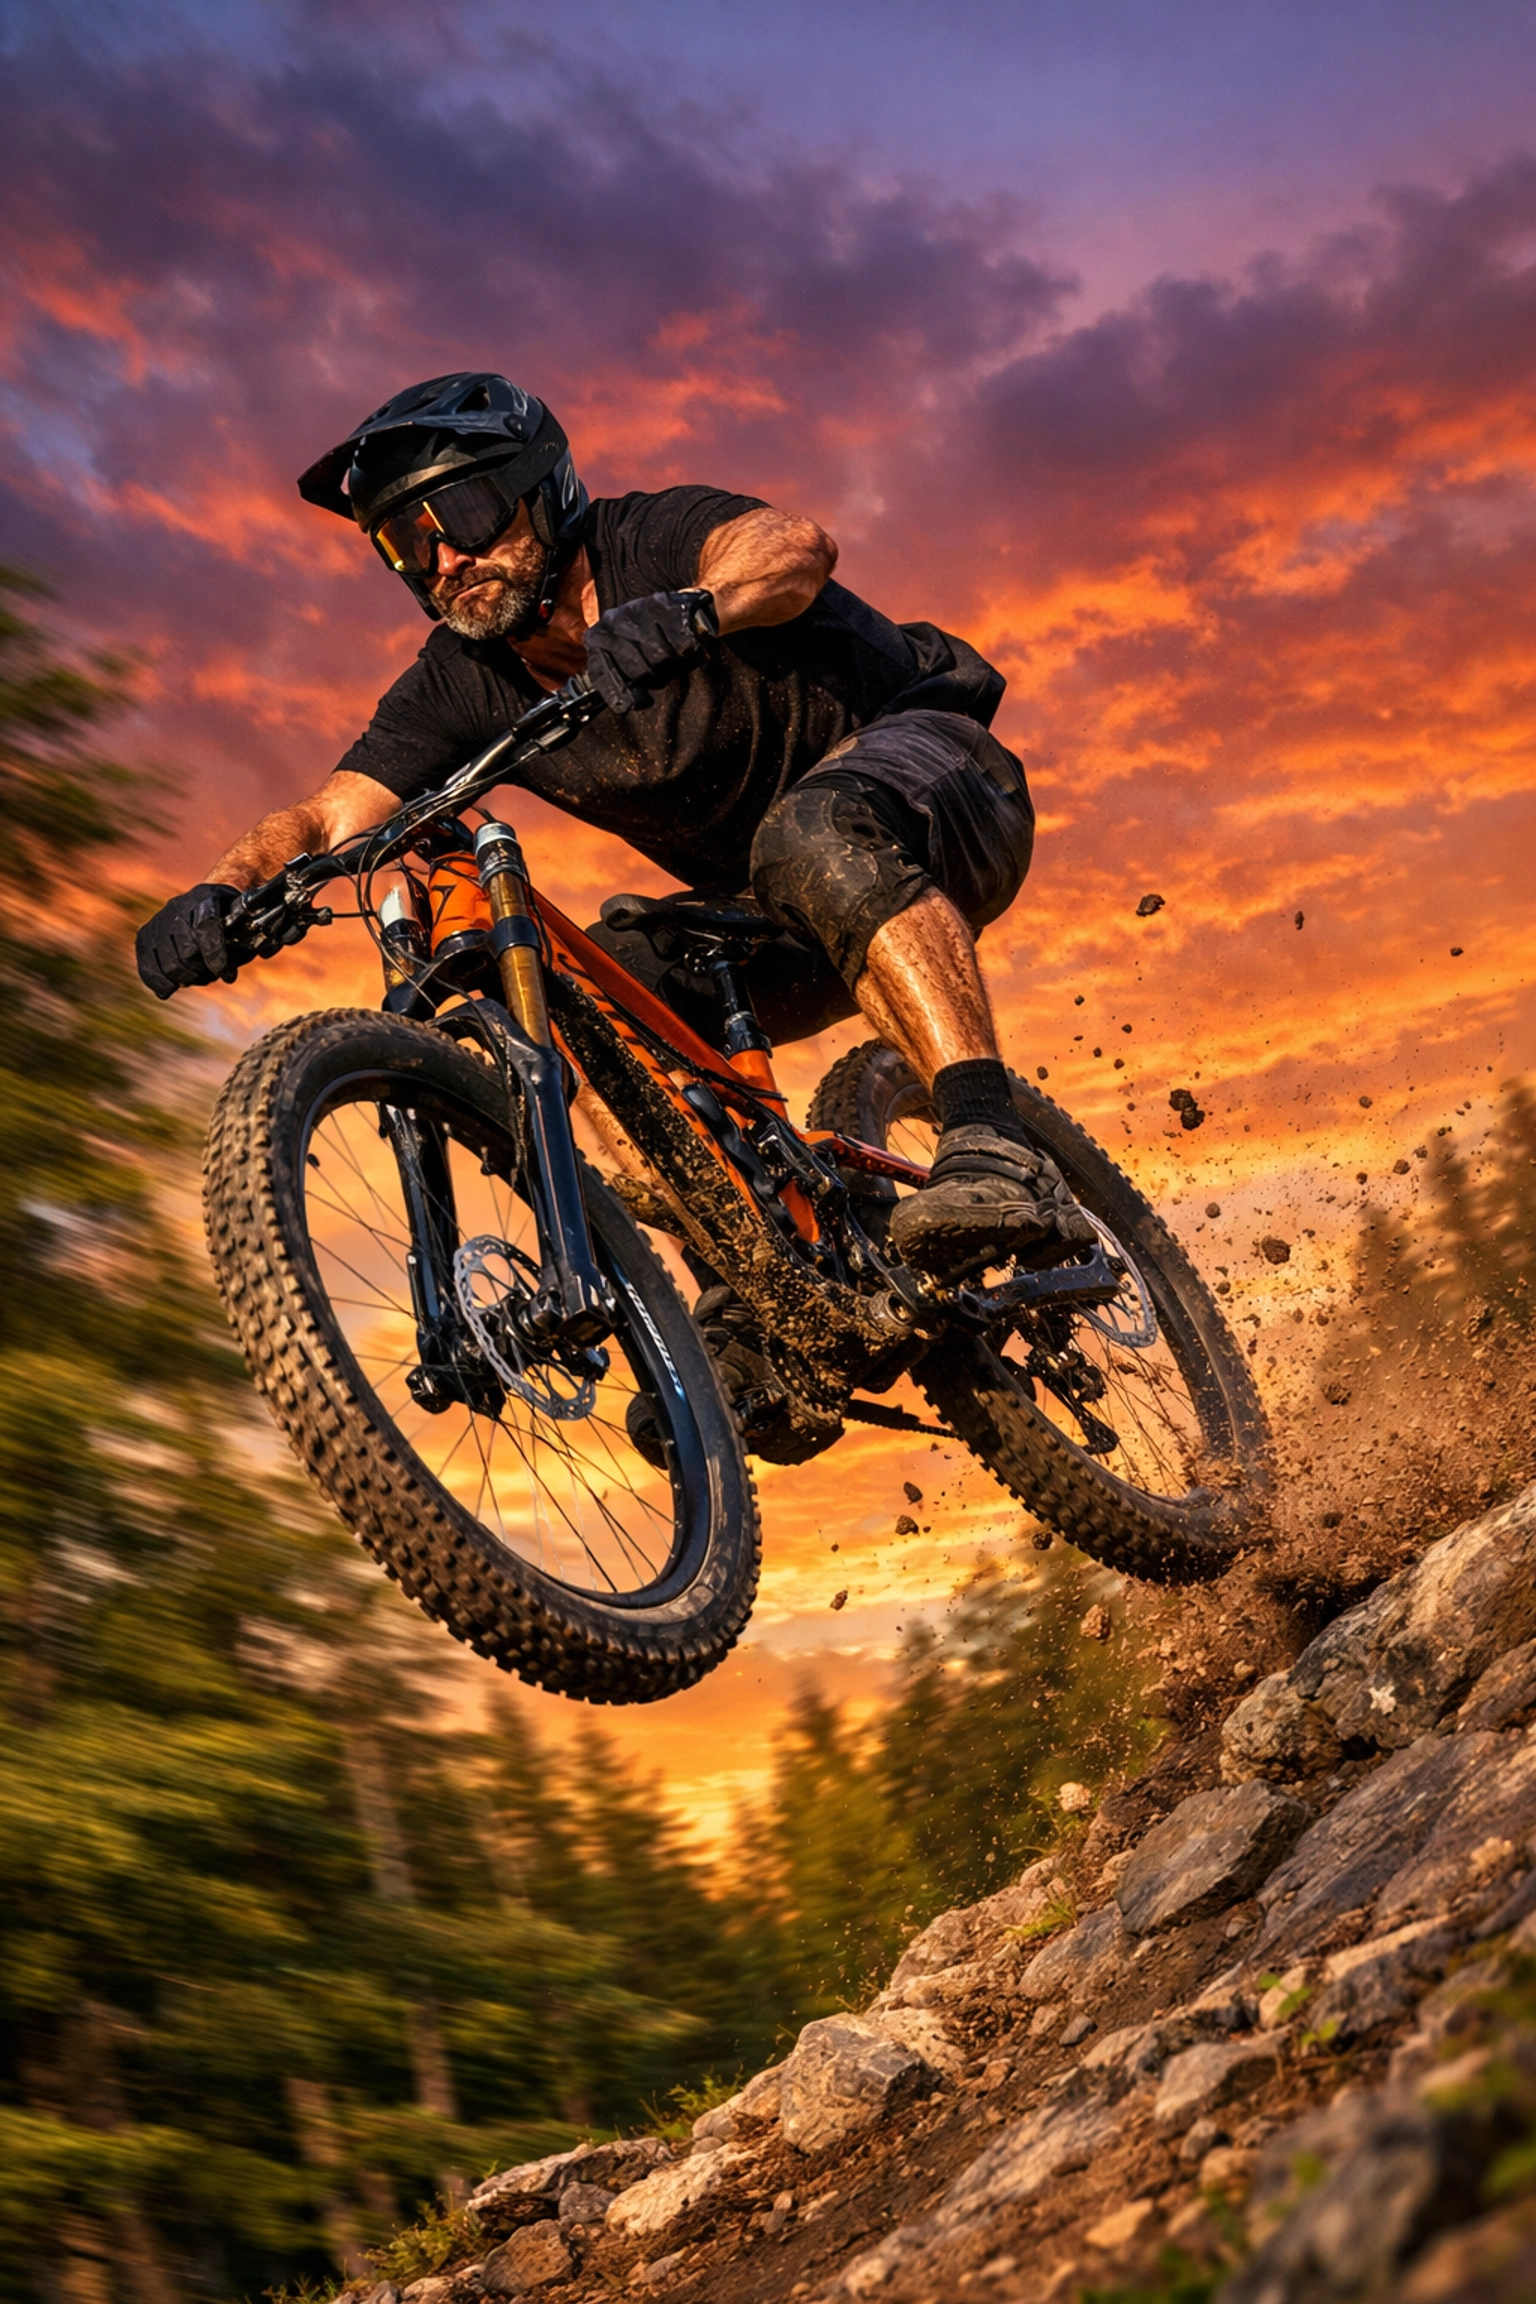
2. Shutter Speed: The Gatekeeper of Time
Shutter speed is how long the "curtain" stays open to let light hit the sensor. It’s measured in fractions of a second (like 1/1000 or 1/50).
- Fast Shutter Speed (1/1000s): Freezes motion. Great for sports, birds, or your dog running in the park.
- Slow Shutter Speed (1/10s or longer): Blurs motion. This is how people get those "silky" waterfall shots or light trails from cars at night.
A quick rule of thumb: If you’re holding the camera with your hands, try not to go slower than 1/60s, or the natural shake of your hands will make the whole photo blurry. If you're going for those epic landscape shots where everything needs to be crisp, you’ll need a tripod. For more on that, read our landscape photography guide.
3. ISO: The Light Sponge
ISO is your camera's sensitivity to light. Back in the day, you had to buy "fast" or "slow" film. Now, you just turn a dial.
- Low ISO (100-200): Best for bright sunlight. The image will be clean and sharp.
- High ISO (3200+): Necessary for dark rooms or night shots.
The catch? The higher the ISO, the more "noise" or grain you get in your photo. Modern cameras are getting incredibly good at handling high ISO, but it's still best to keep it as low as possible for the highest quality.
Moving Off "Auto" Mode
Now that you know the three pillars, look at the dial on top of your camera. You’ll see letters like P, S (or Tv), A (or Av), and M.
- Program (P): The camera handles aperture and shutter speed, but you can control things like ISO and flash. It’s "Auto-plus."
- Aperture Priority (A/Av): You pick the aperture (f-stop), and the camera figures out the shutter speed. This is the favorite mode of most pro photographers. It gives you control over depth of field without making you do all the math.
- Shutter Priority (S/Tv): You pick the shutter speed, and the camera handles the aperture. Use this when you’re shooting action and want to make sure you freeze the movement.
- Manual (M): You’re the boss. You set everything. It’s the best way to learn, but it takes practice. Don’t be afraid to fail here.
For more technical deep-dives, you can always check out PhotoGuides.org for some excellent breakdowns on specific camera settings.
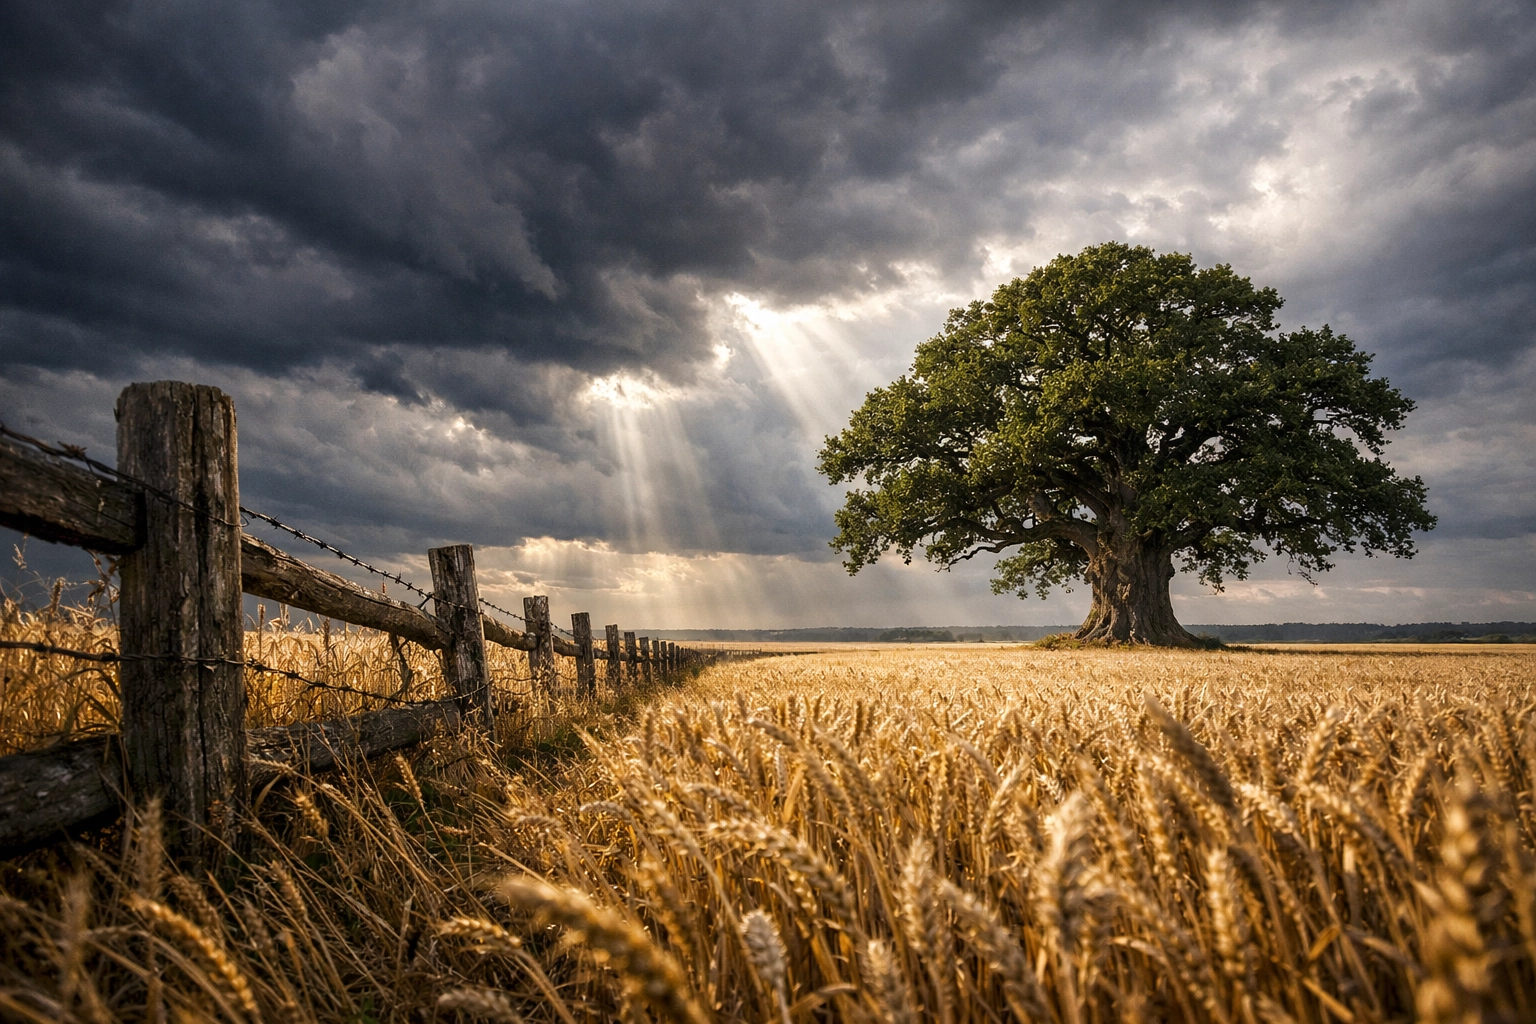
Composition: How to Actually Make a Good Photo
Knowing the settings is great, but a perfectly exposed photo of a trash can is still a photo of a trash can. You need to think about composition: how you arrange things in the frame.
The Rule of Thirds
Imagine a tic-tac-toe grid over your viewfinder. Instead of putting your subject right in the middle (which can be a bit boring), try placing them on one of the lines or where the lines intersect. It creates more balance and interest.
Leading Lines
Use lines in the environment: roads, fences, shadows, or even a shoreline: to lead the viewer’s eye toward your subject. It’s a simple trick that makes a huge difference in how "pro" your photos look.
Perspective
Don't just stand there and click. Get low. Climb something. Move to the left. Changing your physical perspective can transform a mundane scene into something epic. I’ve often found that the best shots come from the most uncomfortable positions.
Post-Processing: The Digital Darkroom
The photo you take in-camera is just the starting point. To really make it pop, you need to edit. Even the "pros" don't get it perfect in-camera every time.
Editing isn't "cheating." It’s bringing out the colors and details that the camera sensor might have missed. If you're just starting out and don't want to deal with the complexity of some professional suites, I highly recommend checking out Luminar. It uses AI to simplify things like sky replacement, skin retouching, and lighting adjustments. Using Luminar can save you hours of frustration when you're first learning how to polish your work.
Avoid the common pitfalls, though. Over-saturating your colors or over-sharpening can ruin a great shot. If you want to avoid these traps, read up on these 7 common photo editing mistakes.
What Should You Shoot First?
The best subject is whatever is in front of you.
- Your Pets: They’re great practice for moving subjects.
- Your Friends: Practice your portrait skills.
- Local Parks: Master your landscapes.
- Real Estate: Believe it or not, shooting interiors is a great way to learn about light and lines. Some people even use cinematic techniques to make houses look like movie sets.
If you’re feeling stuck, check out more photography tutorials to get the gears turning.
Coordinating with the Team
I’ve been chatting with Sonny, our Social Media Manager, about this guide. He’s going to be dropping some "cheat sheet" graphics on our Instagram and Twitter based on this post. If you're a visual learner, keep an eye on our socials because those bite-sized tips will link right back here for when you need the full explanation. We’re working together to make sure you have the info you need, whether you’re on your desktop or out in the field with your phone.
Final Advice: Just Keep Shooting
The "secret" to being a great photographer isn't having the most expensive camera. It’s "shutter count." The more photos you take, the better you’ll get. You’re going to take thousands of bad photos. That’s okay. Even the greats have a "deleted" folder that would make you feel much better about your own work.
Don't get bogged down in the gear wars. You don't need a $5,000 lens to tell a story. You just need to understand how light works and have the patience to wait for the right moment.
For more inspiration and a deeper look into the world of professional photography, feel free to browse blog.edinchavez.com or check out some high-end work at www.edinfineart.com.
Now, get off the computer, grab your camera, and go shoot something. The world looks different through a lens: go see it for yourself. If you ever feel like you've hit a wall, come back here or check out www.proshoot.io for more professional resources.
Happy shooting!


