Let’s be real for a second: the word "AI" makes a lot of photographers want to hide their cameras in a padded bag and never come out. There’s this lingering fear that a bunch of algorithms are going to swoop in, steal our creative souls, and turn every photo into a generic, plastic-looking mess.

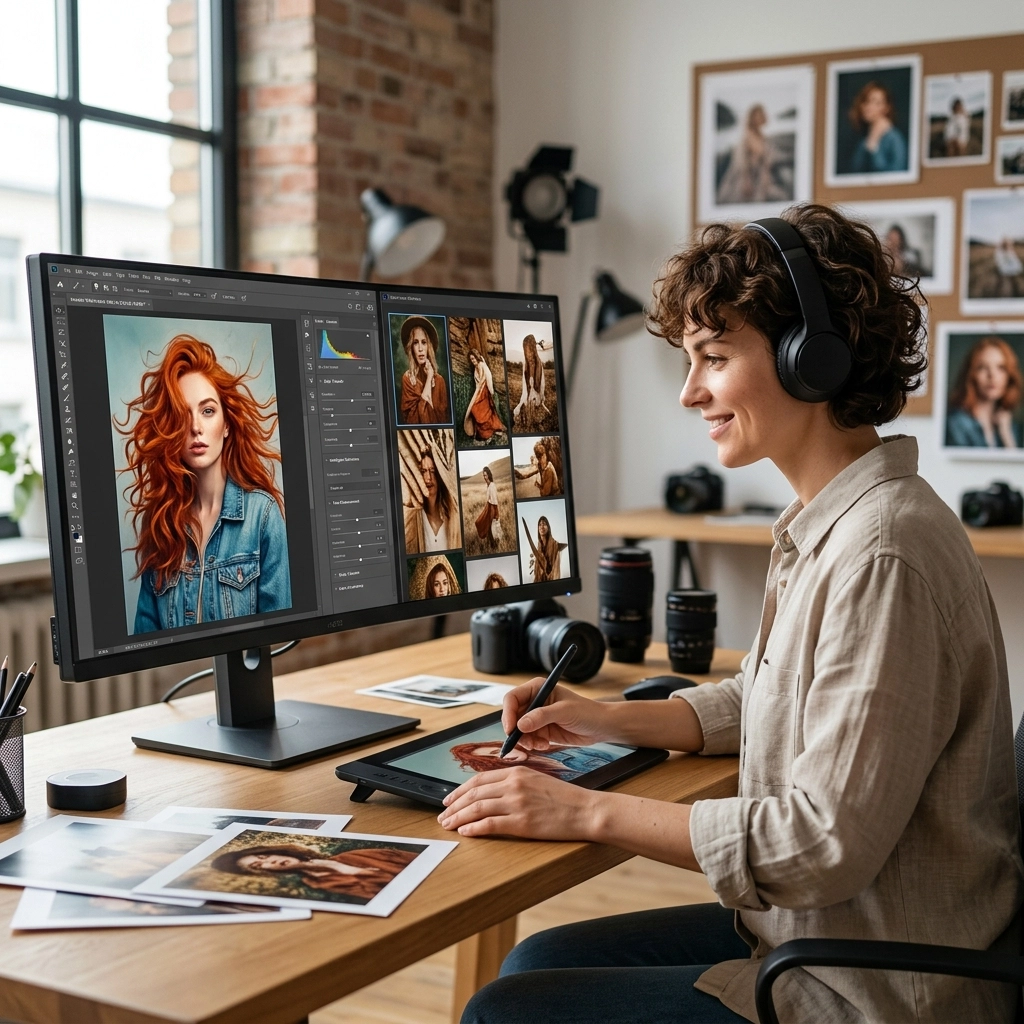
But here’s the truth from someone who’s spent way too many hours staring at a progress bar in Lightroom: AI isn't here to replace your eye. It’s here to replace the boring stuff. It’s here to handle the repetitive, mind-numbing tasks so you can get back to what you actually love: shooting.

The trick is learning how to use these tools without letting them take the wheel. You want the speed of a machine but the "feel" of a human. If you do it right, you can cut your editing time by 80% and still have a portfolio that looks exactly like you.

In this guide, we’re going to break down how to bake AI into your workflow while keeping your signature style front and center.

The Big Myth: AI Makes Everything Look the Same

One of the biggest arguments against AI photo editing is that it creates a "standard" look. People worry that if everyone uses the same AI tools, every sunset will look identical.

That only happens if you use AI the wrong way: by clicking "Auto" and walking away. When you integrate AI correctly, you aren't using a "one-size-fits-all" filter. Instead, you’re training the software to mimic the specific way you handle light, color, and shadow.

If you’ve spent years developing a moody, dark aesthetic, the AI should learn that. If you prefer high-key, airy shots for your real estate work, the AI needs to know that too. The goal is to create a digital assistant that knows your brain. This is exactly what we talk about when we discuss why photography is essential for real estate marketing: it’s about the unique perspective you bring, not just the technical execution.

Teaching the Machine Your "Soul"

The most powerful way to keep your style is to train your own AI profile. Tools like Aftershoot and Narrative Edit have changed the game for high-volume photographers (think wedding, event, or even busy real estate shooters).

Instead of using a preset created by someone else, you upload your own work. Most of these platforms require a "training set" of around 2,500 previously edited images. The AI looks at your "before" RAW files and your "after" JPEGs. It analyzes how much contrast you add, how you shift your greens, and how you handle skin tones.

Once it’s done "learning" you, it creates a personal profile. When you drop a new gallery in, the AI applies edits based on your history. It’s not guessing; it’s mimicking.

Why This Matters for Your Workflow

  • Consistency: It applies your style across 1,000 photos in minutes, ensuring the first shot looks like the last.
  • Accuracy: Unlike a static preset, AI adjusts based on the exposure of each individual shot.
  • Time: You spend your time on the "final 10%": the artistic tweaks: rather than the "first 90%" of basic sliders.

![Photographer at a desk using software to integrate AI photo editing with your workflow without losing your style. A photographer sitting at a clean desk with a dual-monitor setup, one screen showing a grid of photos being processed by AI software]

Building Your Personal AI Profile: Step-by-Step

If you’re ready to stop being a slave to the develop module, here is how you actually set this up.

  1. Curate Your Best Work: Go through your catalogs and find 2,000 to 3,000 images that perfectly represent your "look." If your style has evolved over the years, only use your most recent work.
  2. Upload to an AI Editor: Use a tool like Aftershoot or Narrative. These are built specifically for "learning" styles.
  3. Wait for the Magic: The software will take a few hours to digest your edits. It’s building a mathematical map of your creative choices.
  4. The Test Run: Import a new session. Let the AI do its thing.
  5. The Human Polish: Go through and see where it missed the mark. The beauty of these tools is that they continue to learn. If you fix a few photos, the AI takes note for next time.

For more technical tips on getting the most out of your files before they even hit the AI stage, check out PhotoGuides.org.

Adobe Lightroom’s AI Power Moves

You don’t necessarily need to buy new software to start using AI. Adobe has been sneaking AI features into Lightroom and Photoshop for a while now under the name "Adobe Sensei."

One of the best workflow hacks is AI-Powered Masking. Back in the day, if you wanted to darken a sky or brighten a subject in a batch of 50 photos, you had to manually draw masks on every. single. one. Now, you can select "Subject" or "Sky" in one photo, create your edit, and sync it across the whole batch. Lightroom's AI will find the subject in every different frame and adjust the mask accordingly.

This is a massive time-saver for something like landscape photography, where you might have slightly different compositions of the same mountain.

Using Luminar for Specialized Edits

While Lightroom is great for the heavy lifting of organization and basic batching, sometimes you need something a bit more specialized. This is where Luminar shines.

Luminar uses AI for specific "problems." For example, their "Sky Replacement" is still some of the best in the business. If you’re a real estate photographer and you showed up on a gray, gloomy day, Luminar can swap that sky in seconds while maintaining the correct lighting on the building.

The key to using Luminar without losing your style is to use the "Amount" slider. Don't let the AI go at 100%. Usually, 30-40% of an AI enhancement is enough to make the photo pop without making it look fake.

If you find yourself over-editing, you might be making some of the 7 mistakes you're making with photo editing. It happens to the best of us.

![Landscape comparison showing how to integrate AI photo editing with your workflow without losing your style. A side-by-side comparison of a raw landscape photo and an AI-enhanced version that maintains a natural, professional look]

Capture One and the "Match Look" Tool

For the studio and commercial photographers who swear by Capture One, there’s the "Match Look" tool. This is a slightly different take on AI. Instead of training a whole profile, you can take a reference image: maybe a shot from a famous photographer or a previous shoot you did: and tell Capture One to make your current batch match that specific color grade.

It’s an incredible way to maintain consistency when you’re trying to replicate a specific "vibe" for a client. It keeps you within the guardrails of your desired aesthetic while the software handles the math of getting you there.

The Hybrid Workflow: Where Humans Take Over

The biggest mistake photographers make is thinking AI editing is a "finished product." It’s not. It’s a "first draft."

A professional workflow should look like this:

  1. Culling: Use AI (like Aftershoot Culling) to remove the blurs, blinks, and duplicates.
  2. AI Base Edit: Apply your personal AI profile to get the exposure, white balance, and basic tones where you usually like them.
  3. The "Human Pass": This is where you actually earn your money. You go through and look for the nuance. Maybe the AI didn't catch the way the light is hitting a subject's eyes. Maybe a crop needs to be more aggressive to tell a better story.
  4. Specialized Retouching: Use tools like Luminar for specific portrait retouching or sky work.
  5. Final Export: Done.

By letting the AI handle the grunt work, you’re not "cheating." You’re just being efficient. You wouldn’t hand-crank your car to start it, so why would you hand-edit 500 identical photos?

If you want to see how this looks in a high-end setting, check out some of the work on Edin Fine Art to see how consistency and style create a premium brand.

Case Study: Real Estate Photography

In the world of real estate, speed is everything. Agents want the photos yesterday. But if you deliver garbage, they won't call you back.

Using AI to manage the role of luminosity in real estate photography is a lifesaver. Real estate involves a lot of HDR processing: blending multiple exposures to make sure the windows aren't blown out and the shadows aren't pitch black. AI tools can now blend these exposures more naturally than old-school HDR software ever could.

Instead of getting that "crunchy" HDR look that was popular in 2010 (and looks terrible now), AI understands how light should naturally fall in a room. It can help you create ethereal imagery that makes a house feel like a home, not a CGI render.

![Luxury home interior edited to integrate AI photo editing with your workflow without losing your style. A bright, airy interior of a luxury living room, edited with AI to show perfect detail in both the shadows and the view out the window]

Avoiding the "Uncanny Valley" in Editing

We've all seen them: the photos where the skin looks like plastic and the eyes look like they’re glowing from an internal nuclear reactor. This is the "Uncanny Valley" of AI editing.

To avoid this, you have to stay in control of your parameters. If you’re using AI for skin retouching, always dial it back. If you’re using AI to "Enhance" detail, be careful not to create halos around your subjects.

A good rule of thumb? Edit the photo until you think it looks perfect, then move the "strength" slider back by 10%. Our eyes tend to get used to over-saturation and over-sharpening the longer we look at a screen.

For more inspiration on keeping things classy and high-end, take a look at blog.edinchavez.com.

The Future of Your Creative Business

Integrating AI into your workflow isn't just about saving time; it’s about business longevity. The industry is moving fast. Clients expect faster turnarounds and higher quality. If you’re spending 40 hours a week editing, you have zero hours a week to market your business, find new clients, or actually go out and shoot.

By embracing these tools, you’re freeing up your most valuable resource: your creative energy.

Think of AI as a high-end assistant. You wouldn’t expect an assistant to know exactly how you want a photo to look without telling them, right? You have to give them instructions. You have to review their work. You have to lead.

A Quick Checklist for Success:

  • Don't skip the training: Take the time to build a profile based on your work.
  • Stay in the loop: Never deliver a gallery without a manual review.
  • Invest in the right tools: Whether it's Luminar for creative edits or ProShoot.io for professional resources, use tools that fit your specific niche.
  • Keep it simple: Don't over-complicate your tech stack. Pick two or three AI tools that work for you and master them.

![A camera lens representing how to integrate AI photo editing with your workflow without losing your style. A close-up of a camera lens with digital data overlays, symbolizing the blend of traditional photography and modern AI technology]

Final Thoughts

The goal of photography is to capture a moment and share it through your unique lens. AI doesn't have a lens. It doesn't have memories. It doesn't know why that specific shot of a bride laughing or that specific angle of a skyscraper matters.

Only you know that.

Use AI to handle the math, the masking, and the busywork. Keep the creative decisions for yourself. When you find that balance, you’ll realize that AI doesn't take away your style: it gives you the freedom to refine it.

Now, go out there, shut your aperture, and start shooting. The robots will handle the rest (mostly).

For more tips on elevating your photography and business, keep an eye on our latest posts and stay tuned as we continue to explore the intersection of art and tech. If you’re looking for more guidance on the gear side of things, head over to Edin Studios.

Integrating AI isn't the end of photography as we know it. It’s just the beginning of a faster, more creative chapter. Don't be afraid to experiment. Your style is yours, and no algorithm can take that away: unless you let it. Keep your hands on the dials, keep your eye on the viewfinder, and use every tool at your disposal to make your vision a reality.