
Let’s be honest: switching that dial from "Auto" to "M" for the first time feels like jumping out of a plane without knowing if the parachute is actually in the backpack. It’s intimidating. You see all these numbers flashing at you, shutter speed, aperture, ISO, and suddenly, the simple act of taking a photo feels like solving a differential equation.
Most photographers make the jump to Manual mode because they want "total control." But here’s the kicker: having control doesn't mean you know what to do with it. In fact, most people end up making the same handful of mistakes that actually make their photos worse than if they’d just stayed in Auto.
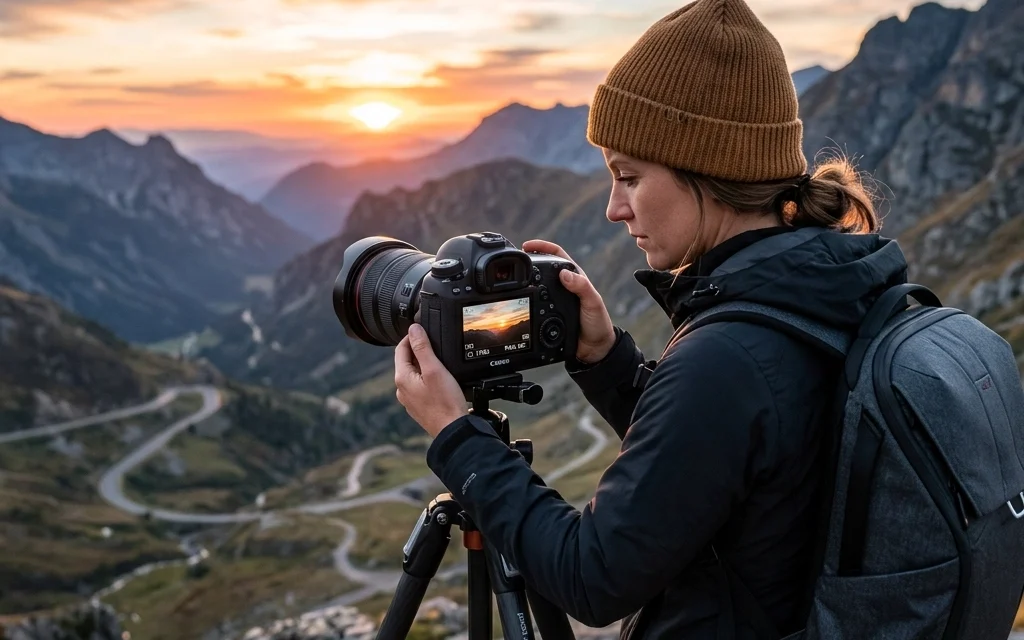
I’ve been there. We’ve all been there. Whether you’re trying to capture a killer sunset or you’re diving into the ultimate guide to landscape photography, mastering the manual settings is a rite of passage.
Here are the seven most common mistakes people make with Manual mode and exactly how to fix them so you can start shooting like a pro.
1. Trusting the Internal Meter Blindly
Your camera is smart, but it’s also a bit of a literalist. When you’re in Manual mode, your camera has a built-in light meter (that little bar with the 0 in the middle). Most beginners think that as long as the ticker is sitting right on the "0," the exposure is perfect.
Wrong.
Your camera’s meter is designed to look at the world and try to turn everything into 18% gray. If you’re shooting a bride in a white dress in the snow, the camera thinks, "Whoa, way too bright!" and tells you to underexpose it. The result? Dirty, gray snow. If you’re shooting a black cat in a coal mine, the camera thinks, "Too dark!" and tells you to overexpose it. The result? A gray cat that looks washed out.
How to Fix It:
Learn to read your environment, not just the meter. If you’re shooting something very bright, you might need to purposefully "overexpose" according to the meter to keep those whites white. Use the meter as a starting point, but let your eyes (and your histogram) be the final judge. For more on visual balance, check out some tips over at PhotoGuides.org.
2. The "Set It and Forget It" Syndrome
One of the biggest perks of Manual mode is consistency. But that consistency becomes a liability when the light changes and you don’t. I see this all the time: a photographer dials in the perfect settings for a shot in the sun, a cloud drifts over, and they keep clicking away. Ten minutes later, they realize half their gallery is three stops underexposed.
Manual mode isn't a static setting; it’s a living, breathing process. If you move from sunlight to shade, or if the sun starts to dip toward the horizon, your settings have to move with it.
How to Fix It:
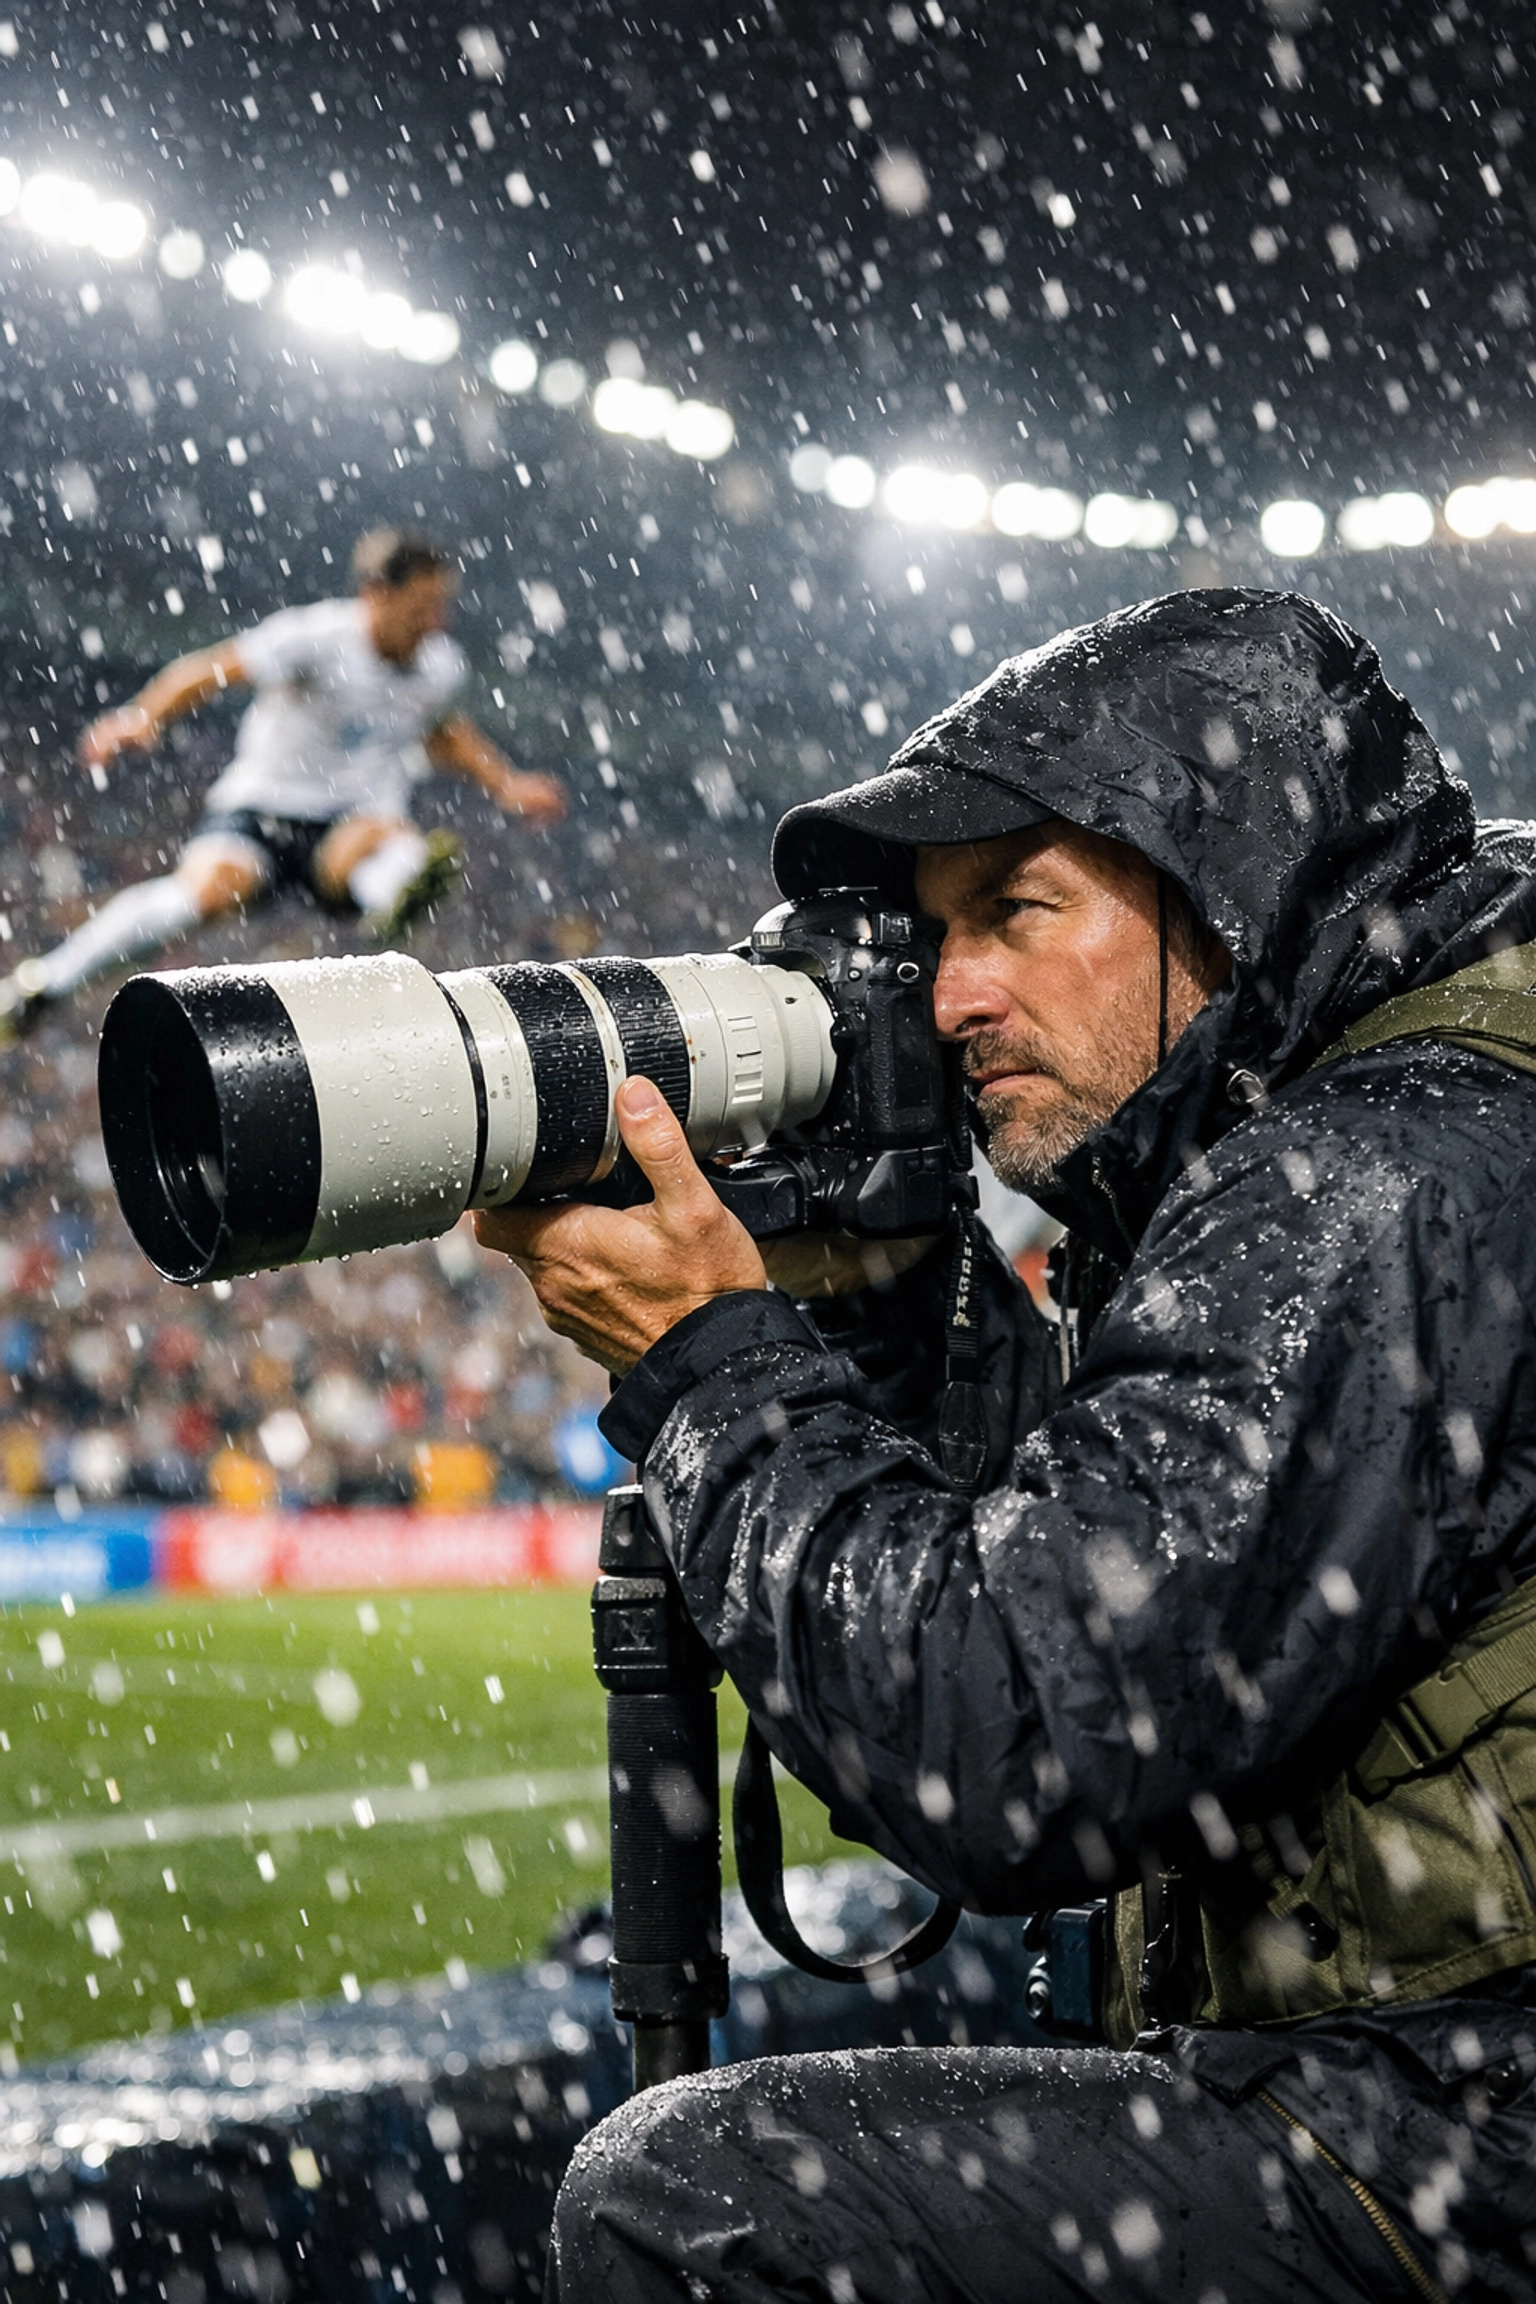
Develop a "chimping" habit, but a smart one. After every few shots, or whenever you feel the light shift on your skin, take a quick glance at your LCD and your histogram. If you're out shooting events, you might want to brush up on your event photography gear to see how pros handle fast-changing environments.
3. Treating ISO Like an Afterthought
ISO is often the misunderstood middle child of the exposure triangle. Most people either leave it on Auto (which defeats half the purpose of Manual mode) or they set it to 100 and refuse to move it because they’re terrified of "noise."
While it's true that a lower ISO generally means a cleaner image, modern cameras are absolute beasts at handling high ISO. If you’re so worried about noise that you’re shooting at a shutter speed that causes motion blur, you’re making a huge mistake. A noisy photo can be fixed in post-processing; a blurry photo belongs in the trash.
How to Fix It:
Don’t be afraid to bump that ISO up to 800, 1600, or even 3200 if the situation calls for it. If you do end up with some grain, you can easily clean it up using Luminar, which has some of the best AI-powered denoise tools on the market. For more advanced editing techniques, you might also want to look into mastering night sky filters in Photoshop to see how to handle low-light files.
4. Violating the Reciprocal Rule
This is a technical one, but it’s a game-changer. When shooting handheld in Manual mode, people often forget to check if their shutter speed is fast enough to compensate for their own shaky hands. They see a "good" exposure on the meter at 1/30th of a second and fire away, only to find out later that every single shot is slightly soft.
How to Fix It:
Follow the Reciprocal Rule: Your shutter speed should be at least 1 over your focal length. If you’re shooting with a 50mm lens, don’t go slower than 1/50th of a second. If you’re on a 200mm zoom lens, you need at least 1/200th. If you need to go slower, grab a tripod or check out some of the gear recommendations on www.proshoot.io.
5. Choosing the Wrong Aperture for the Subject
In Manual mode, it’s tempting to just "shoot wide open" (your lowest f-number) all the time because it creates that creamy bokeh. While a blurry background is great for portraits, it’s a disaster for landscapes or group shots where you need more than one person’s nose in focus.
Conversely, some people think f/22 is the secret to sharpness for landscapes. In reality, most lenses suffer from "diffraction" at their smallest apertures, actually making the image less sharp.
How to Fix It:
Understand the "sweet spot" of your lens, usually somewhere between f/5.6 and f/11. Use wide apertures (f/1.8, f/2.8) for isolation and narrow apertures (f/8+) for depth. If you’re struggling with flat-looking skies because of your aperture choices, you can always learn how to craft skies in Photoshop to add that missing drama.
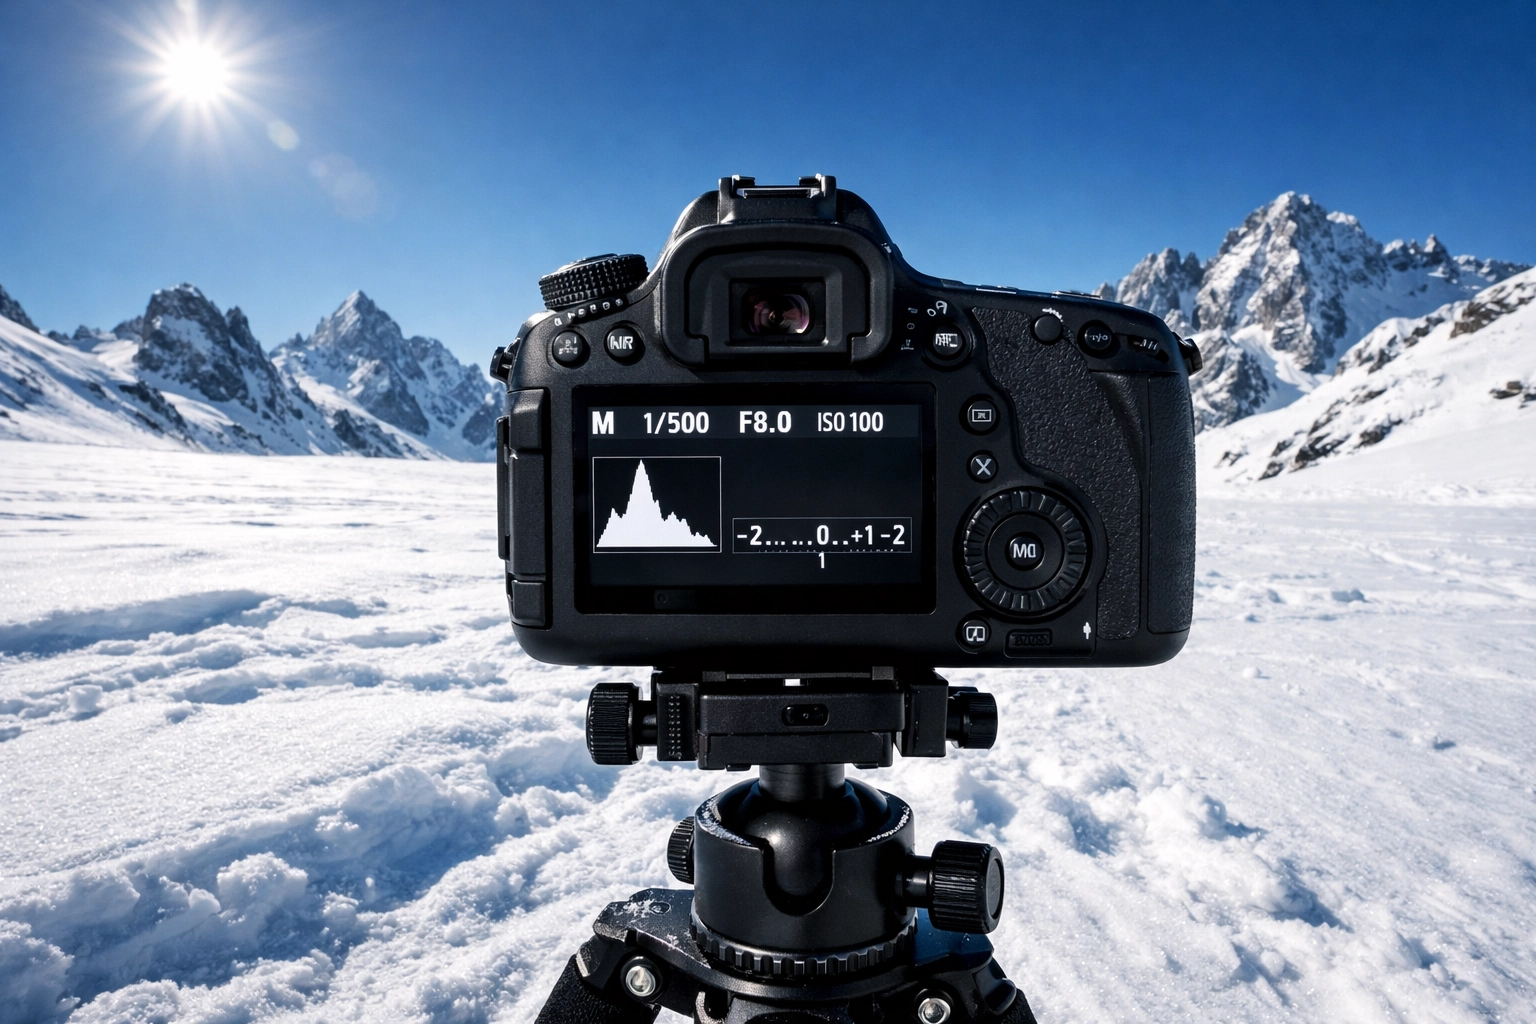
6. Ignoring the Histogram
If you are shooting in Manual mode and you aren't looking at your histogram, you are essentially flying a plane with a blindfold on. The image you see on the back of your camera is a lie. It’s a JPEG preview affected by your screen brightness. If your screen brightness is turned all the way up, your photo might look great on the LCD but actually be dangerously underexposed.
How to Fix It:
The histogram is a graphical representation of the tones in your image. If the graph is all the way to the left, you're "clipping" your blacks (losing detail in shadows). If it's all the way to the right, you're "clipping" your highlights (blowing out the whites). Aim for a "mountain" in the middle, or at least keep the edges from touching the walls. Avoiding these technical pitfalls is just as important as avoiding photo editing mistakes.
7. Trying to Be a "Manual Hero"
Here’s a secret that many "pros" won't tell you: they don't use Manual mode 100% of the time. There is a weird sense of elitism in the photography world that says you aren't a real photographer unless you’re in "M."
But if you’re shooting a fast-paced sports event or a wedding where the light is changing every two seconds as you move from room to room, staying in Manual might actually cause you to miss the shot.
How to Fix It:
Know when to fold 'em. Use Aperture Priority (Av or A) or Shutter Priority (Tv or S) when the environment is moving faster than your fingers can turn the dials. Use Manual mode for landscapes, studio work, or situations where the light is consistent. The goal is the final image, not the setting on the dial. You can see examples of high-end professional work where the results matter more than the process at www.edinfineart.com or www.edinstudios.com.
Bonus Tip: Don't Forget Post-Processing
Even the most perfect manual exposure usually needs a little love in post. Whether it's adding a shooting star effect or doing a quick sky replacement, the digital darkroom is where the magic really happens.
If you find that your manual shots are looking a bit flat, it might not be your exposure, it might just be that you haven't finished the process. Try experimenting with tools like Luminar to bring out the dynamic range you worked so hard to capture in camera.
Bringing It All Together
Switching to Manual mode is the best way to truly understand how light works. It forces you to think about the relationship between time (shutter speed), depth (aperture), and sensitivity (ISO).
Don't get discouraged if your first few hundred shots are total garbage. Every pro you admire has a hard drive full of overexposed, blurry, and just plain weird photos from when they were learning.
If you want to keep diving deep into the technical side of things, like creating custom cloud brushes or dynamic sky creation, stay tuned to the blog. We’re always dropping new guides to help you stop guessing and start creating.
And hey, if you want more personal insights and behind-the-scenes looks at how I handle these settings in the field, head over to blog.edinchavez.com.
Now, grab your camera, take it off Auto, and go make some mistakes. It’s the only way to get better. Just remember: keep an eye on that histogram, don't be afraid of a little ISO, and for the love of all things holy, stop trusting your light meter when it’s snowing.
Happy shooting!


