We’ve all been there. You’re standing on the edge of a cliff, the sun is dipping below the horizon, and the sky looks like it’s been painted by a master artist. You pull out your camera, click the shutter, and think, "This is going to be a masterpiece." Then you get home, look at the RAW file on your monitor, and… it’s just meh.
What happened? The colors are flat, the composition feels messy, and the "epic" scale you felt in person has been replaced by a tiny, distant mountain.
Landscape photography is one of the most accessible genres, but it’s also one of the hardest to master. It’s not just about pointing a camera at something pretty; it’s about translating a three-dimensional world into a two-dimensional frame. At Shut Your Aperture, we see thousands of photos every month, and most of the time, the difference between a "wow" shot and a "delete" shot comes down to a few common errors.
Here are the 7 mistakes you’re making with your landscape photography, and exactly how to fix them.
1. The Crooked Horizon (The "Leaky Ocean" Effect)
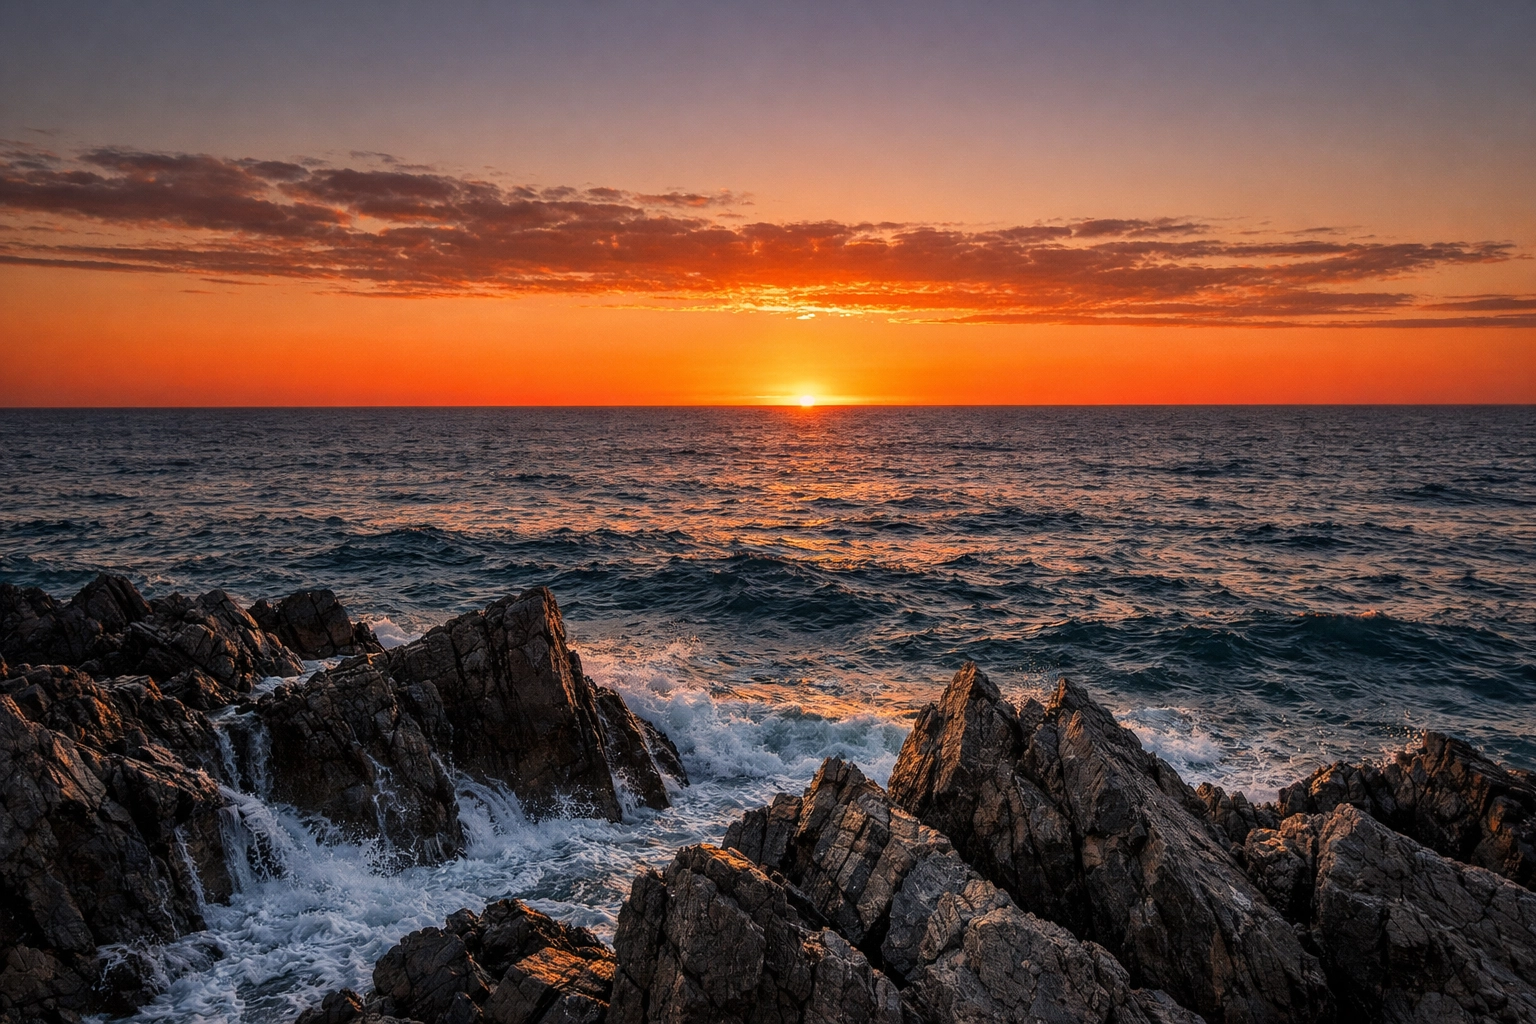
This is the absolute baseline of landscape photography, yet it’s the most common mistake we see. If your horizon is even one degree off, the viewer’s brain will immediately signal that something is "wrong." In a landscape with water, it looks like the ocean is literally leaking out of the side of your frame.
Why it happens: When you’re caught up in the moment, maybe you’re chasing the last bit of light, it’s easy to focus on the subject and ignore the edges of the frame.
The Fix:
Use your camera’s electronic level. Most modern DSLRs and mirrorless cameras have a built-in "virtual horizon." Turn it on and leave it on. If you’re shooting with a phone, turn on the grid lines in your settings.
Wait, can't you just fix it in post? Sure, you can rotate the image in Luminar, but every time you rotate and crop an image, you lose pixels and potentially cut off the edges of your composition. It’s always better to get it right in-camera. For more on keeping things precise, check out our guide on mastering mobile photo tricks.
2. No Clear Focal Point
A mountain range is beautiful. A forest is peaceful. But a photo of a mountain range without a specific subject is just a "texture." Without a focal point, the viewer’s eye wanders around the frame with nowhere to land. It’s visual chaos.
Why it happens: Beginners often try to "capture it all." They see a massive vista and think the sheer scale will carry the photo. It won't.
The Fix:
Ask yourself: "What is this photo actually about?" Is it that lone tree? That specific jagged peak? The way the light is hitting that one rock? Once you identify the subject, use essential photography composition tips like the Rule of Thirds to place that subject in a position of power. Give the eye a destination.
3. The Empty Foreground
If you want your landscapes to feel immersive: like the viewer could step right into the frame: you need depth. The biggest killer of depth is the "empty middle ground" or a boring foreground. If the bottom third of your photo is just a patch of blurry grass or flat water leading to a distant mountain, the photo will feel two-dimensional.
Why it happens: We naturally focus on the thing that is far away (the subject). We forget that the stuff right at our feet provides the context and the "entryway" into the image.
The Fix:
Get low. Get dirty. Physicality is a huge part of great landscape photography. Lower your tripod so you’re just inches from the ground. Look for rocks, flowers, or leading lines like a path or a stream that starts in the foreground and leads the eye toward the subject. This technique is a staple of framing techniques in photography that help create a 3D effect.
4. Shooting Only in Midday Light
Harsh midday sun is the enemy of the landscape photographer. It creates deep, ugly shadows and blown-out highlights. It flattens the landscape and strips away the textures of the mountains and valleys. If you’re only shooting at noon, your photos will never have that professional "glow."
Why it happens: Most people go hiking or traveling during the day when it’s convenient. Real landscape photography, however, requires a weird sleep schedule.
The Fix:
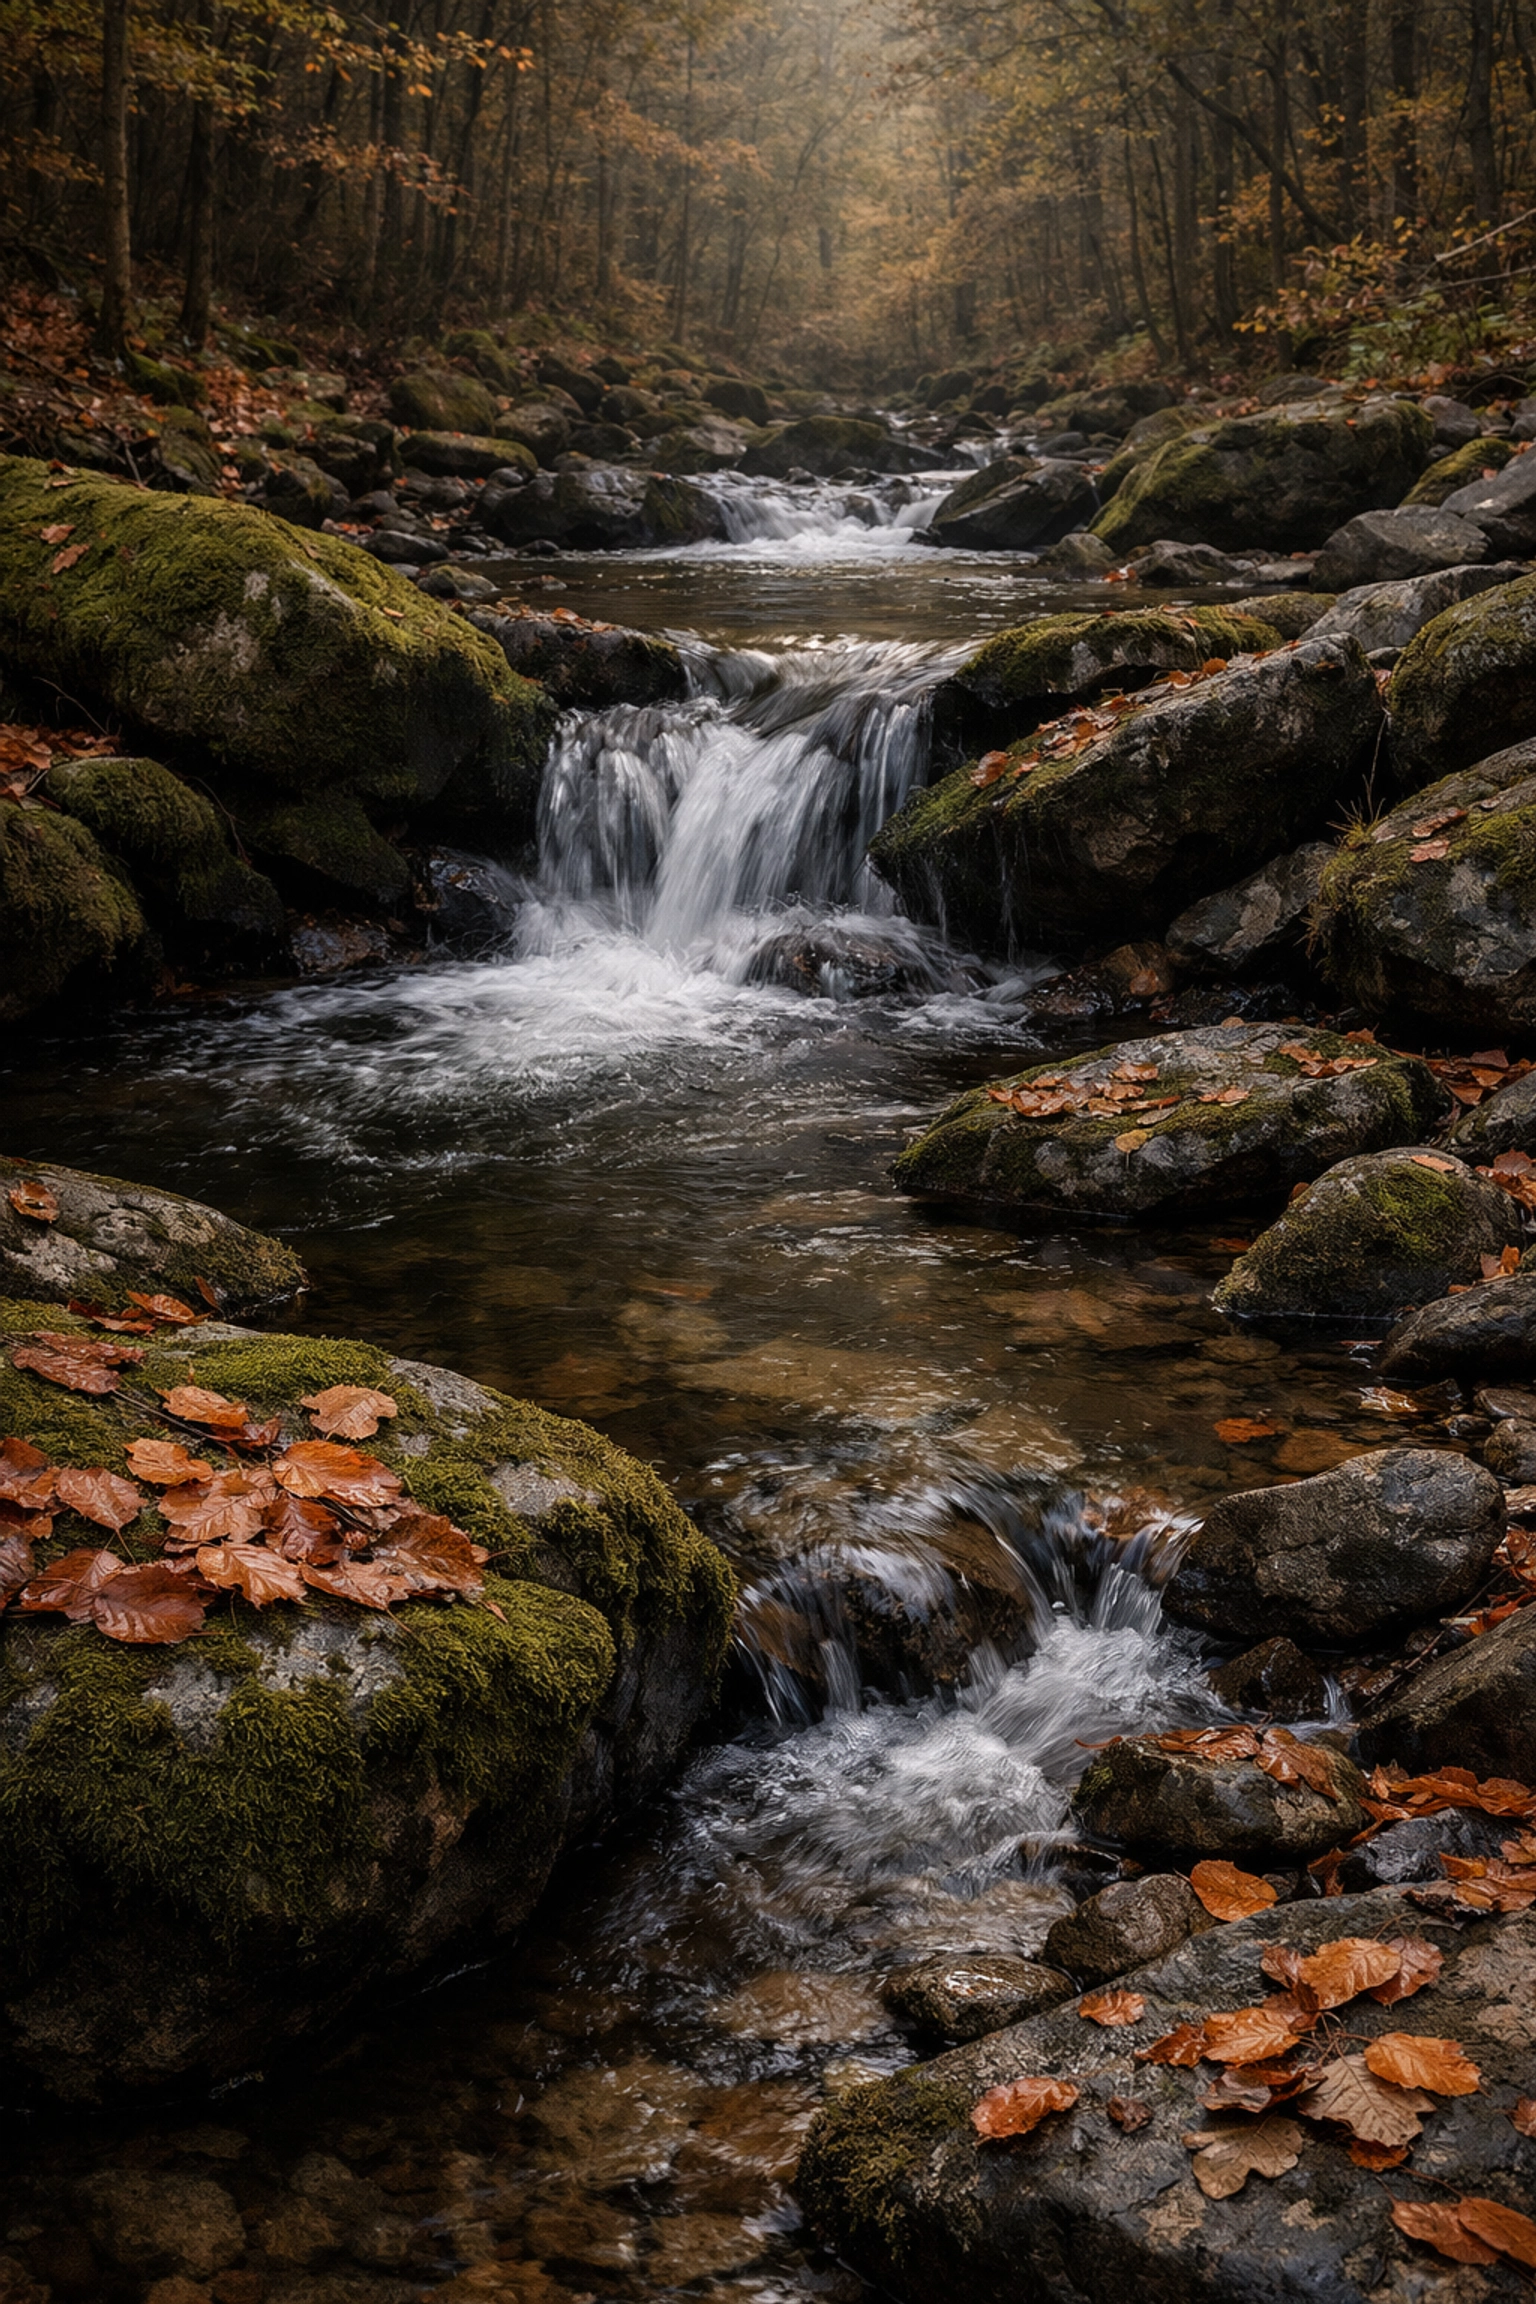
Shoot during the Golden Hour (the hour after sunrise and the hour before sunset) and the Blue Hour (just before sunrise and just after sunset). The low angle of the sun creates long shadows that reveal the contours of the land. If you must shoot during the day, pray for clouds. Overcast light is basically a giant softbox in the sky, which is perfect for forest photography or waterfalls. For more on timing your shots, read our tips on mastering the art of travel photography.
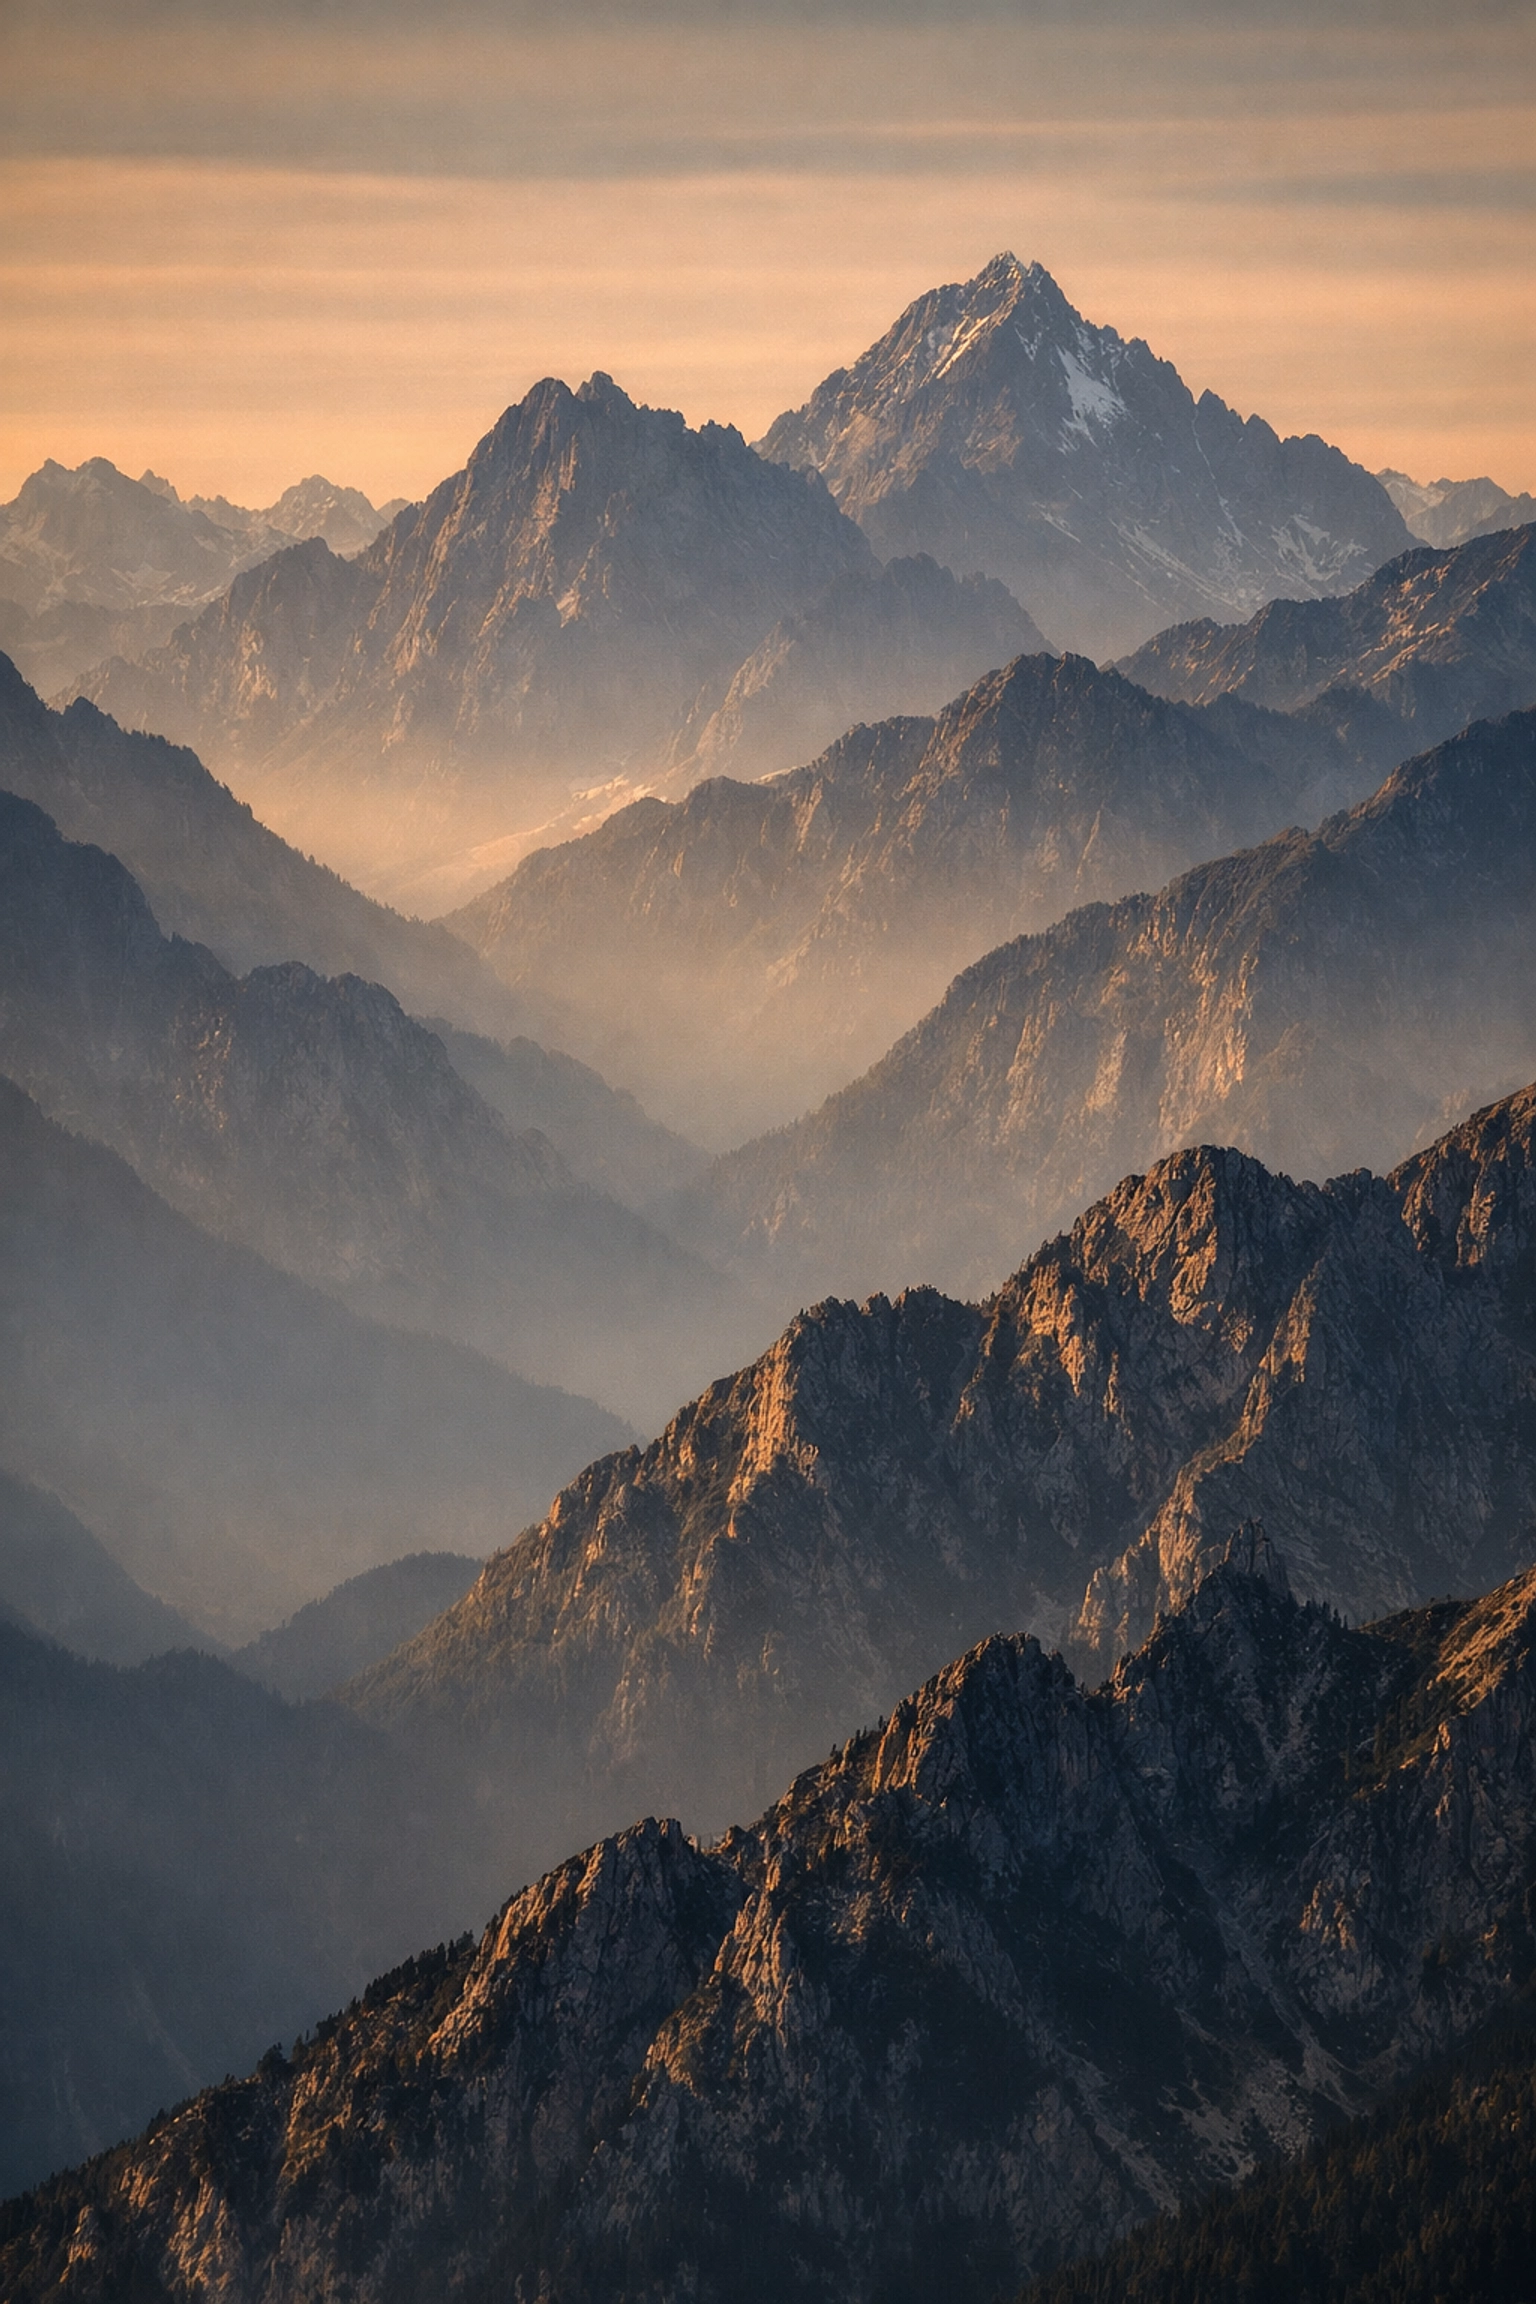
5. The Wide-Angle Trap
There is a common misconception that landscape photography must be shot with a 16mm or 24mm lens. While wide-angle lenses are great for capturing a sense of scale, they also push everything away from the camera. That massive mountain in the distance? On a wide-angle lens, it looks like a tiny molehill.
Why it happens: We want to "fit everything in," so we reach for the widest glass we have.
The Fix:
Don’t be afraid of the telephoto lens. Shooting landscapes at 70mm, 100mm, or even 200mm allows you to "compress" the scene. It brings the background forward and allows you to pick out intimate details within a larger landscape. Telephoto landscapes often look more "fine art" and less like a standard postcard. You can find more gear insights over at ProShoot.io if you're looking to expand your kit.
6. Ignoring the "Boring" Weather
A clear blue sky is great for a picnic, but it’s terrible for a landscape photo. A sky without clouds is just a big, empty blue block that adds nothing to your composition. Many photographers stay home when the weather turns sour, which is a massive mistake.
Why it happens: It’s uncomfortable to be outside when it’s cold, misty, or about to rain.
The Fix:
The best photos happen when the weather is "bad." Storm fronts, fog, and dramatic clouds are what create atmosphere. Fog, in particular, is a landscape photographer's best friend because it simplifies the scene and adds a sense of mystery. Before you head out, check the weather apps and look for "clearing storms." The moment just after a rainstorm is when the light is most dramatic. If you're interested in how professional photographers handle these conditions, PhotoGuides.org has some excellent deep dives.
7. Over-Processing (The "Nuclear" Saturation Slider)
We’ve all seen them: photos where the grass is neon green and the sky is a shade of blue that doesn't exist in nature. It’s tempting to crank the saturation slider to 100 to make your photo "pop," but this is the quickest way to make your work look amateurish.
Why it happens: You’re trying to recreate the feeling of the moment, and your RAW file looks flat. You overcompensate by adding too much color and contrast.
The Fix:
Use a subtle touch. Instead of global saturation, use "vibrance," which is smarter about how it boosts colors. Focus on "local adjustments": darken just the sky, or brighten just the subject. If you want a powerful but intuitive workflow, Luminar uses AI to help balance exposure and enhance details without making the photo look "deep-fried." Always walk away from your computer for ten minutes after editing, then come back and look at the photo with fresh eyes. You’ll usually realize you went a little too far.
Bonus Tip: Use a Tripod (Yes, Even for "Bright" Shots)
In landscape photography, sharpness is everything. You want that "infinite focus" where the pebble at your feet and the mountain five miles away are both crisp. To achieve this, you often need to use a narrow aperture (like f/11 or f/16), which means less light is hitting your sensor.
To keep your ISO low (for better image quality), you’ll need a slower shutter speed. At that point, even the tiniest shake from your hands will blur the image. Use a sturdy tripod. It doesn't just keep your camera still; it slows you down and forces you to be more intentional with your composition. For more on the technical side of image quality, check out Edin’s personal blog.
Final Thoughts
Landscape photography is a marathon, not a sprint. You can go to the most beautiful location in the world and still come back with nothing if you don't pay attention to the details. But if you stop making these seven mistakes: keep your horizons straight, find a subject, work the foreground, and respect the light: you’ll start seeing a massive improvement in your work.
Photography is about more than just gear; it's about how you see the world. Whether you're shooting for your own collection or looking to sell prints on a site like Edin Fine Art, mastering these basics is the first step toward creating something truly timeless.
Now, pack your bag, check the weather for some "bad" clouds, and get out there. The perfect shot is waiting, but it won't take itself. Keep your eyes open, your tripod steady, and your saturation slider under control. For more inspiration on different styles, from weddings to travel, explore our full list of photography guides.