Let’s be real for a second: landscape photography is the ultimate "hurry up and wait" sport. You wake up at 3:00 AM, hike four miles in the dark, dodge a few questionable rustles in the bushes, and set up your tripod just to hope the clouds play nice. When they do? It’s magic. When they don’t? Well, at least you got some steps in.
At Shut Your Aperture, we believe that capturing the great outdoors shouldn't feel like solving a calculus equation. Whether you are standing on the edge of the Grand Canyon or in your local park, the goal is the same: to take a three-dimensional world and squeeze it into a two-dimensional frame without losing the soul of the scene.
In this guide, we’re going deep. We’re talking gear, composition, light, and the technical bits that usually make people's eyes glaze over. By the time you’re done reading, you’ll have the tools to stop taking "snapshots" and start creating art.
1. The Gear: It’s Not Just About the Camera
I’ll tell you a secret: the best camera in the world won’t make a boring sunset look interesting. However, having the right tools makes the process a whole lot smoother. If you’re currently debating a gear upgrade, you might want to look at our breakdown of the Canon EOS R5 vs Sony A7R V to see which high-resolution beast fits your style.
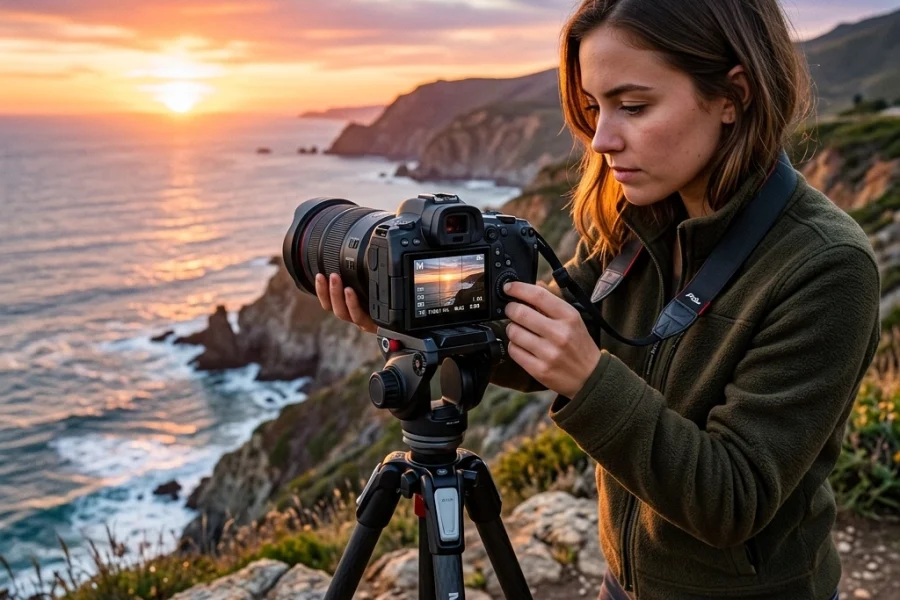
The Tripod is Non-Negotiable
If you aren't using a tripod, are you even doing landscape photography? Landscapes often require slow shutter speeds: especially during those "blue hour" moments: and even the steadiest hands can't beat a piece of carbon fiber. A sturdy tripod allows you to slow down, refine your composition, and use techniques like focus stacking and long exposures.
Filters: Your Secret Weapon
While a lot of people think you can "fix it in post," some things are better handled in-camera. A Circular Polarizer (CPL) is essential for cutting glare on water and making those autumn leaves pop. Neutral Density (ND) filters are your best friend if you want that silky-smooth waterfall look.

2. Mastering the Technical Foundations
Landscape photography demands sharpness from the blade of grass at your feet to the mountain peak ten miles away. Achieving this requires a bit of "nerding out" on your settings.
The Aperture Sweet Spot
You might think shooting at f/22 is the way to go to get everything in focus, but here’s a tip: diffraction is a thing. Most lenses start to lose sharpness at their smallest apertures. Instead, aim for the "sweet spot," usually between f/8 and f/11. This provides enough depth of field without making your image soft.
Hyperfocal Distance (Without the Math)
The hyperfocal distance is basically the point where everything from half that distance to infinity is in focus. A quick rule of thumb for landscape lovers: focus about one-third of the way into the scene. If you have a very prominent foreground subject, focus on that, and then check your screen to see if the background holds up.
If you’re using specific gear, we’ve actually mapped out the OM System OM-1 Mark II settings for landscape photography to help you dial in these technical details instantly.
ISO: Keep it Low
Keep your ISO at its base (usually 100) whenever possible. We want clean, noise-free images that can be printed large enough to cover a living room wall. Check out PhotoGuides.org for more in-depth tutorials on managing exposure triangles in tricky outdoor lighting.
3. Composition: Leading the Eye
Composition is where the magic happens. It’s the difference between a photo of a mountain and a photo that makes someone feel like they’re standing on that mountain.
The Power of the Foreground
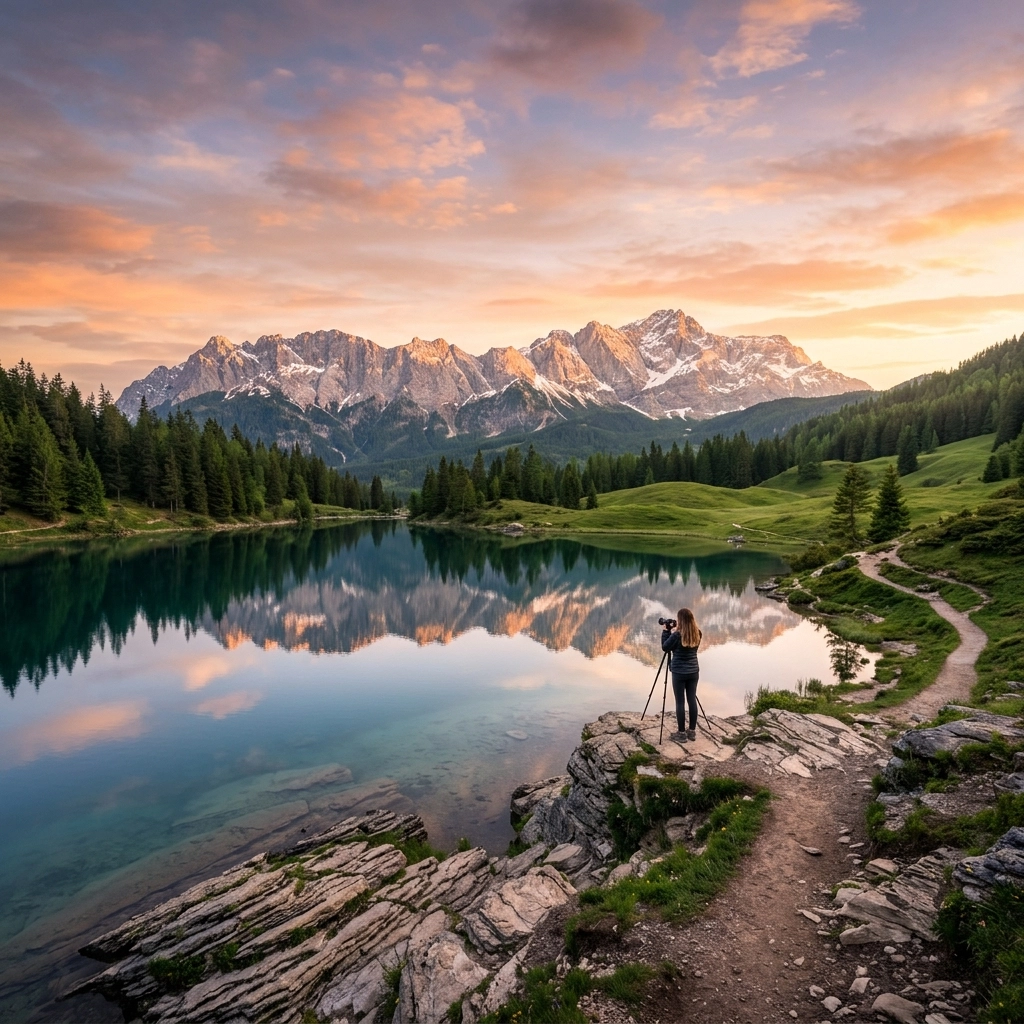
One of the most common mistakes in landscape photography is ignoring what’s right in front of you. A great landscape photo usually has three layers: a strong foreground, a mid-ground, and a background. Look for an interesting rock, a patch of flowers, or even a crack in the mud to lead the viewer into the frame.
Leading Lines and Z-Shapes
Use natural lines: like a winding river, a path, or even the ridge of a mountain: to guide the viewer’s eye through the image. "Z-shapes" are particularly effective; they create a visual journey that keeps the viewer engaged longer.
Don't Be Afraid to Go Vertical
We call them "landscapes," so we naturally want to hold the camera horizontally. But try flipping it. Vertical landscapes are great for emphasizing height (like a tall waterfall) or for creating a sense of depth when you have a killer foreground subject.

4. Light: Timing is Everything
You can have the best composition in the world, but if the light is flat and gray, the photo will likely fall flat.
Golden Hour and Blue Hour
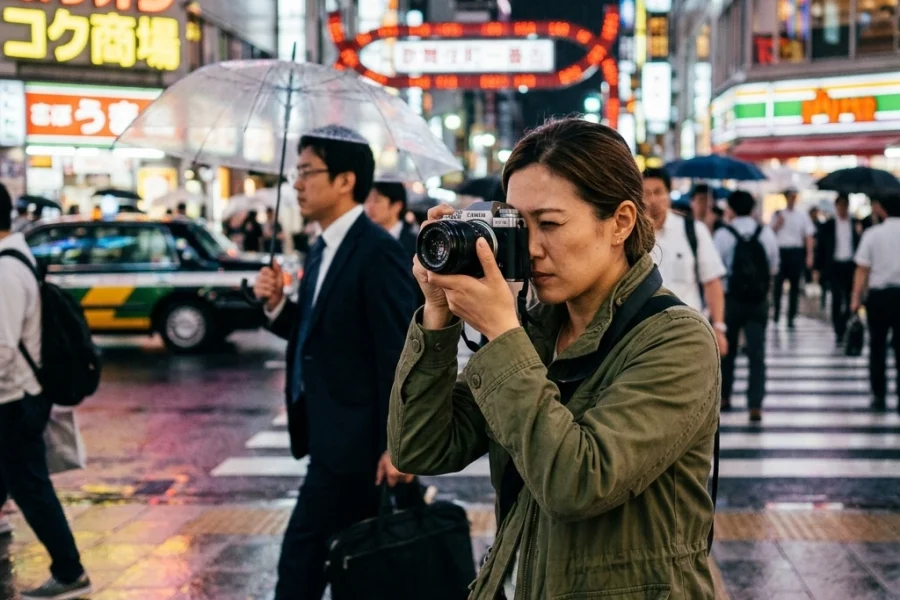
We talk about these a lot because they work. Golden hour (just after sunrise or before sunset) provides that warm, directional light that creates shadows and highlights, giving your landscape dimension. Blue hour (the window just before sunrise or after sunset) offers a moody, ethereal vibe that is perfect for cityscapes or coastal shots.
Weather is Your Friend
Blue skies are actually kind of boring. Drama lives in the weather. Storm clouds, fog, and even rain can add atmosphere and mood that a clear day simply can't provide. Sonny, our Social Media Manager, and I were just talking about how "bad" weather often leads to the most viral shots because people love seeing nature's intensity. If you see a storm brewing, don't pack up: get your rain cover ready.
5. Post-Processing: The Digital Darkroom
Taking the photo is only half the battle. To really make your landscapes sing, you need to polish them. This isn't about "faking" the scene; it's about bringing back the dynamic range that your camera sensor couldn't quite capture.
We’re big fans of using Luminar for landscape edits. Their AI-driven tools, like the "Accent AI" and "Sky Replacement" (for those truly boring sky days), can save you hours of masking in Photoshop. It’s about working smarter, not harder.
Bracketing for Dynamic Range
Sometimes the sky is too bright and the foreground is too dark. This is where exposure bracketing comes in. Take three (or five) shots at different exposures and blend them later. It’s the best way to ensure you don't lose detail in the highlights or shadows. For more inspiration on how these finished pieces should look, head over to Edin Fine Art to see some high-end landscape gallery work.

6. Advanced Landscape Tactics
Once you’ve mastered the basics, it’s time to level up.
Focus Stacking
When you have a subject inches from your lens and a mountain miles away, even f/11 won't get everything sharp. Focus stacking involves taking multiple shots at different focus points and merging them in post. It’s a game-changer for those ultra-wide, "in-your-face" foreground compositions.
Long Exposure Motion
Long exposures aren't just for waterfalls. Use them on windy days to blur clouds, creating a sense of movement and "streaking" in the sky. It adds a fine-art quality to your work that feels more like a painting than a photograph.
Panoramic Stitches
Don't let your wide-angle lens limit you. Sometimes the scene is just too big. Set your camera vertically and take a series of overlapping shots. Stitching them together later creates a massive, high-resolution file that captures the true scale of the location.
If you want to keep up with the latest gear that makes these techniques easier, stay tuned to our photography news updates.
7. Preparation and Ethics
Landscape photography is more than just clicking a shutter; it's about being a guest in nature.
- Scout Ahead: Use apps like Google Earth or PhotoPills to plan your shots before you even leave the house. Knowing where the sun will rise or set is half the battle.
- Leave No Trace: This is huge. Don't trample sensitive wildflowers or leave trash behind just for a "banger" shot. No photo is worth damaging the environment.
- Safety First: Tell someone where you’re going, especially if you’re heading into the wilderness for a sunrise hike.

Related Reading and Resources
To keep your skills sharp and stay inspired, check out these deep dives into other genres and gear:
- Learn about the best settings for wildlife photography if you want to capture the animals living in those landscapes.
- Compare the Sony A7 IV and Canon EOS R6 Mark II for a more mid-range landscape setup.
- Visit blog.edinchavez.com for personal stories from the field.
Landscape photography is a journey. You’re going to have days where you come home with nothing but a memory of a cold morning and a soggy sandwich. But then, you’ll have that one day where the light hits the peaks just right, the water is like a mirror, and you click the shutter knowing you just caught something special.
That’s why we do it. Now, go out there, shut your aperture, and show us what you’ve got.