Let’s be honest: that little "M" on your camera dial is intimidating. It’s like the final boss in a video game you aren’t quite ready to beat. Most beginners stick to "Auto" or maybe "Aperture Priority" because they’re safe. But sticking to Auto is like buying a Ferrari and never taking it out of first gear. You have all this power at your fingertips, and you’re letting a computer chip make all the creative decisions for you.
Mastering manual mode is the single biggest step you can take to move from "person with a camera" to "photographer." It’s about taking control of the light, the mood, and the story of your image. Today, we’re going to break down the wall. No complex math, no gatekeeping, just a simple guide to mastering your settings and finally understanding how your camera works.
The Big Secret: It’s Just a Balancing Act
If you’ve spent any time looking at photography tutorials, you’ve heard of the "Exposure Triangle." It sounds technical, but it’s actually a very simple concept. To get a perfectly exposed photo, one that isn’t too bright (blown out) or too dark (underexposed), you have to balance three things: Aperture, Shutter Speed, and ISO.
Think of it like a window with shutters.
- Aperture is how wide you open the window.
- Shutter Speed is how long you leave the window open.
- ISO is how sensitive the person standing in the room is to the light coming through.
If you change one, you have to change at least one of the others to keep the light level the same. That’s the "game" of manual mode. Once you understand the trade-offs of each setting, you can start making intentional choices. If you’re just starting out, check out our photography for beginners guide for a broader look at your gear.

1. Aperture: The "Eye" of Your Camera
Aperture is the opening in your lens. It’s measured in "f-stops" (like f/1.8, f/4, or f/11). This is usually the setting that trips people up because the numbers feel backward: a lower number (like f/1.8) means a wider opening, and a higher number (like f/22) means a tiny opening.
Why does Aperture matter?
Beyond letting in light, aperture controls your Depth of Field. This is how much of your image is in focus.
- Low F-Stop (f/1.4 – f/2.8): This creates a "shallow" depth of field. Your subject is sharp, but the background is a creamy, blurry dream. This is the "pro look" everyone wants for portraits. If you want to dive deeper into this, our guide on portrait photography techniques covers this in detail.
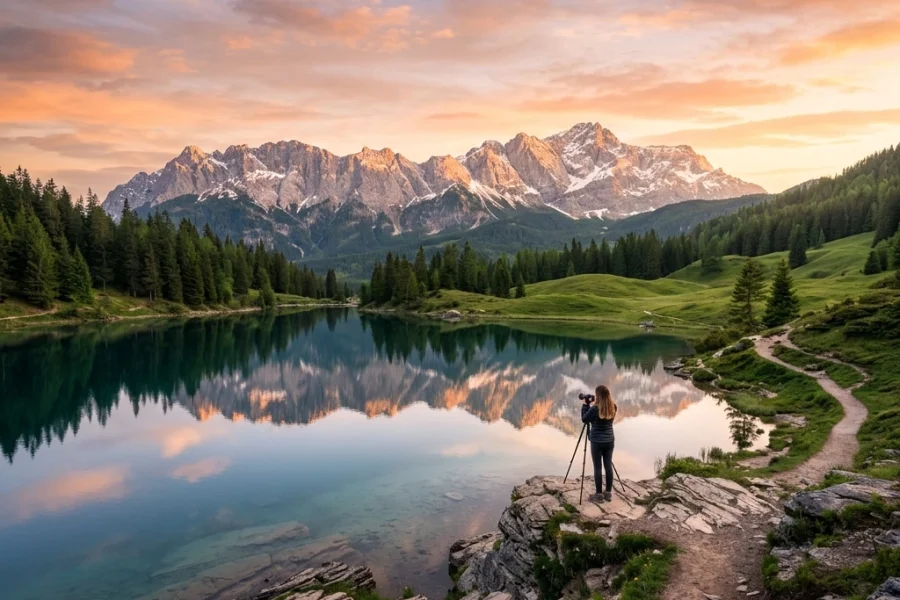
- High F-Stop (f/8 – f/16): This keeps everything in focus, from the flower in the foreground to the mountains in the distance. This is the go-to for landscape photography.
When you open your aperture wide (low number), you’re letting in a ton of light. That means you’ll need to adjust your shutter speed or ISO so the photo doesn't end up looking like a white square.
2. Shutter Speed: Capturing Time
Shutter speed is the length of time your camera sensor is exposed to light. It’s measured in fractions of a second (1/500) or full seconds (2").
Why does Shutter Speed matter?
Shutter speed is how you handle Motion.
- Fast Shutter Speed (1/1000 and up): This "freezes" time. If you’re shooting a hummingbird, a sports car, or a toddler who refused to nap, you need a fast shutter speed to keep them from looking like a blurry ghost.
- Slow Shutter Speed (1/60 and below): This allows motion to blur. Think of those silky-smooth waterfall photos or light trails from cars at night. Just remember: if you go below 1/60, you’ll likely need a tripod, or the "camera shake" from your own hands will make the whole photo blurry.
Using a slow shutter speed lets in more light because the "window" is open longer. Using a fast shutter speed lets in less light. It’s all a trade-off.

3. ISO: The Sensitivity Factor
ISO is your camera’s sensitivity to light. Back in the day, this was determined by the film you bought. Now, it’s a digital setting.
- Low ISO (100 – 400): Use this when you have plenty of light (outdoors, bright studios). It produces the cleanest, crispest images.
- High ISO (800 – 6400+): Use this when things get dark. It boosts the signal to make the image brighter, but there’s a catch: Noise.
High ISO introduces "grain" or "digital noise" into your photos, making them look crunchy and less professional. Modern cameras are getting incredibly good at handling high ISO, especially with AI-powered mirrorless tech, but the rule of thumb is to keep your ISO as low as possible for the situation. If you do end up with a noisy photo, you can often clean it up using Luminar, which has some great AI de-noise tools.
Putting It All Together: The Step-by-Step Process
Don't just spin the dials and hope for the best. Follow this workflow to get the shot without getting overwhelmed. If you're feeling stuck, we have an easy guide for beginners that breaks this down even further.
Step 1: Set your Aperture based on your creative goal.
Do you want a blurry background? Set it low (f/2.8). Do you want a sharp landscape? Set it high (f/11). This is your first creative "anchor."
Step 2: Set your ISO.
Are you outside in the sun? Set it to 100. Are you in a dim living room? Try 800 or 1600. Try to find the lowest number you can get away with.
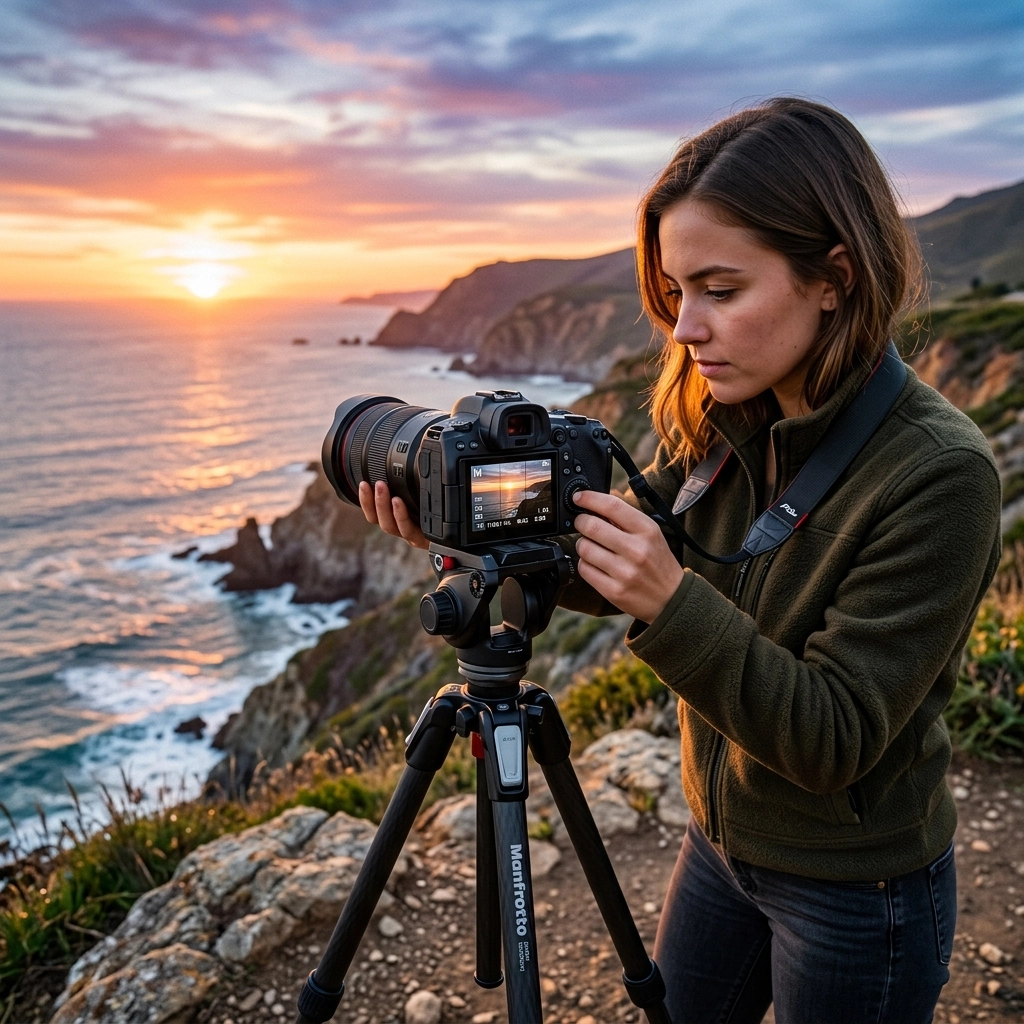
Step 3: Use the Light Meter to set your Shutter Speed.
Look through your viewfinder. You’ll see a little scale with a "0" in the middle, a "+" on one side, and a "-" on the other. That’s your light meter. Adjust your shutter speed until the little tick-mark is right in the center (at 0).
Step 4: Take a test shot and check your "Histogram."
The light meter is a great guide, but it’s not always perfect. Take a photo, look at the screen, and check if it looks right. If it’s too dark, slow down your shutter speed or bump up your ISO.

Why You Should Stop Fearing the "M"
The biggest mistake beginners make is thinking they need to be "fast." You don't. Landscape photographers often spend 10 minutes setting up a single shot. Even professional portrait photographers take a few "throwaway" shots at the start of a session to dial in their manual settings.
When you shoot in manual, you start to see light differently. You’ll notice when the sun goes behind a cloud and realize, "Hey, I need to open my aperture or slow my shutter." That awareness makes you a better artist. Plus, if you're looking into professional corporate headshots, manual mode is non-negotiable for consistency.
Common Manual Mode Mistakes (and how to fix them)
Even the pros mess up sometimes. Here are a few things to watch out for:
- Forgetting to change settings when moving locations: You were shooting outside in the sun, you walked into a dark building, and now your photos are pitch black. Make it a habit to reset your dials whenever the light changes.
- Trusting the LCD screen too much: Sometimes the screen on the back of your camera is brighter than the actual photo. Always check your light meter.
- Being afraid of high ISO: Yes, noise is bad, but a sharp, noisy photo is better than a clean, blurry one. If you need to bump the ISO to 3200 to get a fast enough shutter speed, do it. You can fix grain in Luminar, but you can't fix motion blur.
- Ignoring the "7 mistakes" list: We actually wrote a whole post on the 7 mistakes you’re making with manual mode that you should definitely read.

The Role of AI in Modern Manual Shooting
You might be wondering, "If I’m shooting in manual, why does AI matter?" It’s a fair question. Even when you are in total control of exposure, modern AI tech in cameras helps with things like Eye-AF (autofocus) and subject tracking. This frees up your brain to focus purely on the exposure triangle while the camera ensures the eye is tack-sharp.
The latest AI photography news shows that the line between "manual" and "assisted" is blurring. However, the core principles of light don't change. No matter how smart your camera gets, it won't know if you wanted that car to be a blur or a frozen moment in time. That’s your job.
Practicing Without the Pressure
If you’re still nervous about switching to full "M" mode, try "Aperture Priority" (A or Av) first. You choose the aperture and ISO, and the camera chooses the shutter speed. It’s like manual mode with training wheels. Once you feel comfortable seeing how the camera reacts to your aperture choices, make the jump to full manual.
Go to a park, find a stationary object (like a park bench or a tree), and just play. See what happens when you change the shutter speed from 1/100 to 1/4000. Look at how the background changes when you go from f/2.8 to f/11. There is no "undo" button in real life, but in digital photography, mistakes are free.
For more technical breakdowns and gear advice, check out resources like PhotoGuides.org or see some of my personal work at blog.edinchavez.com. If you want to see what's possible when you master these settings for fine art, take a look at www.edinfineart.com.
Final Thoughts
Mastering manual mode isn't about being a "purist": it’s about having the tools to execute your vision. Whether you're shooting a dramatic landscape or a fast-paced street scene, knowing how to balance your settings gives you a level of creative freedom that Auto mode can never provide.
Don't let the dials scare you. Your camera is just a box that catches light, and you are the one holding the keys. Now, get out there, turn that dial to "M," and start shooting. It’s going to be messy at first, but I promise it’s worth it. For more tips on making sure you have the right gear for the job, see our comparison on choosing the best mirrorless camera in 2026.