Let’s be real: buying a $3,000 camera doesn’t make you a professional photographer any more than buying a high-end stethoscope makes you a brain surgeon. We’ve all been there, you unbox that shiny new mirrorless beast, point it at something pretty, and the photo comes out looking like a blurry mess or a dark cave.
If you want to stop taking "snapshots" and start creating "art," you need a roadmap. That’s why we’ve built the most comprehensive list of photography tutorials on the planet. At Shut Your Aperture, we don’t believe in fluff. We believe in getting you off the "Auto" mode and into the driver's seat of your career.
Whether you are looking for photography 101 or you're trying to figure out how to navigate the latest AI-powered tech, this guide has your back.
Phase 1: Mastering the Machine (The Manual Mode Breakthrough)
The first step to becoming a pro is simple: stop letting the camera think for you. The camera is a tool, not a brain. If you really want to know how to use manual mode camera settings effectively, you have to master the Exposure Triangle.
Aperture: The Gatekeeper of Light
Aperture is the opening in your lens. Think of it like the pupil of your eye. A wide-open aperture (like f/1.8) lets in a ton of light and gives you that creamy, blurry background everyone loves. A narrow aperture (like f/16) keeps everything sharp from the foreground to the mountains in the back. Mastering this is the key to portrait photography techniques.
Shutter Speed: The Time Traveler
Shutter speed controls how long the "curtain" stays open. Want to freeze a hummingbird in mid-air? You need a fast shutter speed (1/4000s). Want to make a waterfall look like silk? You need a slow shutter speed and probably a tripod. If you're struggling, check out our 5 steps to master manual mode.
ISO: The Digital Caffeine
ISO is your sensor's sensitivity to light. In a perfect world, you’d keep this at 100 for the cleanest shots. But when the sun goes down, you have to crank it up. Just watch out for "noise" (the digital equivalent of sand in your photo).

Alt Text: A detailed infographic showing the relationship between Aperture, Shutter Speed, and ISO for professional photography tutorials.
Phase 2: Beginner Camera Settings You Can’t Ignore
Before you head out on a shoot, there are a few "set it and forget it" things you need to do.
- Shoot in RAW: If you are shooting JPEGs, you are throwing away half of your photo's data. RAW files allow you to recover highlights and shadows in post-processing that JPEGs simply can't handle.
- White Balance: Don't let your photos look "sickly yellow" or "frozen blue." Set your white balance to match your environment, or better yet, leave it on Auto if you're shooting RAW and fix it later.
- Back Button Focus: This is a pro secret. Instead of focusing with the shutter button, map focus to a button on the back of your camera. It separates the "thinking" (focusing) from the "doing" (taking the shot).
If you’re still making mistakes, don’t sweat it. Even the pros mess up. Take a look at these 7 mistakes you're making with manual mode to see how to fix them instantly.
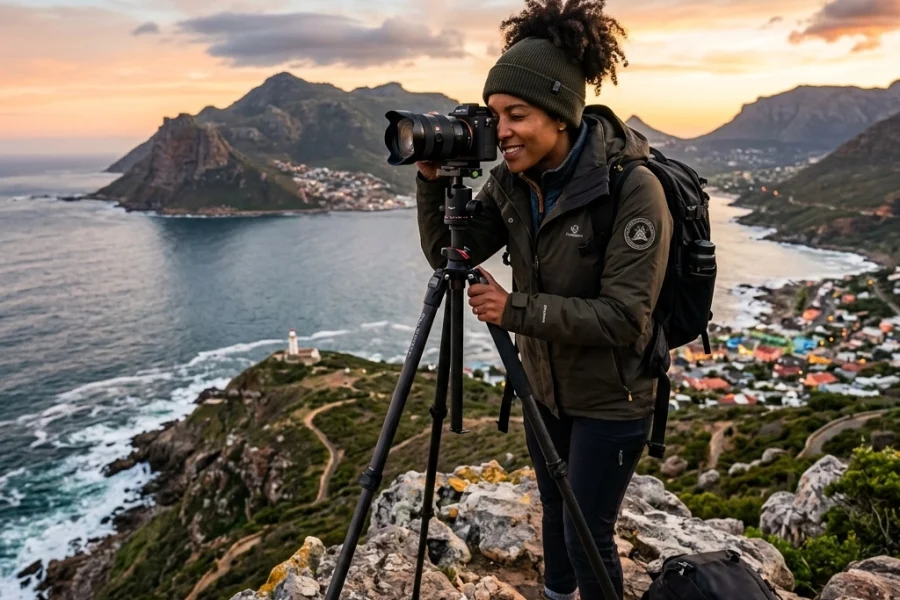
Phase 3: The Art of Light and Composition
You can have the best photography tutorials in the world, but if you don't understand light, your photos will always feel "flat."
Advanced Lighting Techniques
Professionals don't just "find" light; they "shape" it. Whether you are using natural light for a lifestyle shoot or three-point lighting in a studio for professional corporate headshots, the goal is the same: create dimension.
- Golden Hour: The hour after sunrise and before sunset. It's soft, warm, and makes everyone look like a movie star.
- Rembrandt Lighting: A classic studio technique where a small triangle of light appears on the subject's cheek. It’s moody, professional, and timeless.
Composition: Leading the Eye
Composition is how you arrange elements in the frame. The Rule of Thirds is a great start, but pros use leading lines, framing, and symmetry to tell a story. If you're into the great outdoors, you'll want to avoid these landscape photography mistakes to ensure your compositions actually pop.

Alt Text: A professional landscape photograph using leading lines and the rule of thirds during golden hour.
Phase 4: The 2026 Gear Shift (AI and Mirrorless)
The industry is changing fast. In 2026, we aren't just talking about megapixels anymore; we’re talking about AI integration. Modern mirrorless cameras now have eye-tracking for humans, animals, and even cars.
If you’re wondering if your old DSLR is still cutting it, check out our guide on the best mirrorless cameras of 2026. For those looking to buy, we've compared the top models in our mirrorless camera kit guide.
AI isn't just in the camera; it's in how we process images. AI-powered mirrorless tech is making it easier to nail focus in impossible conditions, but you still need the fundamental skills to back it up.
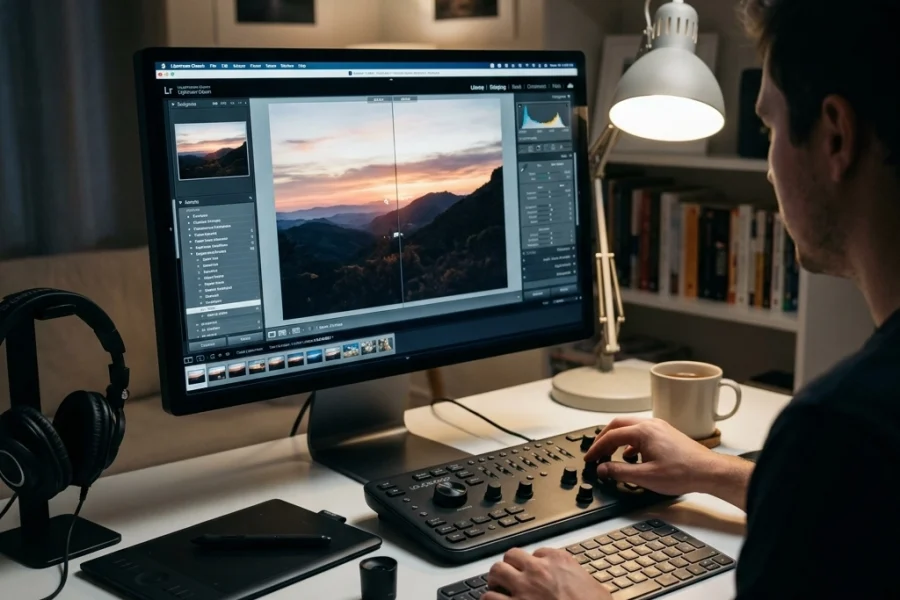
Phase 5: The Digital Darkroom (Editing Like a Pro)
Editing is where the magic happens. It’s where you take a "good" photo and make it "iconic."
Advanced Editing Techniques
A professional workflow usually involves two things: organization and precision. You start in a library to cull your shots, then move into heavy lifting for color grading and retouching.
For many pros, Luminar has become a staple because of its AI-driven tools that speed up the boring parts of editing (like masking sky or retouching skin). This allows you to focus on the creative side of things.
However, be careful. It’s easy to go overboard with AI. We’ve listed the 7 mistakes you’re making with AI editing so you don't end up with photos that look like a CGI movie gone wrong.

Alt Text: A side-by-side comparison of a RAW photo versus a professionally edited version using AI tools like Luminar.
Phase 6: Turning Passion into Profit
If you want to succeed as a pro, you have to treat your photography like a business. This means:
- Finding a Niche: Are you a wedding photographer? A corporate headshot specialist? A landscape artist? Trying to do everything is the fastest way to get nowhere.
- Building a Portfolio: Your portfolio should only show your best work. If you have 100 okay photos, delete 90 of them. Show the 10 that make people say "wow."
- Marketing: Use social media, but also focus on SEO for your own website. Check out blog.edinchavez.com for inspiration on how a pro structures their online presence.
- Networking: Get out there. Meet other photographers. Join communities. Check out PhotoGuides.org for more resources and community-driven tips.
If you’re serious about making the jump from hobbyist to professional, you need structured learning. You can find deep-dive courses and mentorship at learn.shutyouraperture.com.
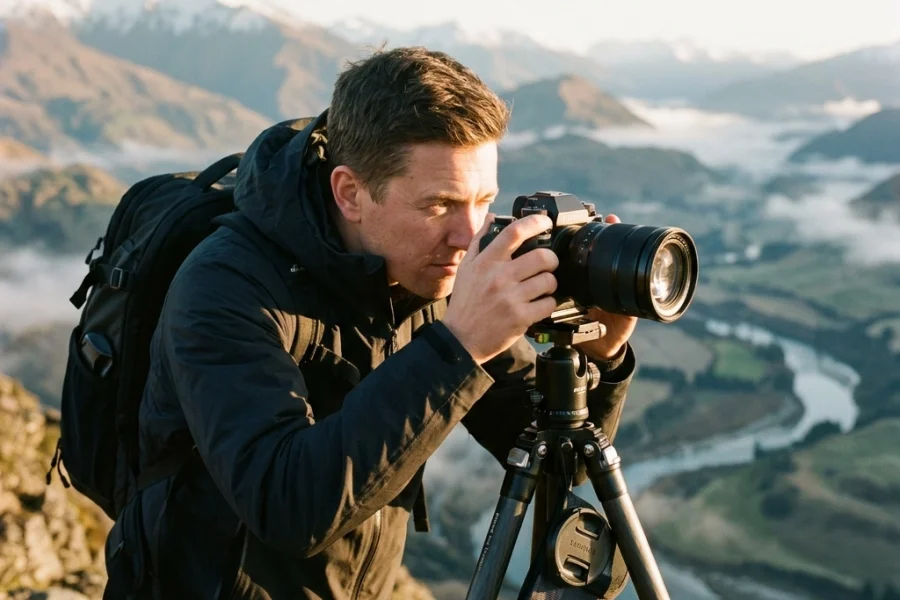
The Essential Photography Tutorials Checklist
To make sure you’re on the right track, keep this checklist handy:
- Exposure Mastery: Can you shoot in manual mode without thinking?
- Focusing Techniques: Are you using AF-C (Continuous) and eye-tracking?
- Light Control: Do you know how to use a reflector or a bounce flash?
- Post-Processing: Is your Luminar workflow efficient?
- Business Basics: Do you have a contract and a pricing sheet?

Alt Text: A professional photographer setting up a studio shoot with high-end mirrorless gear and softbox lighting.
Why Shut Your Aperture?
There are a million photography tutorials on YouTube, but most of them are just people trying to sell you gear. At Shut Your Aperture, we focus on the skill. We want you to be able to pick up any camera: whether it’s a 10-year-old DSLR or the latest AI-mirrorless flagship: and create something stunning.
Photography is about the marriage of technology and soul. The technology changes (just look at how AI photography news is evolving every week), but the principles of great light and human connection remain the same.
Stay curious, keep shooting, and don't be afraid to fail. Every "bad" photo you take is just a tutorial in what not to do next time.
If you're ready to take the next step, head over to learn.shutyouraperture.com and let’s get to work. Your journey to becoming a pro starts with a single click: and maybe a little bit of manual mode practice.