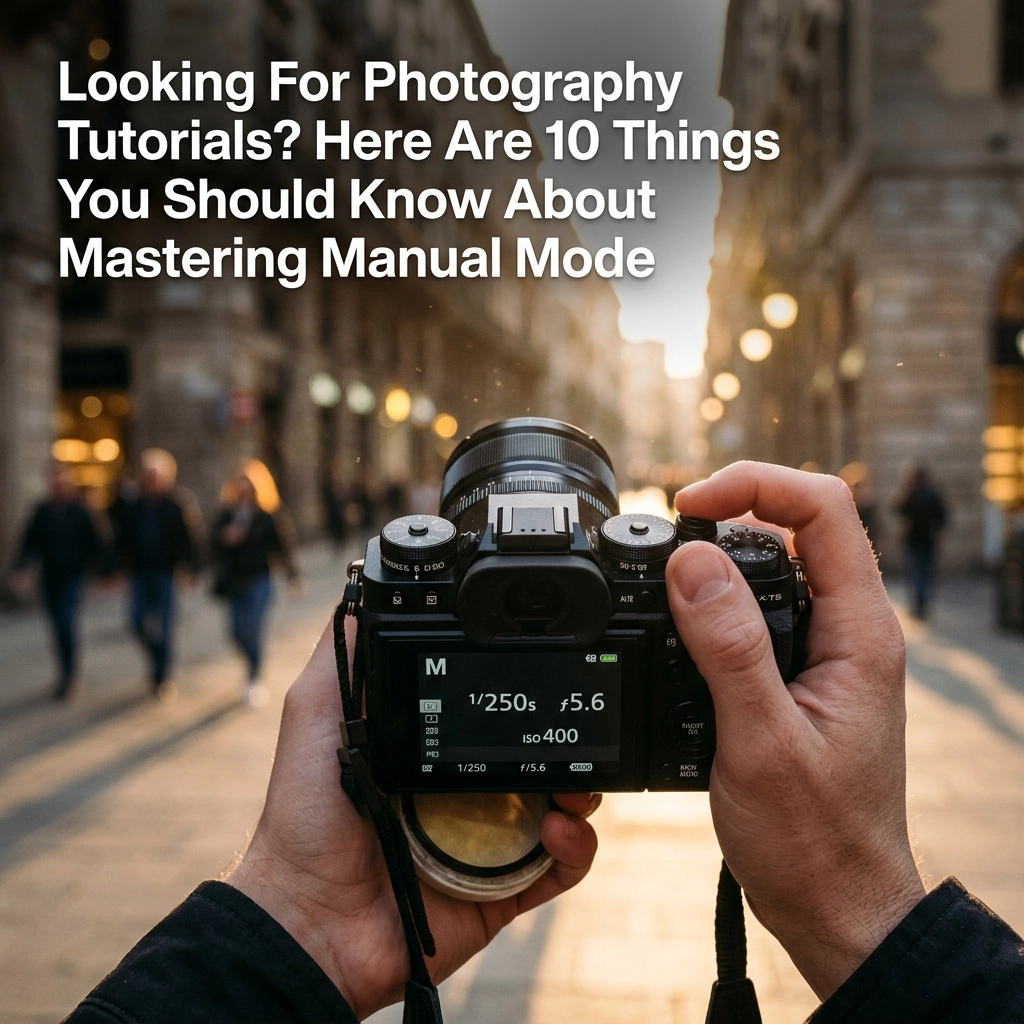
Let’s be real for a second. That little "M" on your camera dial can be terrifying. It’s like the first time you tried to drive a stick shift, lots of stalling, weird noises, and a fair amount of panic. Most people get a fancy new camera, flip it to the green "Auto" box, and call it a day. And hey, modern cameras are smart. They’ll give you a decent photo most of the time. But "decent" isn't why you're here. You’re here because you want to create art, not just take snapshots.
Mastering manual mode is the single biggest jump you can make in your journey of photography for beginners. It’s the moment you stop letting a computer chip decide how your memories look and start making those decisions yourself. If you’ve been hunting for photography tutorials that actually make sense without a PhD in physics, you’re in the right place.
Here are 10 things you absolutely need to know about mastering manual mode to take your shots from "meh" to "wow."
1. The Exposure Triangle Is Your New Best Friend
If manual mode is a language, the Exposure Triangle is the alphabet. You can’t write a poem if you don’t know your ABCs. The triangle consists of three things: Aperture, Shutter Speed, and ISO.
Think of it like a window with shutters.
- Aperture is how wide the window is open.
- Shutter Speed is how long the shutters stay open.
- ISO is how sensitive the person standing in the room is to the light coming through.
When you change one, you usually have to change another to keep the light balanced. This balance is what we call "exposure." If you want to dive deeper into how this works in a specific setting, check out our Ultimate Guide to Professional Corporate Headshots where consistency in manual mode is king.
2. Your Camera’s Light Meter Is a Guide, Not a God
When you switch to manual, a little scale appears at the bottom of your viewfinder. That’s your light meter. It tries to tell you when the exposure is "perfect" by hitting the zero mark.
Here’s the secret: the light meter is often wrong. It’s programmed to think the whole world should be middle-gray. If you’re shooting a snowy landscape, the camera will try to turn that white snow into gray mush. If you’re shooting a black cat, it’ll try to turn it into a gray cat. Manual mode lets you ignore the meter and say, "No, I want this bright" or "I want this moody."
Learning to read the meter while knowing when to override it is a huge part of how to use manual mode camera effectively.

Alt Text: A close-up shot of a modern mirrorless camera’s LCD screen showing the manual mode settings and the exposure light meter scale at the bottom.
3. Aperture Does More Than Just Let Light In
Most beginners think of aperture (the f-stop) as just a way to get more light. While that’s true, its real magic is controlling your Depth of Field.
Want that creamy, blurry background in your portraits? You need a wide aperture (a low number like f/1.8). Want everything from the pebble at your feet to the mountain in the distance to be sharp? You need a narrow aperture (a high number like f/11). This is one of the most essential landscape photography tips you’ll ever hear.
If you’re using specific gear, like the OM System, you might want to look at landscape settings for the OM-1 Mark II to see how aperture plays a role in professional setups.
4. Shutter Speed Is Your Time Machine
Shutter speed is how you handle motion. If you’re trying to freeze a bird in flight or a car racing past, you need a fast shutter speed (like 1/2000th of a second). If you want to make a waterfall look like silk, you need a slow shutter speed (like 2 seconds).
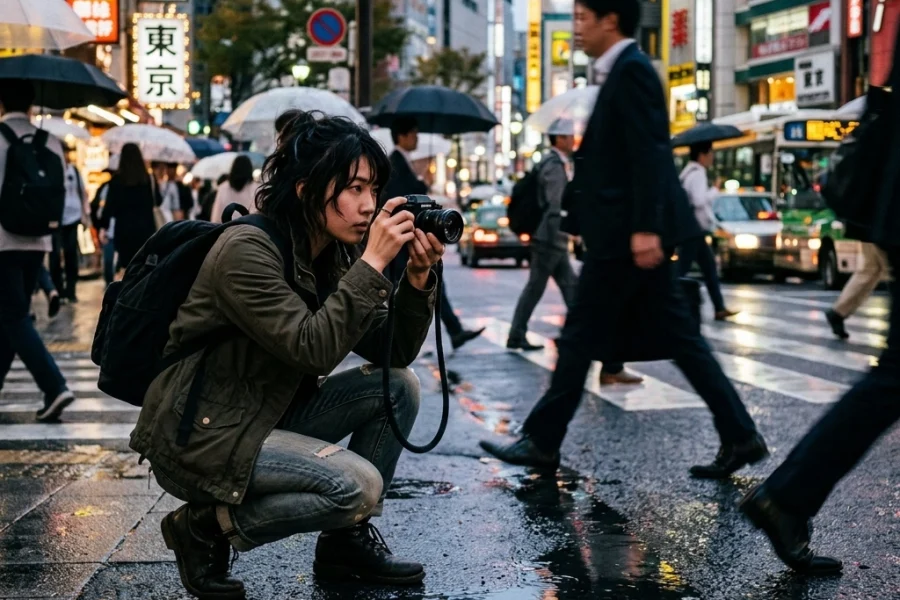
In manual mode, you decide if the world stands still or blurs into a dream. This is particularly vital when exploring street photography ideas. Sometimes a little motion blur in a crowded city street adds a layer of "life" that a sharp photo just can't capture. For more on this, check out these street photography secrets.
5. ISO Is the Necessary Evil
ISO is your camera’s sensitivity to light. Back in the day, we bought different rolls of film for this. Now, it’s a button.
In a perfect world, we’d always shoot at ISO 100 for the cleanest, sharpest images. But when the sun goes down, you have to crank it up. The trade-off? Noise (or grain). High-end gear, like the ones mentioned in our Canon EOS R5 vs Sony A7R V comparison, can handle high ISO much better than entry-level cameras.
Don't be afraid to push your ISO if it means getting the shot, but always keep it as low as you can get away with.

Alt Text: An ultra-realistic comparison showing two photos of the same night scene: one with low ISO and long shutter speed (clean), and one with high ISO and fast shutter speed (grainy but sharp).
6. Stop Shooting JPEG, Start Shooting RAW
If you are serious about photo editing tutorials and getting the best results, you must shoot in RAW.
A JPEG is a finished meal. A RAW file is a kitchen full of ingredients. When you shoot in manual and save as a RAW file, the camera saves all the data. If you accidentally underexpose a shot (make it too dark), you can often "save" it in post-processing without losing quality.
When you get these files into your computer, using a tool like Luminar can help you bring out those details that the camera captured but didn't display. For more hands-on learning, I highly recommend checking out learn.shutyouraperture.com for deep dives into file management and editing.
7. White Balance Changes the Mood
While technically not part of the "Manual Mode" exposure triangle, setting your White Balance manually is part of taking full control. Auto White Balance (AWB) usually does a good job, but it can be tricked by orange streetlights or blue shadows.
By setting it yourself (using "Daylight," "Cloudy," or a specific Kelvin number), you ensure your colors are consistent across a whole shoot. This is a game-changer for portrait photography techniques, no one wants their skin looking like a Smurf or an Oompa Loompa because the camera got confused by a yellow wall in the background. If you're struggling with lighting, read up on 7 mistakes you're making with natural light portraits.
8. The Histogram Is More Truthful Than Your Screen
Your camera’s LCD screen is a liar. If you’re outside in the bright sun, the screen looks dark, so you might overexpose your photo. If you’re in a dark room, the screen looks bright, so you might underexpose.
The Histogram is a little graph that shows you exactly where the light is. If the graph is all bunched up on the left, your photo is too dark (underexposed). If it’s all on the right, it’s too bright (overexposed). Mastering manual mode means learning to glance at that graph after every shot. You can find more technical breakdowns on how to read these at PhotoGuides.org.

Alt Text: A professional photographer looking at the histogram graph on the back of their mirrorless camera while shooting a sunset on a beach.
9. Manual Mode Creates Consistency
This is the "secret sauce" for pros. Imagine you’re shooting a model in a park. If you’re in Auto or Aperture Priority, every time you move the camera slightly, maybe more trees in the frame, maybe more sky, the camera recalculates the exposure. One shot is bright, the next is dark.
In Manual, you set it and forget it. As long as the sun doesn't go behind a cloud, every single photo will have the exact same exposure. This makes editing a breeze. You can apply one edit to a hundred photos and they’ll all look perfect. This is a huge part of why daily photography tutorials focus so much on consistency; it's what separates the amateurs from the pros. Check out Edin’s personal blog at blog.edinchavez.com for more on the professional mindset.
10. You Don’t Have to Use It for Everything
Wait, what?
Yeah, you heard me. Part of "mastering" manual mode is knowing when you don't need it. If you’re shooting a fast-paced wedding where the lighting is changing every three seconds as you move from a dark church to a bright garden, full manual might actually slow you down.
Pros often use "Aperture Priority" (A or Av) or "Shutter Priority" (S or Tv) and use "Exposure Compensation" to tweak it. But here’s the kicker: you can’t use those modes effectively until you’ve mastered full manual. You have to know what the camera is trying to do so you can correct it.
The Best Gear for Learning Manual Mode
If you’re still shopping for the best mirrorless cameras to start your journey, the market is wild right now. The Sony A7 IV vs Canon EOS R6 Mark II debate is a hot one, but both offer incredible manual controls that are easy to access.
For those focusing on video and vlogging with some landscape on the side, the Sony ZV-E10 II is a surprisingly capable little beast when you flip it to manual.

Alt Text: A flat-lay of professional camera gear including a Sony mirrorless camera, several prime lenses, and a tripod on a wooden table.
How to Practice Without Pulling Your Hair Out
Don't just go out and try to shoot a high-stakes event in manual mode. You’ll hate yourself. Instead:
- Start at home: Put a coffee mug on a table near a window. Try to get a perfect exposure. Then, try to make it look moody and dark. Then, try to make it look bright and "airy."
- Move to the backyard: Try to shoot a flower. Use a wide aperture to blur the grass behind it.
- Go to a bridge: Try to shoot the cars going under you at night. Use a tripod and a slow shutter speed to get those light trails.
Manual mode is about muscle memory. Eventually, your fingers will find the dials for aperture and shutter speed without you even looking.
Why This Matters for Your Creative Voice
When you let the camera choose the settings, you’re letting a team of engineers in Japan decide what a "good" photo looks like. When you choose the settings, you’re the one in charge.
Maybe you like your photos a bit darker than "normal." Maybe you like a bit of motion blur to show the chaos of a city. Manual mode is the key that unlocks that creative door.
If you’re looking for more inspiration, you can check out some world-class prints at Edin Fine Art to see what’s possible when you fully master the craft of light and manual control.

Alt Text: A wide landscape photo of a mountain range at blue hour, showing perfect exposure and sharp detail throughout, captured in manual mode.
Keeping Up with Photography News
The world of photography is changing fast. With AI being integrated into sensors and new camera gear reviews coming out every week, it’s easy to get overwhelmed. But remember: physics doesn't change. Light is light. Whether you’re shooting on a 50-year-old film camera or the latest 2026 mirrorless flagship, the relationship between aperture, shutter speed, and ISO remains the same.
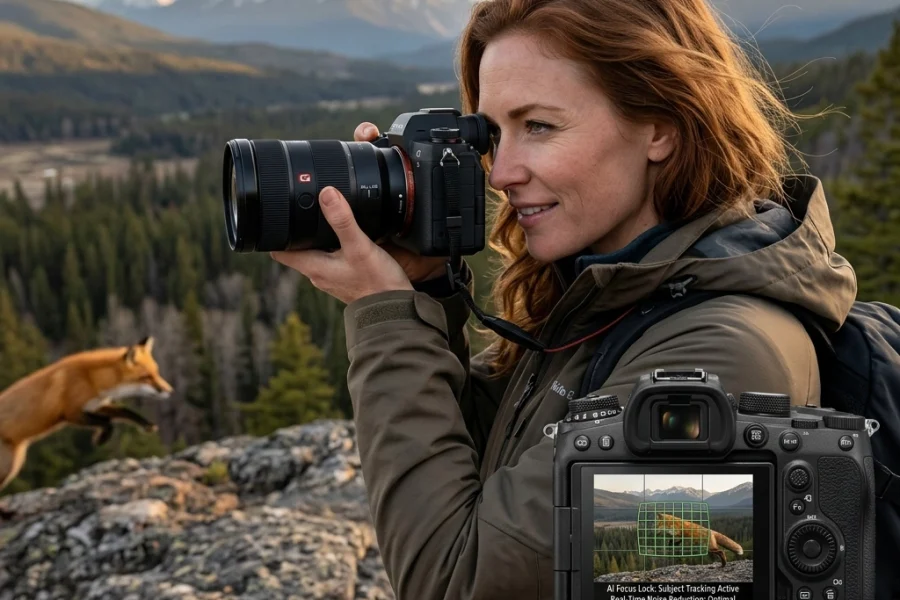
Stay updated on photography news and continue your education. The more you know, the less you have to rely on luck. If you want to dive into more specific niches, we have guides for everything from wildlife settings to real estate photography.
Mastering manual mode isn't a destination; it's a journey. You’ll mess up. You’ll take a whole batch of photos that are completely black because you forgot to change your settings after moving indoors. It happens to the best of us. But the first time you nail a shot exactly how you envisioned it in your head? That’s a feeling "Auto" mode can never give you.
So, grab your camera, flip that dial to "M," and go make some mistakes. It’s the only way to get better. And if you need a bit more help with the "light" side of things, check out our tutorial on 10 things you should know about mastering light.
Happy shooting!