We’ve all been there. You come home from a killer shoot with a memory card full of gold. You’re stoked. You sit down at your desk, crack a beer (or grab a coffee), and open up your editing software. Two hours later, you’ve edited exactly three photos, your neck hurts, and the images don’t even look that good.
What happened?
The truth is, most photographers, even the pros, struggle with their workflow. Editing isn't just about moving sliders until things look "cool." It’s a process. If that process is broken, it doesn't matter how expensive your camera is or how many megapixels you’re pushing. A clunky workflow will kill your creativity and turn a hobby you love into a chore you dread.
If you’re feeling stuck in the "editing abyss," here are 10 reasons your photo editing workflow isn't working and exactly how you can fix it today.
1. You Aren't Culling Effectively (The "Keep Everything" Trap)
The biggest bottleneck in any photography workflow happens before you even touch a slider. It’s called culling. If you’re importing 1,000 photos and trying to look at every single one with the same level of intensity, you’re doing it wrong.
Most people suffer from "decision fatigue." By the time you get to the actually great shots, your brain is fried because you spent twenty minutes debating between two identical shots of a tree.
The Fix: Use a "Yes, No, Maybe" system. Be ruthless. On your first pass, only look for the absolute "Yes" shots. If a photo isn't sharp, the expression is weird, or the lighting is flat, kill it immediately. Don't let the "Maybe" shots clutter your headspace. You want to narrow down that thousand-shot gallery to the top 10% as fast as humanly possible.
For more tips on how to handle massive amounts of data, check out The Ultimate Guide to Photography Tutorials.
2. You’re Editing in the Wrong Order
Would you put the frosting on a cake before you’ve even baked the batter? Of course not. But photographers do the equivalent all the time. They start color grading and adding artistic flares before they’ve even fixed the white balance or corrected the exposure.
When you edit out of order, you end up chasing your tail. You’ll adjust the highlights, then realize the exposure was off, and when you fix the exposure, it messes up the color grade you just spent ten minutes perfecting.
The Fix: Establish a strict order of operations.
- Geometry/Lens Correction: Fix those distorted lines first.
- Global Adjustments: Get your exposure, white balance, and contrast in the ballpark.
- Local Adjustments: Use brushes or masks for specific areas.
- Color Grading: This is the "look" of the photo.
- Sharpening and Grain: The final polish.

3. You’re Not Using Your Histogram (You’re Trusting Your Eyes Too Much)
Your eyes are amazing, but they are also total liars. If you’re editing in a bright room, you’ll likely make your photos too dark. If you’re editing at night in a dark room, your photos will probably come out too bright. Your monitor’s brightness setting also changes how you perceive the image.
If you aren't checking your histogram, you’re guessing. And guessing is a great way to end up with "clipped" blacks or "blown out" highlights that look terrible when printed or viewed on another screen.
The Fix: Learn to read the graph. The histogram is an objective mathematical representation of the light in your image. If the graph is smashed against the right wall, you’re losing detail in the highlights. If it’s piled up on the left, your shadows are "muddy." Keep it balanced. You can find deep dives on technical accuracy over at PhotoGuides.org.
4. You’ve Fallen Into the "Over-Processing" Abyss
We’ve all seen it: the "shitty HDR" look or the "clarity slider at +100" look. When you’re new to editing, it’s tempting to push every slider to see what happens. This usually results in halos around buildings, neon-orange skin tones, and images that look like they belong on a 2012 Instagram feed.
Over-processing happens when you lose sight of the original "soul" of the photo.
The Fix: The "Walk Away" Method. Once you think you’ve finished an edit, get up. Go grab a glass of water. Look at something that isn't a screen for five minutes. When you come back, look at the photo again. Nine times out of ten, you’ll realize you pushed the saturation a bit too far. Tools like Luminar offer incredible AI-driven enhancements that can simplify this, but the key is still subtlety. Let the AI do the heavy lifting, then dial it back by 20%.
5. You’re Working Destructively
If you are editing JPEGs or saving over your original files, you are playing a dangerous game. Destructive editing means that once you make a change and save it, you can’t go back. This is the fastest way to ruin a portfolio.
JPEGs are compressed files. Every time you edit and save them, you lose data. It’s like photocopying a photocopy.
The Fix: Always shoot in RAW and use non-destructive software. Whether you use Lightroom, Capture One, or Luminar, these programs don't actually change your original file. They just create a "recipe" of instructions that are applied to the image. This allows you to go back and change your white balance three years later without any loss in quality. If you want to master this, head over to learn.shutyouraperture.com for some hands-on training.

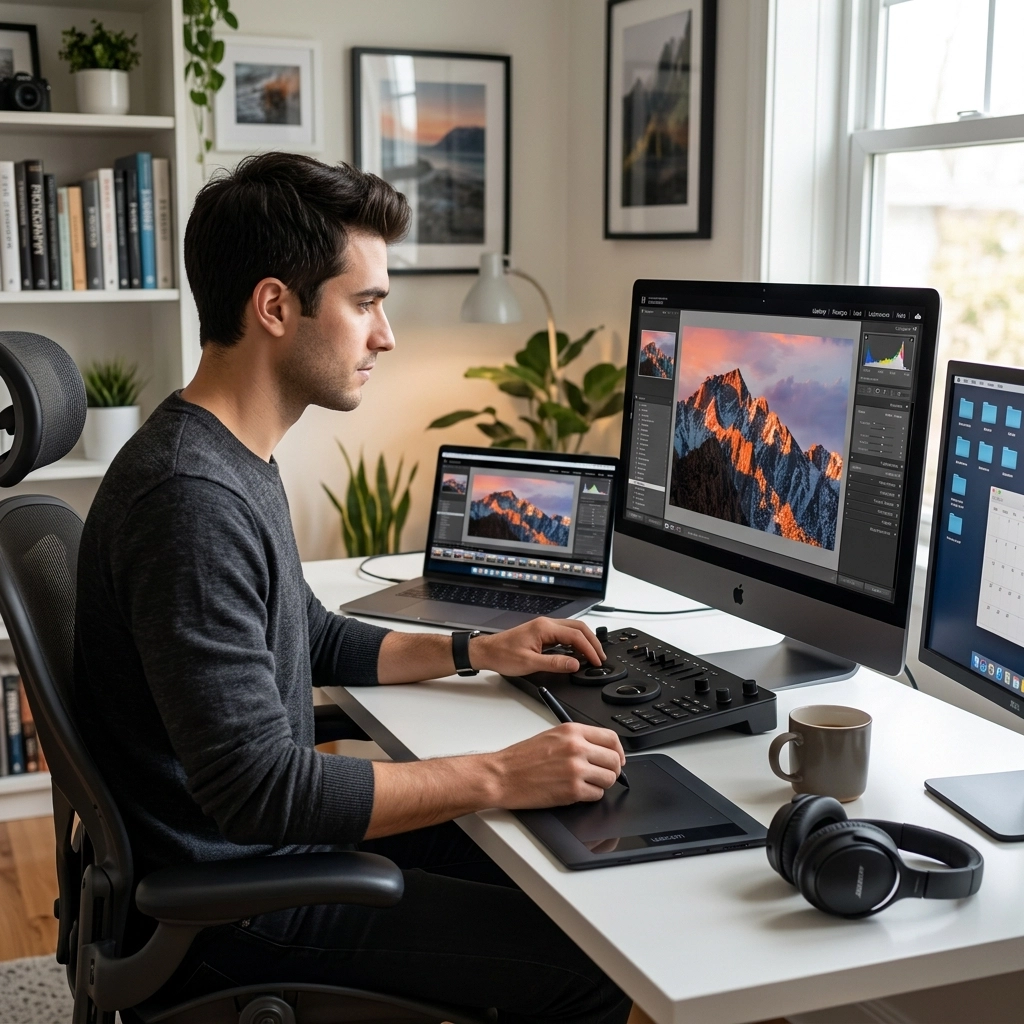
6. Your Computer Hardware is Bottlenecking You
Let’s be real: editing high-resolution RAW files from a modern camera (like the ones we discuss in our 2026 camera shift update) requires some serious horsepower. If your computer fans sound like a jet engine taking off every time you move a slider, your workflow is going to suffer.
Waiting three seconds for a preview to render doesn't sound like much, but do that over 200 photos, and you’ve just wasted ten minutes of your life doing nothing but staring at a loading bar.
The Fix: You don't necessarily need a $5,000 Mac Pro, but you do need three things:
- SSD for your "Working" Drive: Never edit off a spinning hard drive.
- At least 16GB of RAM: More is always better.
- A Calibrated Monitor: If your colors aren't accurate, your edits won't be either.
If you’re looking for high-end inspiration on what quality should look like on a calibrated screen, check out Edin Fine Art.
7. You Aren't Using Keyboard Shortcuts
If you are moving your mouse to the "Crop" icon, then back to the photo, then over to the "Brush" icon, you are wasting hours of your life. It seems small, but keyboard shortcuts are the difference between a hobbyist and a professional.
Think about it: if a shortcut saves you two seconds, and you perform that action 100 times per session, that’s hundreds of hours saved over a career.
The Fix: Pick five shortcuts and force yourself to use them this week.
- 'B' for Brush
- 'R' for Crop
- '\' to see the Before/After
- 'Cmd/Ctrl + Z' (Your best friend)
- 'P' to pick/flag an image.
Once these become muscle memory, you’ll feel like you’re playing a piano rather than fighting a computer.
8. Your File Management is a Mess
Where is that photo you took of the sunset in 2022? If your answer is "somewhere on a hard drive labeled 'Misc 2'," we have a problem. A broken workflow isn't just about the time spent in the editor; it’s about the time spent finding the files to edit.
Disorganized folders lead to lost work, duplicate files, and a general sense of anxiety that kills the mood to create.
The Fix: Create a standardized naming convention.YYYY-MM-DD_Location_ClientName
Store your "Selects" (the exported final versions) in a separate subfolder from your RAW files. And for the love of all things holy, back your work up. Use the "3-2-1 rule": Three copies of your data, on two different media types, with one copy off-site (cloud).

9. You’re Treating Presets Like a "Finish Line"
Presets are awesome. They can give your work a consistent look and save you a ton of time. But if you think you can just click a preset and be "done," your workflow is failing you. Every photo is different. The lighting in a forest in Oregon is not the same as the lighting on a beach in Miami.
When you blindly apply a preset and don't tweak it, your photos end up looking "processed" rather than "polished."
The Fix: Use presets as a starting point. Apply the look you like, and then immediately go to your basic panel. Adjust the exposure and white balance to match that specific frame. Presets get you 80% of the way there; the last 20% is where the art happens. If you want to see how the pros handle different lighting conditions, look through the Edin Chavez blog for real-world examples.
10. You Don’t Have a Vision Before You Start
This is the most "woo-woo" point on the list, but it’s actually the most practical. If you open an image and just start clicking things to see what looks good, you’re drifting. You’ll spend an hour on one photo because you don't know when to stop.
When you don't have a vision, you overcompensate with effects.
The Fix: Before you move a single slider, look at the RAW file for ten seconds. Ask yourself: "What is this photo about?" Is it about the mood? Is it about the sharp details? Is it about the warmth of the sun? Once you identify the "hero" of the image, every edit you make should serve that one goal. If an adjustment doesn't make the "hero" look better, don't do it.

Putting It All Together
A great editing workflow should feel like a slip-and-slide: once you start, you should move effortlessly from one end to the other. If you’re hitting bumps or getting stuck in the mud, it’s usually because of one of these ten reasons.
Start by fixing your culling. Stop being a digital hoarder. Then, move on to your order of operations. Be intentional with your tools, whether you’re using the powerhouse features of Luminar or keeping it old-school with manual curves.
Photography is supposed to be fun. The "work" part of workflow shouldn't feel like a burden. By tightening up these technical and mental gaps, you free up your brain to do what it does best: create art.
If you want to keep leveling up your game, don't forget to dive into the resources at learn.shutyouraperture.com. We’re constantly dropping new tips to help you navigate this crazy digital era.
Now, go open that catalog and start being ruthless. Your best work is waiting to be found.