Let’s be real for a second: glass is a total nightmare.
You’re standing at an observation deck, looking at a city skyline that looks like a dream, you pull out your camera, and… bam. There you are. Or rather, a ghostly, semi-transparent version of you wearing a bright yellow "I Love NY" t-shirt is staring back at you in the frame, ruining what should have been a masterpiece.
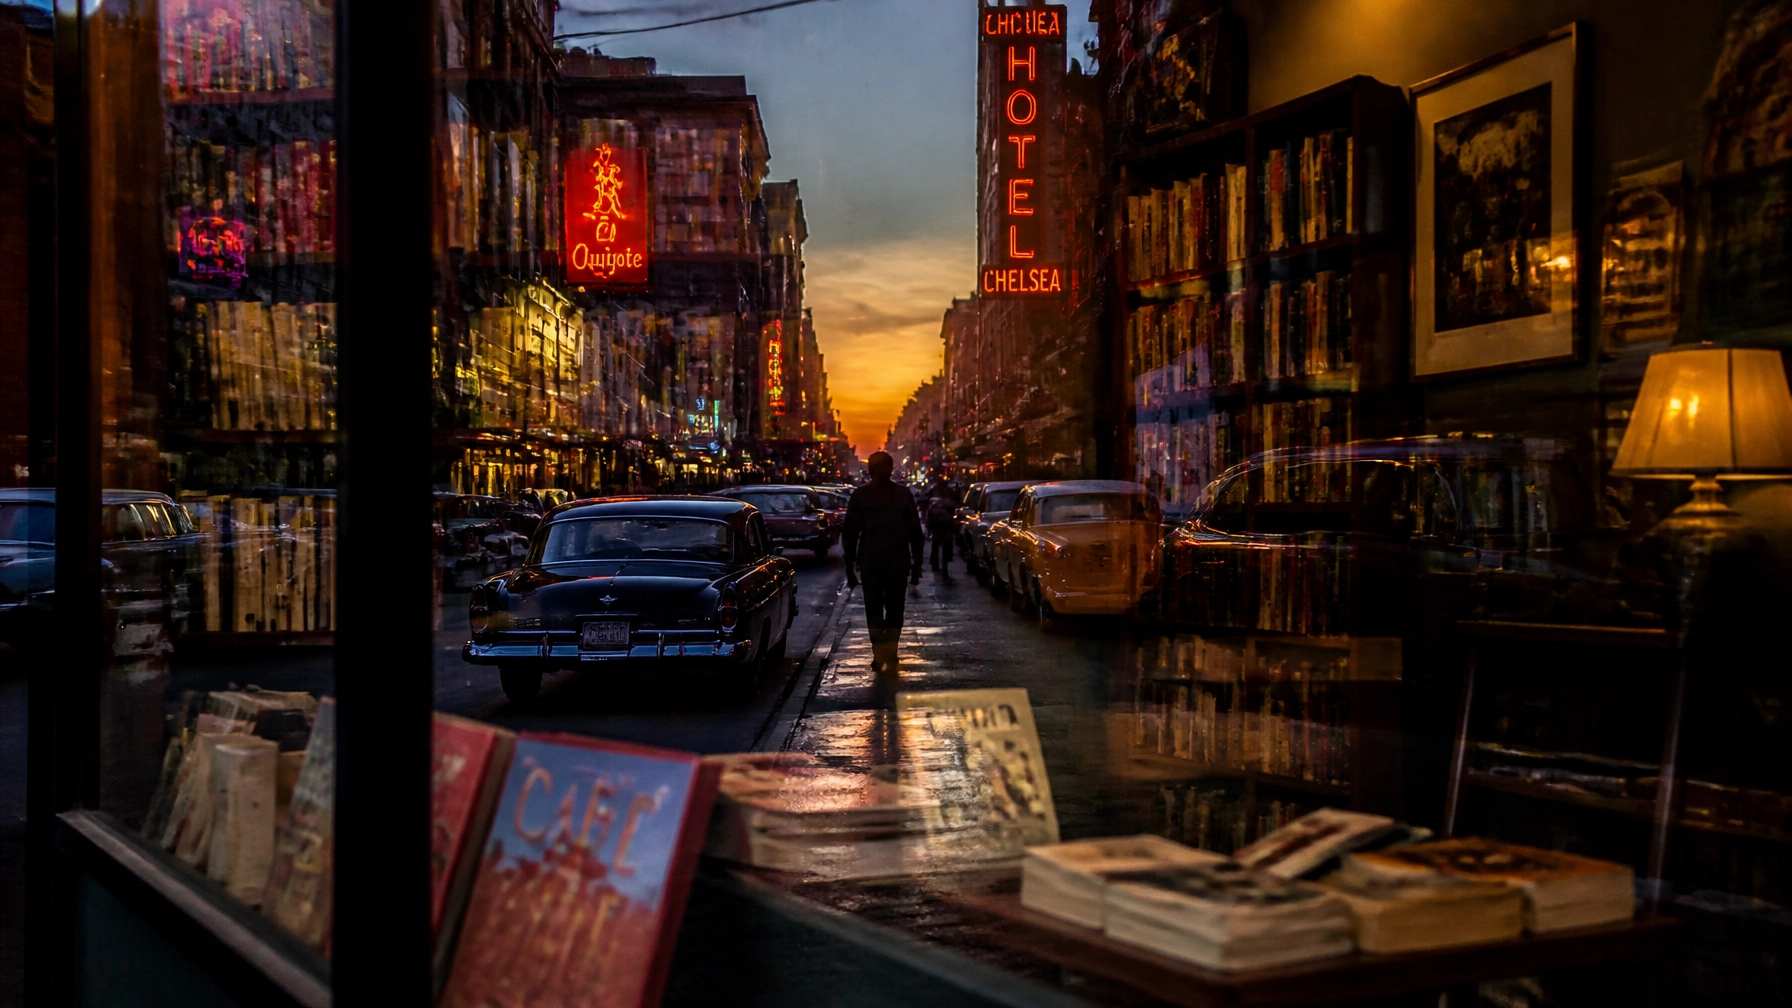
Whether you’re trying to capture the perfect street scene through a cafe window or you want to use reflections to create a mind-bending double-exposure effect, glass is the ultimate gatekeeper. But here’s the secret: once you stop fighting the glass and start understanding the physics of light, it goes from being your biggest obstacle to your most powerful creative tool.
At Shut Your Aperture, we believe that mastering the "boring" technical stuff is what sets the pros apart from the hobbyists. If you've been following our ultimate guide to photography tutorials, you know we’re all about making complex concepts simple. Today, we’re tackling the invisible wall. We’re going to look at the gear you need, the angles that work, and how to make the glass disappear entirely: or make it the star of the show.
Step 1: Gear Up (The Right Way)
You don’t need a $10,000 rig to master window reflections, but you do need a few specific tools if you want to stop "winging it" and start getting consistent results. If you’re just pointing your phone at a window and hoping for the best, you’re playing a game of luck. We want to play a game of skill.
The Circular Polarizer (CPL)
If you only buy one filter in your life, make it a Circular Polarizer. Think of a CPL like sunglasses for your camera, but way more advanced. Light reflects off non-metallic surfaces (like glass and water) in a way that creates glare. A polarizer allows you to rotate the filter to "cut" through that glare at specific angles.
When you’re trying to shoot through glass, a CPL can practically erase the reflections of the room behind you. When you’re trying to enhance a reflection, you can rotate it to make those colors pop and the contrast sky-high. It’s the closest thing to magic in the photography world.
The Silicone Lens Hood
Standard plastic lens hoods are great for blocking sun flare, but they’re useless for glass. Why? Because they’re hard. You can’t get a tight seal against a window with a piece of rigid plastic.
Enter the silicone lens hood. These flexible, accordion-like hoods allow you to press your lens directly against the glass. This creates a literal vacuum of darkness between your lens and the window, effectively killing 99% of reflections coming from the room behind you. If you’re shooting from an airplane window or a skyscraper, this is non-negotiable.

The "Black Cloth" Trick
Don’t have a fancy hood? Use a black t-shirt or a piece of dark felt. Drape it over your camera and press the edges against the glass. It looks ridiculous in public, but the results speak for themselves. You can also find more gear tips at PhotoGuides.org, which is a fantastic resource for building your kit on a budget.
Step 2: Control Your Environment (Light is Everything)
Photography is just the art of capturing light. When it comes to glass, you aren’t just capturing light: you’re managing two different worlds of light: the world in front of the glass and the world behind it.
The Golden Rule of Reflections
If you want to see through the glass, the side you are on needs to be darker than the side you are shooting.
If you want a reflection, the thing being reflected needs to be brighter than what’s behind the glass.
It sounds simple, but people mess this up constantly. If you’re inside a brightly lit museum trying to shoot a dark street at night, you’re going to see the museum’s exit signs and gift shop reflected in every single frame.
Kill the Interior Lights
If you’re at home or in a hotel, turn off every single light in the room. Even the tiny blue light on the TV or the glow from your laptop can create a "ghost" in your image. If you can't turn off the lights (like in an airport), you have to move. Find the darkest corner of the terminal.
The Dark Clothing Hack
This is a pro-tip that many beginners overlook: wear black. If you wear a white or bright red jacket, you are basically turning yourself into a giant reflector. Your camera will pick up the reflection of your own clothes on the glass. Wearing a black hoodie and black gloves makes you "invisible" to the glass. It might make you look like a cat burglar, but your photos will thank you.
Step 3: Mastering the Angle (Physics is Your Friend)
Here is where we get a little bit "science-y," but stick with me. Reflections work on the principle of "angle of incidence equals angle of reflection."
If you stand directly in front of a window (90 degrees), you are the star of the reflection. If you want to disappear, you need to change your angle.
The 45-Degree Rule
If you’re doing street photography and you want to capture a cool reflection of the buildings across the street, don’t stand right in front of the window. Move to the side. At a 45-degree angle, you’ll find that the reflections are often sharper and more dramatic, and you’re safely out of the frame.
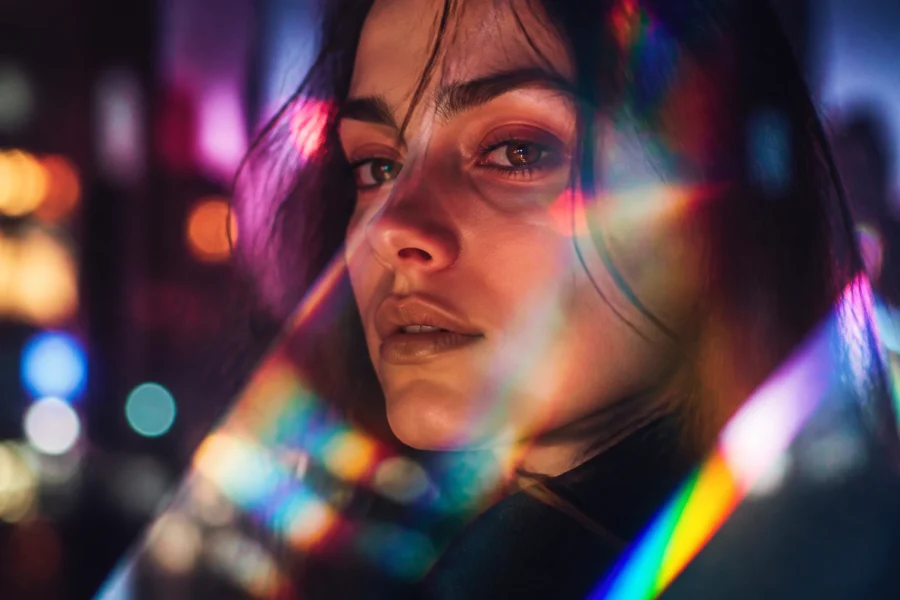
The Double Exposure Effect
One of the coolest things about window reflections is creating a "natural" double exposure. This is when you can see the person inside the coffee shop and the reflection of the trees outside at the same time. To master this, you need to find the "sweet spot" of exposure where neither the interior nor the reflection is overpowering the other.

When you're out there experimenting, try moving your camera just an inch or two in any direction. You’ll see the reflection "slide" across the glass. It’s all about alignment. If you want to learn more about finding these creative moments, check out our post on enhancing travel photography through serendipity. Sometimes the best reflections are the ones you didn't plan for.
Step 4: Focus and Exposure Tactics
Glass is the ultimate deceiver for your camera’s autofocus. Your camera sees two planes of existence: the glass itself (with its dust, smudges, and reflections) and the world beyond it. Most of the time, your camera is going to get confused and focus on a fingerprint on the window instead of the beautiful sunset.
Switch to Manual Focus
Stop fighting the autofocus. Just stop. Switch your lens to "M" and use your camera’s "Focus Peaking" or "Magnify" tool to ensure your subject is sharp. If you’re shooting through a window at a distant skyline, focus to infinity and then pull back just a hair.
Use a Wider Aperture to Hide Dirt
Windows are rarely clean. They have scratches, bird poop, and layers of city grime. If you shoot at f/11, every single one of those specks will be sharp and visible in your photo. If you shoot wide open (f/1.8 or f/2.8), you’ll blur the glass plane so much that the dirt practically disappears. This is a life-saver when shooting from airplanes or through old, dirty shop windows.
Underexpose for the "Pop"
When you’re working with reflections, your camera’s meter usually tries to make the scene too bright. This washes out the colors in the reflection. Try dialing in some "Exposure Compensation" (usually -0.7 or -1.0). This deepens the blacks in the glass and makes the reflected colors look rich and saturated.
For a deeper dive into these technical settings, you should definitely head over to learn.shutyouraperture.com. We have structured courses that take you from "I don't know what this button does" to "I am a manual mode master."

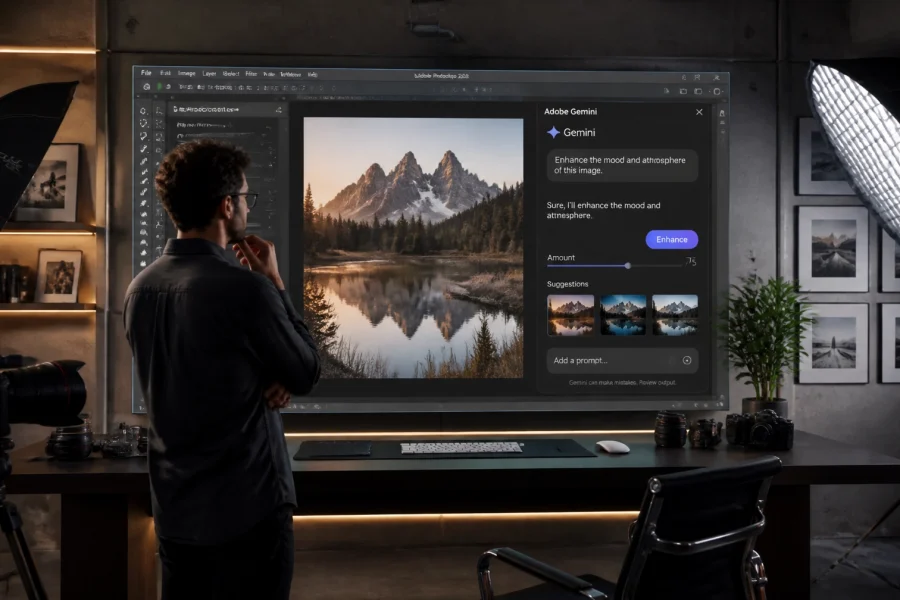
Step 5: Post-Processing Wizardry
Even with the best gear and the perfect angle, you’re sometimes going to have a little bit of haze or a stray reflection that you couldn't get rid of in-camera. This is where the magic of digital editing comes in.
The Dehaze Tool
If you’ve shot through thick glass (like at an aquarium or an observation deck), your image might look a bit "milky" or low-contrast. The "Dehaze" slider in your editing software is your best friend here. It specifically targets that low-contrast "fog" and brings back the deep blacks and vibrant colors.
Targeted Contrast
When editing reflections, don't just crank the global contrast. Use a brush or a radial filter to add contrast only to the reflection. This helps separate the reflected world from the "real" world inside the glass, giving your image that high-end, professional look.
The Luminar Secret Weapon
If you really want to take your glass photography to the next level, you need to be using Luminar. Their AI-powered tools are incredible for cleaning up reflections. Specifically, their "Structure AI" and "Relight AI" tools allow you to fix the lighting issues that naturally happen when shooting through glass.
Sometimes you’ll get a "ghosting" effect where the light bounces between the layers of a double-paned window. While it’s hard to fix in some programs, the advanced masking in Luminar makes it a breeze to clone out those distractions or blend them into the scene artistically.
For those of you looking for more high-end inspiration, take a look at the fine art galleries at www.edinfineart.com. You'll see how professional reflections are used in large-scale prints to create depth and mystery.
Why Practice Makes Perfect
Mastering reflections is a bit like learning to ride a bike. At first, you’re constantly falling over (or, in this case, seeing your own reflection). But eventually, your brain starts to "see" the angles before you even lift the camera. You’ll start noticing windows everywhere. You’ll see a puddle on the street and think about the angle of incidence. You’ll see a shop window and immediately know where to stand to get that perfect "layering" effect.

Photography is about more than just clicking a shutter; it's about problem-solving. Glass is just another puzzle for you to solve. If you’re looking for more ways to push your creative boundaries, check out our guide on rare techniques to elevate travel photography.
Final Checklist for Your Next Shoot:
- Gear: Do you have your CPL and your silicone hood (or a black t-shirt)?
- Environment: Is the room behind you dark? Are you wearing dark clothes?
- Angle: Move side-to-side. Find the spot where you (and your camera) aren't in the reflection.
- Settings: Manual focus on the subject beyond the glass. Open your aperture to f/2.8 to hide the dirt.
- Editing: Use Luminar to add contrast and "dehaze" the final shot.
Don't be afraid to fail. Some of the coolest photos I've ever taken were "accidents" where a reflection did something I didn't expect. The more you shoot, the more you'll understand how to manipulate these invisible surfaces.
If you want more tips, stories, and deep dives into the world of photography, keep an eye on blog.edinchavez.com. We're constantly sharing new insights from the field.
Now, get out there, find a window, and start shooting. The world looks a lot more interesting when you’re looking at it through a layer of glass.