
Let’s be real for a second. We didn’t get into photography because we wanted to sit in a dark room for fourteen hours a day, hunched over a keyboard like a gargoyle, clicking on "Remove Spot" until our eyes bleed. We got into this to capture moments, explore the world, and maybe: just maybe: see some sunlight once in a while.
The "Golden Hour" shouldn't refer to the only hour you get to sleep between editing sessions.
Artificial Intelligence (AI) has shifted from a "maybe one day" tech trend to an "I need this yesterday" tool for professional and hobbyist photographers alike. But here is the thing: a lot of people are scared of it. They think AI is going to strip away their creative soul or make every photo look like a plastic fever dream.
Spoilers: It won’t. If you do it right, AI editing is like having a really fast, really smart assistant who knows exactly how you like your coffee: and your color grading. Here is how to integrate AI editing into your current photography workflow without losing your mind or your artistic signature.
Why Even Bother With AI?
Before we dive into the how, let’s talk about the why. The average wedding photographer might come home with 3,000 images. A landscape photographer might have 500 shots of the same mountain waiting for that perfect cloud break. The old-school way of culling and editing these is a grind.
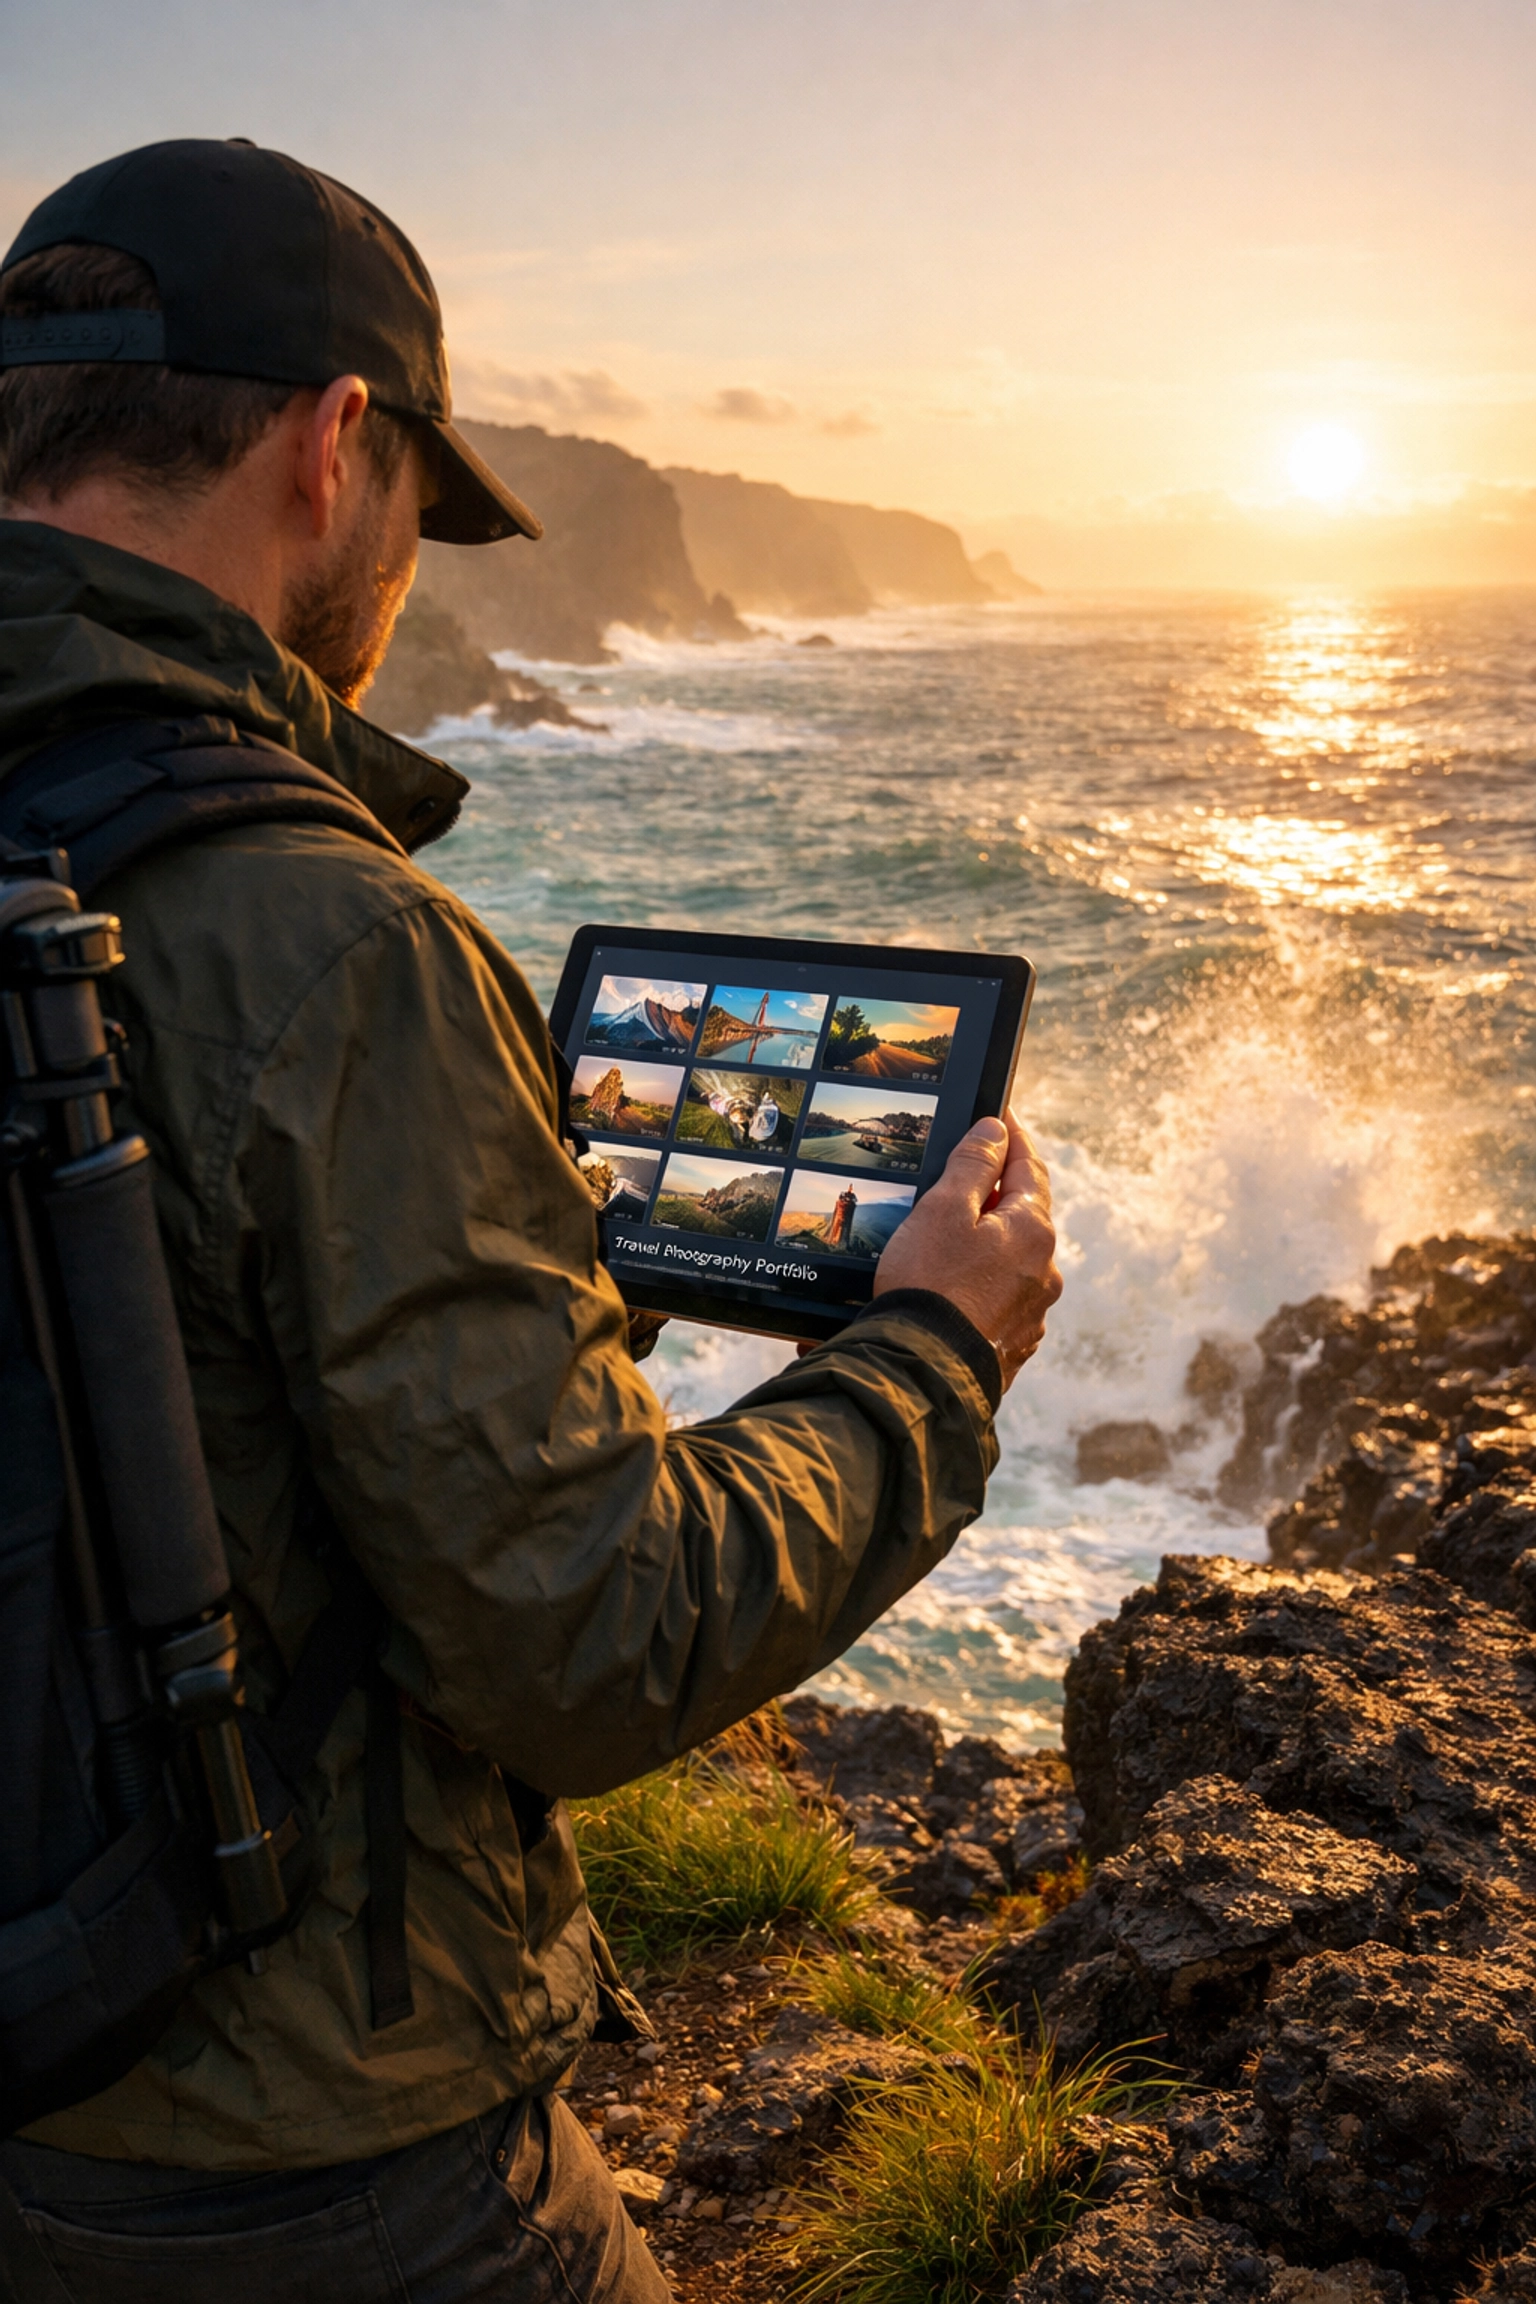
AI isn't about replacing your eye; it’s about removing the repetitive tasks that don’t require your creative genius. It’s about getting you back into the field. If you’re looking to unlock secrets to enchanting urban photography, you should be out on the streets of Tokyo or New York, not stuck in a Lightroom catalog.
Step 1: Clean Up Your Digital House
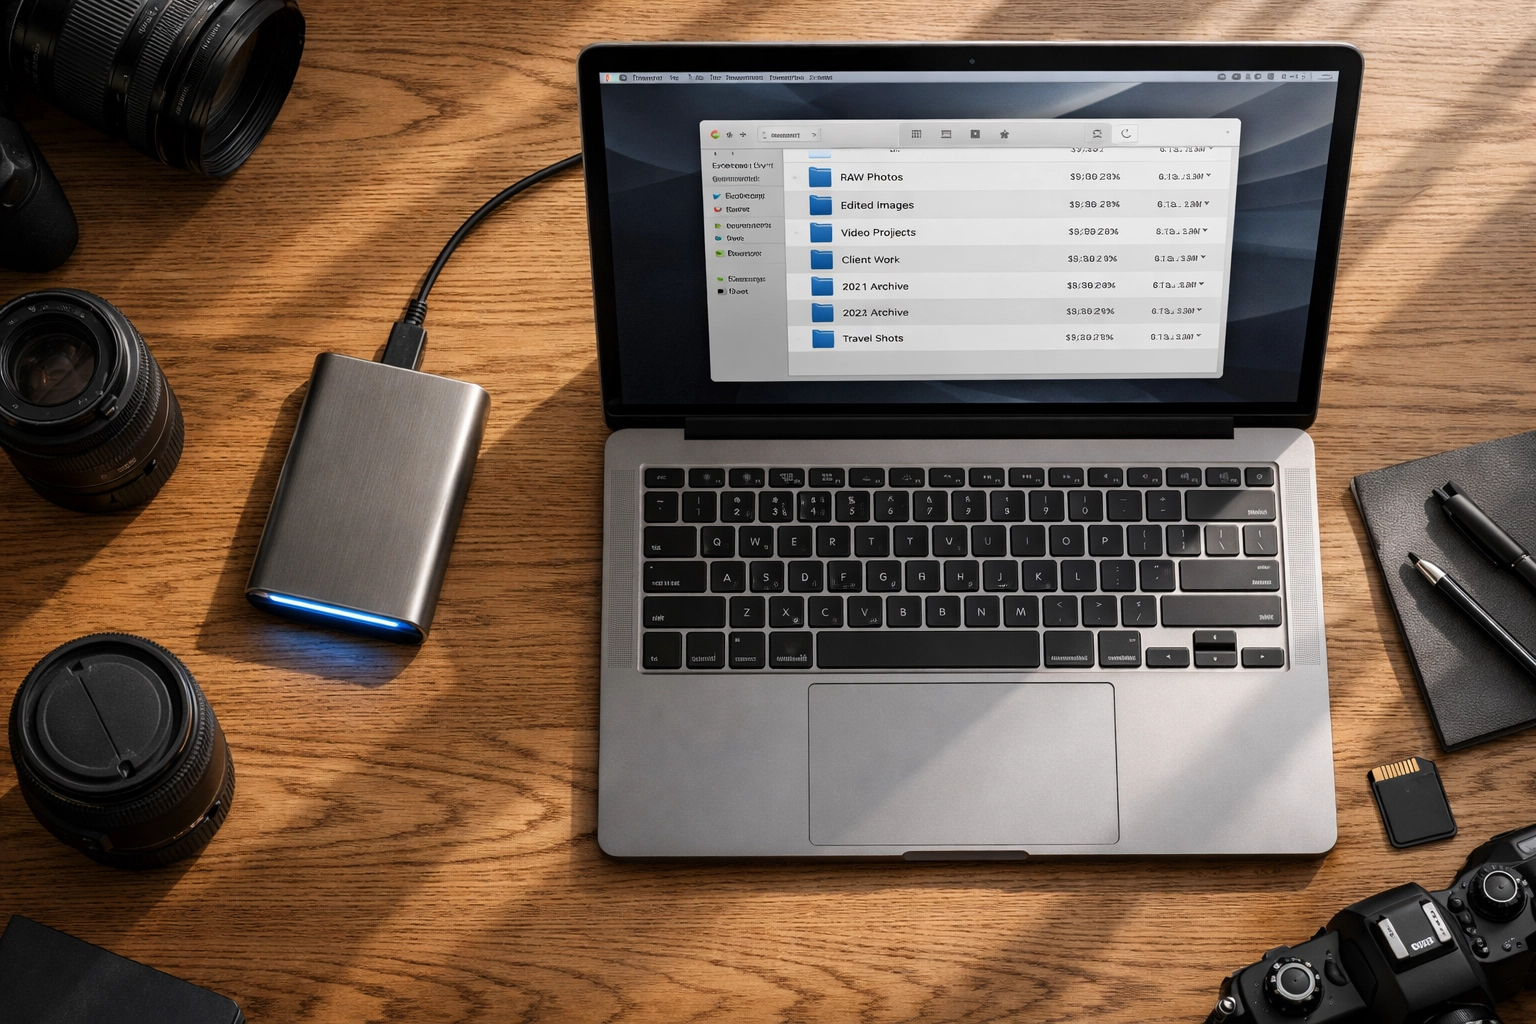
You can’t build a high-tech workflow on a messy foundation. Before you even touch an AI tool, you need to organize your files. AI tools are fast, but they aren’t magic: they need to know where your data is.
Start by creating a consistent folder structure. Date, Location, Event. It sounds basic, but you’d be surprised how many pros have a folder named "ASDFGH123" on their desktop. Once your files are organized, back them up. Use a 3-2-1 strategy: three copies of your data, two different media types, and one off-site. I personally like keeping things synced with cloud services and external SSDs.
If you’re out exploring secluded paradises to enhance your photography portfolio, the last thing you want is a hardware failure ruining your hard work.
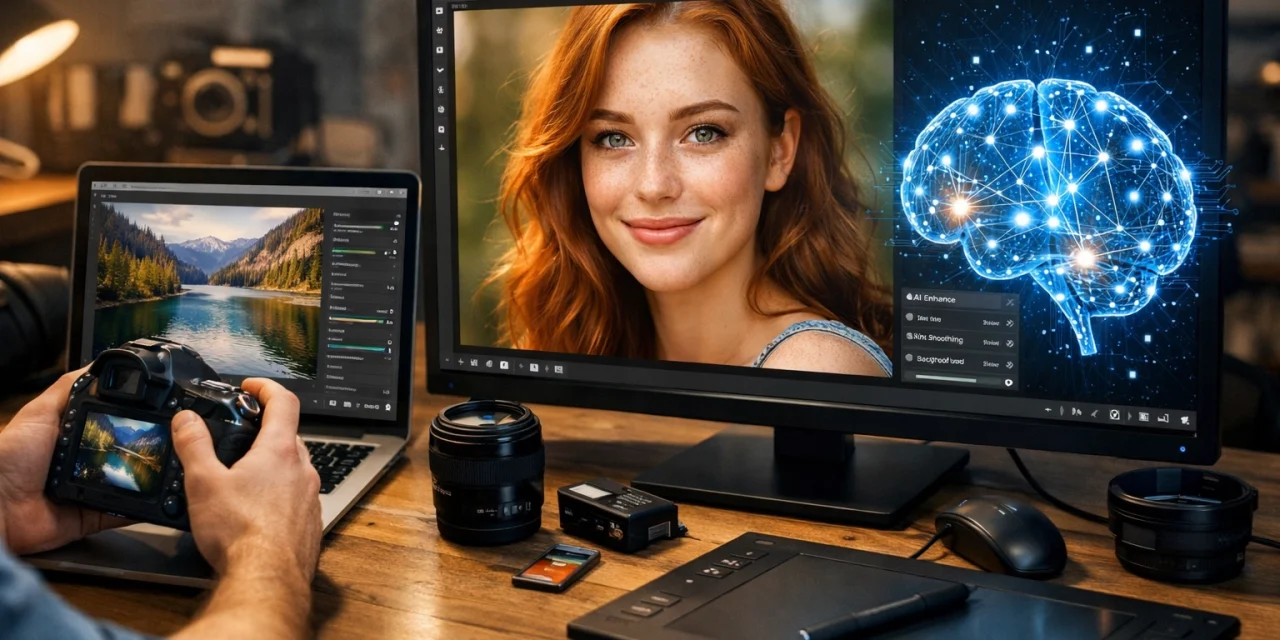
Step 2: Picking Your AI Weapons
Not all AI is created equal. Some tools live inside your current software, while others are standalone powerhouses.
The All-in-One Powerhouse: Luminar Neo
If you want a tool that handles everything from sky replacement to skin retouching with a single slider, Luminar is the heavy hitter. It’s built from the ground up with AI, making it perfect for those who want a simple, visual-heavy interface. You can find more tips on how to use tools like this over at PhotoGuides.org.
The Lightroom Plugins: Neurapix and Imagen AI
If you are a Lightroom loyalist, you don't have to leave your cozy Adobe bubble. Tools like Neurapix function as a plugin. They learn your specific editing style and apply it across thousands of photos in minutes.
The Culling Specialist: Aftershoot
Culling: picking the "keepers" from the "trash": is the most soul-crushing part of the job. Aftershoot uses AI to find the sharpest images, detect blinks, and group duplicates. It’s like having a robotic intern who never gets tired.
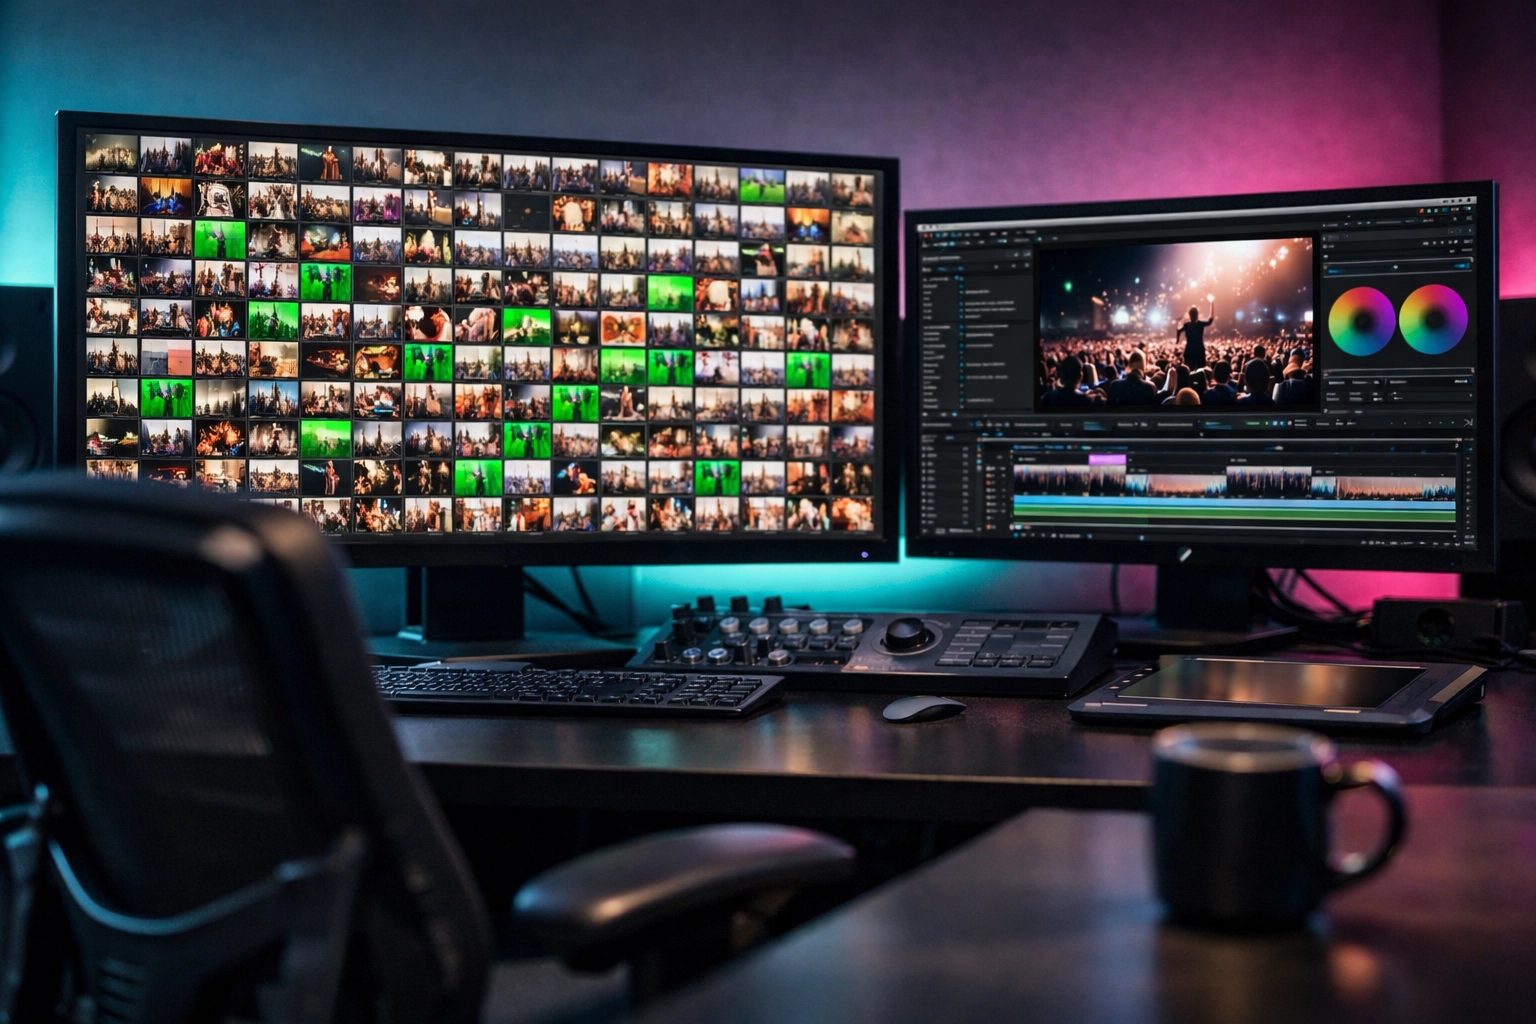
Step 3: AI-Assisted Culling
This is where the magic starts. Instead of squinting at 50 similar shots of a bride laughing, you let the AI do the first pass.
- Import your session.
- Set your parameters: Tell the AI to look for closed eyes, focus issues, or "good" expressions.
- Let it rip: Most AI culling tools can scan 1,000 photos in about five minutes.
- Review the "Selects": The AI will give you a curated gallery. You still have the final say, but now you’re choosing from the best 100 instead of the mediocre 1,000.
This gives you more time to find those hidden gem locations for travel photography rather than sitting in front of a monitor.
Step 4: Training Your Personalized AI Profile
The biggest complaint about AI is that it makes everything look the same. "The AI Look" is usually just a lack of training. The best AI tools allow you to create a "Smart Profile."
To do this, you usually need to feed the AI about 500 to 3,000 of your previously edited images. The AI analyzes your exposure preferences, how you handle highlights, your favorite color shifts, and even how you crop.
Once it learns "The Your Name Look," it can apply it to new sets. It’s not a static preset; it’s dynamic. If one photo is underexposed and the next is overexposed, the AI adjusts each one individually to reach your target style. This is a game-changer for consistency. If you want to see how this looks in practice with high-end fine art, check out Edin Fine Art.
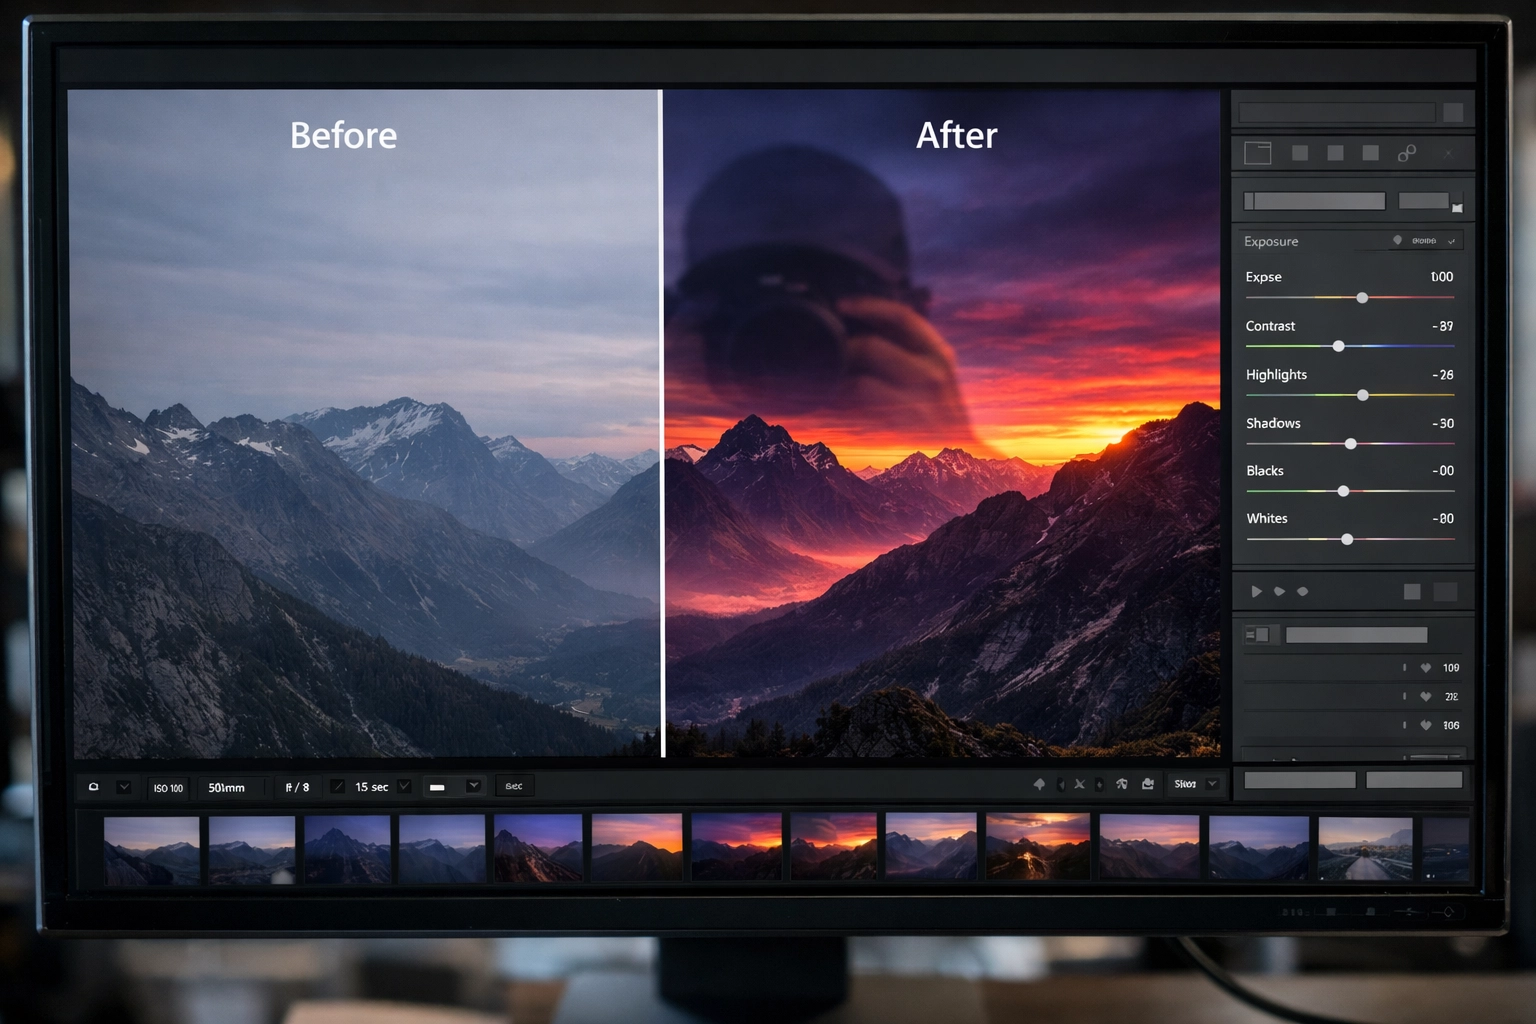
Step 5: The Master Edit Workflow
Once your photos are culled and your profile is trained, the actual editing step looks like this:
- Apply the AI Profile: This handles the heavy lifting: exposure, white balance, basic tone curves.
- AI Masking: This is where things get cool. Modern AI can automatically detect the subject, the background, the sky, or even specific facial features.
- Localized Adjustments: Need the sky a bit moodier? Use an AI mask to select only the sky and drop the exposure. Want the subject to pop? Use an AI "Portrait Bokeh" or "Relight" tool.
- The Human Touch: This is the most important part. AI gets you 90% of the way there. Use the remaining 10% of your time to add those tiny artistic flourishes that a computer can’t replicate.
For those of you looking to discover ethereal landscapes for captivating shots, AI masking is your best friend. It allows you to maintain the natural beauty of the landscape while making the colors sing.
Step 6: Specialized AI Enhancements
Beyond just "editing," there are specialized AI tools that fix problems we used to think were unfixable.
- Denoising: AI denoisers (like the ones in Luminar or Topaz) can take a grainy ISO 12,800 shot and make it look like it was shot at ISO 100. It’s literal sorcery.
- Upscaling: If you need to print a small crop for a massive gallery wall, AI upscalers can add detail where there wasn't any.
- Generative Fill: Sometimes a stray trash can ruins an otherwise perfect shot of lesser-known vistas for enigmatic photos. AI can remove that object and recreate the background seamlessly.
Integrating AI Into a Pro Studio Workflow
If you run a business, time is literally money. At Edin Studios, we focus on efficiency. Integrating AI isn't just a "cool trick"; it’s a business strategy.
Imagine you just finished a high-end corporate shoot. Typically, that's two days of culling and editing. With an AI-integrated workflow:
- Hour 1: AI Culls the images.
- Hour 2: AI applies your custom profile to the selects.
- Hour 3: You spend one hour doing final color grading and retouching.
- Hour 4: Delivery.
You just saved over a day of work. You can use that extra time to find top spots for stunning nature imagery or hang out with your family. Or, you know, sleep.
Common Pitfalls to Avoid
Even though I’m a huge fan of AI, I see people mess it up all the time. Here are a few things to watch out for:
- Over-Processing: Just because you can replace every sky with a dramatic sunset doesn't mean you should. Don't let the AI dictate the mood; you dictate the mood.
- Losing Your Style: If you use "Creator Styles" from other photographers without tweaking them, your work will start looking like everyone else's. Always use them as a starting point, not the finish line.
- Ignoring the Quality of the Raw File: AI is good, but it’s not a miracle worker. A blurry, out-of-focus shot is still a blurry, out-of-focus shot. Focus on getting it right in the camera first. For more on the technical side of shooting, check out ProShoot.io.
- Privacy Concerns: Some AI tools process in the cloud. If you are working on highly sensitive or private shoots, make sure you use a tool that offers local processing (like Neurapix or the local features in Luminar).
The Future of the Workflow
We are moving toward a world where the technical side of photography is becoming invisible. Soon, the "edit" won't be a separate step; it will happen as you shoot. But for now, the hybrid approach is the winner.
By using AI for the heavy lifting and keeping the creative decisions for yourself, you get the best of both worlds. You get the speed of a machine and the heart of an artist.
If you’re interested in more deep dives into the photography world, I often share my personal thoughts and behind-the-scenes looks over at blog.edinchavez.com.
Integrating AI isn't about giving up control. It’s about taking your time back. It’s about being a photographer again, rather than just a photo editor. So go ahead, download a trial, train a profile, and go find some hidden gems for stunning travel photography. Your keyboard will still be there when you get back: you’ll just have to spend a lot less time touching it.
Whether you're using rare textures for tangible aesthetic photography or just trying to get through a backlog of family portraits, AI is the partner you've been waiting for. Stop fighting the future and start using it. Your workflow (and your sanity) will thank you.


