For a tighter post-processing workflow that matches the look discussed below, see our Lightroom presets guide.
Let’s be real for a second: most of us are tutorial junkies. We spend hours scrolling through YouTube, watching masterclasses, and bookmarking "ultimate guides" on how to get that perfect cinematic look or how to use complex masking in post-production. But then, we pick up our cameras, head out into the world, and… we do the exact same thing we’ve always done.
The disconnect between what we learn and what we actually do is the biggest hurdle in photography. You watch a tutorial on Monday, but by the time you're editing your Sunday shoot, that "game-changing" technique has vanished from your brain like a mist in the morning sun.
If you want to actually improve, you have to stop treating tutorials like entertainment and start treating them like a blueprint. You need to bridge the gap between the screen and the sensor. This isn't just about learning; it’s about integration. We’re going to talk about how to weave those lessons directly into your daily shooting workflow so they actually stick.
The Tutorial Trap: Why We Learn but Don’t Improve
We’ve all been there. You watch a 20-minute video on advanced color grading. You feel inspired. You feel like a pro. But then you open your own RAW files and realize you have no idea where to start because your lighting is different, your subject is different, and you didn't expose the shot the way the instructor did.
This happens because most people watch tutorials in a vacuum. They watch them while eating lunch or lying in bed. To truly master a skill, you need to apply it immediately. This is why daily photography tutorials are so effective, they keep the concepts fresh. But even the best tutorial won't help if your shooting style doesn't support the edit.
The secret to a professional workflow is "shooting for the edit." You have to know how you’re going to process the image before you even press the shutter.

Phase 1: The Pre-Shoot "Micro-Learning" Session
Don't try to learn everything at once. If you try to master landscape blending, skin retouching, and street photography composition in one week, you’ll master none of them.
Before you head out for your daily shoot, pick one specific technique you want to work on. Just one.
- Identify the Goal: Are you looking to improve your natural light portraits? Maybe you want to master the Fujifilm X100VI settings for landscape.
- Watch with Intent: Find a tutorial specifically on that topic. Take notes. Not mental notes, actual notes on your phone or a piece of paper.
- Reverse Engineer: Look at the final edited result in the tutorial. Ask yourself: "What did the photographer have to do in-camera to make this edit possible?"
If the tutorial is about high-dynamic-range processing, you know you need to bracket your shots. If it’s about creamy bokeh, you know you need to find a way to create distance between your subject and the background. This pre-shoot ritual sets your brain to "active mode" instead of "autopilot."
Phase 2: Shooting with the Edit in Mind
This is where the magic happens. Your shooting workflow should be a direct reflection of the tutorials you’ve been consuming. If you’ve been reading about mastering light, you shouldn't just be looking at the subject; you should be looking at the shadows.
The CHAI Principle
A great way to integrate learning into the field is using the CHAI principle:
- C – Composition: Apply those tutorials on the rule of thirds, leading lines, or framing.
- H – Highlights: Are you protecting your highlights? Many tutorials emphasize that you can’t recover blown-out whites.
- A – Ambient: How does the existing light interact with your subject?
- I – Interest: What is the "hook" of the photo?
When you’re out shooting, literally talk yourself through the steps you learned. "Okay, the tutorial said to underexpose slightly to preserve the sky detail because we're going to use an AI sky replacement or a grad filter in post."
If you're using modern gear, like the Sony ZV-E10 II, use the built-in tools like zebras or histograms to ensure the data is there for your edit. Remember, an editing tutorial is useless if you don't give yourself the RAW data to work with.
Phase 3: The Crucial Bridge: Organization and Culling
Most photographers finish a shoot, dump their cards, and immediately try to start editing. This is a mistake. To integrate tutorials effectively, you need a clear headspace.
The most important step in any professional workflow isn't the edit: it's the cull. You need to be ruthless. If a shot isn't technically sound (sharp focus, decent exposure), delete it. Don't let mediocre shots clutter your library and distract you from applying your new skills to the "hero" shots.
Create a folder structure that makes sense. Use a system like the 3-2-1 backup rule (three copies, two different media, one offsite). If you’re struggling with the basics of how to handle your gear and files, check out Photography 101 to get your foundation solid.
Once you have your top 5-10 images, then you go back to that tutorial you watched in the morning.
Phase 4: Applying the Tutorial in Post-Production
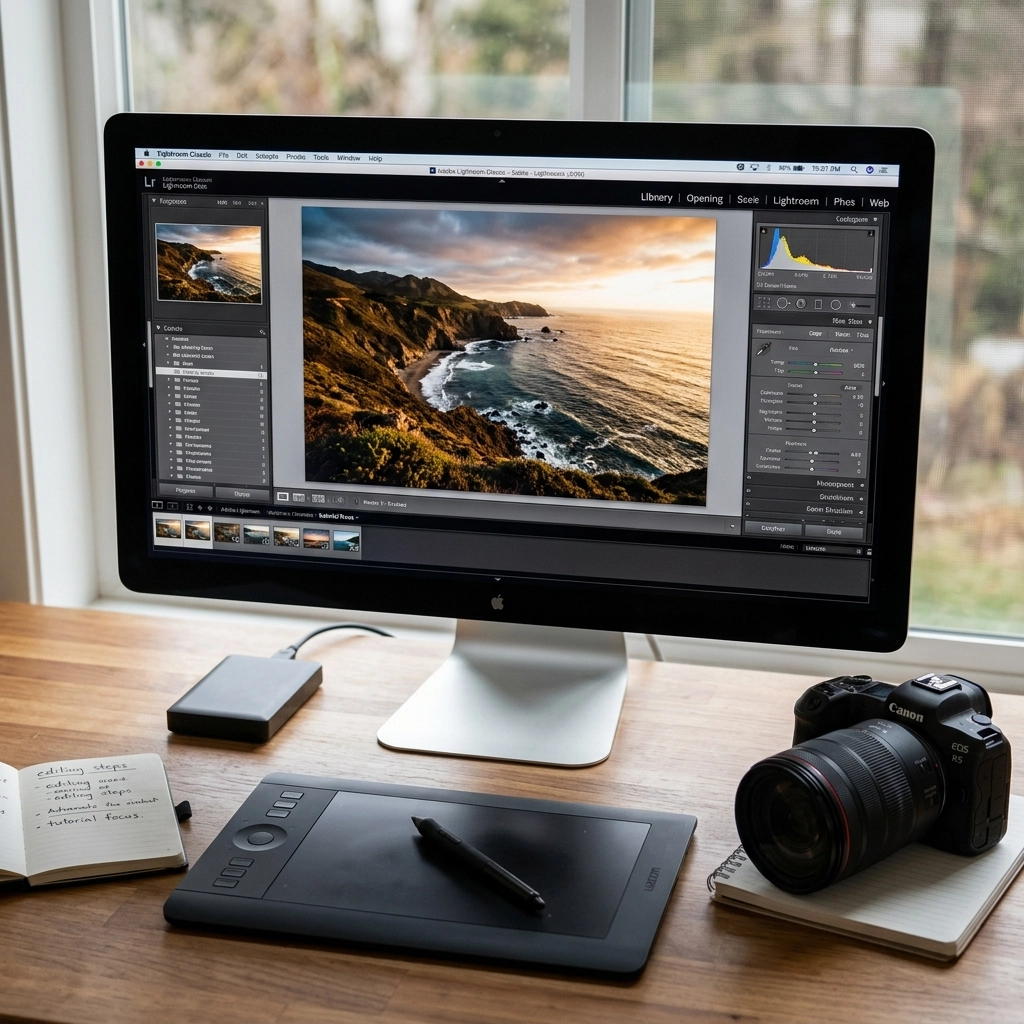
Now it’s time to get your hands dirty. Open your editing software: whether it’s Lightroom, Photoshop, or Luminar.
Don't Just Follow, Adapt
The biggest mistake people make is following a tutorial click-for-click. "The guy moved the slider to +45, so I’ll move mine to +45." No. Every photo is different. Use the tutorial to understand the why, not just the how.
If you're using Luminar, take advantage of the AI-powered tools to speed up the mundane parts of the edit. This gives you more time to focus on the creative aspects you learned in the tutorial. For instance, if you learned about color theory, use the color harmony tools to execute that vision rather than spending an hour manually masking every leaf in a landscape.
Avoid Common Pitfalls
As you apply these new techniques, be careful not to fall into the usual traps. We see it all the time with AI editing specifically. If you aren't careful, you'll end up with something that looks "uncanny valley." Check out these 7 mistakes you're making with AI photo editing to make sure you're staying on the right side of the "pro" line.
Phase 5: The Feedback Loop
The final step of integration is the review. After you’ve finished your edit, put it side-by-side with the "inspiration" image from the tutorial.
- Did you achieve the same mood?
- Is your contrast too heavy?
- Did you lose detail in the shadows?
This self-critique is how you actually grow. It's also worth checking out external resources like PhotoGuides.org to see how other pros handle similar challenges.
If you find that your edits are falling flat, it might not be your editing: it might be your technical foundation. If you're still shooting in Auto mode, you're giving up 90% of your control. You need to master manual mode so that you can capture the exact data your editing tutorials require.
Leveraging AI in Your 2026 Workflow
Since we’re living in 2026, we have tools that photographers five years ago would have killed for. AI-powered mirrorless tech can now help us identify the best frames during a shoot, and editing software has become incredibly intuitive.
When you integrate tutorials today, you should be looking for ways to automate the "boring" stuff.
- Batch Editing: Use AI to match the exposure and color profile across an entire shoot.
- Smart Selection: Let the software find the eyes or the sky so you can apply your tutorial-learned masks instantly.
- Upscaling: Use AI to save a shot that you might have cropped too tight.
The goal of learning is to become a better artist, not a faster button-pusher. Let the AI handle the buttons while you focus on the art you learned in your advanced photography tutorials.
Practice Makes Permanent
Integration isn't a one-time event. It’s a habit. You won’t master a complex street photography secret by watching one video and trying it once.
You need to do it every day. Shoot, edit, learn. Repeat.
If you’re a professional or aspiring to be one, this is even more critical. When you’re doing corporate headshots, you don't have time to "figure it out." You need those tutorial techniques buried deep in your muscle memory so you can focus on the client.
Building Your Reference Library
Stop relying on your memory. Start building a personal knowledge base.
- Keep a Digital Journal: Save links to the best tutorials and write a 2-sentence summary of what you learned.
- Save Your Own Presets: When you successfully apply a tutorial technique in Luminar or Lightroom, save it as a preset. This is your "applied learning" in a tangible form.
- Screenshot Settings: If a tutorial shows a specific tone curve or HSL setting, screenshot it and keep it in a "Cheat Sheet" folder on your phone.
Why This Matters
The photography world is more crowded than ever. Everyone has a high-end camera in their pocket. What separates the "guy with a camera" from the "photographer" is the ability to execute a vision.
By integrating your learning with your daily shooting, you stop being a passive consumer of content and start being an active creator of art. You move past the "beginner mistakes": like the 7 mistakes you’re making with natural light portraits: and move into a space where your gear and your software are just extensions of your hands.
For more deep dives into professional techniques and the latest gear news, keep an eye on blog.edinchavez.com and explore the fine art side of things at www.edinfineart.com.
Putting it All Together: A 24-Hour Integration Plan
If you want to start today, here is your roadmap:
- 9:00 AM: Watch a tutorial on a specific technique (e.g., mastering manual mode).
- 11:00 AM: Go for a 30-minute "tutorial walk." Shoot 20 photos focusing only on that one technique.
- 2:00 PM: Import and cull. Keep only the 3 best shots.
- 3:00 PM: Edit those 3 shots while re-watching the tutorial. Use Luminar to speed up the process.
- 8:00 PM: Share your favorite one. Ask for specific feedback on the technique you were trying to learn.
This cycle is how you become a master. It’s not about the gear you buy, and it’s not about how many hours of video you’ve watched. It’s about the bridge you build between the lesson and the lens.
If you're looking for a structured way to level up your skills without the fluff, head over to learn.shutyouraperture.com and join a community that’s actually doing the work. Don't let your tutorials sit in a "Watch Later" playlist. Get out there, shoot for the edit, and turn that knowledge into your own unique style.


