

Dear hobbyists and fellow enthusiasts, there comes a moment in every photographer’s journey where the "Auto" button begins to feel like a cage. You are standing before a sunset that looks like liquid gold, or perhaps watching the stoic silhouette of a mountain range, yet your camera insists on making the scene look flat and lifeless. This is the call of the wild, the invitation to learn how to use manual mode camera settings to finally translate the ethereal beauty of the world into a permanent frame.
Stepping into manual mode is not merely a technical shift; it is a creative awakening. It is the transition from being a passive observer to becoming a conductor of light. While the dials and numbers might seem like a foreign language at first, I promise you that the intrinsic logic of the exposure triangle is as natural as breathing once you find your rhythm.
In this guide, we aren’t just going to talk about buttons. We are going to explore how light acts as your paintbrush and the sensor as your canvas. Whether you are shooting with a Nikon D850 or a modern mirrorless marvel, the principles remain the same. Let’s dive into the brass tacks of mastering your gear.
The Exposure Triangle: The Holy Trinity of Light
At the heart of every photograph lies a delicate balance. To understand how to use manual mode camera functions, you must master the Exposure Triangle: Aperture, Shutter Speed, and ISO. Think of these three elements as a communal pact; when you change one, the others must react to keep the light in harmony.
Many beginners feel overwhelmed, but I have tried every teaching method under the sun, and nothing compares to the "Window Metaphor." Imagine your camera is a window with shutters.
- Aperture is how wide you open the shutters.
- Shutter Speed is how long you keep them open.
- ISO is how sensitive the person standing inside the room is to the light coming through.
Venture forth with this mindset, and the technical barriers will begin to dissolve.
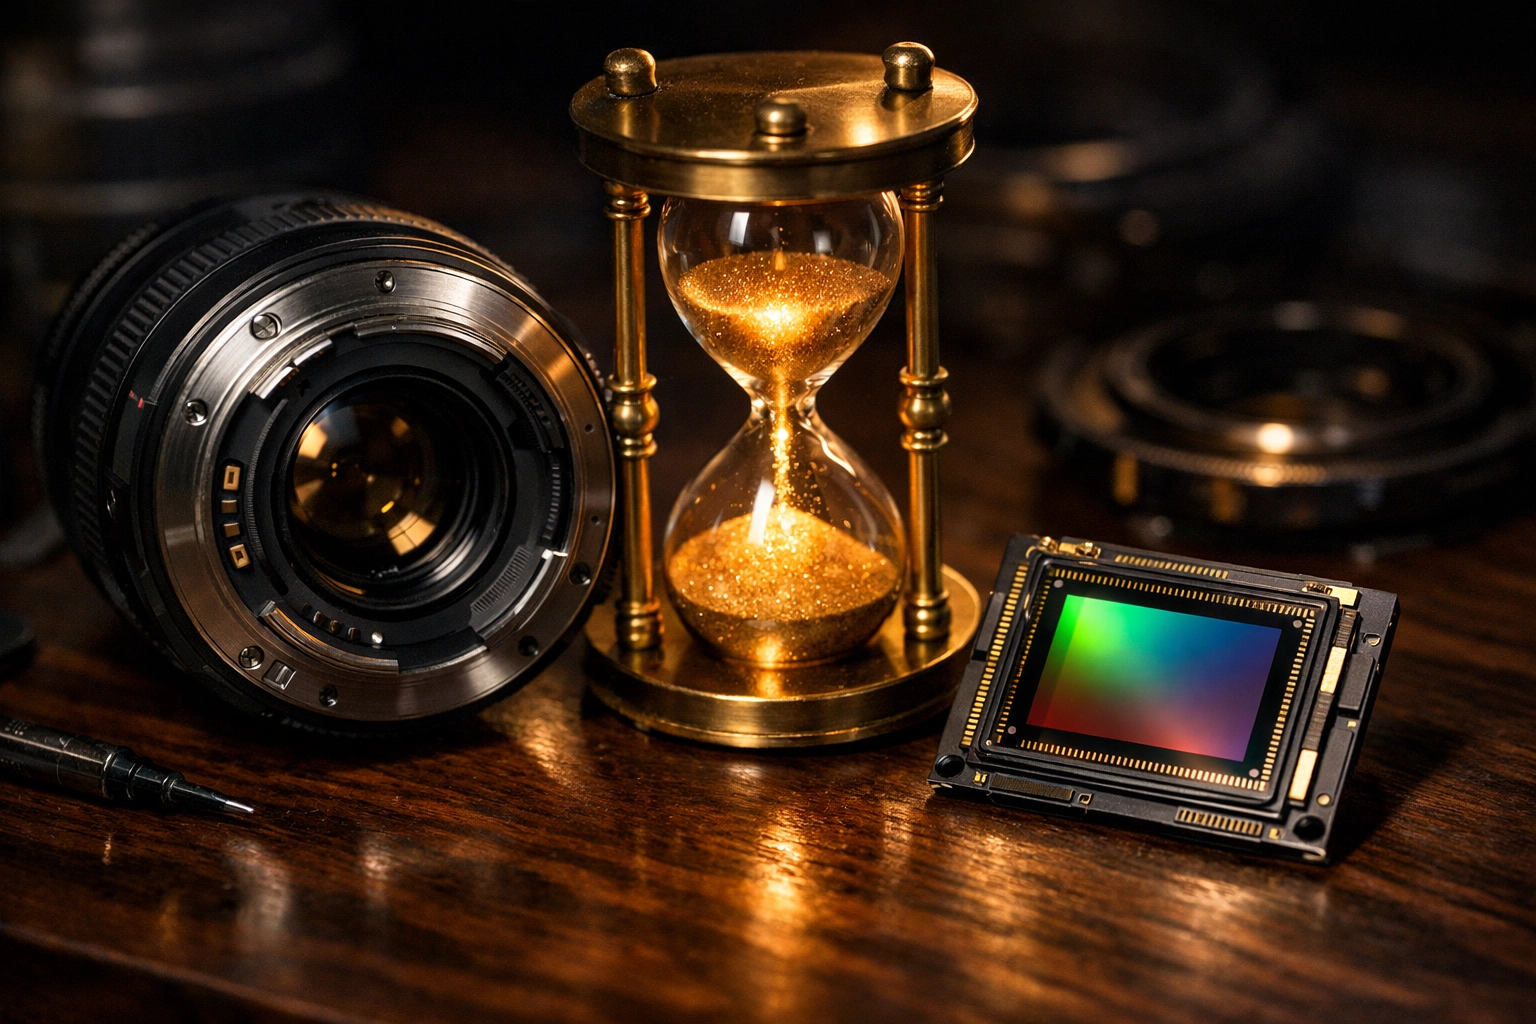
Alt-text: An artistic conceptualization of the exposure triangle showing a camera lens, a ticking clock for shutter speed, and a glowing sensor representing ISO.
Aperture: The Art of the Opening
Aperture is perhaps the most poetic of the three settings. Measured in f-stops (like f/2.8 or f/11), it controls the physical opening of your lens. It determines how much light is invited in to dance with the sensor, but more importantly, it dictates your "depth of field."
When you use a wide aperture (a low f-number like f/1.8), you create an ethereal blur in the background, making your subject pop with a reverence that "Auto" mode can never replicate. This is the secret behind those creamy portraits you see on Edin Fine Art.
Conversely, a narrow aperture (a high f-number like f/16) ensures that everything from the foreground pebbles to the distant beautiful mountains remains sharp and stoic.
Pro Tip: If you are diving into mastering nature photography, you will likely spend much of your time in the f/8 to f/11 range to capture the intricate details of the landscape.
Shutter Speed: Seizing the Ephemeral Moment
If aperture is about space, shutter speed is about time. It is the gatekeeper that decides how long the sensor is exposed to the world. A fast shutter speed (like 1/1000th of a second) freezes a moment in its tracks, a bird in mid-flight or a splashing wave. It captures the ephemeral beauty that the human eye often misses.
On the other end of the spectrum, a slow shutter speed (like 30 seconds) allows time to flow through the lens. This is how artists create those silky waterfalls or the mesmerizing light trails found in a Dubai timelapse. When the shutter stays open, the environment becomes a fluid tapestry.
However, be warned: when using slow shutter speeds, a tripod is your unsung hero. Without one, the natural "whisper" of your hands shaking will turn your masterpiece into a blurry mess. For those looking to push the boundaries of time-based photography, checking out resources like ProShoot.io can provide the technical gear discussions you need to stabilize your vision.
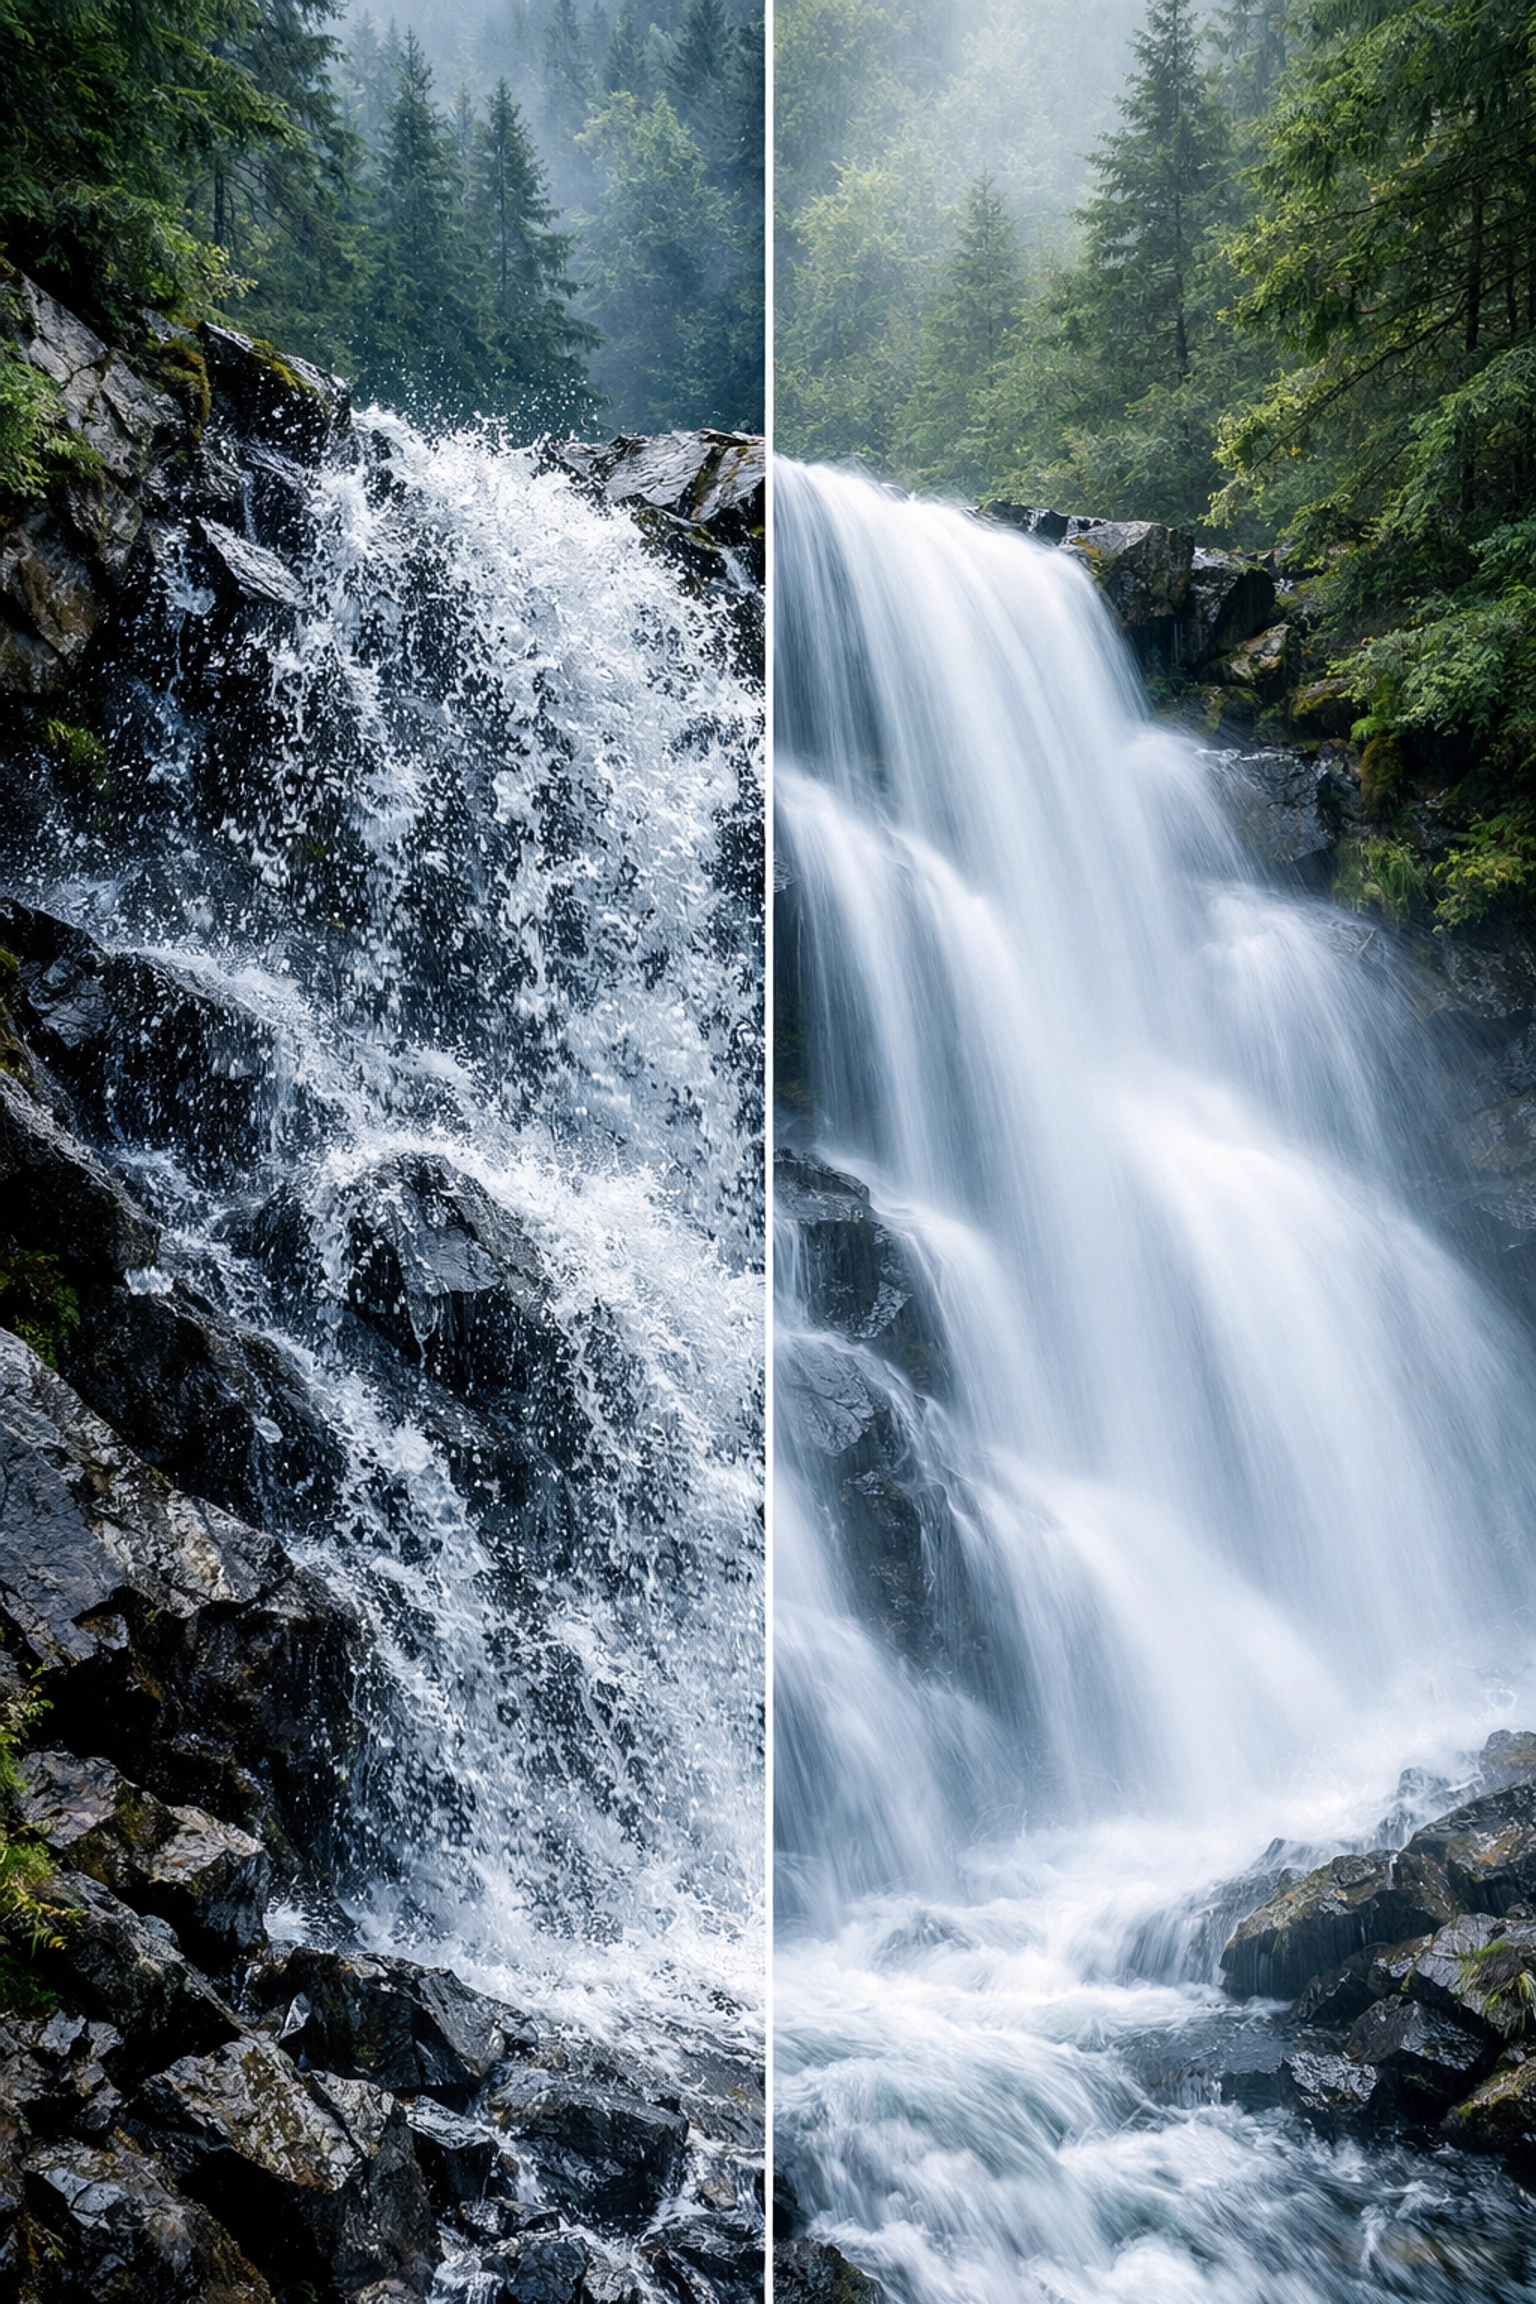
Alt-text: A long exposure photograph of a waterfall where the water looks like silk, demonstrating slow shutter speed in manual mode.
ISO: The Invisible Catalyst
ISO is the final piece of the puzzle. It refers to your sensor's sensitivity to light. In the bright, golden hour glory of the afternoon, you’ll want a low ISO (usually 100) to ensure your images are clean and crisp.
As the sun sets and the light begins to fade, you might find yourself needing more "power." Raising your ISO allows you to shoot in darker conditions, but it comes with a price: "noise" or grain. While modern cameras handle high ISO much better than the tools of yesteryear, there is an intrinsic beauty in keeping your ISO as low as possible to maintain the purity of the colors.
I always tell my students at Edin Studios that ISO should be your last resort. Adjust your aperture and shutter speed first. If you still can’t get enough light, only then should you invite the ISO to the party.
The Light Meter: Your Internal Compass
Now that we’ve delved into the components, it’s time to get down to the actual execution. How do you know if your settings are correct? Look through your viewfinder, and you’ll see a small scale with a "0" in the middle. This is your light meter.
- If the marker is to the left (minus), your image is "underexposed" (too dark).
- If the marker is to the right (plus), your image is "overexposed" (too bright).
- Your goal, generally, is to get that marker to sit right in the center.
Think of the light meter as a stoic guide, whispering the truth about the light conditions even when your eyes might be deceived by the brightness of your camera's LCD screen. For more advanced lighting techniques, including how to handle high-contrast scenes, our HDR tutorial is a game-changer.
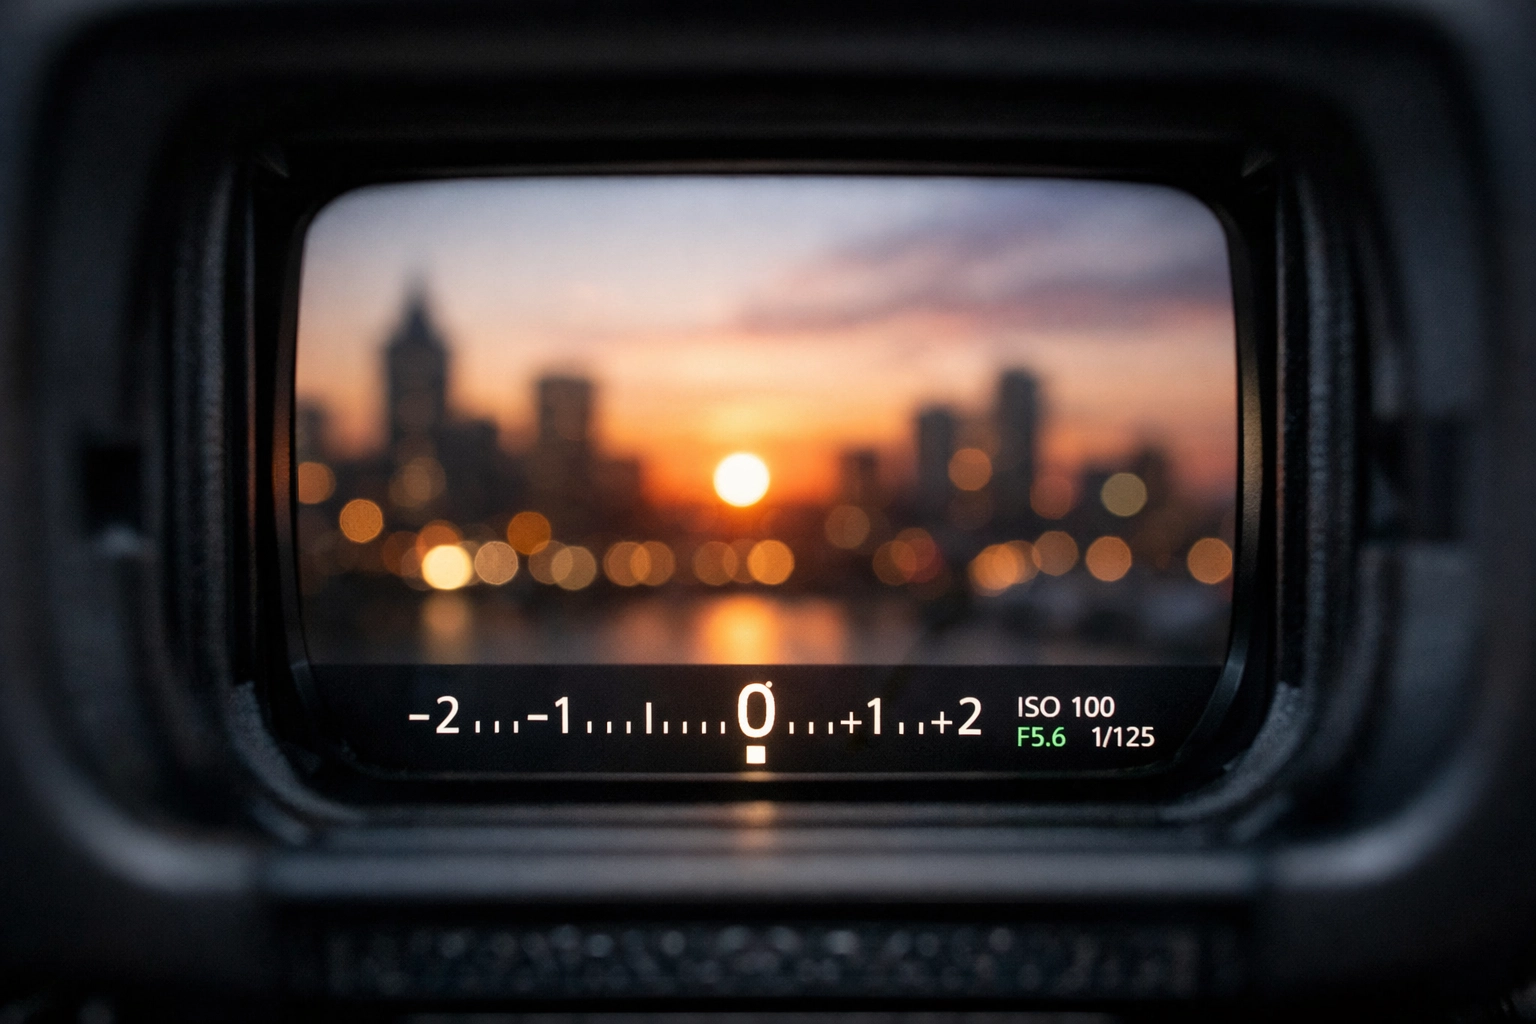
Alt-text: A close-up view of a camera's viewfinder showing the light meter scale balanced perfectly in the center.
Step-by-Step: The 3-Minute Manual Setup
You’ve learned the theory; now let’s put it into practice. Here is how I set my camera for almost every shot I take. It’s a simple, repeatable rhythm that will soon become second nature.
- Set Your Aperture First: Decide on your creative intent. Do you want a blurry background (f/2.8) or a sharp landscape (f/11)? Set it and forget it for a moment.
- Set Your ISO: Are you outdoors in the sun? Set it to 100. Indoors? Maybe 800. Nighttime? 3200. Check out Photo Guides for specific ISO charts if you’re unsure.
- Adjust Your Shutter Speed: While looking through the viewfinder, roll your shutter speed dial until the light meter hits the center "0."
- Take a Test Shot: Review your image. Is it too dark? Slow down the shutter. Too bright? Speed it up.
It really is that simple. Once you understand that these three settings are just different ways to "eat" light, the fear vanishes.
Beyond the Basics: Finding Your Voice
Learning how to use manual mode camera settings is the foundation, but the true magic happens when you start breaking the rules. Sometimes, you want an image to be intentionally dark and moody (underexposed) to evoke a sense of mystery. Other times, "blowing out" the highlights can create a high-key, ethereal look that feels like a dream.
Photography is a shared journey, and I’ve found that some of the best inspiration comes from seeing how others interpret these settings. I often browse the abstract category on our site to see how light can be manipulated in unconventional ways.
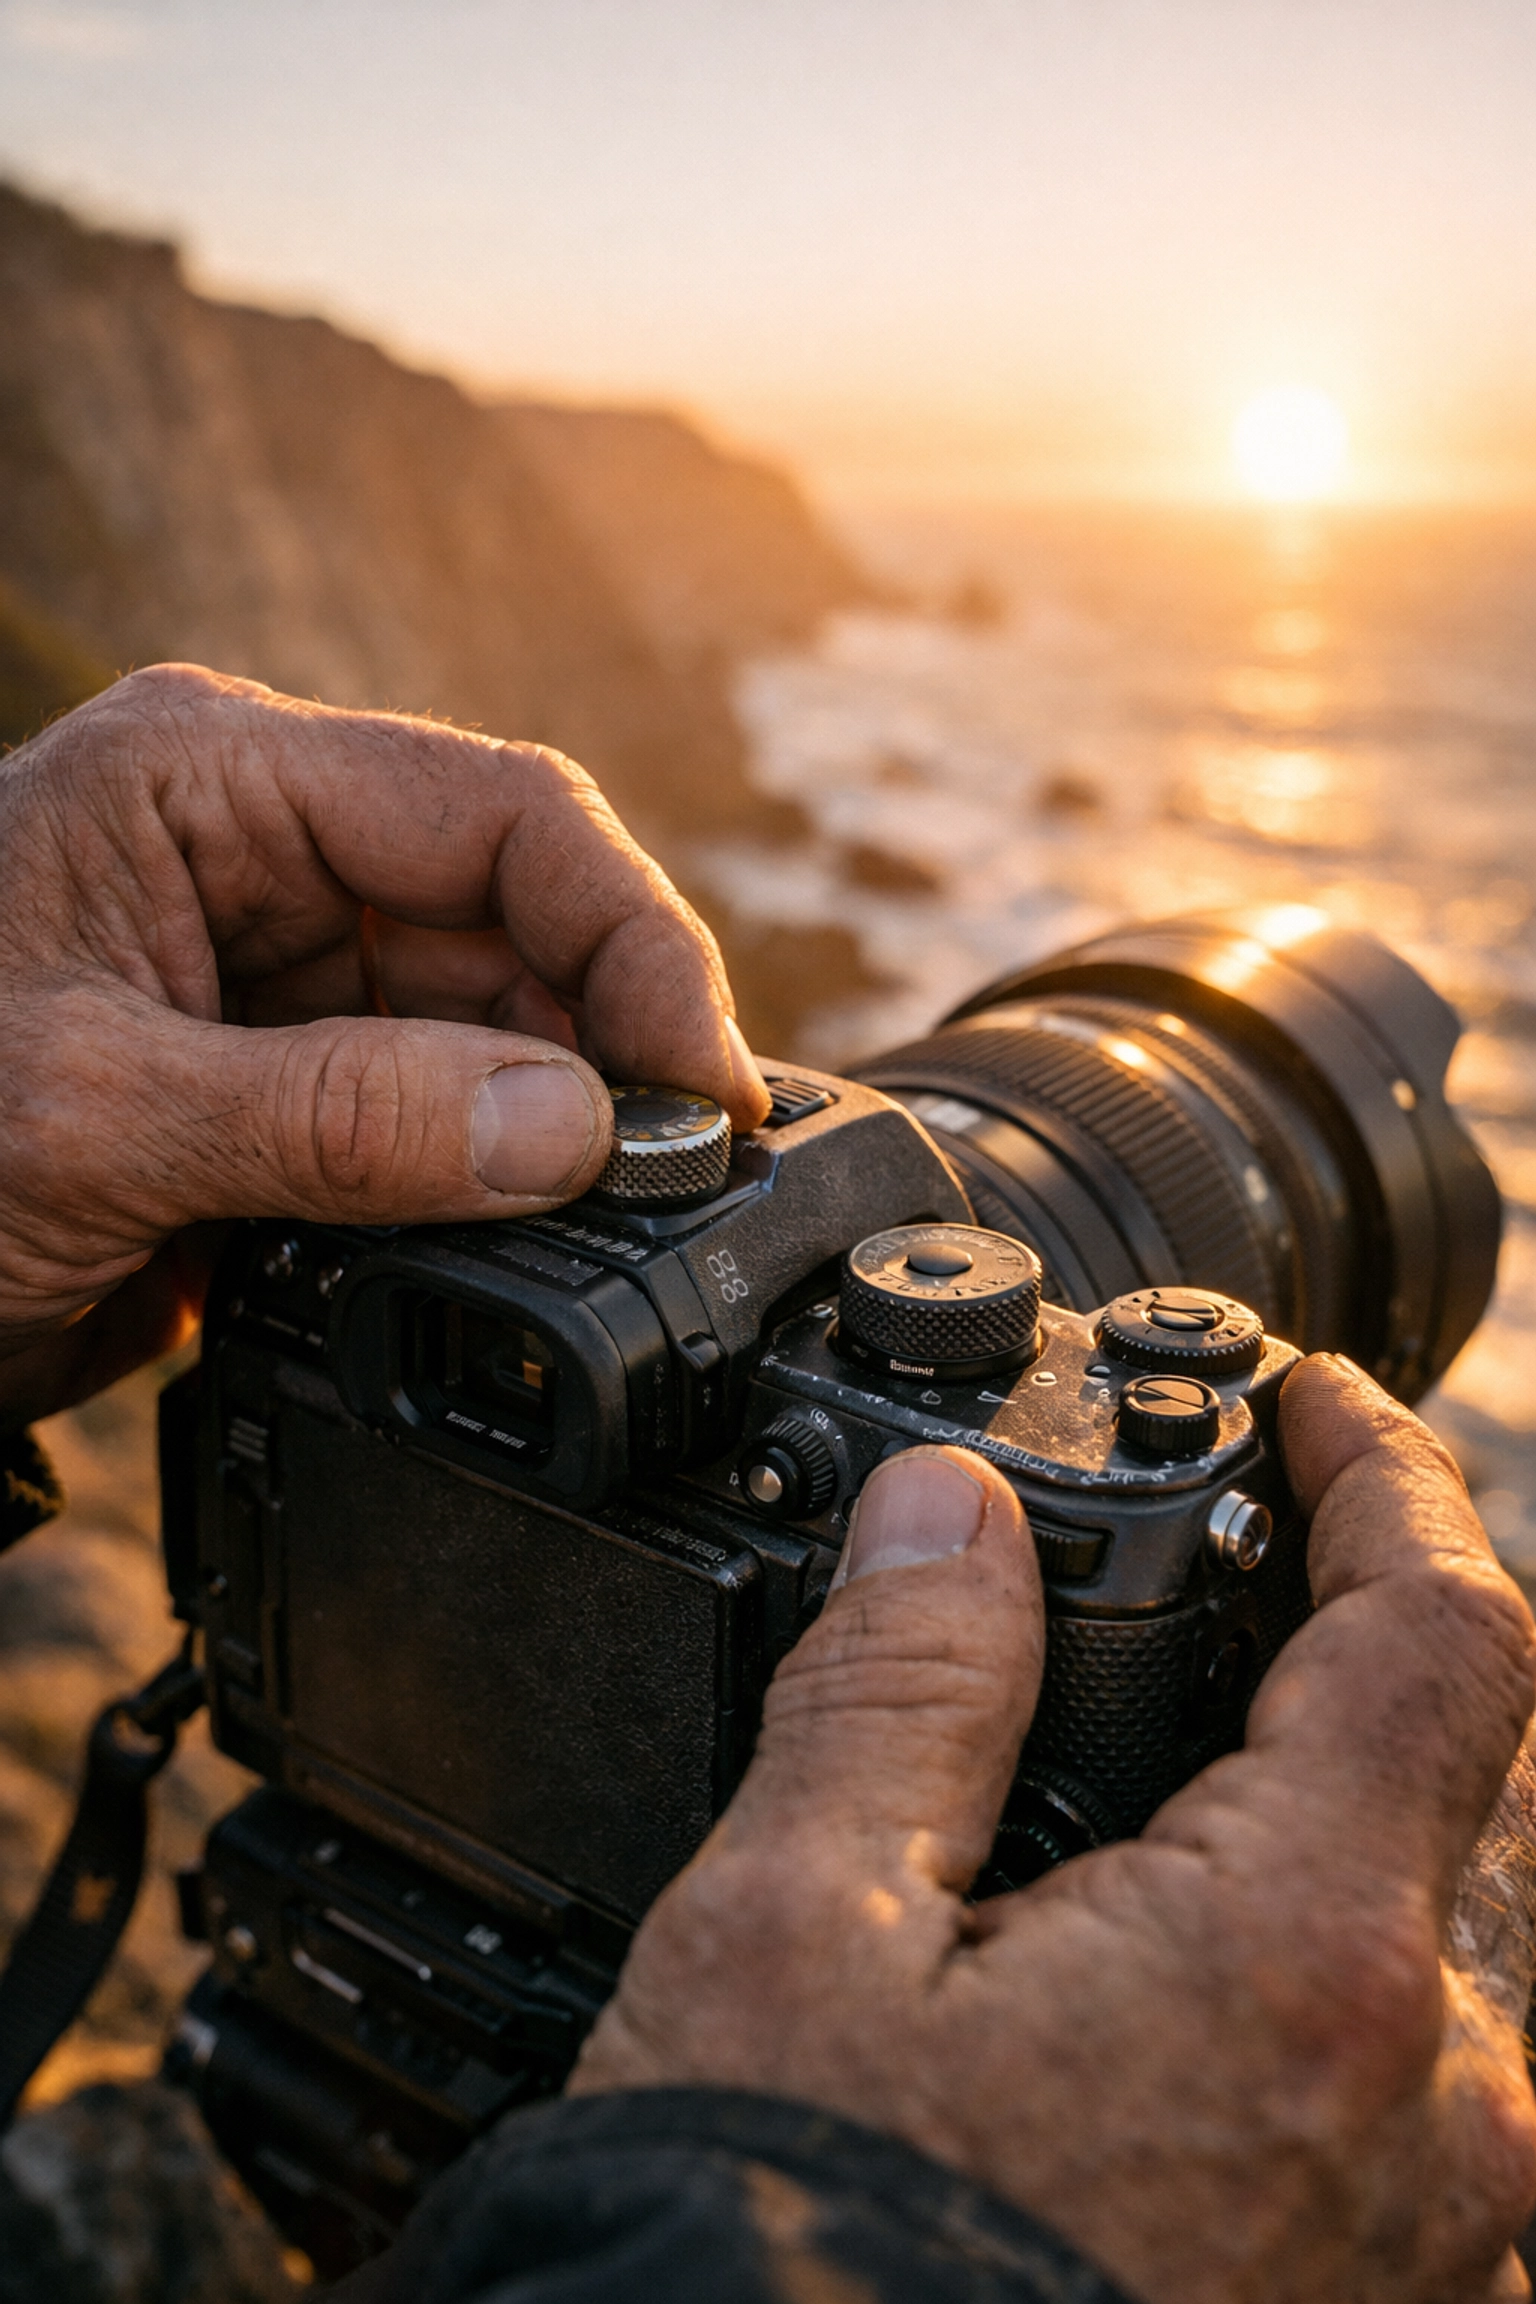
Alt-text: A photographer standing on a cliffside at sunset, holding a camera and looking at the settings dial.
Gear as the Unsung Hero
While your vision is the primary driver, your equipment acts as the vessel. Using a high-quality lens or a robust camera body can make the manual process feel more tactile and responsive. For example, the tactile feedback of the dials on the Nikon D850 makes adjusting settings on the fly feel like playing a fine-tuned instrument.
If you are just starting and feel like your current gear is holding you back, don't rush out and buy the most expensive kit. Instead, master what you have. Spend time in our tutorials section to learn how to squeeze every bit of potential out of your current sensor.
The Philosophical Reward of the Craft
At the end of the day, manual mode is about more than just exposure; it is about presence. When you are manually adjusting your dials, you are forced to slow down. You notice the way the light "dances" across a subject's face or how the shadows "whisper" across a cobblestone street in Barcelona.
This mindfulness is the spiritual reward of photography. It turns a simple walk in the park into a treasure hunt for light. You begin to see the world not as a collection of objects, but as a series of exposures waiting to be captured.
If you’ve enjoyed this deep dive, check out my personal blog at blog.edinchavez.com where I share more behind-the-scenes stories from the field. And hey, if you’ve captured something incredible using these tips, we’d love to see it! Head over to our submissions page and share your journey with the community.
Final Thoughts: Venture Forth!
Now that we’ve delved into the "how," it’s time to get down to the "do." Pick up your camera, switch that dial to "M," and go outside. Don't be afraid of the mistakes; the most profound lessons are often found in the "messed up" shots that teach us exactly how light works.
Whether you are shooting a Biolapse of a flower blooming or capturing the frantic energy of a city street, manual mode is your key to the kingdom.
Drop me a line below if you have any questions or if there’s a specific setting that’s still tripping you up. I’m here to help you navigate this shared journey of ours.
Seize these moments! The light is waiting for no one.
Happy Shooting!


