
You just bought a fancy new camera. It’s sleek, it’s heavy, and it has a dial on top with a bunch of letters. Most people stick it on "Auto" and call it a day. And hey, modern cameras are smart: they’ll get the job done. But if you want to stop taking "pictures" and start making "art," you need to move that dial to the big "M."
Manual mode is the holy grail of photography. It’s where the magic happens. It’s also the place where most beginners get overwhelmed and retreat back to the safety of Auto. We’re going to change that. Think of this as your roadmap to taking total control of your gear. No more letting the camera guess what you want; it’s time to tell it exactly how you want your shot to look.
Why Manual Mode Isn't as Scary as You Think
The biggest hurdle to manual mode is the fear of "getting it wrong." You’re worried about ending up with a pitch-black photo or a white wash of nothingness. Here’s a secret: even the pros mess up their settings sometimes. The difference is they know how to fix it because they understand how light works.
When you shoot in Manual, you’re in charge of the "Exposure Triangle." This consists of Aperture, Shutter Speed, and ISO. These three settings work together to decide how much light hits your sensor and how that light is interpreted. Once you master the relationship between these three, you can handle any lighting situation: from a bright beach to a dimly lit jazz club.
If you’re just starting out, don't feel pressured to get every shot perfect. It takes practice. To help speed up the learning curve, you can always check out resources like PhotoGuides.org for specific gear tips or look through the ultimate guide to landscape photography tips to see these settings in action.
1. Aperture: The Eye of the Camera
Aperture is the opening in your lens that lets light through. Think of it like the pupil of your eye. On a bright day, your pupil gets small to let in less light. In a dark room, it opens wide to let in as much light as possible.
In photography, we measure this in "f-stops" (like f/2.8, f/8, or f/16). This is where things get a bit counterintuitive for beginners:
- Large Aperture (Small f-number): A setting like f/1.8 means the lens is wide open. It lets in tons of light and creates a shallow "depth of field." This is how you get those beautiful, blurry backgrounds (bokeh) in portraits.
- Small Aperture (Large f-number): A setting like f/16 means the hole is tiny. It lets in very little light but keeps everything from the foreground to the background in sharp focus. This is essential for stunning nature imagery.

Choosing your aperture is often the first decision you should make because it has the biggest impact on the "look" of your photo. Do you want a creamy background for a flower, or do you want a sharp mountain range? If you're chasing ethereal landscapes, you'll likely be leaning toward those higher f-numbers.
2. Shutter Speed: Capturing Time
While aperture controls the "how much," shutter speed controls the "how long." It’s the length of time your camera’s sensor is exposed to light.
- Fast Shutter Speed (e.g., 1/1000 sec): This freezes motion. If you’re shooting sports, wildlife, or your hyperactive dog, you need a fast shutter speed to stop the action in its tracks.
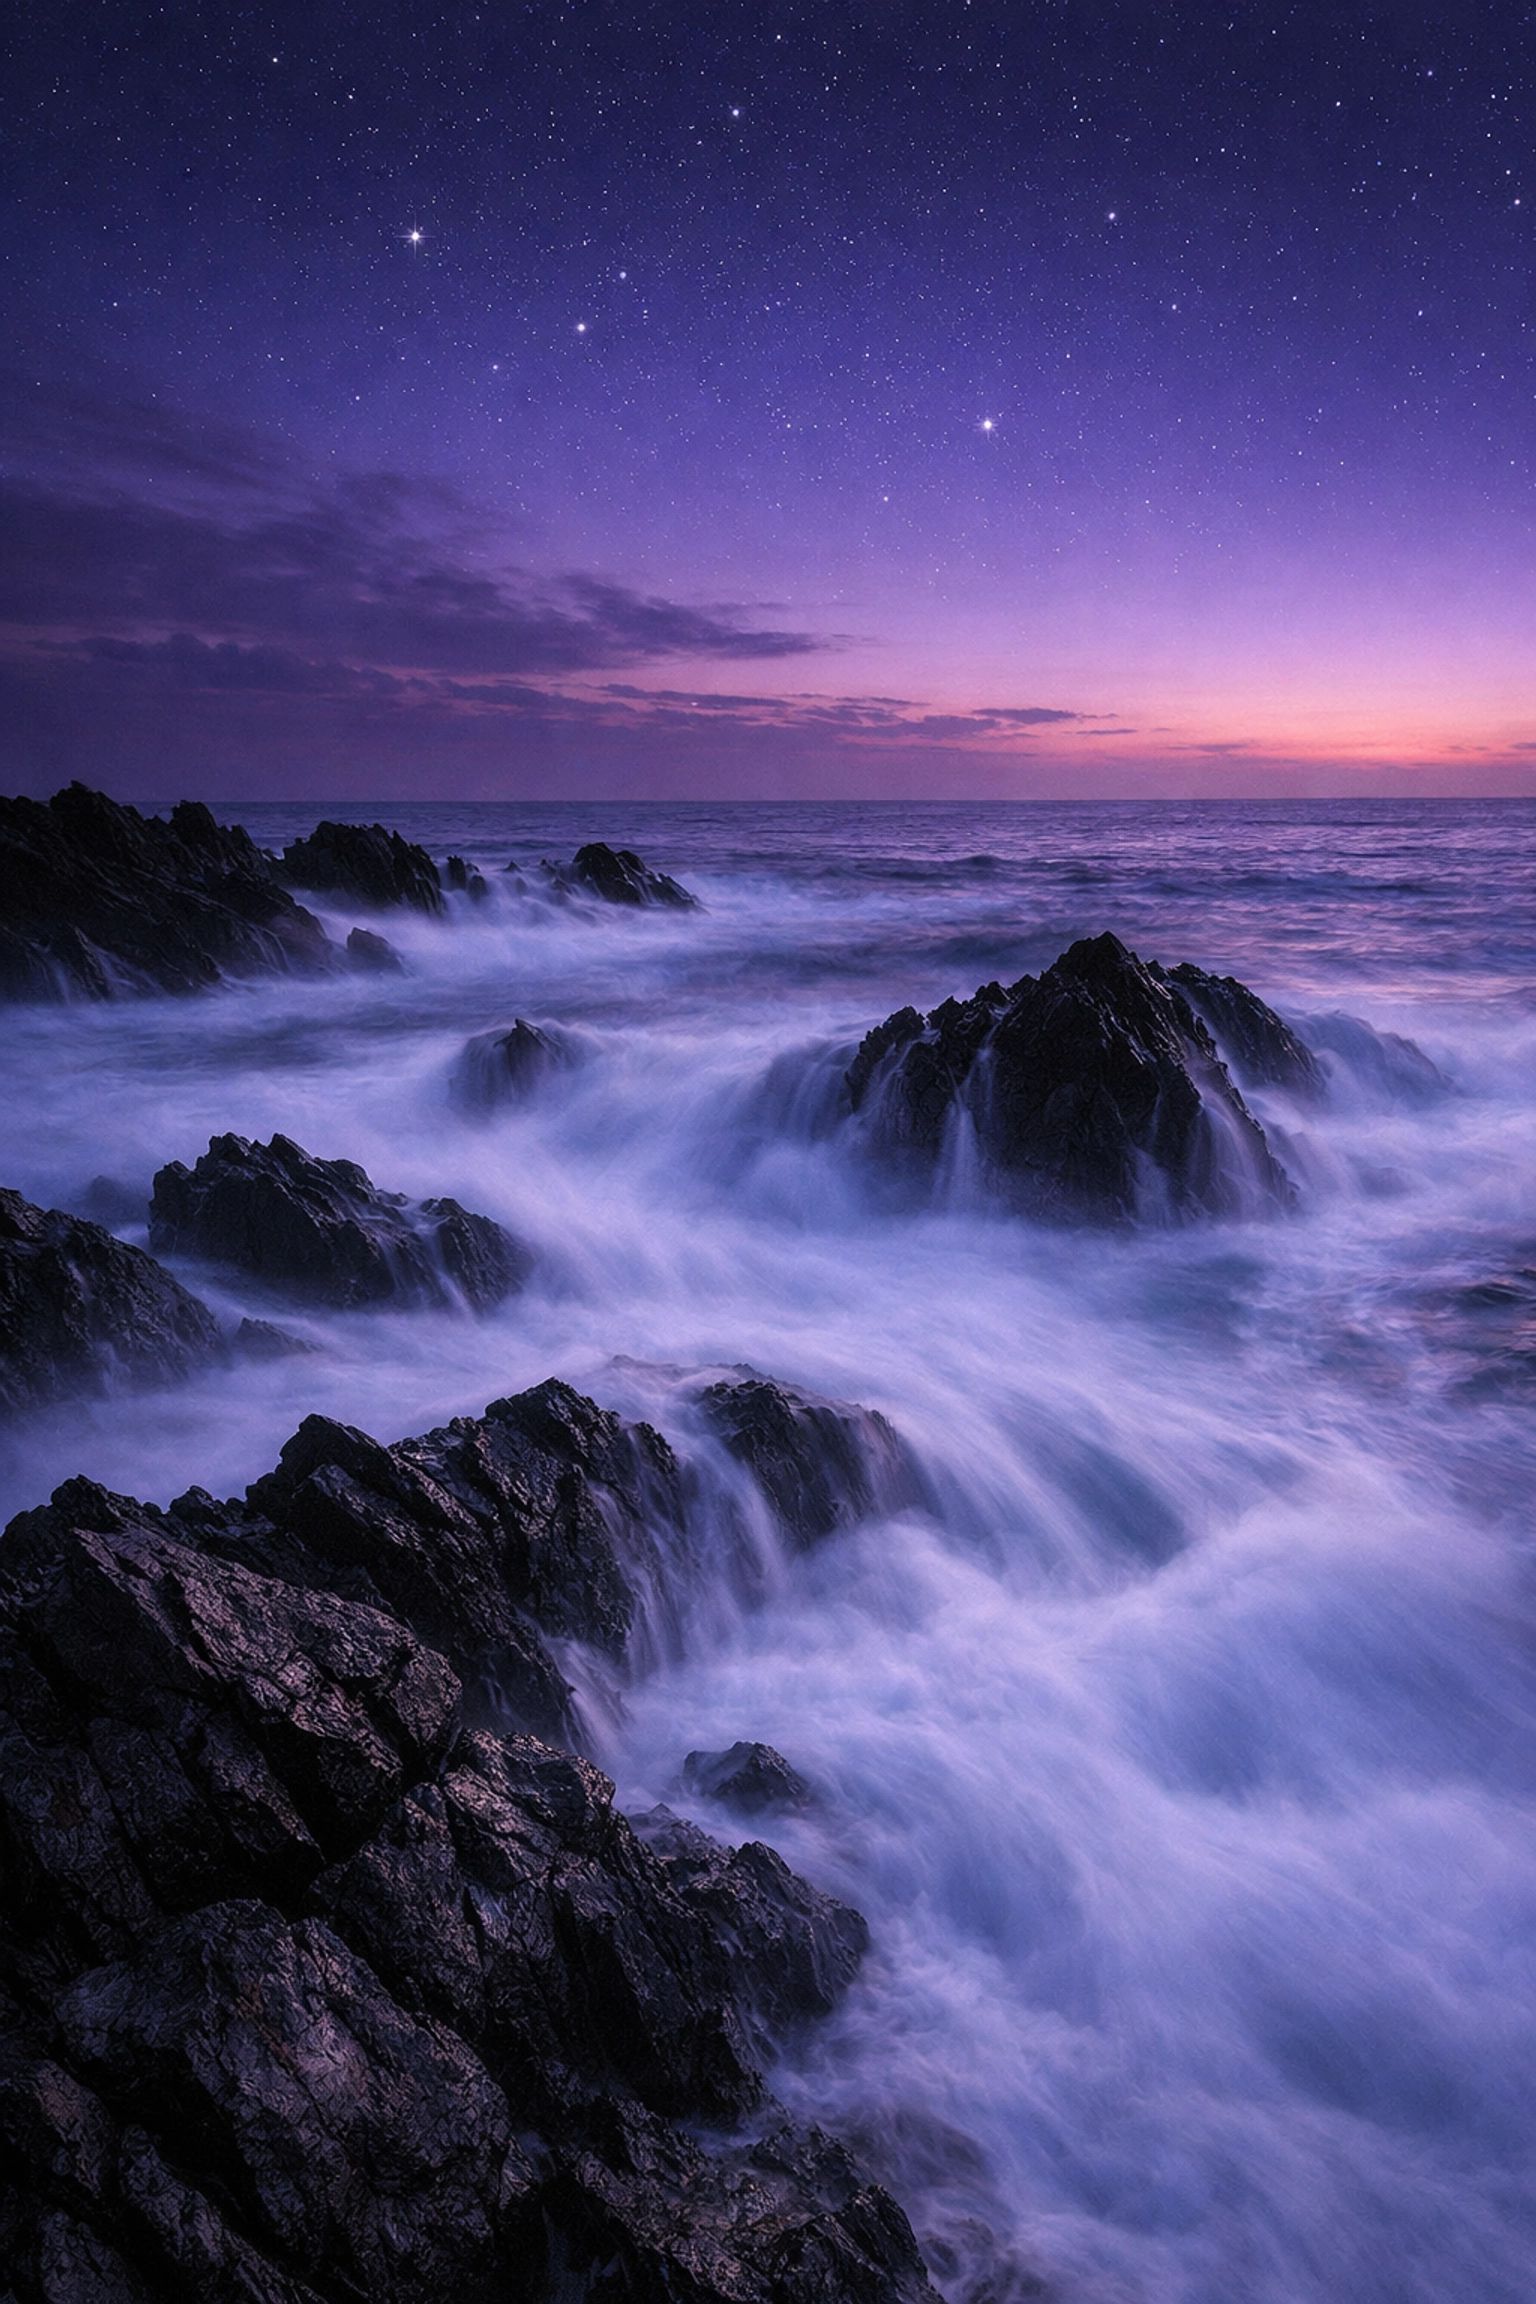
- Slow Shutter Speed (e.g., 1/10 sec or slower): This lets in more light but introduces motion blur. This is how photographers get those silky-smooth waterfalls or light trails from cars at night.
Using a slow shutter speed without a tripod is a recipe for a blurry mess. If you want to experiment with long exposures, make sure you have a steady surface. Learning to balance shutter speed is key when you are visiting lesser-known vistas for enigmatic photos where the lighting might be tricky.
3. ISO: The Sensor’s Sensitivity
ISO is the final piece of the triangle. It tells your camera how sensitive the sensor should be to the light coming through the lens.
- Low ISO (100-200): Best for bright, sunny days. This gives you the cleanest, highest-quality image.
- High ISO (3200+): Necessary for low-light situations like indoor parties or night photography. However, there’s a trade-off: higher ISO introduces "noise" or grain, which can make your photos look gritty.
Ideally, you want to keep your ISO as low as possible. Modern cameras are getting better at handling high ISOs, but for the best results, always try to adjust your aperture or shutter speed first before cranking up the ISO. If you do end up with some grain, you can always clean it up later using powerful editing software like Luminar.
The Balancing Act: Using the Exposure Triangle
Mastering manual mode is all about balance. If you change one setting, you usually have to change another to keep the exposure the same.
Imagine you’re taking a portrait. You want a blurry background, so you set your aperture to f/1.8. Suddenly, there’s way too much light coming in, and the photo is blown out (all white). To fix this, you need to either speed up your shutter speed or lower your ISO.
Conversely, if you're out exploring hidden gem locations for travel photography and it’s getting dark, you might find that your shutter speed is too slow to hold by hand. You’ll need to open your aperture wider or: if that’s not enough: increase your ISO.
Step-by-Step: Your Manual Mode Workflow
When you first switch to "M," your head might spin. Follow this simple 1-2-3 workflow to get your bearings:
- Choose your Aperture first. Ask yourself: "How much of this scene do I want in focus?" For portraits, go low (f/1.8 – f/4). For landscapes, go high (f/8 – f/16).
- Set your ISO. Start at ISO 100. If you’re in a dark room or the sun is going down, you might need to bump it up to 400 or 800 right away.
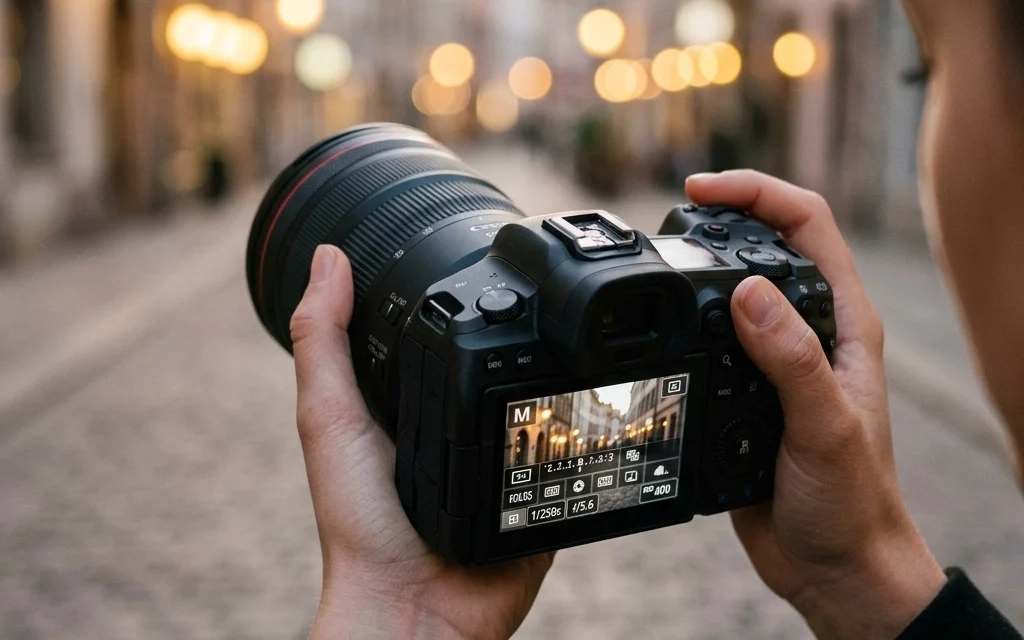
- Adjust your Shutter Speed while looking at the Light Meter. This is the little bar at the bottom of your viewfinder with a "0" in the middle. Dial your shutter speed until the little tick mark lands on the "0."
This "0" represents what the camera thinks is a "perfect" exposure. Once you get comfortable hitting the "0," you can start intentionally overexposing or underexposing to create different moods. For more technical deep-dives, you can check out ProShoot.io for advanced camera settings.
Understanding the Internal Light Meter
Your camera has a built-in light meter that is constantly "reading" the scene. In Auto mode, the camera looks at this meter and makes all the decisions for you. In Manual mode, it just gives you the information and lets you decide.
Most meters look like a scale from -3 to +3.
- -3: The image is way too dark (underexposed).
- 0: The image is "correctly" exposed.
- +3: The image is way too bright (overexposed).
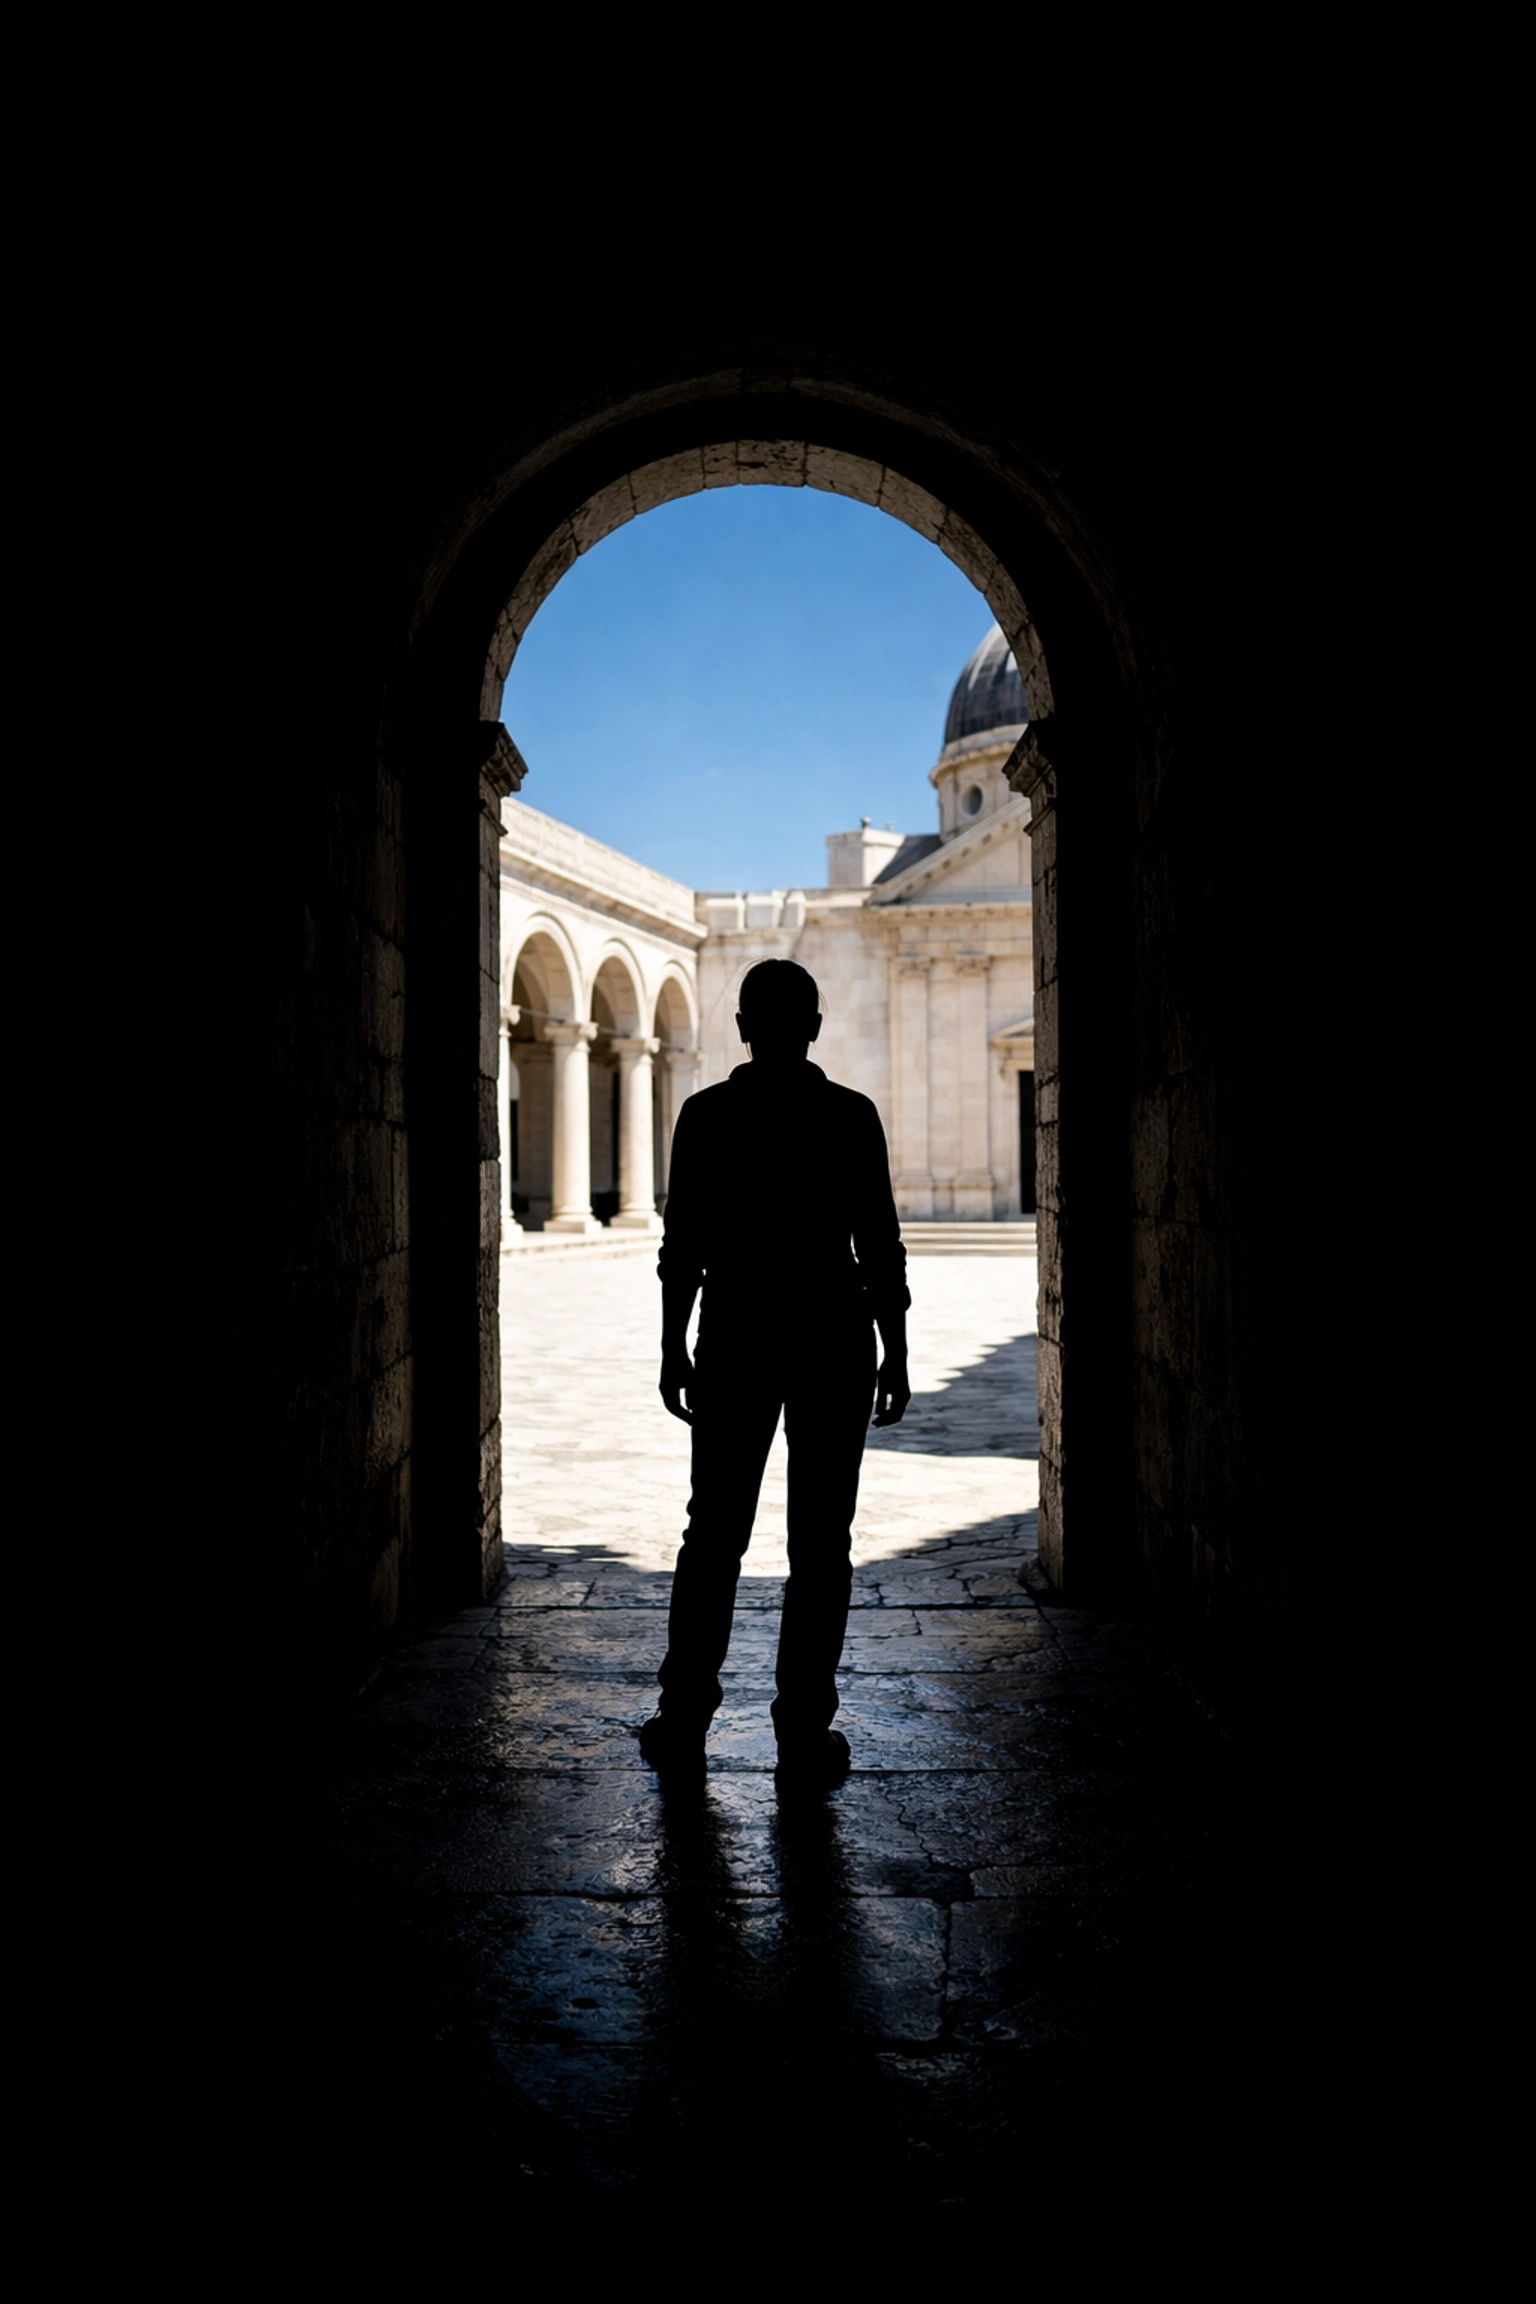
Keep in mind that the meter can be tricked. If you’re shooting a subject in front of a bright window, the meter might think the scene is too bright and tell you to darken it, leaving your subject as a black silhouette. This is where manual mode shines: you can ignore the meter and set the exposure for your subject’s face instead.
White Balance and Metering Modes
Once you’ve got the exposure triangle down, there are two more "bonus" settings that will level up your manual game.
White Balance (WB): This tells the camera what "white" looks like under different lighting. Ever take a photo inside that looks super orange? That’s a white balance issue. While "Auto White Balance" (AWB) is usually fine, setting it to "Cloudy," "Sun," or "Tungsten" manually ensures your colors stay consistent across a whole shoot.
Metering Modes: This tells the camera where to look for light.
- Matrix/Evaluative: Looks at the whole scene. Great for landscapes.
- Spot Metering: Looks only at the tiny dot in the center. Great for backlit portraits.
- Center-Weighted: Focuses on the middle of the frame but considers the edges.
Experimenting with these is crucial when you are trying to capture finding hidden gems for stunning travel photography where the lighting might be dramatic or uneven.
Why Manual Mode is Worth the Effort
You might be thinking, "This sounds like a lot of work when my phone just does it for me." And you're right: it is work. But the payoff is creative freedom.
Manual mode allows you to use rare textures for tangible aesthetic photography in ways Auto mode never could. It allows you to create intentional blur, capture the stars, and shoot in conditions that would make a smartphone sensor give up.
It also changes the way you see light. Instead of just "bright" or "dark," you start seeing directions, shadows, and color temperatures. You become a director rather than just a witness.
Don't Forget the Edit
No matter how good you get at manual mode, some shots will need a little "oomph" in post-production. Shooting in manual usually means you should also be shooting in RAW format. RAW files hold way more data than JPEGs, which gives you the power to recover shadows or highlights later.
When it comes time to edit those RAW files, I highly recommend using Luminar. It uses AI to simplify the complex stuff, like enhancing skies or smoothing skin, while still giving you the professional control you need for your manual shots. For more inspiration on what’s possible with your final images, take a look at Edin Fine Art.
Practice Exercises to Master Manual Mode
Ready to take the plunge? Don't just read about it: go do it. Here are three exercises to get you comfortable with your settings:
- The Depth of Field Challenge: Find an object (like a coffee mug). Take a photo at your widest aperture (lowest f-number), then your narrowest (highest f-number). Watch how the background changes.
- The Motion Blur Challenge: Go to a busy street or a park with a fountain. Try to take one photo where everything is frozen and another where the movement is a soft blur. Adjust your shutter speed and see how you have to compensate with aperture or ISO.
- The Low Light Challenge: Go into a dimly lit room. Try to get a clean shot without using a flash. See how high you can push your ISO before the image becomes too grainy for your taste.
Conclusion
Manual mode isn't about being a "purist": it's about having the right tool for the job. There will be times when you’re shooting a fast-paced event and "Aperture Priority" is the smarter choice. But knowing how to shoot in manual gives you the foundational knowledge to excel in every other mode.
Photography is a journey of constant learning. If you want to keep diving deeper into the technical side of things, check out Edin Studios or read more articles on blog.edinchavez.com.
The "M" on your dial stands for Manual, but it might as well stand for Mastery. Go turn that dial, embrace the learning curve, and start capturing the world exactly how you see it. Your camera is just a box of glass and sensors; you are the one who brings the vision. Happy shooting!


