

Post Category: TUTORIALS
Tags: News, PHOTO SERIES, TUTORIALS, TRAVEL
The shutter clicks, a moment is frozen, and for many, the journey ends there. But for the masters of the craft, the click of the camera is merely the inhalation before the song. In the digital age, the true artistry often begins when you sit down before the glowing altar of your computer monitor. Welcome, dear hobbyists and fellow enthusiasts, to the inner sanctum of the digital darkroom.
There is a pervasive myth in the photography world that "great photos are made in-camera." While a solid foundation is essential: and we have discussed 7 mistakes you’re making with landscape photography extensively: the secret that professionals guard with a stoic reverence is that the final image is a product of meticulous, intentional post-processing. Editing is not about "fixing" a bad photo; it is about sculpting light, enhancing the intrinsic beauty of a scene, and guiding the viewer’s eye through an ephemeral landscape of pixels.
Pristine Preparation: The Foundation of Every Masterpiece
Before we dive into the "magic" tricks, we must address the canvas. If you are still shooting in JPEG, you are essentially asking your camera to make all the creative decisions for you before you even open your editing software. To truly unlock the potential of your gear, whether you are using a Nikon D850 or the latest mirrorless body, you must embrace RAW.
A RAW file is the uncompressed, "ethereal" data captured by your sensor. It holds a depth of information in the shadows and highlights that a JPEG simply discards. Professionals start every session with Color Correction. This is the boring but vital work of setting the white balance, correcting lens distortion, and balancing the global exposure. Think of this as preparing the soil before planting a garden. Without a neutral starting point, every creative choice you make later will be fighting against a skewed foundation.
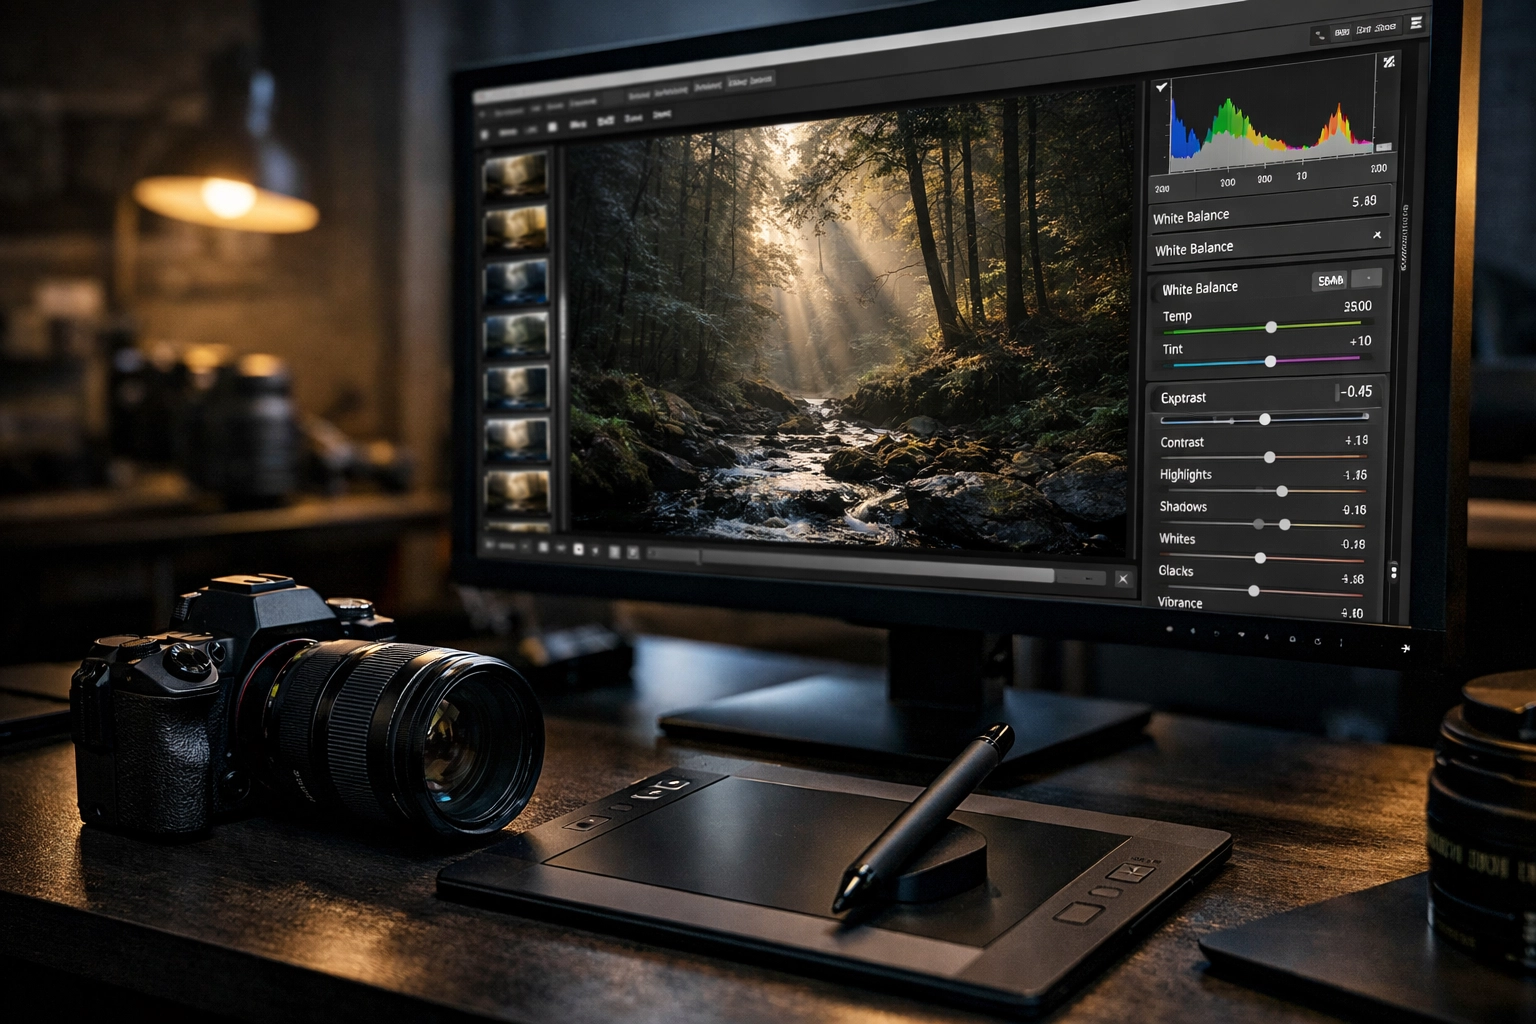
Luminous Levels: The Power of Luminosity Masks
If there is one "secret" that separates the amateurs from the icons, it is the use of Luminosity Masks. While basic sliders in Lightroom or Luminar affect the entire image or broad ranges, luminosity masks allow you to select pixels based specifically on their brightness value.
Imagine being able to target only the brightest highlights in a sunset to pull back the detail without affecting the mid-tones or shadows. Or, perhaps you want to add a touch of warmth only to the deepest shadows to create a cinematic color grade. This level of precision is how professionals achieve that "glow" without making the image look over-processed. It creates a natural, high-dynamic-range look that feels real rather than digital. If you’re looking to dive deeper into this specific look, our HDR tutorial covers how to manage extreme light ranges effectively.
Subtle Sculpting: The Art of Dodging and Burning
In the days of film, masters like Ansel Adams spent hours in the darkroom "dodging" (lightening) and "burning" (darkening) specific parts of a print. Today, the environment has changed, but the principles remain the same. Light is your paintbrush, and the environment is your canvas.
Experts don't just increase the overall contrast of a photo; they paint it in. By selectively dodging the highlights on a subject’s face or the crest of a mountain, you create three-dimensional depth. Conversely, burning the edges of a frame (a sophisticated vignette) helps to "corral" the viewer’s eye, leading them toward the focal point of your story. I have tried every automated tool out there, but nothing compares to the manual application of light and shadow with a soft brush. It requires patience, but the reward is an image that feels alive.
Blending Boldness: Sophisticated Layer Strategies
Now that we’ve delved into the philosophy of light, it’s time to get down to the "brass tacks" of software layers. Many beginners apply a filter and call it a day. A professional utilizes Blending Modes.
For example, a common expert secret is to create a Black and White adjustment layer, set it to the "Soft Light" blending mode, and drop the opacity to around 20%. This doesn't make the photo black and white; instead, it adds a sophisticated, gritty contrast that global sliders cannot replicate. Another game-changer is using the "Luminosity" blending mode on a Curves layer. This allows you to adjust the contrast of your image without affecting the color saturation: a common pitfall that leads to "clownish" looking landscapes.
When working with complex edits, software like Luminar 4 or the latest AI-driven tools can be incredible "unsung heroes" in your workflow. They handle the heavy lifting of sky replacements or skin smoothing, allowing you to focus on the artistic direction.
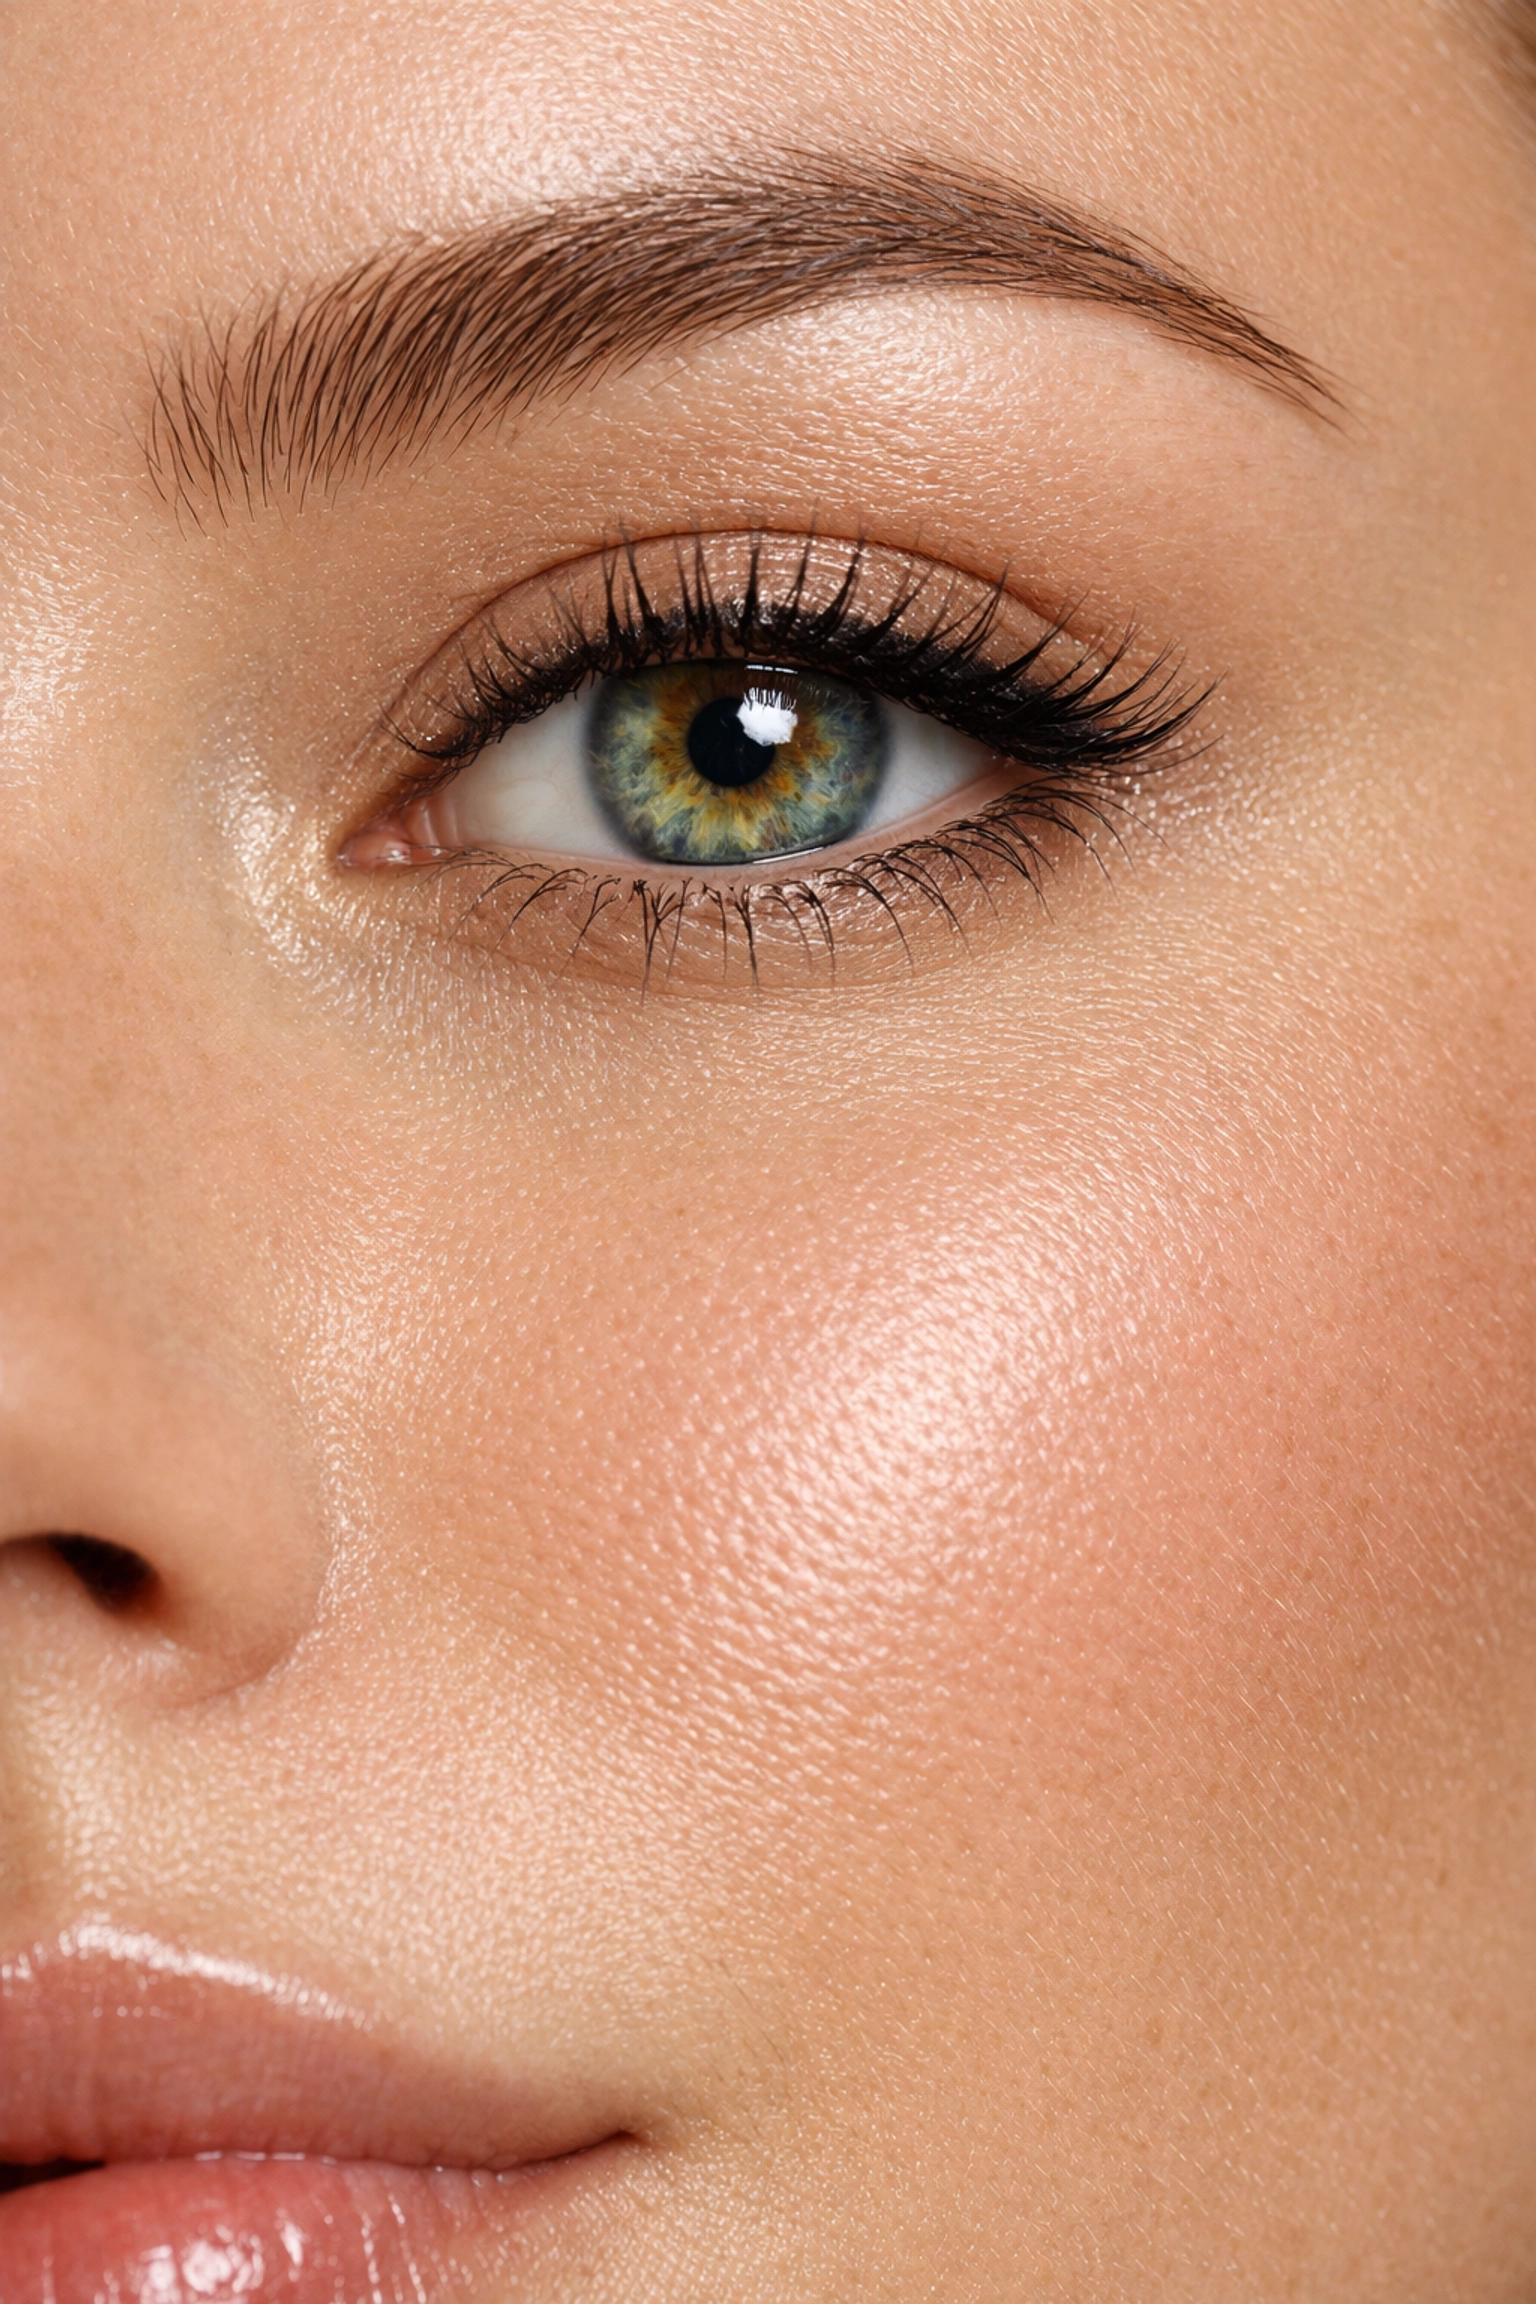
The Secret of Frequency Separation
In portraiture, the goal is often to achieve flawless skin without losing the natural texture. The secret used by high-end fashion retouchers is Frequency Separation. This technique splits the image into two layers: one for color/tone (low frequency) and one for texture/detail (high frequency).
By separating these two elements, you can smooth out blotchy skin tones on the low-frequency layer without blurring the skin pores on the high-frequency layer. It is the difference between a subject looking like they have great skin and a subject looking like they are made of plastic. If you are pursuing professional headshots, mastering this technique is non-negotiable.

Color Grading: Creating a Signature Atmosphere
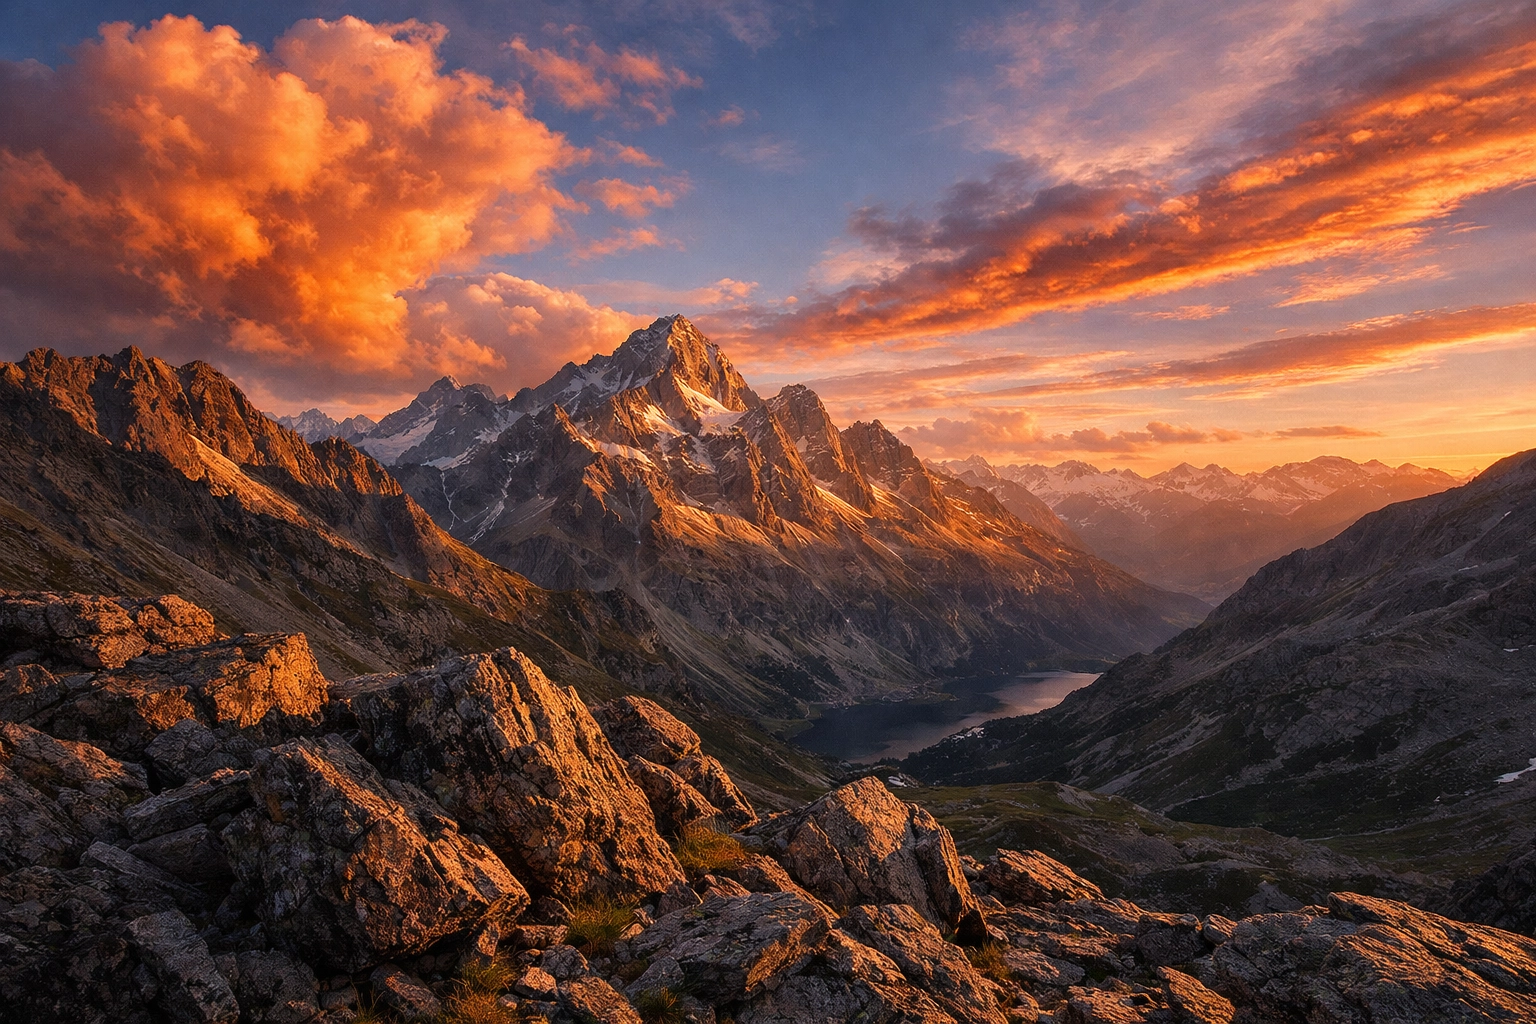
Color is the emotional heartbeat of your photograph. While color correction is about reality, color grading is about feeling. This is where you decide if a forest scene feels like a haunting mystery or a vibrant morning.
Experts often look toward the "Opponent Process" of color theory. By adding subtle teals to the shadows and warm oranges to the highlights (the classic "Teal and Orange" look), you create a sense of harmony and depth. However, the secret is in the subtlety. The most profound color grades are the ones the viewer doesn't consciously notice but instead feels in their gut. Venture forth and experiment with split-toning; it is the most powerful way to develop a signature style that makes your work instantly recognizable.
Finishing Flourishes: Sharpening and Noise
The final 5% of an edit is often what dictates if an image looks "pro" or "amateur." Most people over-sharpen. They see a "Sharpening" slider and crank it until the edges have halos. Professionals use "Output Sharpening," which is tailored to where the image will eventually live: whether that’s a high-gloss print at Edin Fine Art or a compressed post on Instagram.
Similarly, noise reduction should be handled with reverence. A little grain (especially in black and white) can add a filmic, organic quality. Excessive noise reduction, however, results in a "waxy" look that strips away the soul of the image. Always mask your sharpening so it only hits the edges of your subject, leaving the out-of-focus backgrounds smooth and clean.
The Philosophy of the Edit
At the end of the day, these techniques are merely tools. The real secret: the one that no software update can provide: is Intent. Before you move a single slider, ask yourself: What is this photo about? What do I want the viewer to feel?
Sometimes, the most powerful edit is the one where you do almost nothing, allowing the ephemeral quality of natural light to speak for itself. Other times, you must be a digital alchemist, transforming a flat, grey RAW file into a golden masterpiece.
Whether you are capturing street photography in Barcelona or shooting a biolapse, remember that your camera sees the world, but your mind interprets it. Editing is the bridge between those two realities.
If you’re just starting your journey, I highly recommend checking out our ultimate guide to photography for beginners. It will give you the foundational camera skills needed to ensure your RAW files are ready for these advanced editing secrets. And if you’re curious about how technology is shifting, keep an eye on how today's camera gear news is making some of these complex edits more accessible than ever.
The world is waiting to see your vision. Don't just show them what you saw; show them what you felt. Seize these moments and bring them to life with the care they deserve.
For more technical breakdowns and gear reviews, visit ProShoot.io or explore our tutorials category. If you have a series of photos you've edited using these techniques, we’d love to see them: feel free to check out our submissions page to share your work with the community.
Drop me a line below in the comments if you have any questions about specific workflows or if there’s a particular "secret" you’re struggling to master. We are all on this creative journey together, and the path is always better when shared with fellow enthusiasts. Happy editing!


