
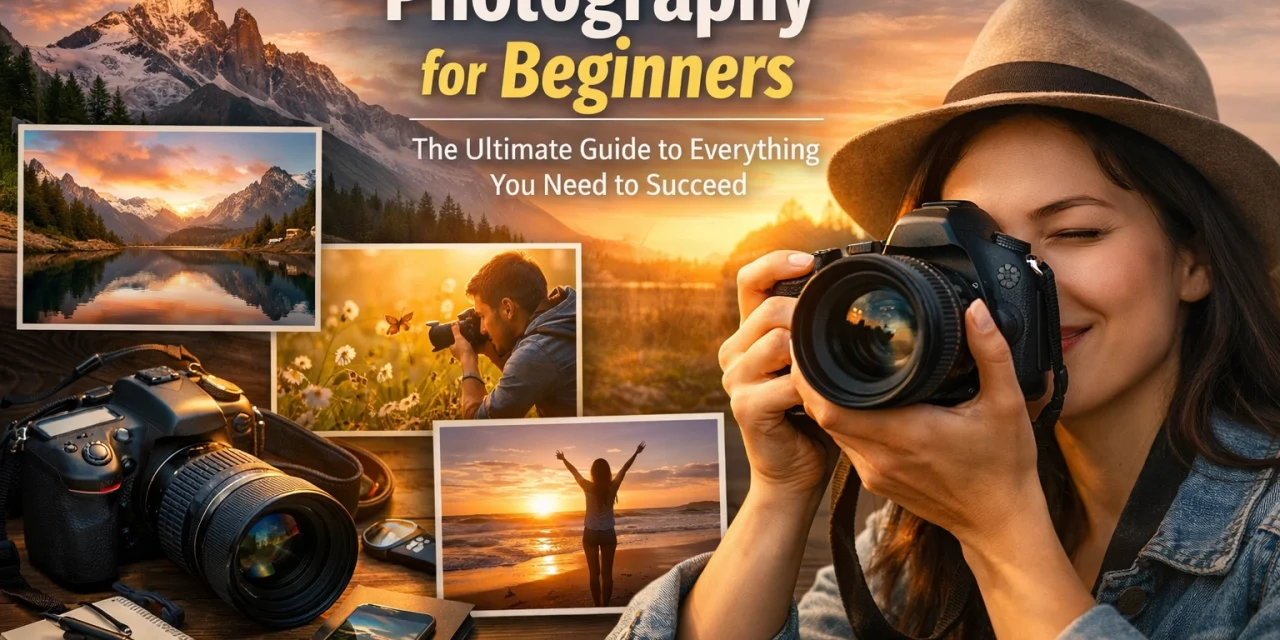
So, you finally did it. You bought a camera. Maybe it was a gift, or maybe you finally decided to stop relying on your smartphone for every single memory. Either way, you’re now staring at a device with more buttons than a spaceship, wondering why your photos don’t look like the ones you see on Instagram.
Welcome to the club. We’ve all been there.
Photography can feel overwhelming at first. There’s all this talk about "aperture," "ISO," and "shutter speed." It sounds like a math test you didn’t study for. But here’s a secret: photography is actually pretty simple once you stop overthinking it. It’s just about capturing light.
In this guide, we’re going to break down everything you need to know about photography for beginners. No fluff, no confusing jargon: just the stuff that actually matters so you can start taking better photos today.
1. Choosing Your Gear: Keep It Simple
Before you go out and spend $5,000 on a camera setup, stop. You don't need the most expensive gear to take great photos. In fact, some of the best photographers in the world started with basic entry-level cameras.
When you’re looking at camera gear reviews, you’ll mostly see two types of cameras: DSLRs and Mirrorless cameras. Most pros are moving toward the best mirrorless cameras because they are smaller, lighter, and have incredible autofocus. But a used DSLR is still a fantastic way to learn the ropes without breaking the bank.
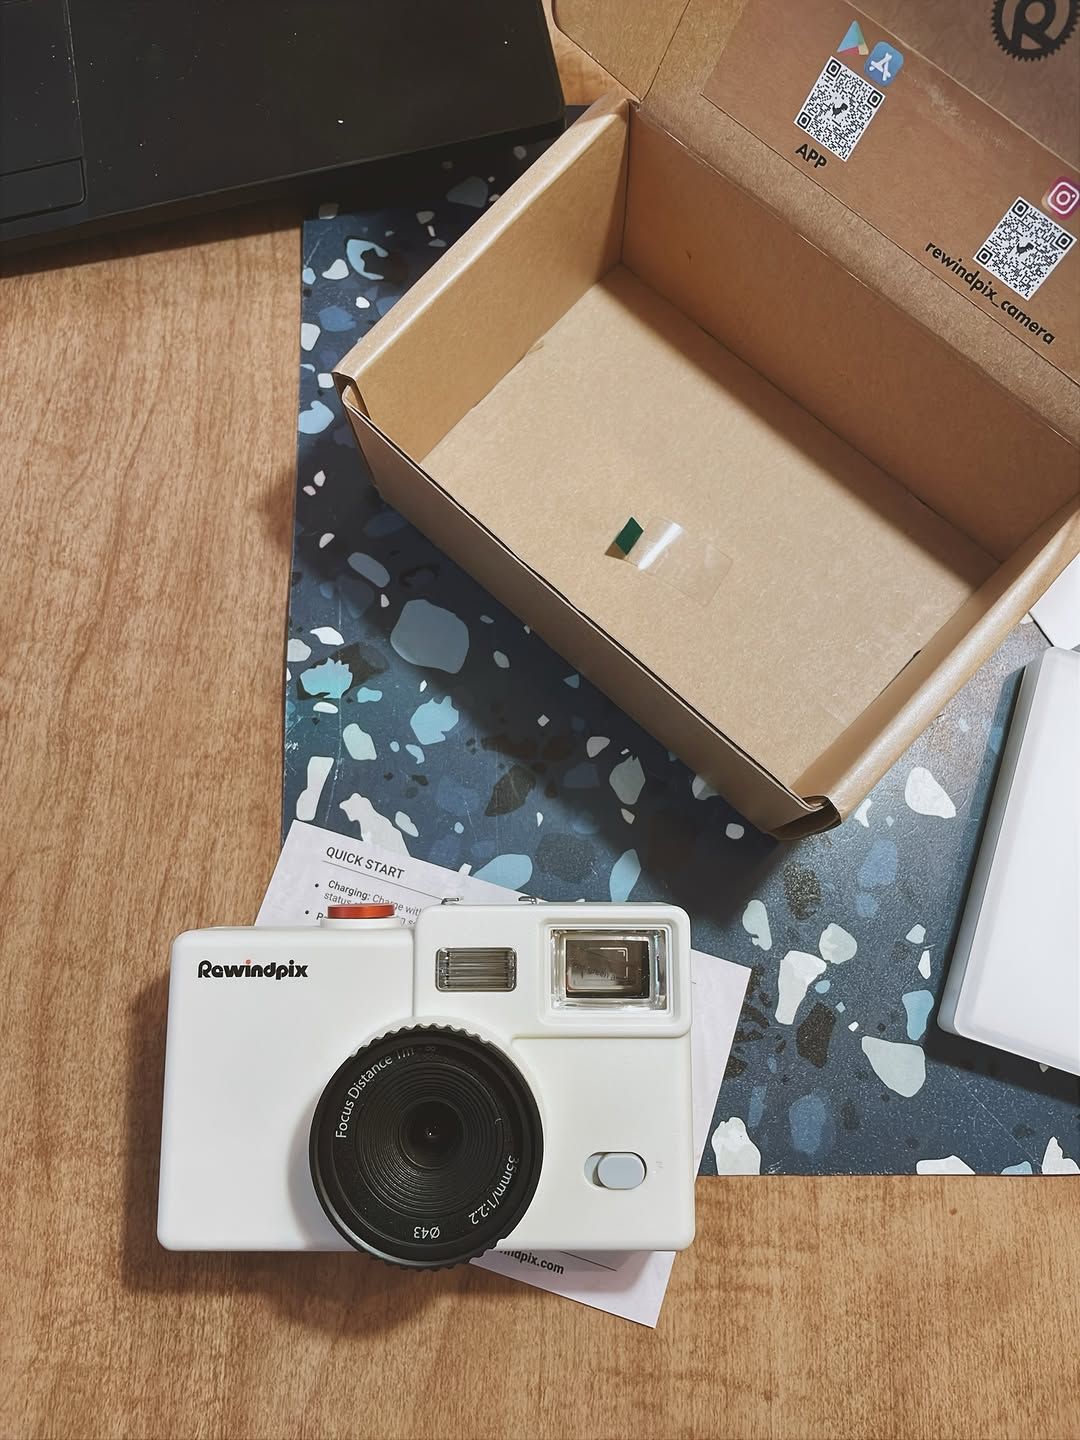
SEO Alt Text: A flat lay of a beginner-friendly RewindPix camera being unboxed on a wooden desk with accessories.
If you’re looking for something fun and tactile to get started, checking out unique options like the RewindPix can help you focus on the joy of shooting rather than just the specs. You can find more inspiration on gear at PhotoGuides.org.
2. Mastering Your Camera Settings
If you stay in "Auto" mode forever, your camera is making all the decisions for you. And let’s be honest, cameras are smart, but they don't have an "artistic eye." To take control, you need to learn how to use manual mode camera.
The foundation of manual mode is the Exposure Triangle. It consists of three settings that work together to determine how your photo looks:
Aperture (The "Blurry Background" Setting)
Aperture is the opening in your lens. It’s measured in f-stops (like f/1.8 or f/11).
- A low f-number (f/1.8) means a wide opening. It lets in more light and gives you that beautiful, blurry background (bokeh).
- A high f-number (f/11) means a small opening. It lets in less light but keeps everything in focus, from the foreground to the mountains in the back.
For more on this, check out our guide on mastering the beautiful bokeh effect in photography.
Shutter Speed (The "Motion" Setting)
This is how long your camera's sensor is exposed to light.
- Fast shutter speeds (1/1000s) freeze motion. Perfect for sports or a dog running.
- Slow shutter speeds (1/10s or longer) blur motion. This is how people get those silky smooth waterfall shots.
ISO (The "Sensitivity" Setting)
ISO measures how sensitive your camera's sensor is to light.
- Low ISO (100) is best for bright, sunny days. It produces the cleanest images.
- High ISO (3200+) is for dark rooms or nighttime. It makes the sensor more sensitive but adds "noise" or grain to your photo.
It sounds like a lot, but you can actually master your camera’s manual mode in 5 minutes if you focus on how these three balance each other out.
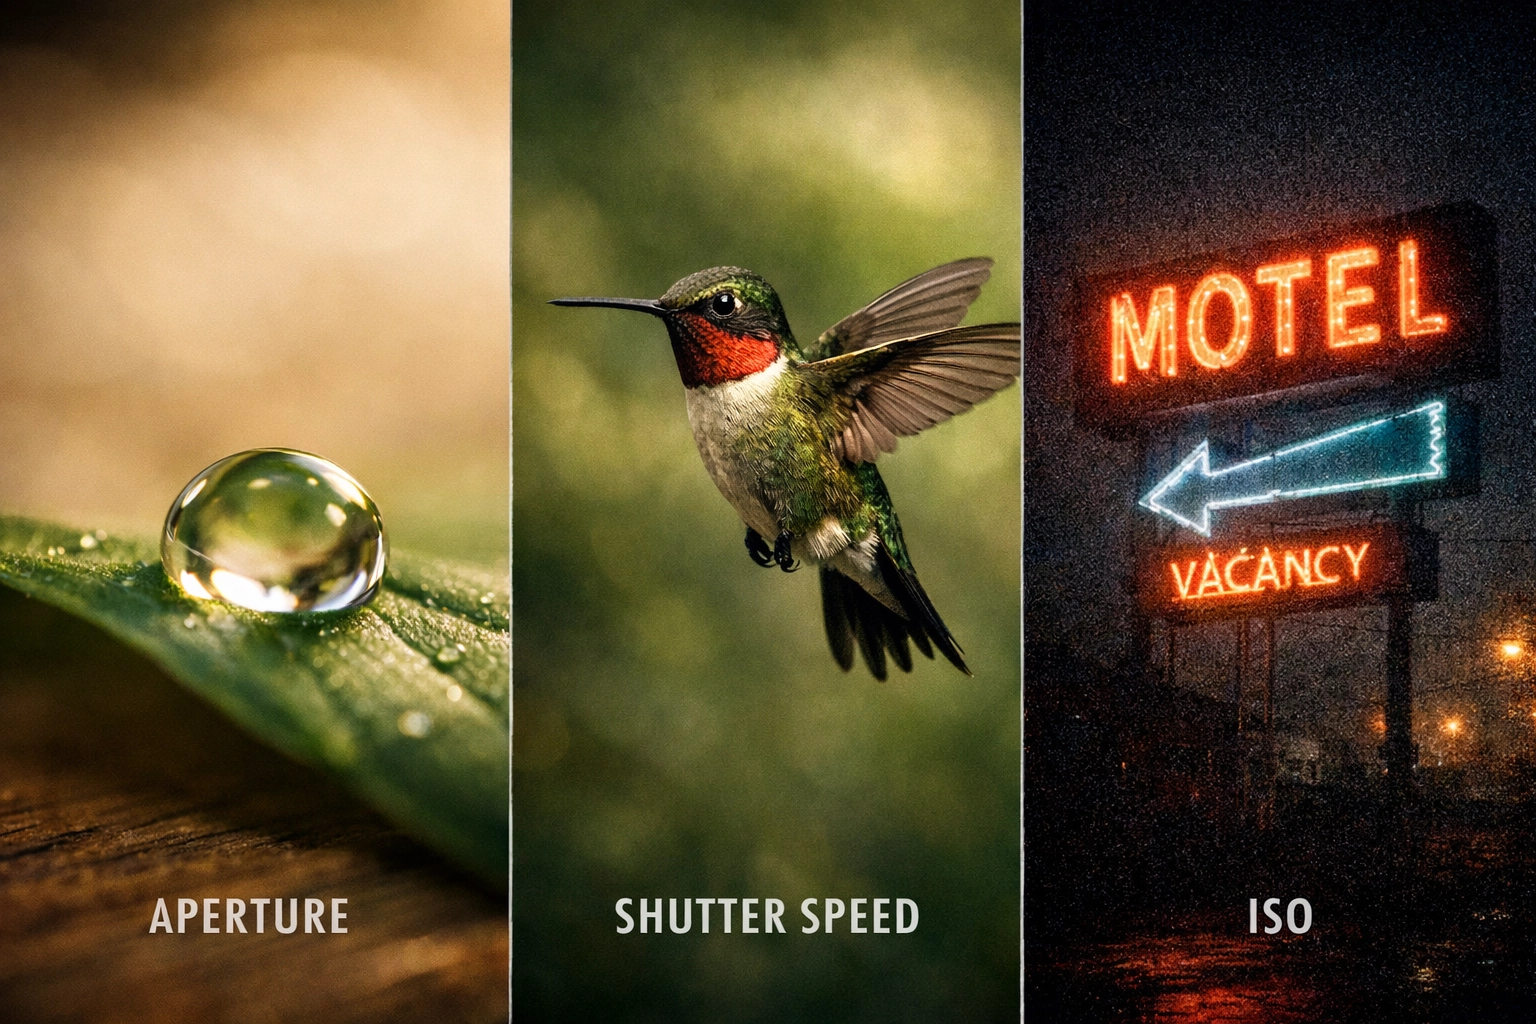
SEO Alt Text: A simple diagram showing the exposure triangle: aperture, shutter speed, and ISO: explained visually for beginners.
3. Composition: How to Frame Your Shot
Even if you have the perfect exposure, a boring photo is still a boring photo. Composition is where the art happens. It’s how you arrange the elements in your frame.
Here are a few quick photography tutorials on composition:
- The Rule of Thirds: Imagine your screen is divided into a 3×3 grid. Instead of putting your subject right in the middle, place them on one of the lines or intersections. It instantly makes the photo more interesting.
- Leading Lines: Use roads, fences, or even shadows to lead the viewer’s eye toward your subject.
- Framing: Look for natural "frames" like windows, branches, or doorways to surround your subject.
For a deeper dive, read our post on essential photography composition tips.
4. Lighting: The Secret Sauce
You could have the best camera in the world, but if the light is bad, the photo will be bad. Photography literally means "writing with light."
- Golden Hour: This is the hour after sunrise and the hour before sunset. The light is soft, warm, and makes everyone look like a movie star.
- Overcast Days: Don't put your camera away when it’s cloudy! Clouds act like a giant softbox, creating even light that is perfect for portraits.
- Harsh Midday Sun: This is the hardest time to shoot because of the deep shadows under people's eyes. If you have to shoot at noon, find some shade.
5. Finding Your Style: Different Genres to Try
As a beginner, you should try everything. Don't pigeonhole yourself too early. Here are a few areas to explore:
Landscape Photography
If you love the outdoors, this is for you. Invest in a tripod and learn some landscape photography tips, like using a small aperture to keep the whole scene sharp. You can see some incredible examples of professional landscapes at Edin Fine Art.
Portrait Photography
People are the most common subjects. Focus on the eyes: they should always be the sharpest part of the image. Learning portrait photography techniques is all about making your subject feel comfortable. If you’re traveling, check out our guide on capturing authentic emotions in travel photography.
Street Photography
This is about capturing life as it happens. Grab a small camera and hit the city. We have plenty of street photography ideas to get you started, from looking for reflections in puddles to capturing the "decisive moment" of a passerby.
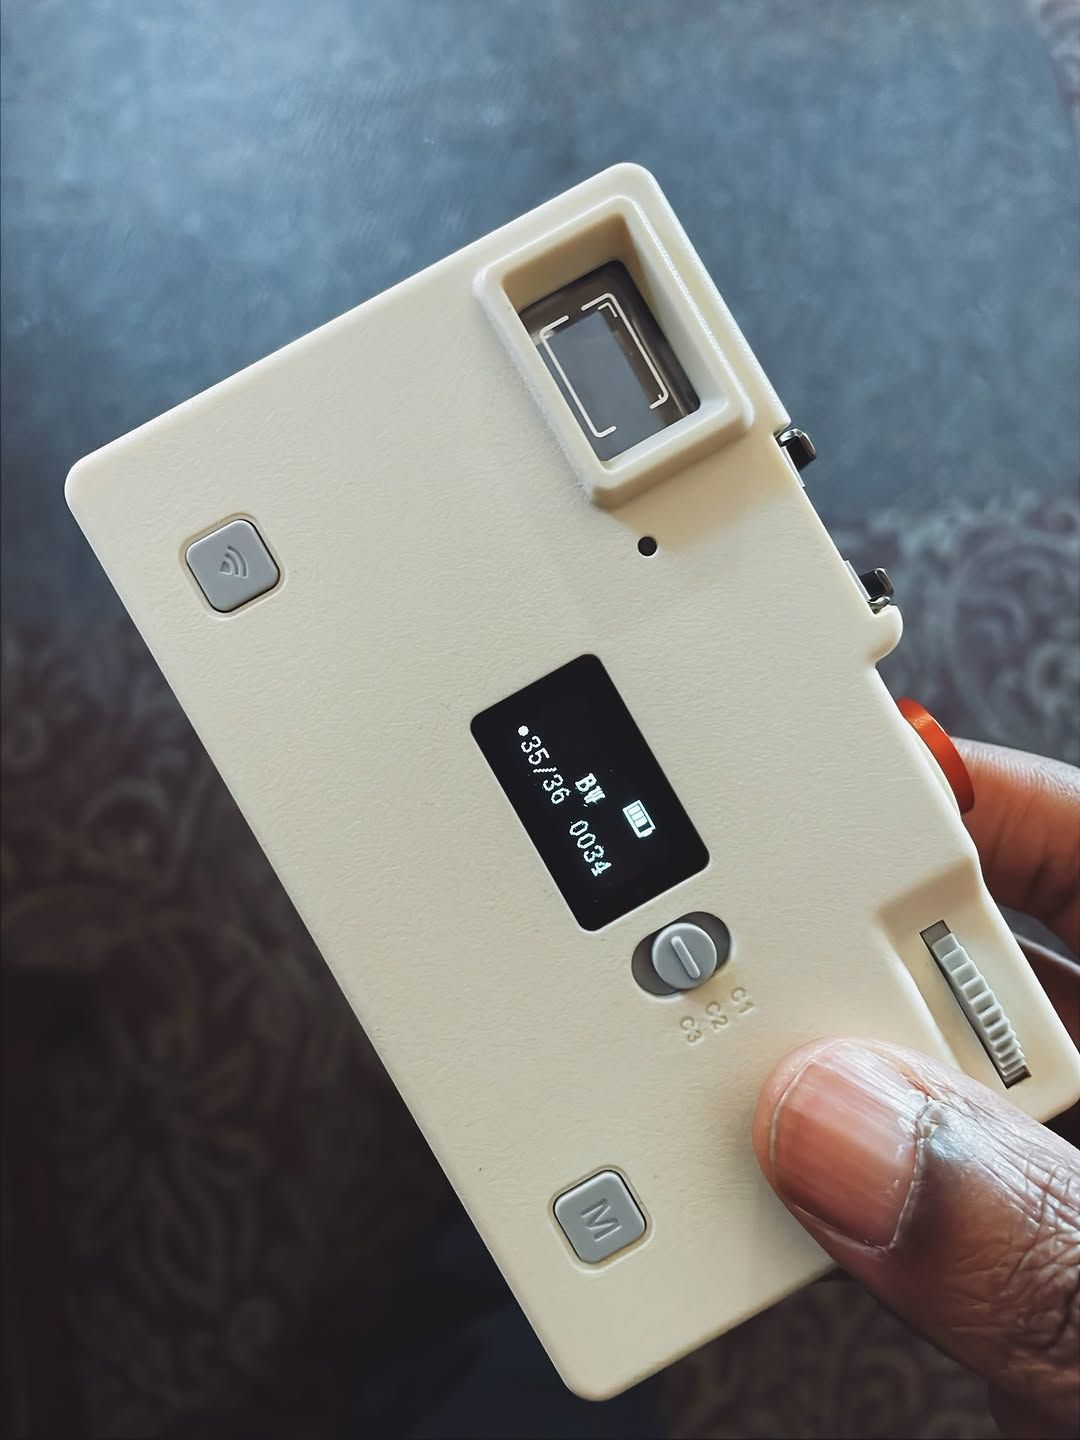
SEO Alt Text: A person holding a compact, retro-style digital camera, perfect for street photography and daily use.
6. The Power of Post-Processing
Taking the photo is only half the battle. The other half happens on your computer.
Always shoot in RAW format if your camera allows it. Unlike a JPEG, a RAW file keeps all the data the camera captured, which gives you much more freedom when editing. If your photo is a little too dark, you can usually save it in editing if you shot in RAW.
For photo editing tutorials, we recommend starting with Luminar. It’s incredibly beginner-friendly and uses AI to help you enhance your photos without needing a degree in graphic design. If you want to go the more professional route, you can also look into mastering Lightroom.
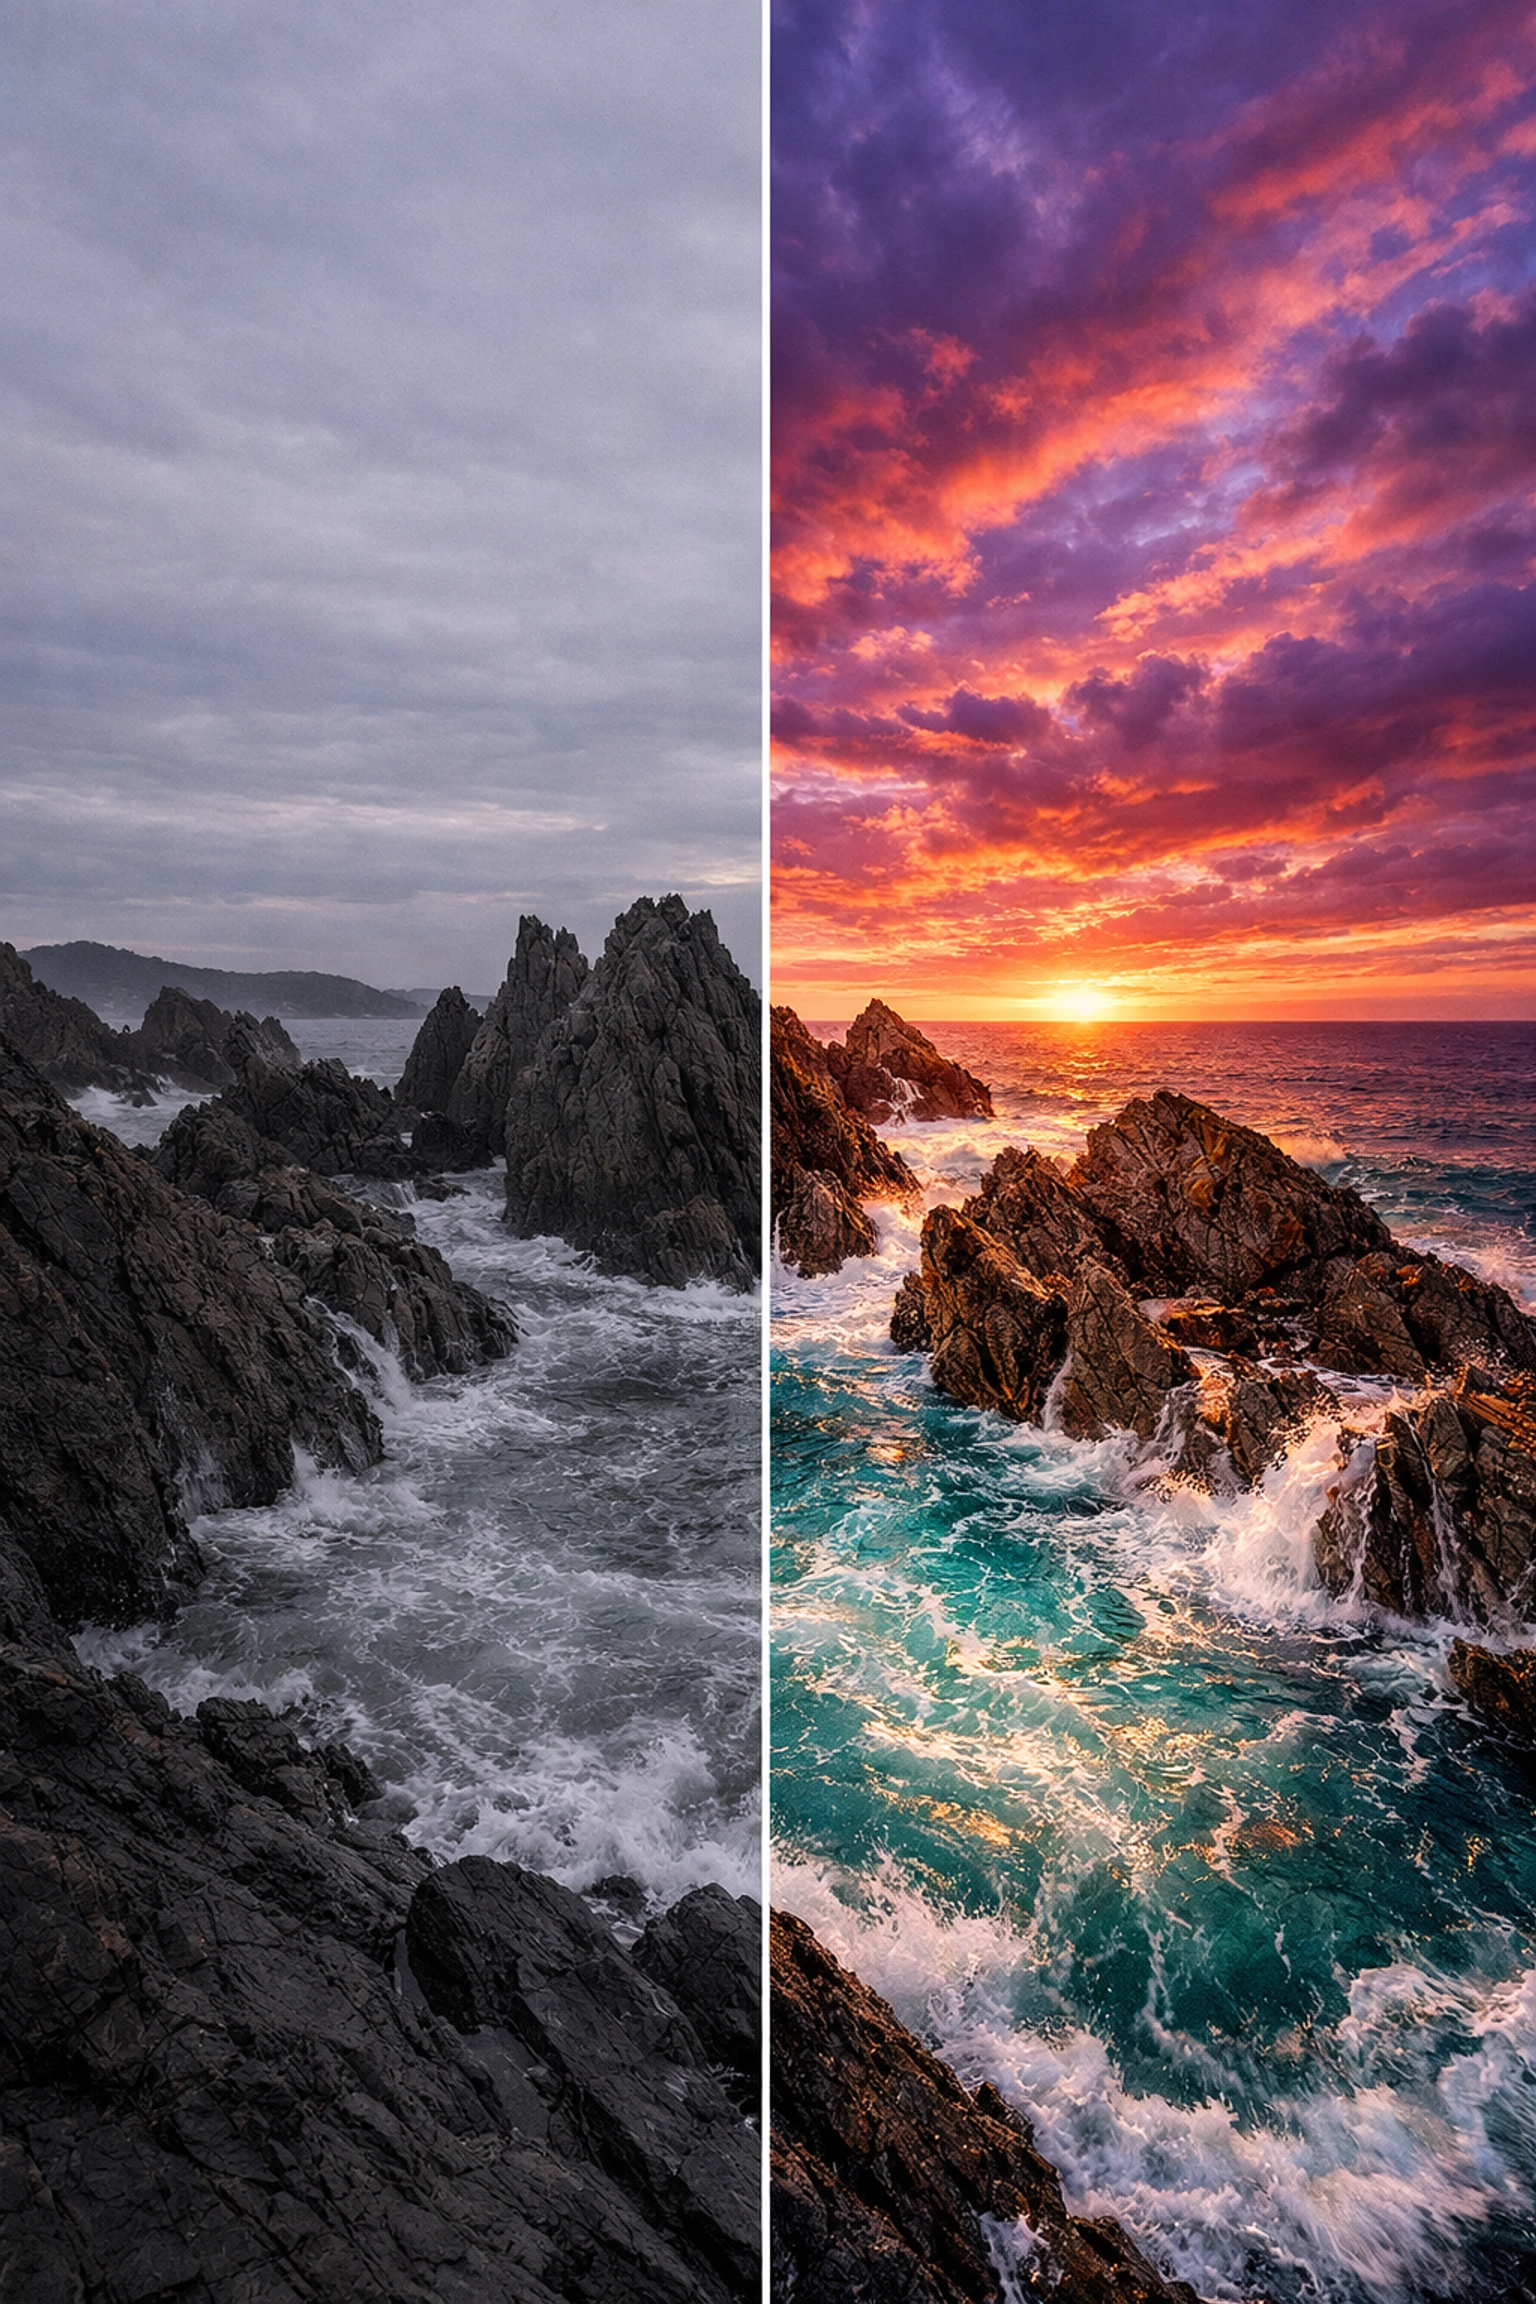
SEO Alt Text: A split-screen comparison showing a raw landscape photo versus a finished, edited version using Luminar AI.
7. Stay Inspired and Keep Learning
The photography world moves fast. One day everyone is talking about a new sensor, and the next, there’s a new editing trend. Stay up to date with photography news by visiting Shut Your Aperture regularly.
If you want to see how the pros do it, check out ProShoot.io or Edin Studios for high-end production inspiration.
Quick Tips for Fast Growth:
- Carry your camera everywhere: The best camera is the one you have with you. Even if it’s just your phone, keep practicing. (Check out our mobile photo tricks if you're stuck with just a smartphone).
- Focus on one thing at a time: Don't try to learn manual mode, composition, and lighting all in one day. Spend a week just focusing on Aperture. Then a week on the Rule of Thirds.
- Don't be afraid to fail: You’re going to take a lot of bad photos. That’s okay. Even the pros have a "deleted" folder full of thousands of shots.
- Join a community: Share your work, get feedback, and look at what others are doing. You can find more tips and community links at blog.edinchavez.com.
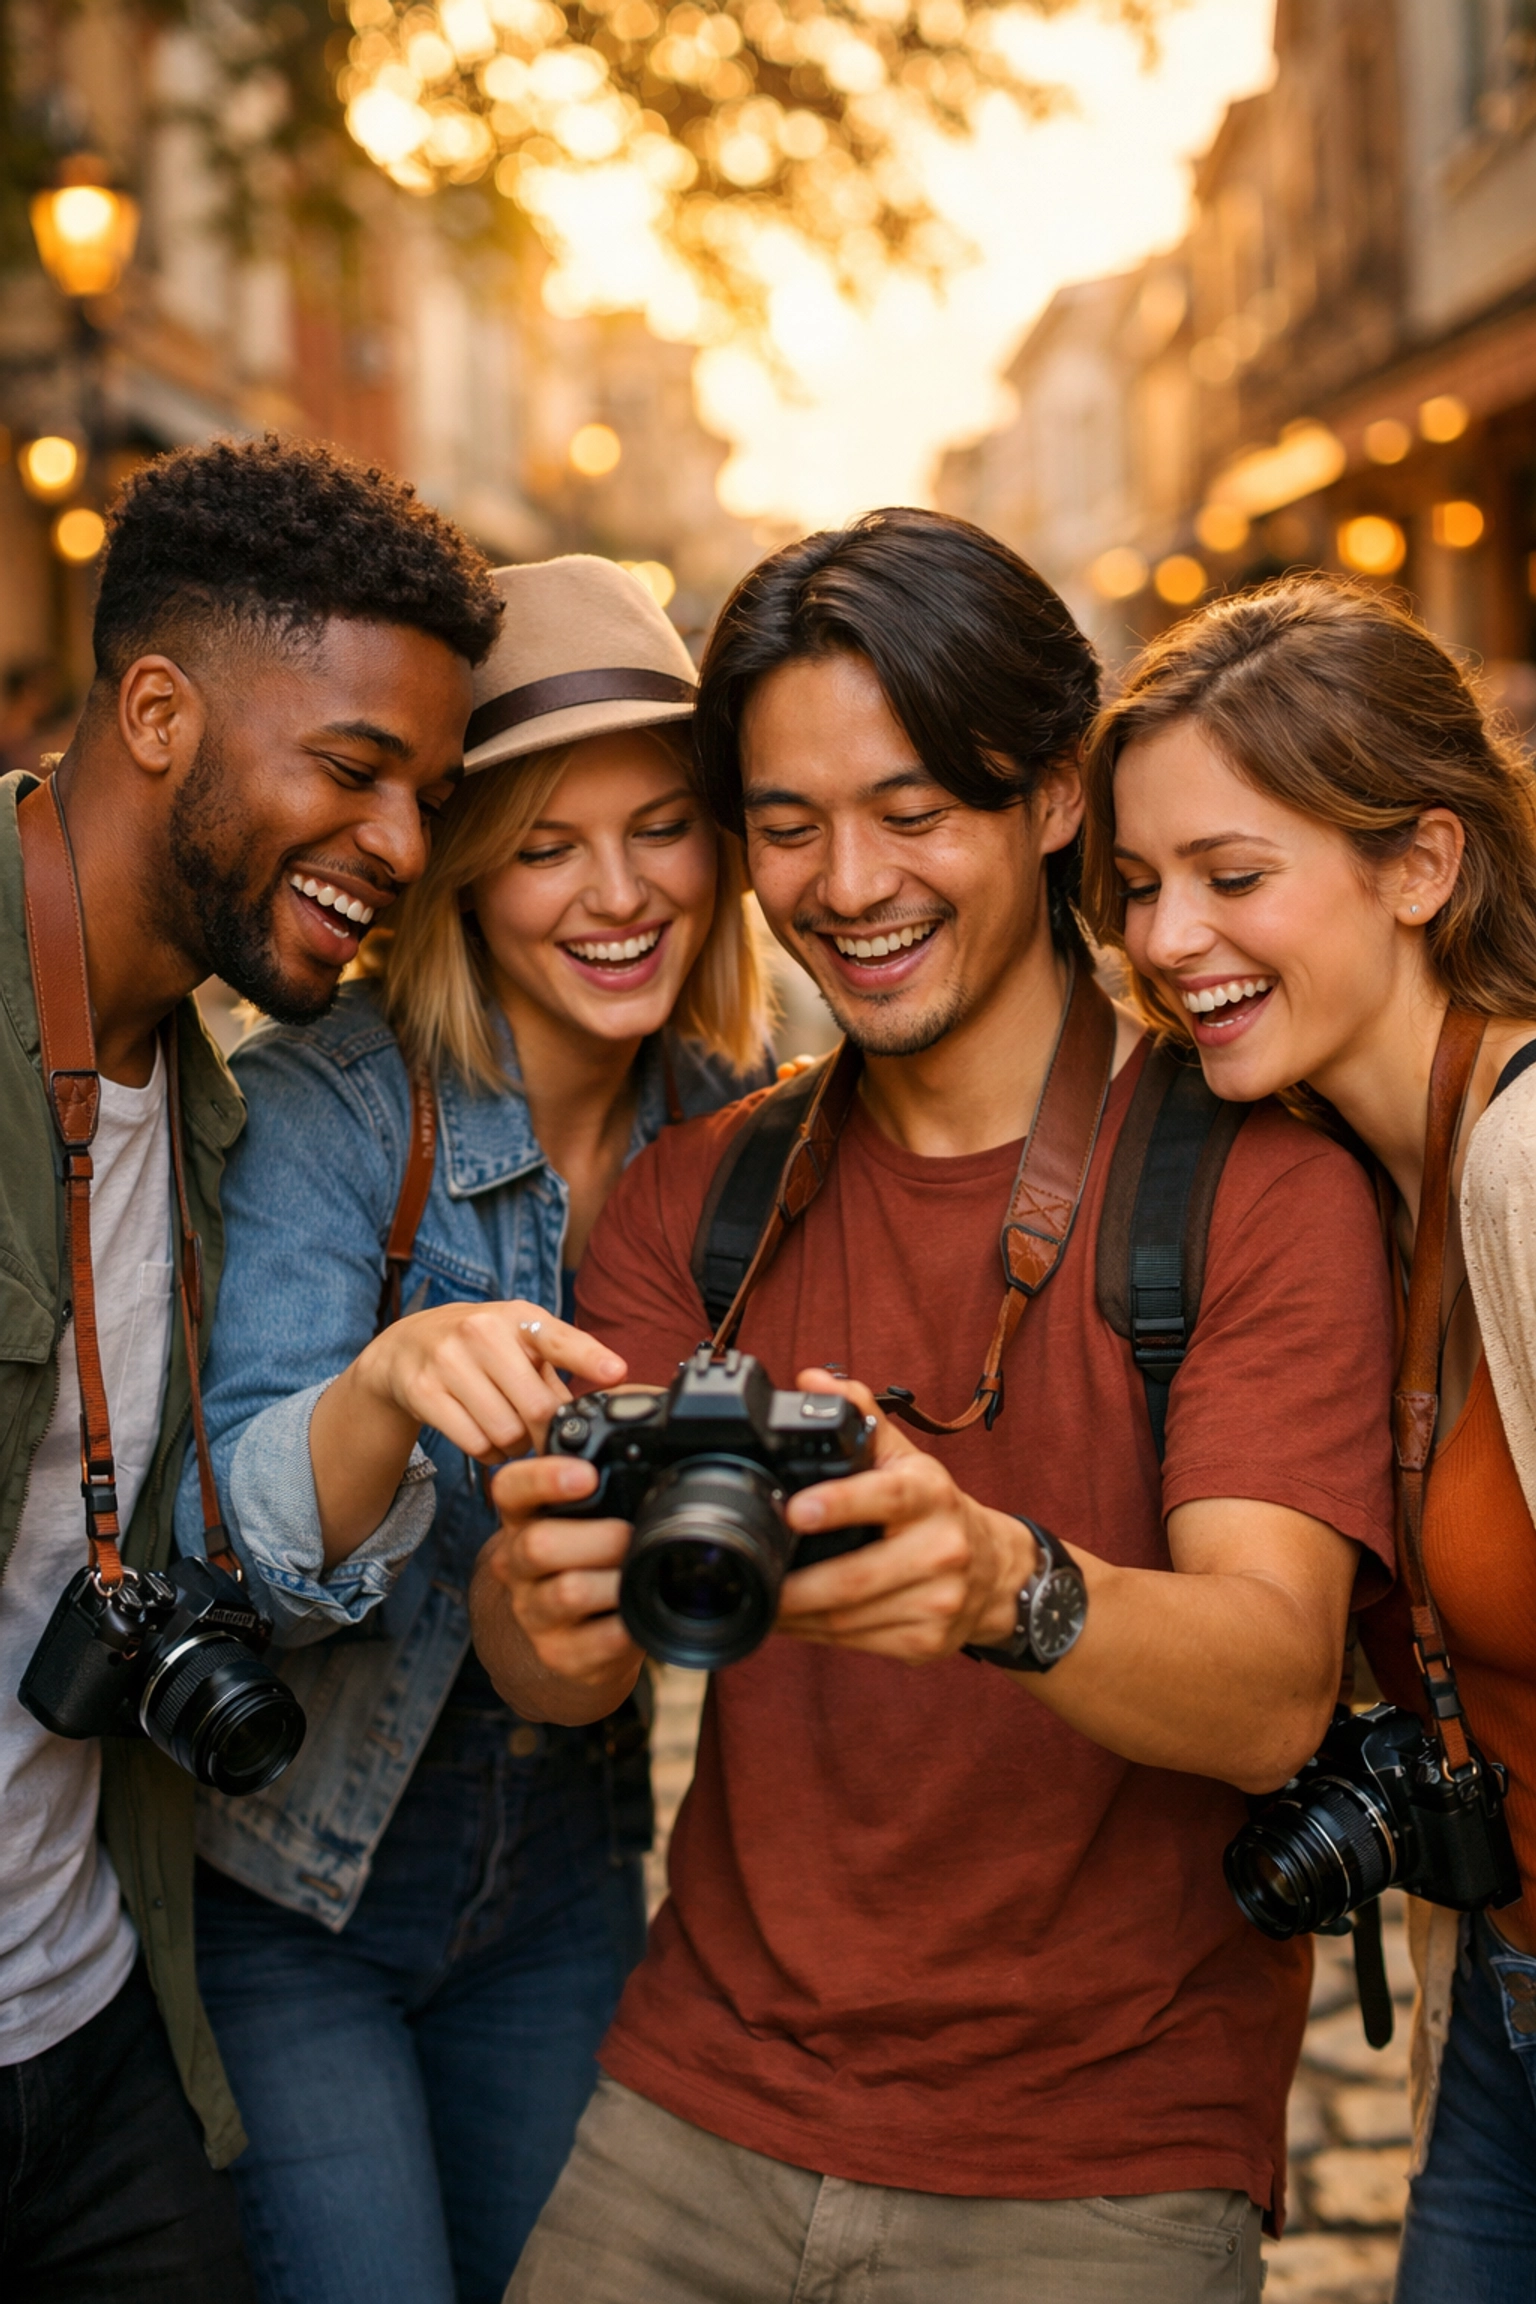
SEO Alt Text: A group of diverse beginner photographers on a photo walk in a vibrant city, sharing their camera screens and laughing.
8. Don't Forget the Fun
It’s easy to get bogged down in the technical side of things, but remember why you started: you wanted to capture something beautiful. Whether it’s pet photography or sports photography, make sure you're shooting things that actually make you happy.
Photography is a journey, not a destination. You’ll never truly "finish" learning, and that’s the best part about it. There’s always a new angle to find, a new light to chase, and a new story to tell.
So, grab your camera, get out of the house, and start shooting. The world looks a lot different through a lens; and usually, it looks a lot better. For more specialized guides, like mastering fashion photography or even newborn photography, we’ve got you covered.
Happy shooting!


