
So, you’ve got a camera. Maybe it’s a shiny new mirrorless rig, or maybe you’re rocking a retro-style point-and-shoot you found online. You’re excited. You head outside, point the lens at something pretty, click the shutter, and… it looks like a blurry mess. Or worse, it looks "just okay."
We’ve all been there. The gap between what your eyes see and what your camera captures can feel like a canyon. Most beginners think the bridge over that canyon is paved with expensive lenses and fancy gadgets. I’m here to tell you that’s a lie. The fastest way to get better at photography isn't by spending more money; it's by changing the way you think, see, and practice.
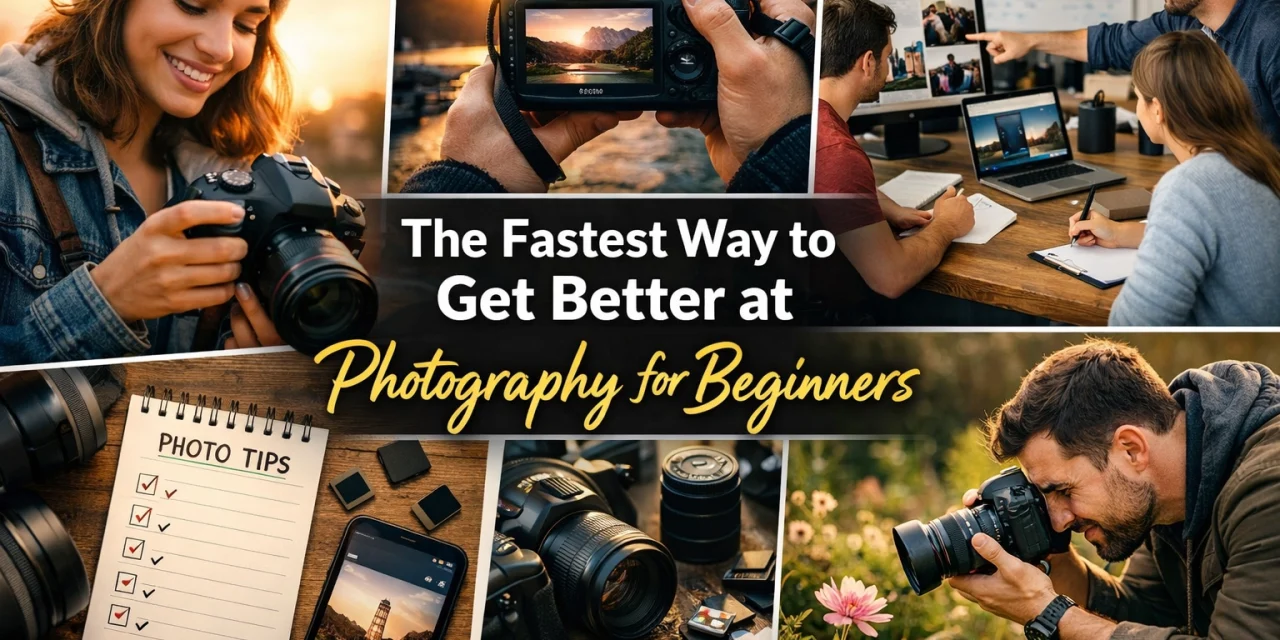
If you want to stop taking snapshots and start making art, you need a roadmap. Here is the accelerated path to photographic mastery.
1. Stop the Gear Obsession (For Real This Time)
The biggest trap in photography is "Gear Acquisition Syndrome" (GAS). We think that if we just had that f/1.2 lens or the latest 60-megapixel body, our photos would magically become professional.
Spoiler: They won’t.
In 2026, even entry-level cameras are incredibly powerful. Before you drop another three grand on a body, ask yourself if you’ve actually outgrown your current one. Does new camera gear really matter in 2026? Usually, the answer is no. A better camera just allows you to take higher-quality bad photos if you don't know the fundamentals.
Focus on learning your current tool inside and out. If you're still choosing between systems, check out how to choose the best mirrorless camera for 2026, but once you have one in your hand, put the credit card away and start shooting.
2. Learn Fundamentals in the Right Order
The fastest way to learn is to follow a sequence. If you try to learn advanced color grading before you understand exposure, you’re building a house on sand.
Step A: The Exposure Triangle
You cannot call yourself a photographer until you can shoot in Manual mode, or at least understand what the camera is doing in Auto. You need to master the relationship between:
- Aperture: Controls depth of field (that blurry background) and how much light enters.
- Shutter Speed: Controls how motion is captured (frozen vs. blurred).
- ISO: Controls the sensor's sensitivity to light (and how much "noise" or grain is in the shot).
Think of these as a balancing act. If you change one, you usually have to change another to keep the exposure the same. For a deeper dive, check out these 10 essential tips for mastering photography.
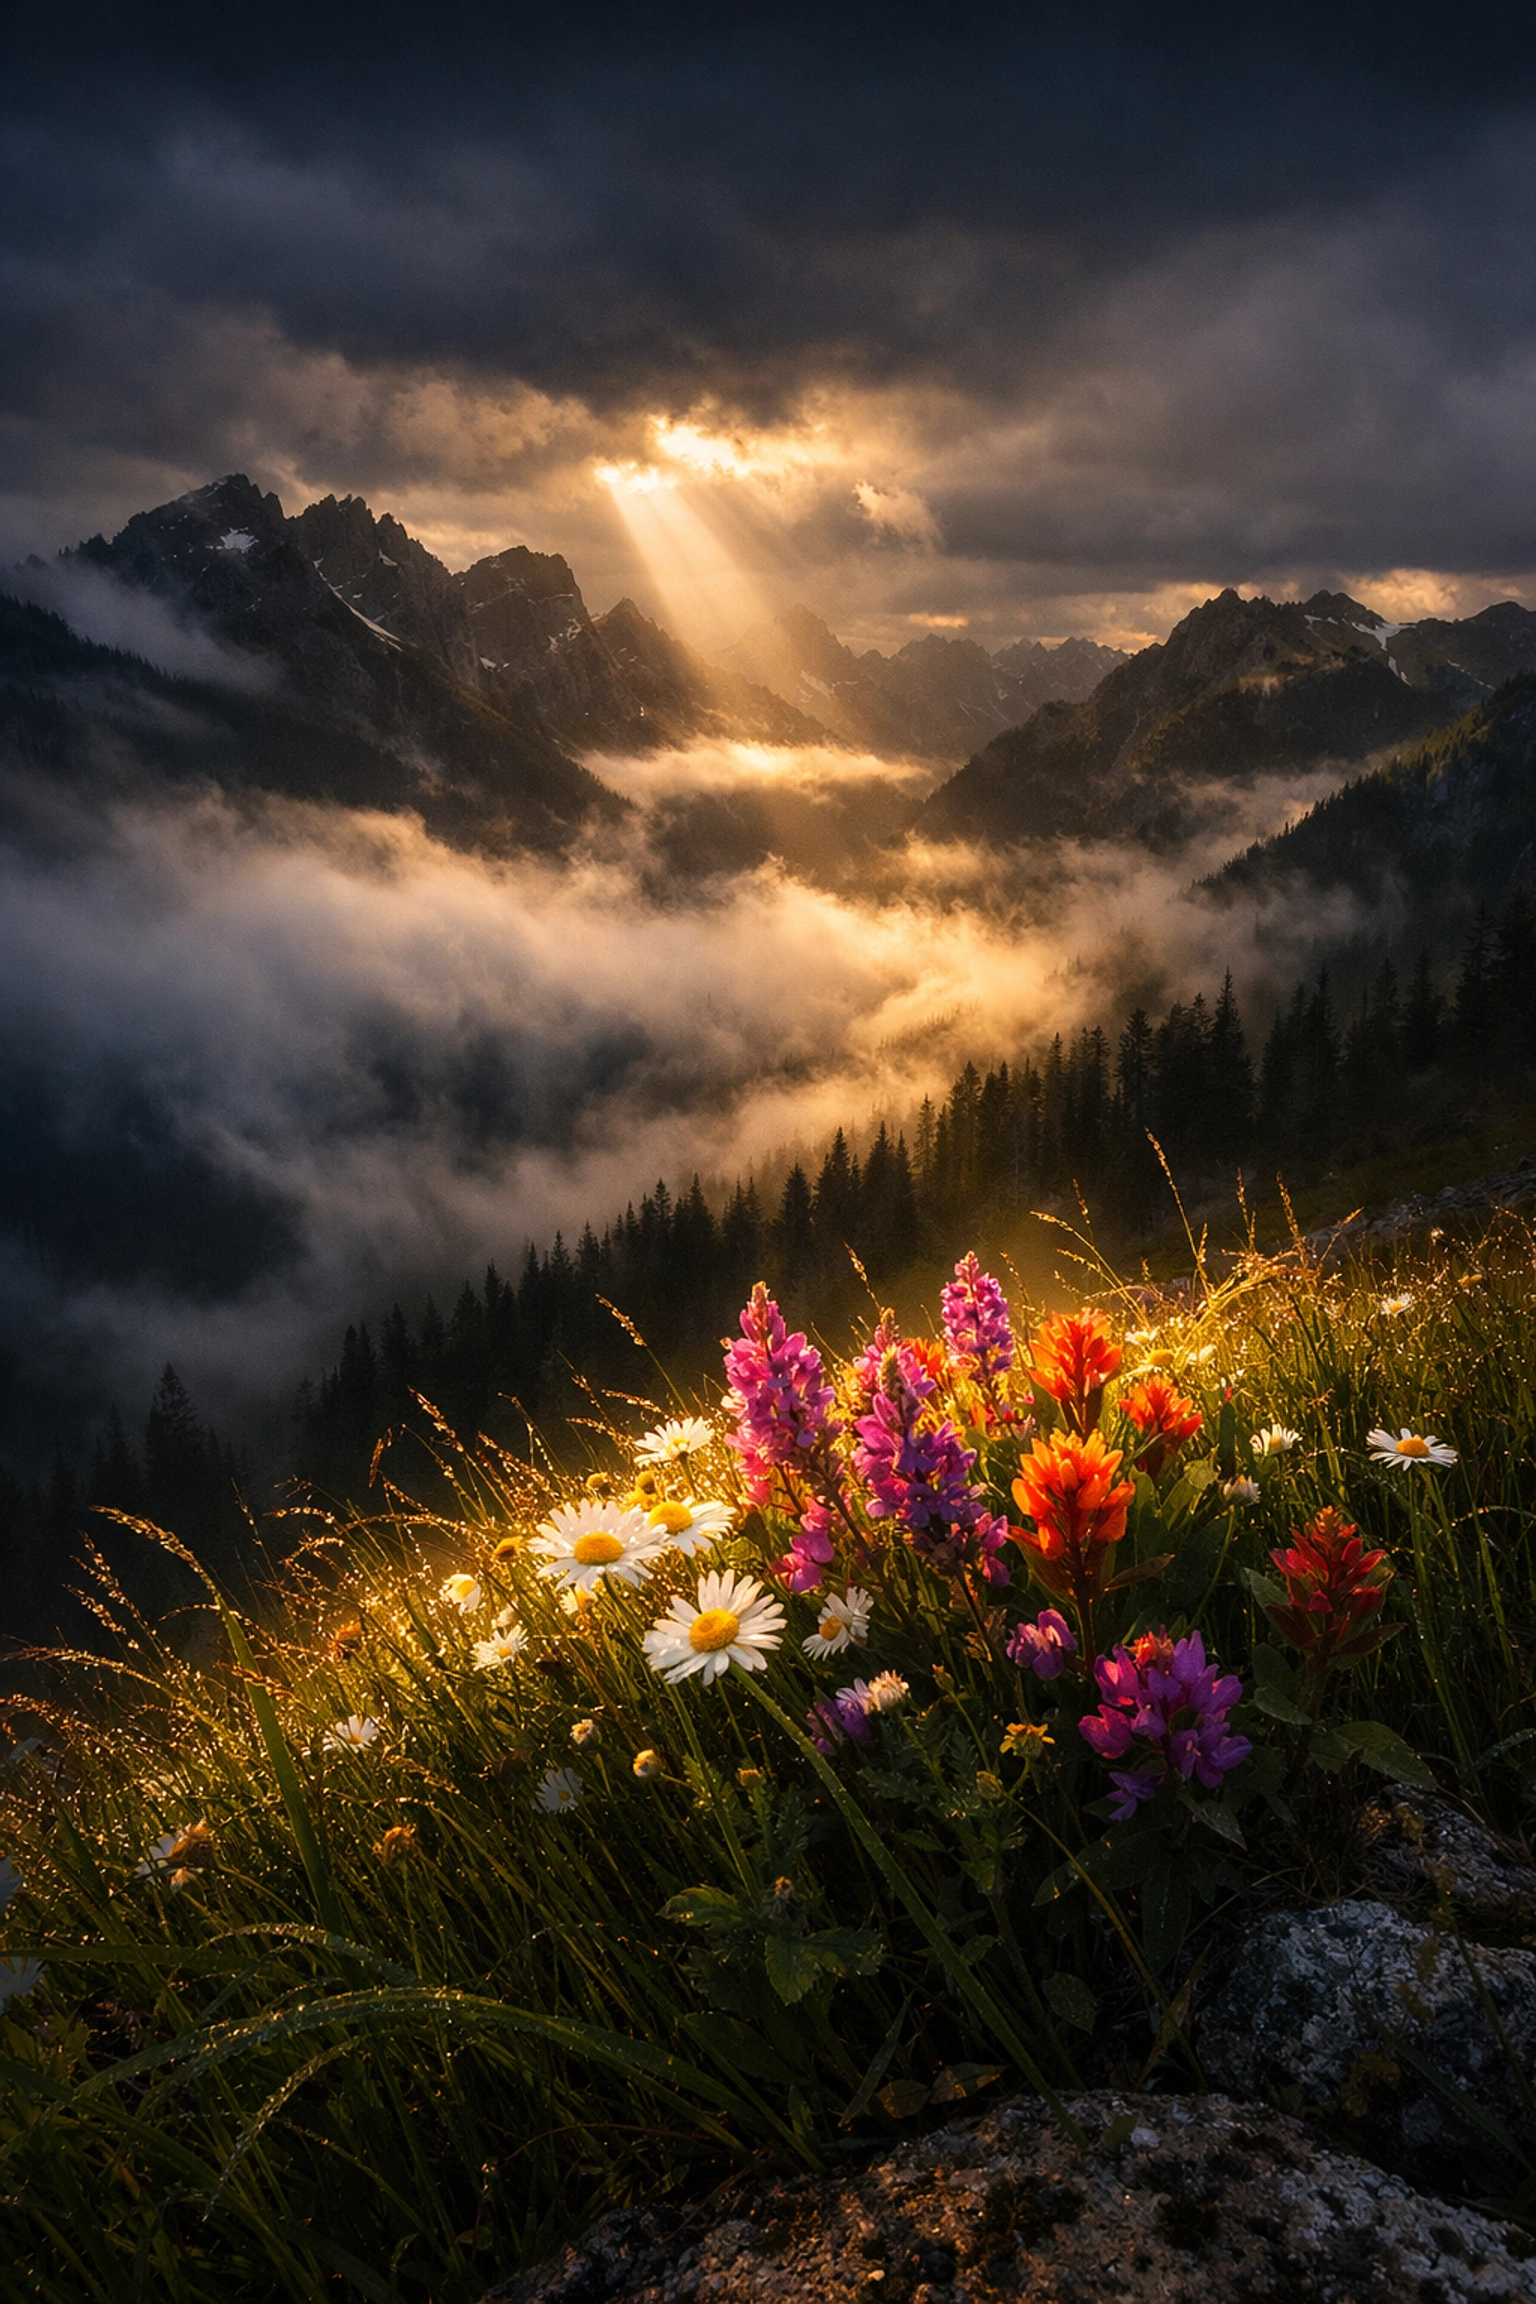
Step B: The Quality of Light
Photography literally means "writing with light." If you don't have good light, you don't have a good photo. Beginners often focus on the subject, while pros focus on the light hitting the subject.
Start by observing. Look at how shadows fall at noon versus 5:00 PM. Notice how light from a window is soft, while a bare lightbulb is harsh. Understanding the role of luminosity is just as important for a landscape as it is for a living room.
3. Mastering Composition: How to Lead the Eye
Once you know how to get a bright, clear image, you need to know where to put things. Composition is the difference between a photo someone scrolls past and one they stop to stare at.
The Rule of Thirds (and When to Break It)
Imagine a tic-tac-toe grid over your viewfinder. Place your subject on the lines or at the intersections. It’s a simple trick that instantly makes photos feel more balanced. But don't stop there. Explore leading lines, natural framing, and symmetry.
Storytelling
Every great photo tells a story. Why are you taking this picture? What do you want the viewer to feel? If you're shooting a person, what does the background say about them? Visual storytelling is a skill that separates the hobbyists from the legends. You can find some great tips for compelling visuals here.
If you’re interested in how composition can even change the perception of physical spaces, like in real estate, read about manipulating vistas and perspectives.
4. Deliberate Practice: The 1% Rule
You don't get better by shooting 1,000 photos of your cat in one afternoon. You get better through deliberate practice. This means setting a specific goal for every shoot.
Try these drills:
- The Single Prime Drill: Stick to one focal length (like a 35mm or 50mm) for a week. It forces you to "zoom with your feet" and learn perspective.
- The One Subject Drill: Find a boring object, a fire hydrant, a chair, a coffee cup. Take 20 completely different photos of it. Change the angle, the lighting, and the distance.
- The Manual Challenge: Don't let your camera make any decisions for a full day. Set your ISO, Aperture, and Shutter Speed yourself.
For more structured help, check out resources on PhotoGuides.org or see how the pros do it at proshoot.io.
5. Study the Greats (But Don’t Copy Them Forever)
If you want to be a great writer, you read great books. If you want to be a great photographer, you must study great photos.
Take someone like Peter Lik. Whether you love his style or not, his impact on landscape photography is undeniable. By analyzing Peter Lik’s iconic works, you can learn about color saturation, scale, and the techniques behind his massive panoramic shots.
Don't just look at the photo and say "cool." Ask yourself:
- Where is the light coming from?
- What is the focal point?
- What lens did they likely use?
- How did they edit the colors?
You can find more inspiration at edinfineart.com or edinstudios.com. Studying the impact of Peter Lik on photography trends can give you a better understanding of what the market, and art lovers, respond to.
6. Post-Processing: The Digital Darkroom
A lot of beginners feel like editing is "cheating." Let’s kill that myth right now. Ansel Adams, the father of landscape photography, spent hours in the darkroom dodging and burning his prints.
Your camera captures a "RAW" file which is intentionally flat. It's up to you to bring the soul back into the image. You don't need to spend hours in Photoshop, but you should learn the basics of contrast, white balance, and cropping.
I highly recommend using Luminar. It uses AI to simplify complex tasks like sky replacement or portrait retouching, allowing you to focus on the creative side rather than the technical grind. Editing is where you develop your "look" or "style." Just remember: a bad photo with a fancy filter is still a bad photo. Fix the composition first, then enhance the mood in post.

7. Avoid Common Beginner Mistakes
Sometimes getting better is less about doing new things and more about stopping the things that are holding you back.
If you’re into landscapes, are you making the classic mistakes? Check out these 7 mistakes you’re making with landscape photography. One of the biggest is often a crooked horizon or a cluttered foreground.
Another mistake? Ignoring different niches. Even if you want to be a portrait photographer, learning aerial photography or real estate marketing photography can teach you about geometry and light in ways you never expected.
8. Get Feedback (The Scary Part)
Posting on Instagram for "likes" from your mom isn't feedback. If you want to grow, you need to put your work in front of people who will be honest with you.
Join a local photography club, participate in online forums, or enter small competitions. When someone critiques your work, don't get defensive. If they say the image is "busy," they are telling you your composition failed to guide their eye. That is gold. Use it to get better for the next shoot. You can also check out blog.edinchavez.com for more insights on the professional side of the industry.
9. Find Your "Why"
The fastest way to burn out is to shoot things you don't care about. If you hate waking up at 4:00 AM, don't try to be a sunrise landscape photographer. If you’re an introvert, maybe wedding photography isn't for you.
Find what excites you. Maybe it's the distinctive elements of real estate photography or perhaps you’re drawn to luxury dining and food photography. When you are passionate about the subject, the "work" of practicing doesn't feel like work.
Summary: Your 30-Day Fast Track
If you want to see a massive jump in your skills by next month, do this:
- Week 1: Master the Exposure Triangle. Shoot only in Manual. No exceptions.
- Week 2: Focus on Light. Shoot only during the "Golden Hour" (one hour after sunrise or one hour before sunset).
- Week 3: Focus on Composition. Use the Rule of Thirds and leading lines in every shot.
- Week 4: Learn to Edit. Download Luminar and learn how to enhance the mood of your best shots from the first three weeks.
Photography is a journey, but it doesn't have to be a slow one. By focusing on the fundamentals, practicing with intent, and staying curious, you'll be amazed at how quickly those "okay" photos turn into "wow" images.
Keep your eyes open, stay creative, and most importantly: shut your aperture and start shooting.


