
Let’s be honest for a second: editing photos used to be a massive time-sink. Back in the day, if you wanted to remove a stray power line or fix a blown-out sky, you’d be hunched over your keyboard for an hour, squinting at pixels and praying your clone stamp tool didn't leave a weird smudge. It was tedious. It was frustrating. And for a lot of us, it took the joy out of the creative process.
But things have changed. We are living in the golden age of Artificial Intelligence, and in 2026, AI photo editing isn’t just a gimmick, it’s the engine driving the modern photography industry. Whether you’re a pro looking to speed up your workflow or a hobbyist who just wants their vacation photos to look like art, understanding AI editing is no longer optional.
In this ultimate guide, we’re going to break down everything you need to know about AI photo editing tutorials. We’ll look at the best tools, the most effective techniques, and how to stay creative while letting the robots do the heavy lifting.
What Exactly is AI Photo Editing?
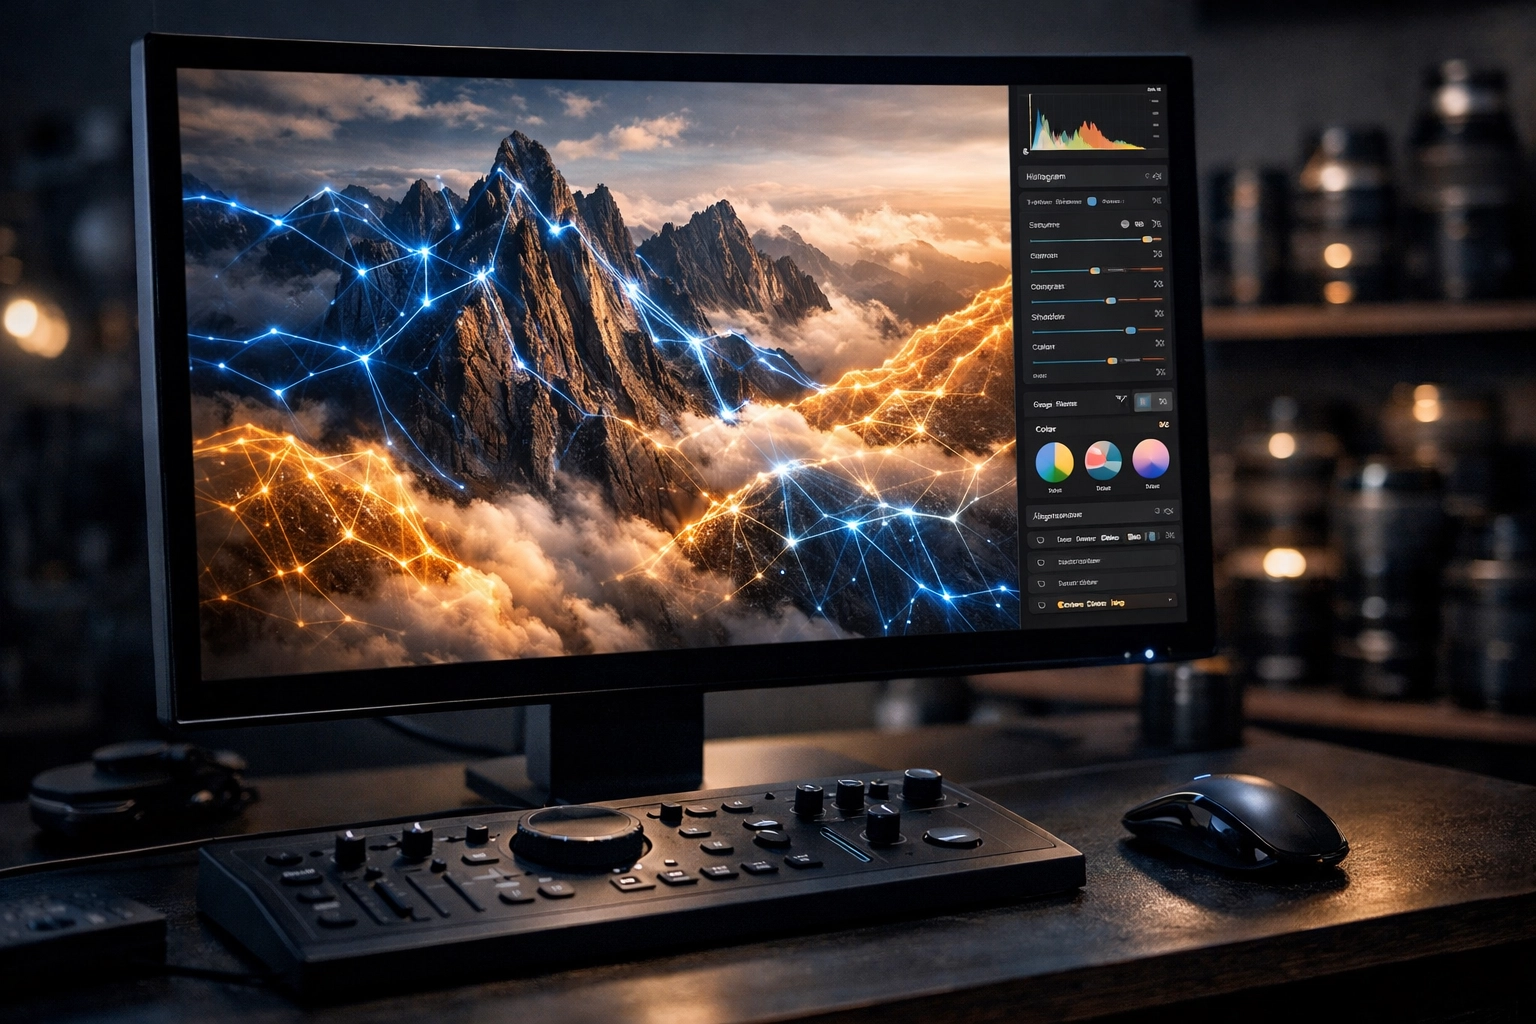
Before we dive into the tutorials, let's clear up what we're actually talking about. AI photo editing uses machine learning algorithms to identify patterns, objects, and lighting within an image. Instead of you manually selecting every pixel, the software "understands" what it’s looking at.
When you tell an AI tool to "remove the person in the background," it doesn't just smudge the area; it looks at the surrounding context and recreates what should be there. This shift from manual adjustments to semantic understanding is what makes AI so powerful. It’s the difference between using a hammer and using a smart-home system that builds the house for you.
The Core AI Editing Workflow
Every tutorial you find online will generally follow a similar path. If you master this basic workflow, you can pick up almost any AI-powered software and start creating.
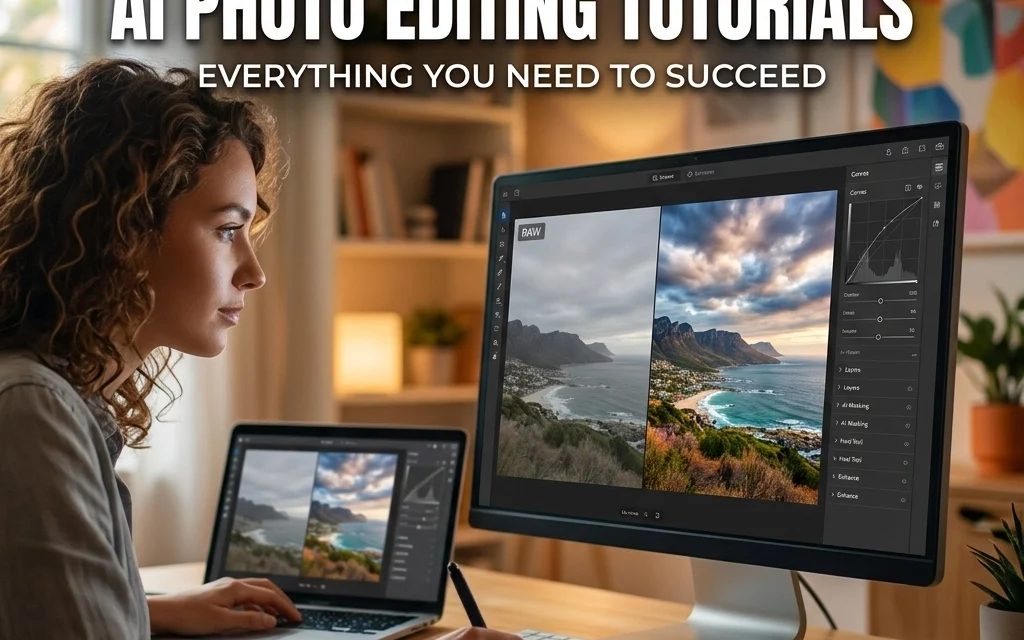
- The Upload: Most modern platforms are drag-and-drop. You feed the machine your RAW or JPEG files.
- The Analysis: The AI "scans" the image. It identifies faces, horizons, skies, and subjects.
- The Selection: You choose the specific tool, maybe it’s a "Generative Fill" or a "Sky Replacement."
- The Refinement: You use sliders to adjust the intensity. This is where your human eye is still vital.
- The Output: The AI processes the image, often giving you a few variations to choose from.
- The Comparison: Always check the "Before and After." It’s easy to go overboard when the tech is this powerful.
For more foundational tips on getting the shot right before you even hit the editing bay, check out our ultimate guide to landscape photography tips.
The Heavy Hitters: Which Software Should You Learn?
There are dozens of apps out there, but a few stand above the rest. When you’re looking for AI photo editing tutorials, focus on these platforms first.
1. Adobe Photoshop & Lightroom
Adobe is the big dog for a reason. Their "Firefly" engine has integrated AI directly into the tools we’ve been using for decades.
- Generative Fill: This is the magic wand of 2026. You can add hats to people, change the weather, or expand the canvas of a photo just by typing a text prompt.
- Lens Blur: AI creates realistic depth of field even if you shot with a narrow aperture.
2. Luminar Neo
If you want results fast, Luminar is your best friend. It was built from the ground up with AI in mind. It doesn't hide its AI features in sub-menus; they are front and center.
- Sky AI: Still the industry leader for swapping out boring gray skies for dramatic sunsets.
- Relight AI: Allows you to change the lighting of a scene in 3D space.
3. ON1 Photo RAW
ON1 is great for those who want a blend of traditional control and AI speed. Their Brilliance AI is a one-click wonder that fixes exposure and color balance while keeping the "vibe" of your photo intact.
Mastering Generative Fill: A Tutorial Summary
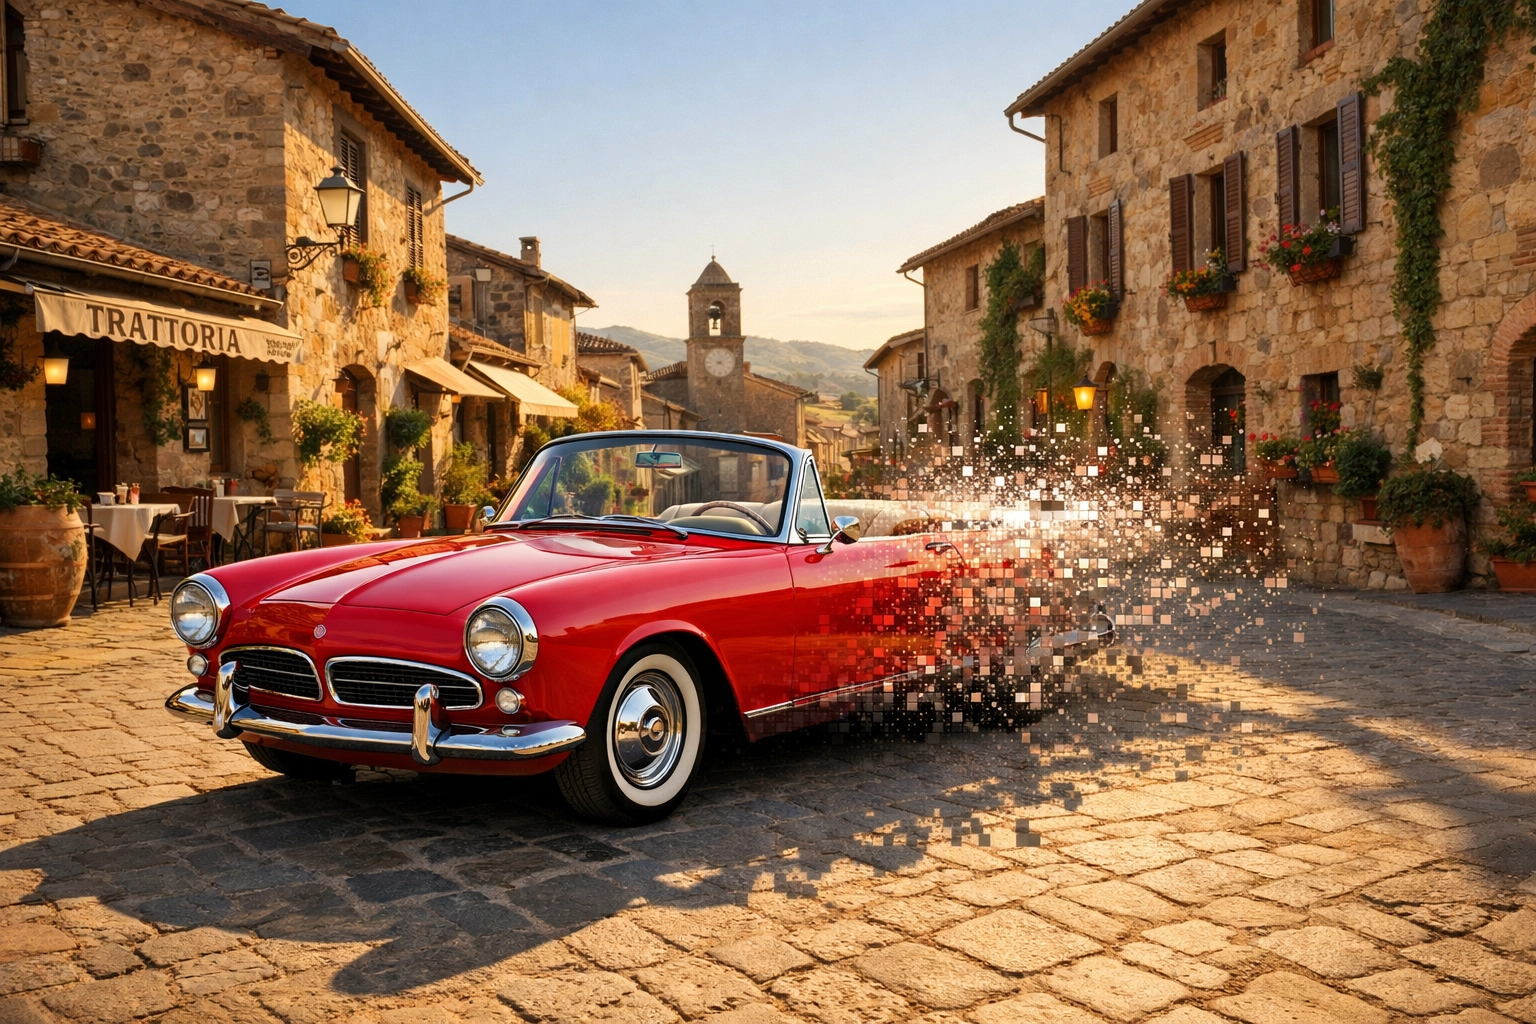
Generative Fill is arguably the most "AI" of all the tools. It’s not just enhancing; it’s creating. Here is the best way to approach it:
- Be Specific but Simple: If you want to add a vintage car to a street scene, don't just type "car." Type "1960s red convertible."
- Match the Lighting: AI is good, but it’s not perfect. If your original photo has harsh light coming from the left, your text prompt should reflect that.
- The Power of "Nothing": Sometimes the best prompt is no prompt at all. Highlighting an unwanted object and hitting "Generate" with an empty text box tells the AI to intelligently fill the space with the background.
To see how these techniques are used in professional settings, take a look at how cinematic techniques transform property showcases.
Portrait Perfection: AI for Faces
Portrait retouching used to be the most grueling part of photography. Frequency separation and dodging and burning took forever. AI has changed that.
Most modern tutorials will show you how to use Portrait AI tools. These tools automatically find eyes, teeth, and skin.
- Skin Smoothing: The key here is to keep the texture. AI that makes people look like Barbie dolls is a fail. Good AI keeps the pores but loses the blemishes.
- Eye Enhancement: You can add a subtle "catchlight" to the eyes to make them pop without looking like an alien.
- Face Recovery: If you have an old, blurry photo, AI can actually "reconstruct" the face based on its library of millions of other faces. It’s mind-blowing.
If you’re interested in taking your portraits to a more artistic level, PhotoGuides.org has some great resources on the philosophy behind the edit.
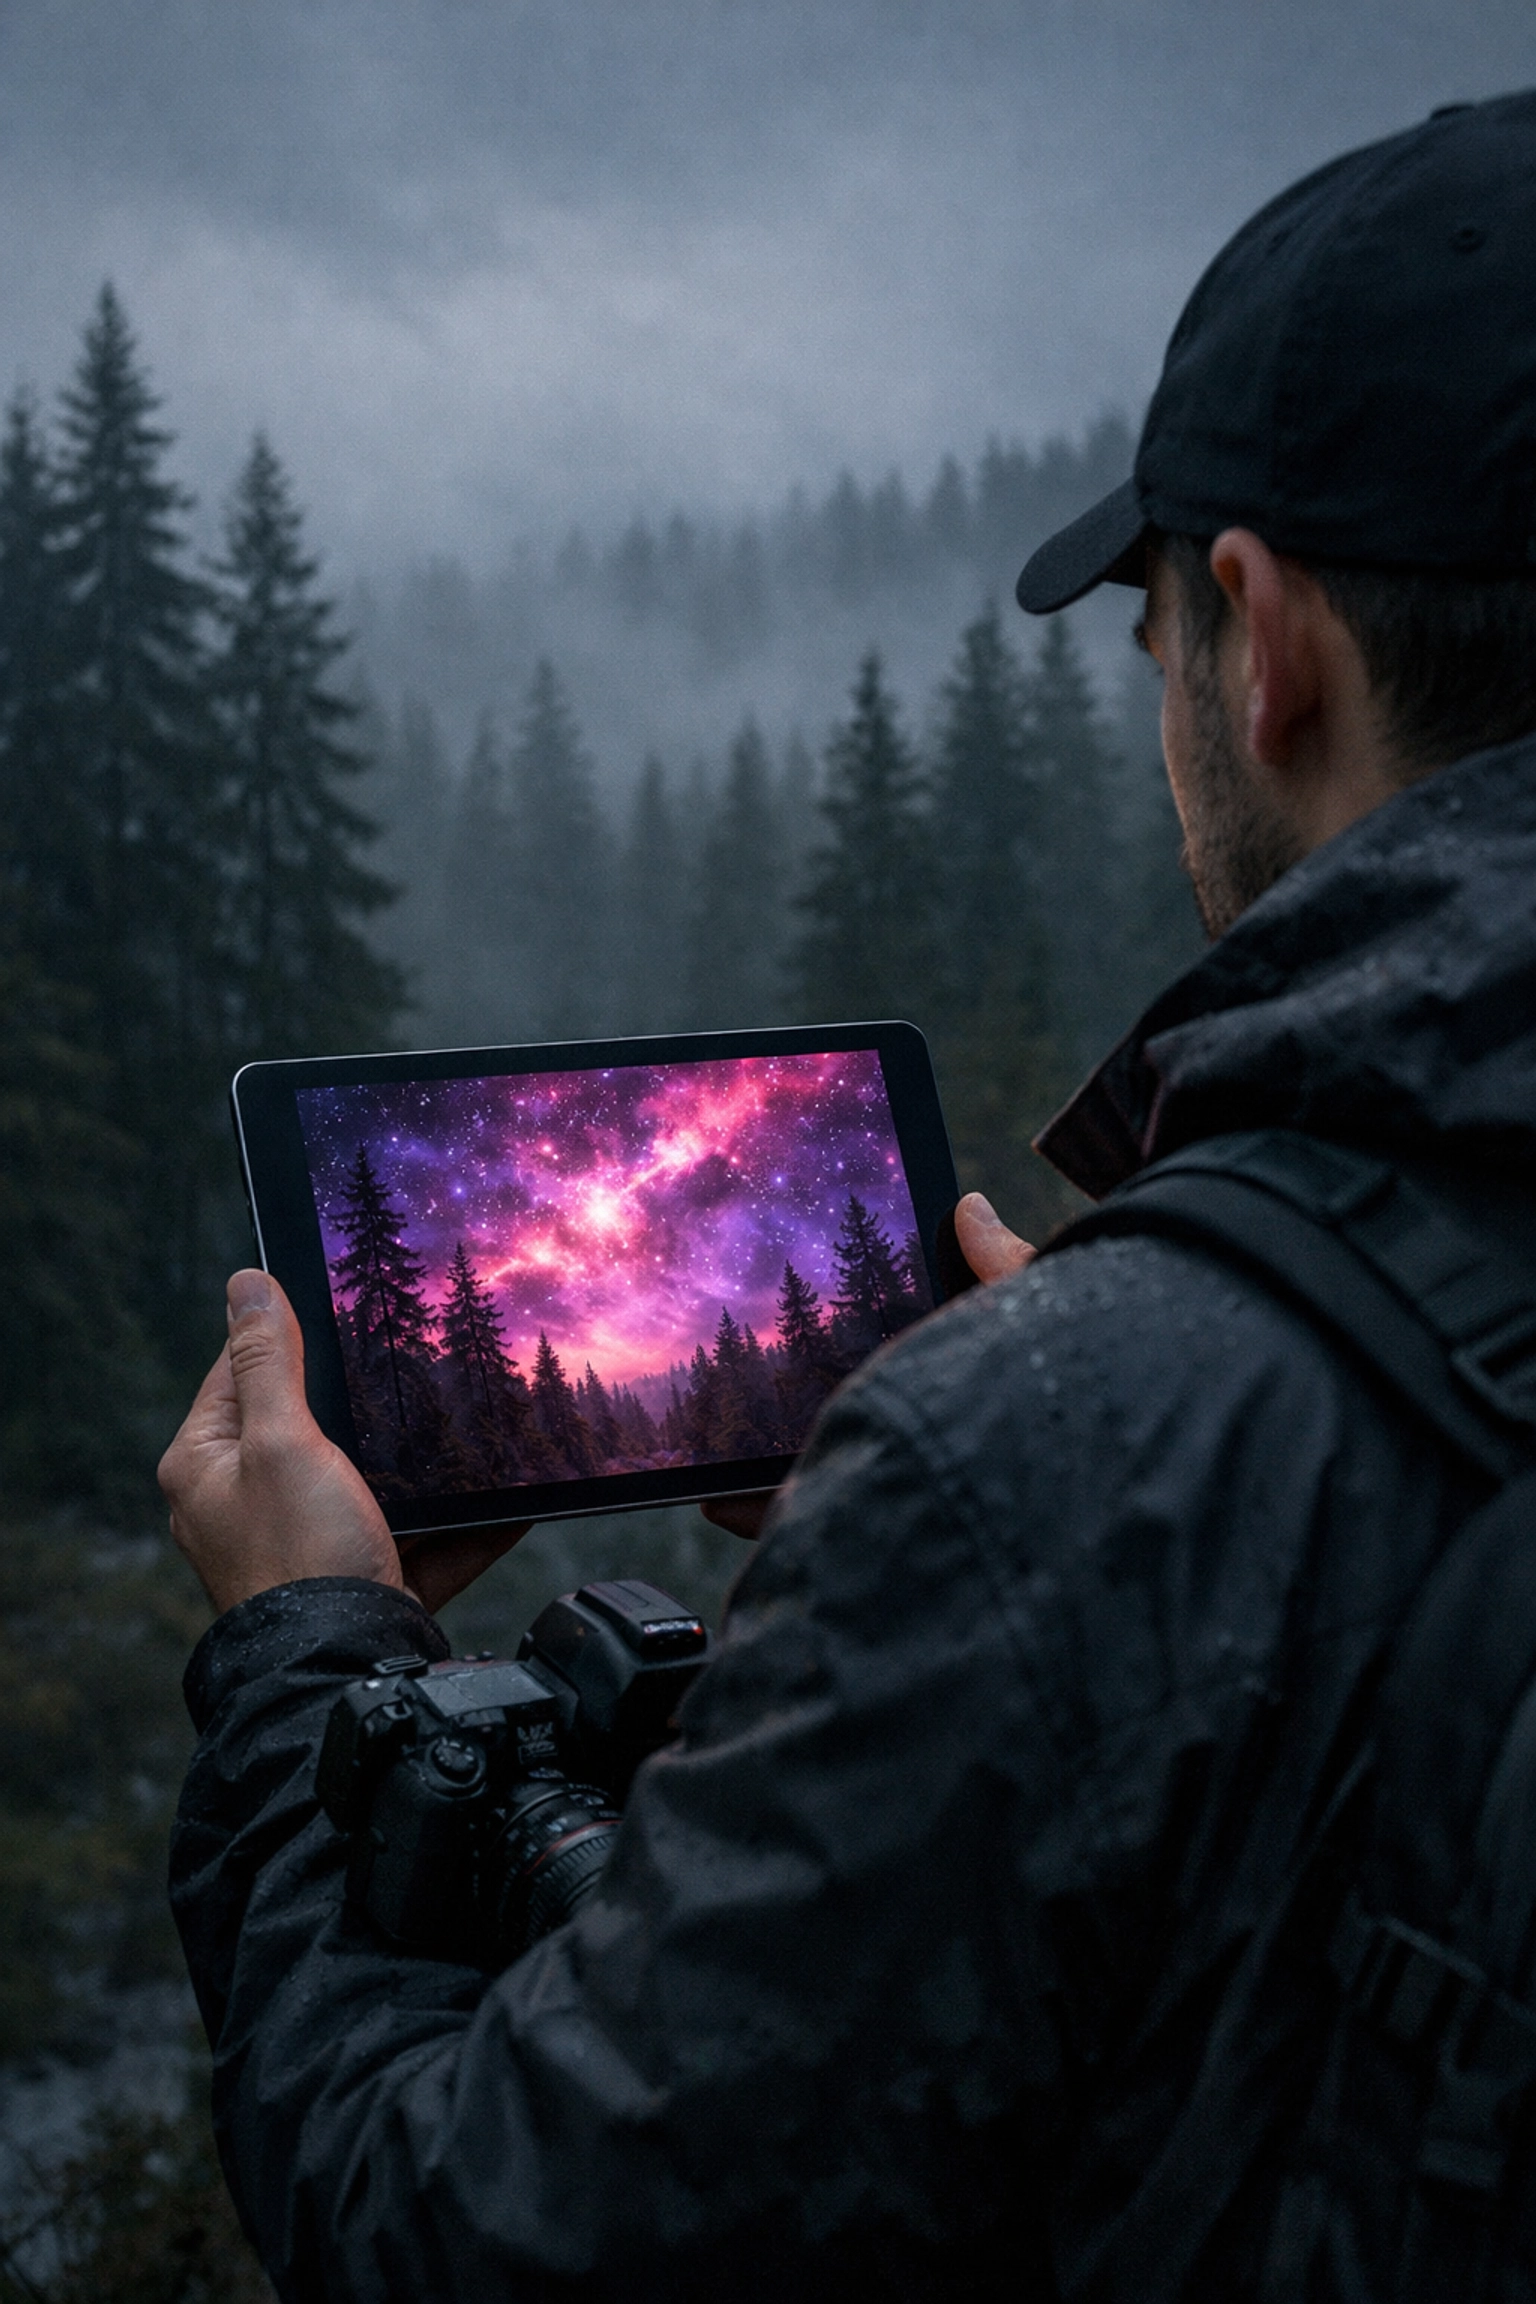
Landscapes and the Peter Lik Influence
When we talk about landscape photography, we have to talk about drama. Masters like Peter Lik have influenced an entire generation of photographers to push their edits to the limit.
AI makes achieving that "Lik-style" glow much easier. By using AI to mask the sky and the foreground separately, you can apply different luminosity settings to each. AI "Sky Swap" tools can take a flat landscape and turn it into something that looks like it belongs in a fine art gallery.
For a deeper dive into this style, read our post on lessons in landscape photography from Peter Lik. You’ll see that while the AI does the work, the vision comes from you.
The Role of Luminosity and AI
One of the more technical aspects of AI editing involves luminosity. In real estate photography, for example, balancing the bright light from a window with the darker interior of a room is a nightmare.
AI now handles "HDR" (High Dynamic Range) merging much better than old software. It understands how light reflects off surfaces. If you’re shooting high-end properties, understanding the role of luminosity in real estate photography is key to making your images look high-end rather than "over-processed."

Workflow Automation: Training Your Assistant
The coolest part of AI in 2026? You can train it to edit like you. Tools like Imagen or Adobe’s Personal AI Profiles allow you to upload a few thousand of your past edits. The AI analyzes your color preferences, your contrast levels, and your grain settings.
Once it "learns" you, it can edit an entire wedding gallery (1,000+ photos) in about 15 minutes. You then just go in and do the final 5% of the work. This isn't just a tutorial topic; it’s a career-saver for professional photographers. It allows you to spend more time shooting and less time behind a monitor.
Upscaling: Making the Small Big
We’ve all had that moment where we took a great photo on an old phone or cropped a small part of a larger image, only for it to look like a blurry mess.
AI Upscaling (like Topaz Photo AI or Adobe’s "Super Resolution") uses machine learning to "guess" the missing pixels. It’s surprisingly accurate. You can take a 12-megapixel photo and turn it into a 48-megapixel masterpiece ready for large-format printing. This is a must-learn tutorial for anyone looking to sell their work on sites like Edin Fine Art.
Ethical Considerations: When is it Too Much?
Just because you can change everything doesn't mean you should. As an AI blog writer, I’ve seen the debate rage on. Is a photo still a photo if the sky was generated by an algorithm?
- Transparency: If you’re a journalist, AI editing (beyond basic color/exposure) is a big no-no.
- Artistic Expression: If you’re creating art, there are no rules. Use the tools to fulfill your vision.
- Real Estate: You can enhance the grass and the sky, but you can’t remove the giant power station next door. That’s just lying.
Always aim for ethereal imagery that elevates your listings without crossing the line into deception.
Best Practices for Success
If you’re going to follow these tutorials, keep these tips in mind to get the best results:
- Start with the Best Possible RAW File: AI is powerful, but it’s not a miracle worker. A blurry, out-of-focus shot will still look weird after AI processing.
- Use Layers: Even if the AI does the work, do it on a separate layer. This allows you to dial back the opacity if the effect is too strong.
- Check the Edges: AI often struggles with "fine" details like hair or tree branches against a sky. Always zoom in to 100% to check for "halos" or weird artifacts.
- Keep it Natural: The best AI edit is the one no one knows is an AI edit. If it looks like a CGI movie, you’ve probably gone too far.
- Stay Updated: AI software updates almost monthly. What was a "manual" process in January might be a one-click button by March. Keep an eye on blog.edinchavez.com for the latest updates on tech and gear.
Where to Find the Best Tutorials
While we provide a lot of insight here at Shut Your Aperture, the community is huge.
- YouTube: Search for specific terms like "Generative Fill tutorials" or "Luminar Neo Sky AI guide."
- ProShoot.io: Excellent for high-end professional workflows and lighting tutorials www.proshoot.io.
- Edin Studios: For those interested in the commercial side of things, www.edinstudios.com offers a glimpse into how these tools are used in big-budget productions.
Conclusion
AI photo editing isn't about replacing the photographer; it’s about giving the photographer a bigger, better toolbox. It’s about removing the mundane tasks so you can focus on what actually matters: the story, the composition, and the emotion of the image.
Whether you are using Luminar to fix a sky or Photoshop to completely reimagine a scene, the goal is the same: to create something that resonates. So, stop being afraid of the algorithms and start experimenting. The future of photography is here, and it’s smarter than ever.
Go out there, take some shots, and let the AI help you turn them into something spectacular. Just remember to keep your aperture open and your mind even wider. For more inspiration, don't forget to check out Peter Lik’s photographs and see how high the bar can be set.


