
Landscape photography is one of those things that looks easy until you’re standing on a freezing cliff at 5:00 AM, wondering why your photos look like a muddy mess while the pros are out here making magic. We’ve all been there. You see a sunset that melts your brain, you click the shutter, and the result is… a dark blob with a bright line.
But here’s the secret: great landscape photography isn't about having the most expensive camera or being "lucky" with the weather. It’s a mix of obsessive planning, understanding light, and knowing how to push your gear to its limits. Whether you’re shooting with a high-end DSLR or the Panasonic Lumix DMC-CM1, the principles remain the same.
In this guide, we’re going to break down everything you need to know to stop taking snapshots and start creating art.
1. The Planning Phase: Don't Just Wing It
Most people think landscape photography starts when you pull the camera out of the bag. Wrong. It starts on your couch, three days before you even leave the house.
If you want to capture something truly special, you need to research. You can’t just show up to a location and hope for the best. You need to know exactly where the sun is going to rise or set. I use tools like PhotoPills or The Photographer’s Ephemeris to track the sun’s path. If you’re shooting near the coast, you better check those tide times, or you might find yourself (and your gear) underwater.
Research the Location
Don't just go to the "famous" spot and put your tripod in the same holes as everyone else. Use Google Earth to scout for unique angles. Look at what other photographers have done on sites like PhotoGuides.org and then ask yourself, "How can I do this differently?"
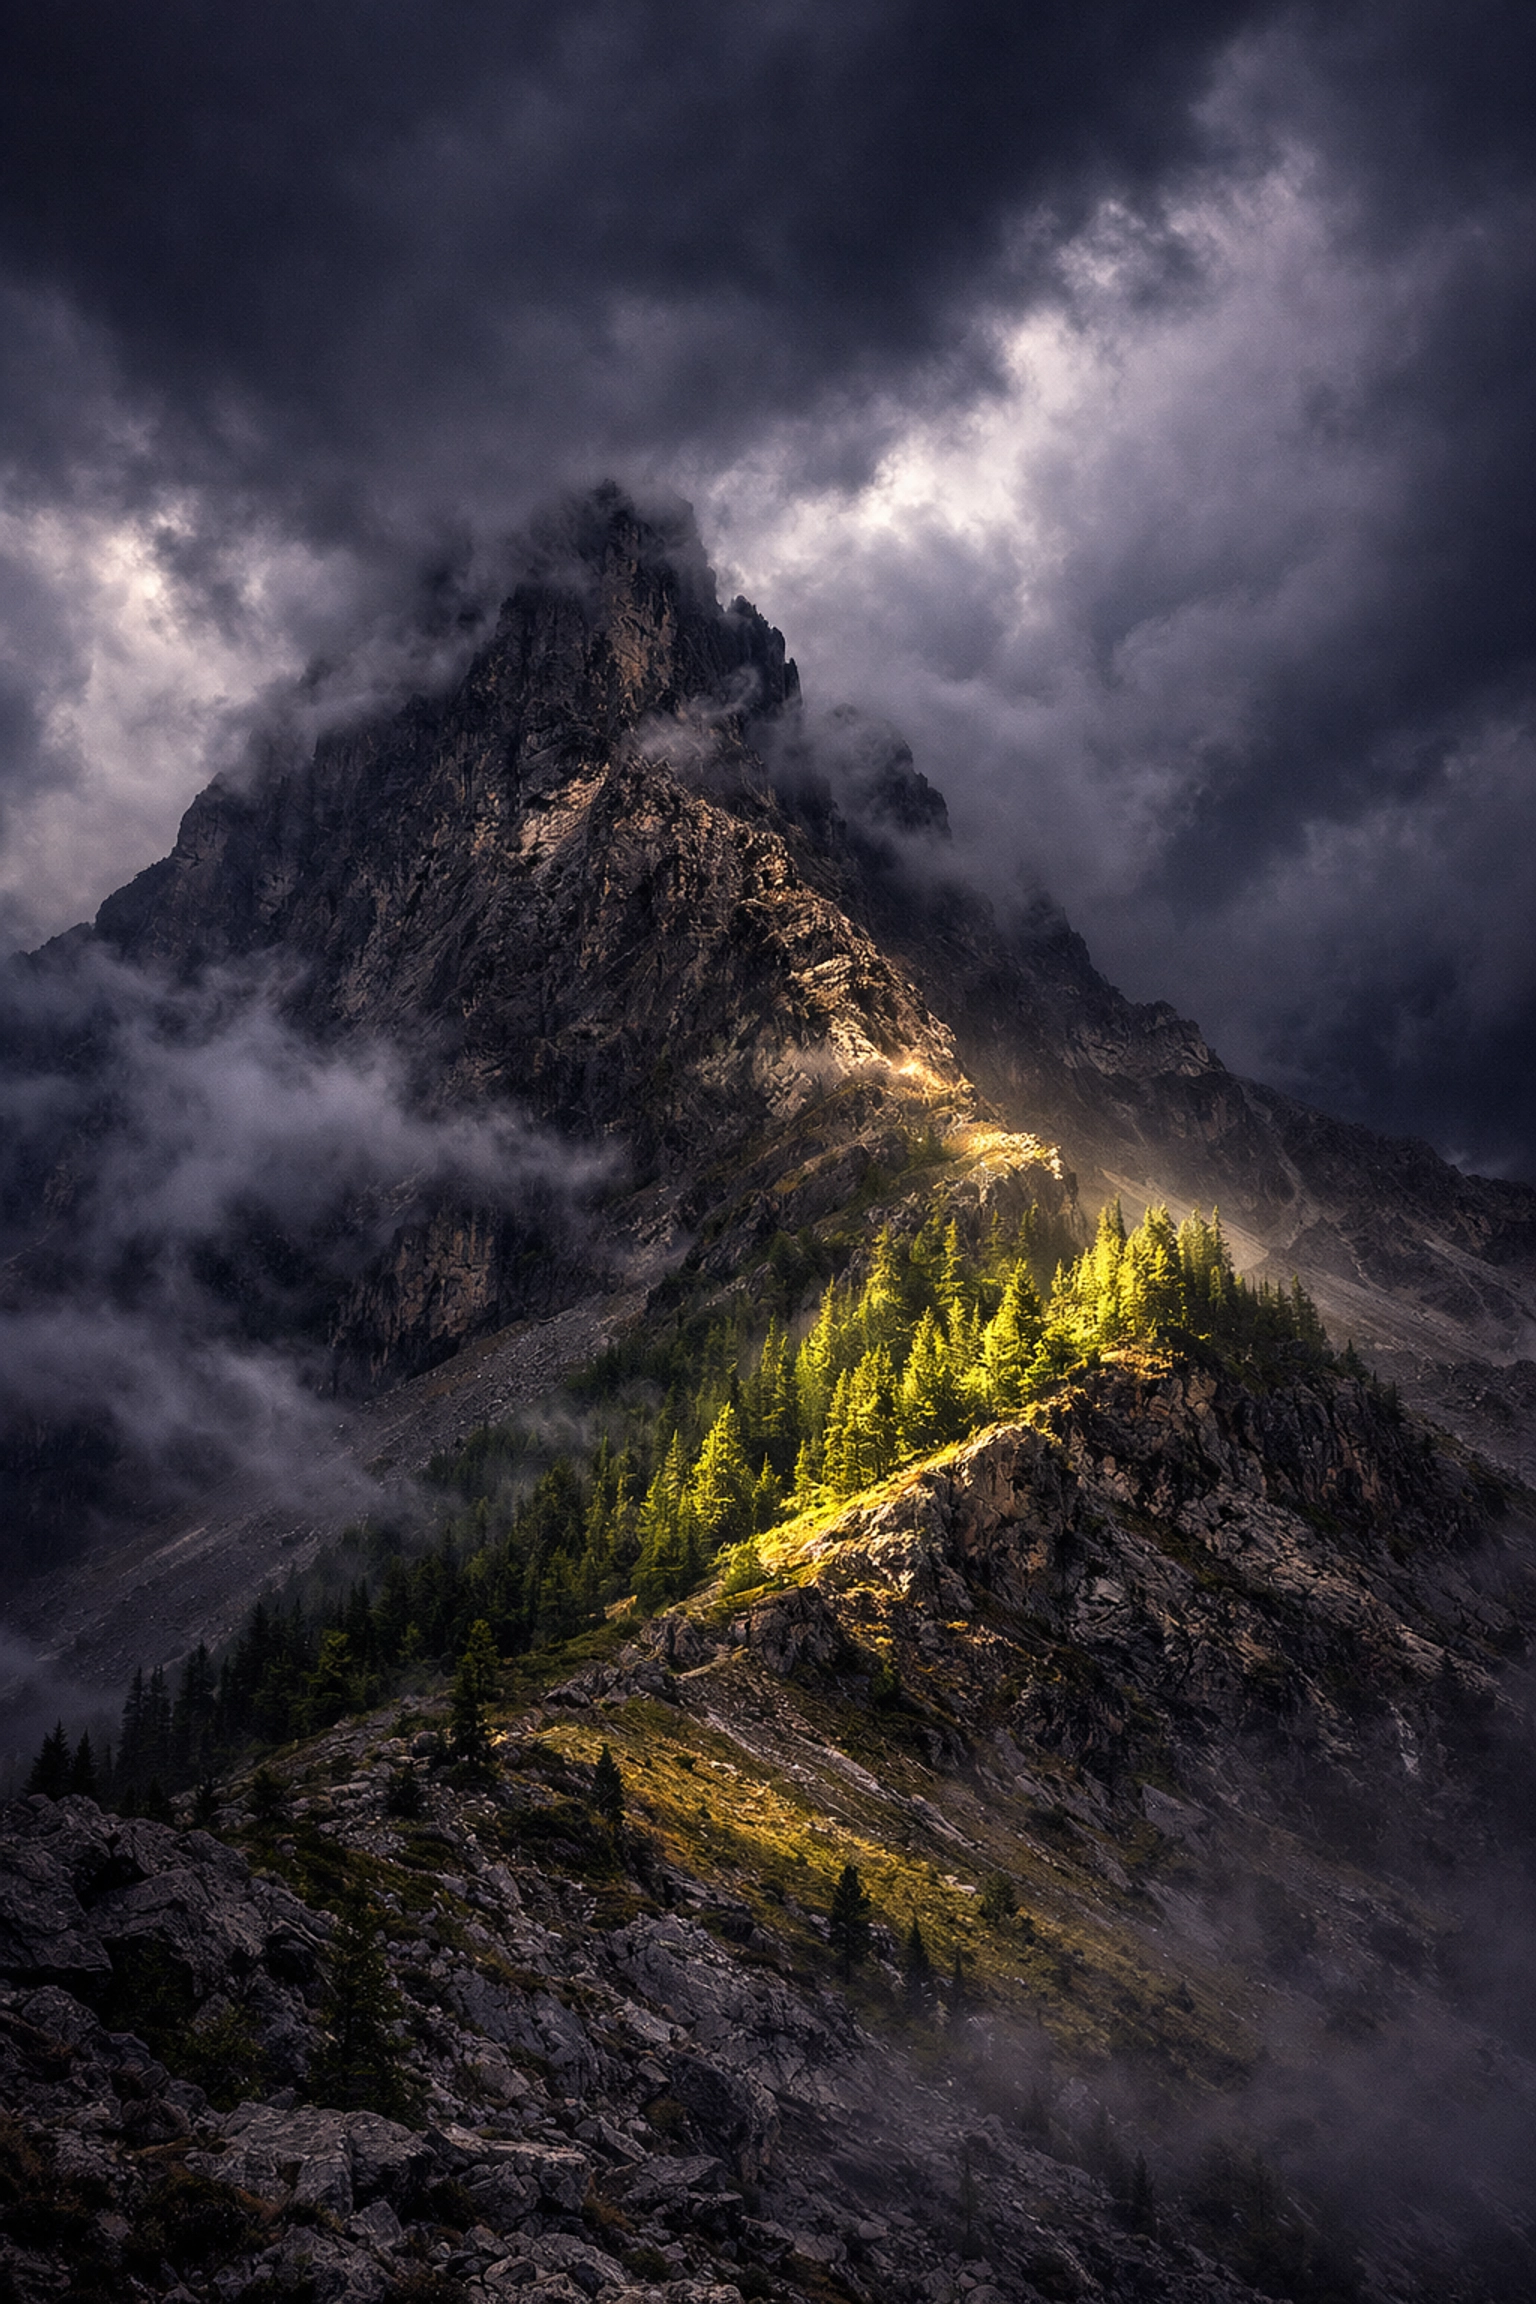
Check the Weather
Blue sky days are actually the worst for landscape photography. They’re boring. You want drama. You want clouds, storms, or even a bit of fog. Use apps like Windy to see what the sky is doing. Sometimes the best shots happen right after a storm clears when the light breaks through.
2. The Gear: It’s Not About the Price Tag
Let’s get one thing straight: you don’t need a $10,000 setup to take a great photo. You need the right gear for the job.
The Camera
Most modern cameras are more than capable. Whether it’s a full-frame beast or a crop sensor, what matters is the dynamic range and the ability to shoot in RAW. RAW files hold way more data, which is essential when you’re trying to pull detail out of shadows and highlights later.
Lenses
For landscapes, most people jump straight to a wide-angle lens (16mm to 35mm). These are great for capturing those massive, expansive views. However, don't sleep on telephoto lenses (70mm-200mm). A telephoto allows you to "compress" the scene, making distant mountains look huge and picking out specific patterns in the landscape. If you're looking for inspiration on how different lenses change the feel of a city, check out how we handled tilting the streets of San Francisco.
The Tripod (Non-Negotiable)
If you aren't using a tripod, you aren't serious about landscape photography. Period. A tripod allows you to shoot at low ISOs for maximum quality and use slow shutter speeds to blur water or clouds. It also forces you to slow down and really think about your composition.
Filters
ND (Neutral Density) filters are like sunglasses for your lens. They let you take long exposures even in the middle of the day. A 6-stop or 10-stop ND filter is essential if you want that silky-smooth water look. Circular polarizers are also huge: they cut glare from water and make the greens and blues pop.
3. Composition: The Secret Sauce
Composition is what separates a "pretty picture" from a "work of art." It’s how you lead the viewer's eye through the frame.
The Rule of Thirds
It’s a classic for a reason. Imagine your frame is divided into a 3×3 grid. Place your horizon on the top or bottom line, and your main subject on one of the intersections. It creates balance. But remember, rules are meant to be broken once you understand them.
Leading Lines
Use elements in the landscape to point toward your subject. This could be a road, a river, a fallen log, or even the curve of a shoreline. These lines act as a visual path for the viewer.
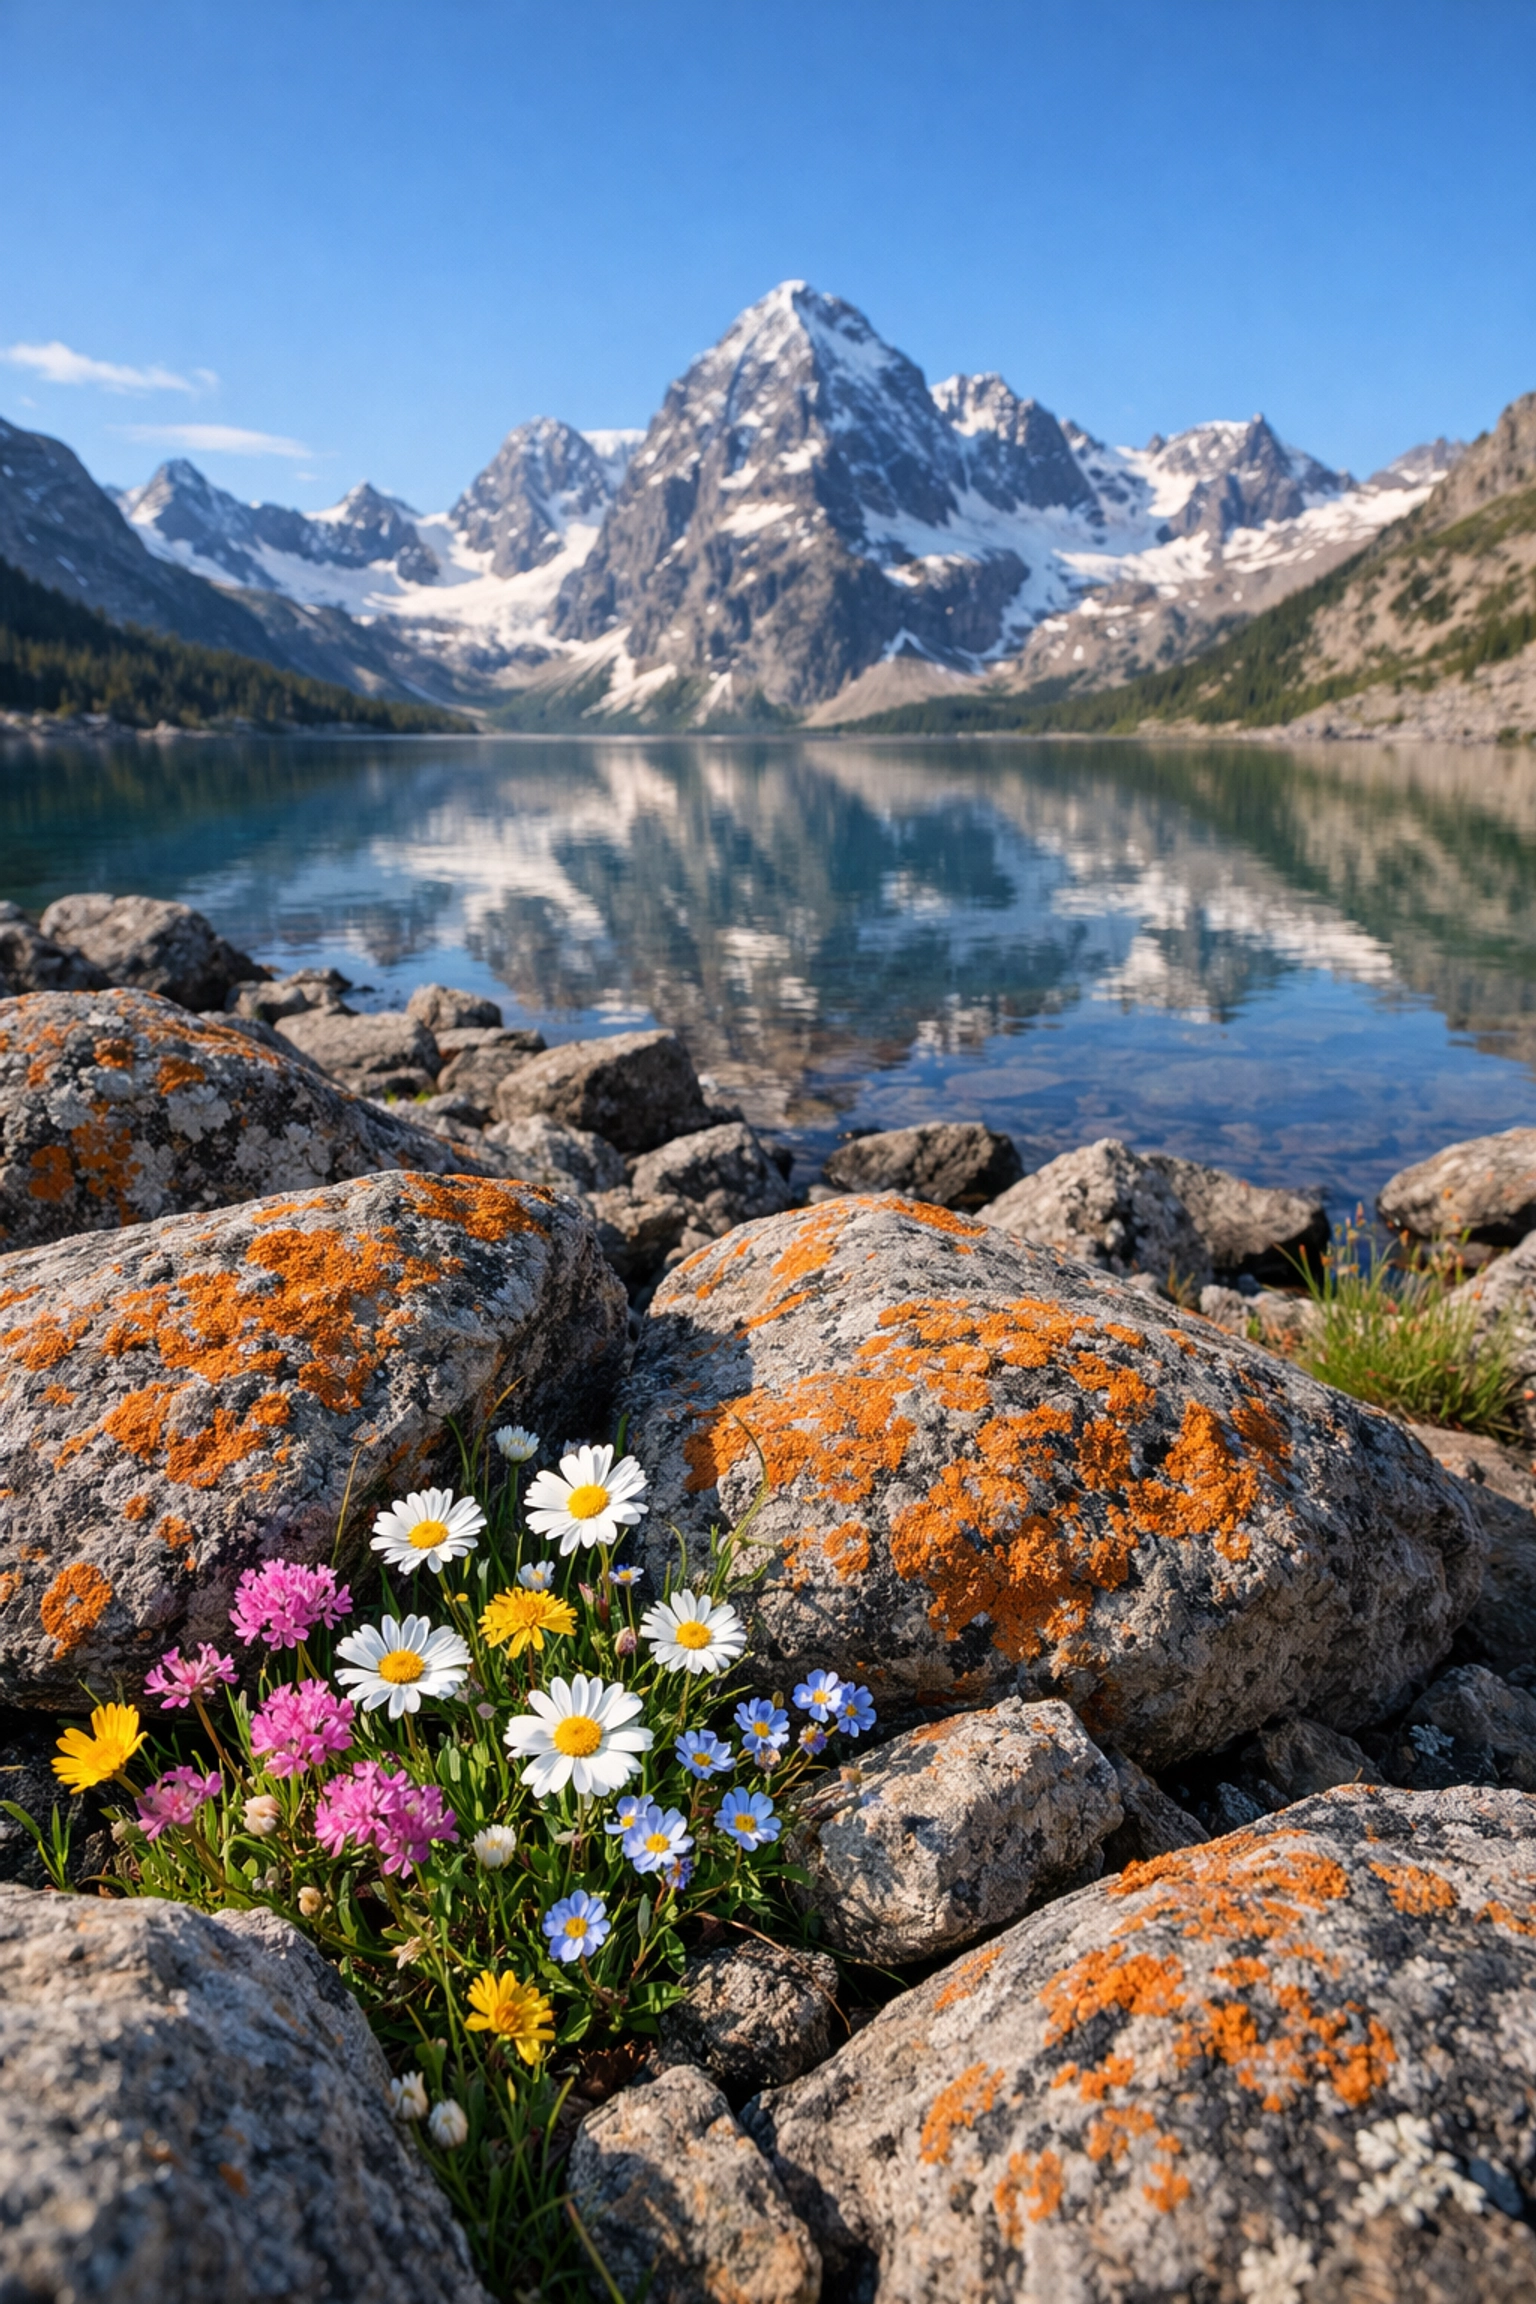
Foreground Interest
This is where most beginners fail. They see a beautiful mountain and just point the camera at it. The result is often a lot of "empty" space at the bottom of the frame. Find a rock, some flowers, or an interesting texture to put in the foreground. This adds depth and makes the viewer feel like they are standing right there in the scene. For a deeper dive, grab our guide on The Art of Landscape Photography.
4. Master Your Camera Settings
Stop using Auto mode. Right now. If you want to succeed, you need to be in control.
- ISO: Keep it as low as possible (usually ISO 100). This ensures your images are clean and free of "noise."
- Aperture: You want a large depth of field so everything from the foreground to the background is sharp. Usually, f/8 to f/11 is the sweet spot for most lenses. Avoid going to f/22 as you’ll start to get "diffraction," which actually makes the image softer.
- Shutter Speed: This is your creative tool. Use a fast shutter speed to freeze crashing waves, or a slow shutter speed (several seconds) to turn that water into mist.
If you’re struggling with the technical side of things, sometimes looking at how pros edit their work can help you understand what settings they used. Check out some proshoot.io resources for technical breakdowns.
5. Chasing the Light
Light is everything. You can have the best composition in the world, but if the light is flat and grey, the photo will be boring.
Golden Hour
The hour after sunrise and the hour before sunset. This is when the light is soft, warm, and creates long, beautiful shadows that give the landscape shape.
Blue Hour
The period just before sunrise or just after sunset. The sky turns a deep, moody blue. This is a fantastic time for cityscapes or shots that involve artificial light.
Mid-Day Light
Usually, this is when you go get a taco and a nap. The light is harsh and creates ugly shadows. However, if you have a lot of clouds, you can still get some moody shots. Or, use this time to scout for your sunset location.
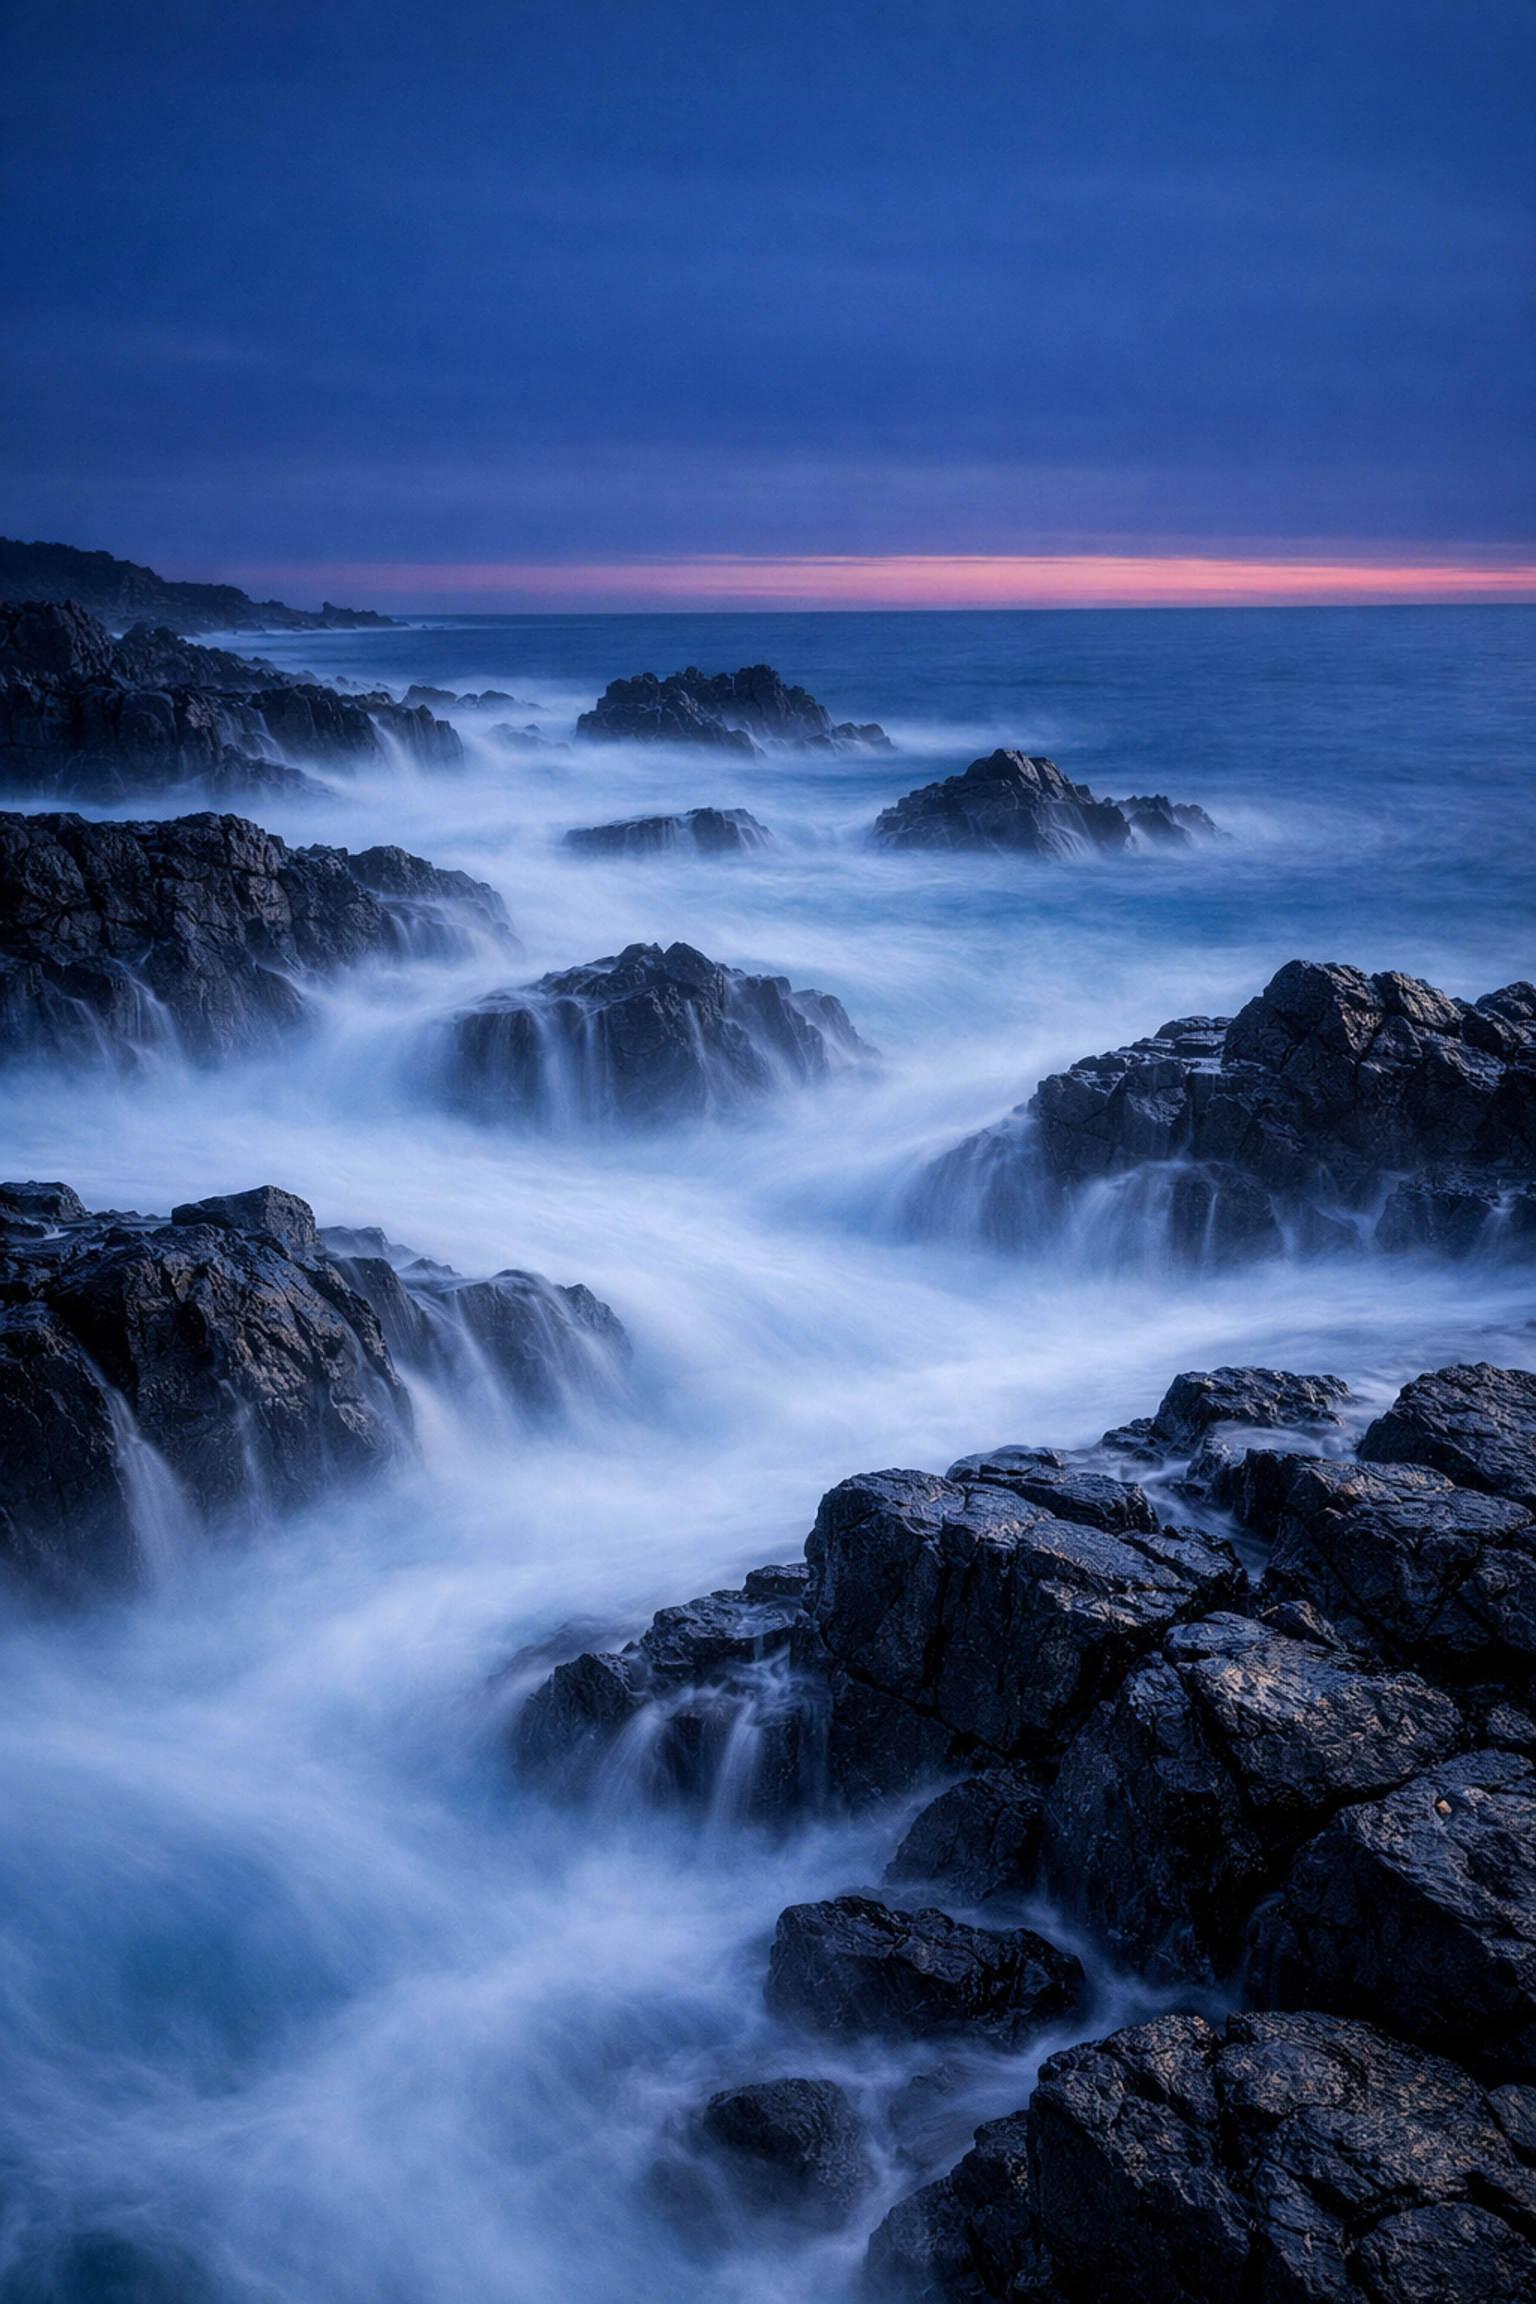
6. Long Exposures and Movement
One of the coolest things about landscape photography is showing movement that the human eye can't see. By using a tripod and a slow shutter speed, you can transform a chaotic ocean into a zen-like dreamscape.
This technique takes practice. You have to balance your exposure so you don't blow out the highlights. If you’re serious about mastering this, I highly recommend our Long Exposures Lightroom Editing Video Course. It shows you exactly how to handle those tricky files.
7. Post-Processing: Bringing the Vision to Life
Let’s be real: every great landscape photo you see online has been edited. RAW files are intentionally flat because they hold all the data. Editing is where you add the contrast, color, and "vibe" back in.
You don't want to overdo it (unless that’s your style). The goal is usually to make the photo look like how it felt when you were standing there.
The Power of Presets
If you’re new to editing, or just want to speed up your workflow, presets are a lifesaver. We’ve developed specific Landscape and Cityscape Lightroom Presets that are designed to handle the unique colors and tones of nature.
Advanced Editing
For those who want to push things further, software like Luminar offers incredible AI-powered tools for sky replacement and atmosphere. Sometimes the sky just doesn't cooperate, and Luminar can help you save a shot that would otherwise be a throwaway.
If you’re more of a traditionalist, mastering techniques like dodge and burn can make your subjects pop. We have a great Dodge & Burn Lightroom Editing Video Course that covers this in detail.
8. Common Pitfalls to Avoid
- The Wonky Horizon: Nothing ruins a great landscape faster than a slanted ocean. Use the level in your camera or on your tripod.
- Too Much Processing: We’ve all seen those photos where the grass looks like radioactive waste. If it looks fake, back off the saturation slider.
- Ignoring the Back: Sometimes the best shot is happening right behind you. Always turn around and look at what the light is doing in the opposite direction.
- Getting Discouraged: You’re going to have days where you hike for three hours and get nothing. That’s part of the game. Enjoy the hike!
9. Final Thoughts: Just Go Out and Shoot
The best way to get better at landscape photography is to do it. A lot. You can read every blog post on blog.edinchavez.com and watch every tutorial on edinstudios.com, but until you’re out there fumbling with your tripod in the dark, you aren’t learning.
Landscape photography is a marathon, not a sprint. It’s about the connection between you and the environment. It’s about those quiet moments at daybreak when the rest of the world is asleep and it’s just you and the horizon.
If you want to see what high-end results look like, check out some of the work on edinfineart.com. It’s a great way to see what’s possible when you combine all these techniques.
Now, pack your bag, charge your batteries, and go find something beautiful. The light won't wait for you!
For more tools to help you succeed, don't forget to check out our full downloads page, where we have everything from HDR Lightroom Presets to complete video editing courses.


