Let’s be real for a second: it’s 2026, and photo editing has changed more in the last two years than it did in the previous twenty. If you’re still editing like it’s 2019, you’re probably working ten times harder than you need to, and your photos might be looking a little… dated.
Photography has always been about capturing a moment, but the way we refine that moment has shifted from "making it look perfect" to "making it feel intentional." We’ve moved past the era of aggressive HDR and skin so smooth it looks like a wax museum. Today, it's all about authenticity, mood, and using AI to speed up the boring stuff so you can focus on being creative.
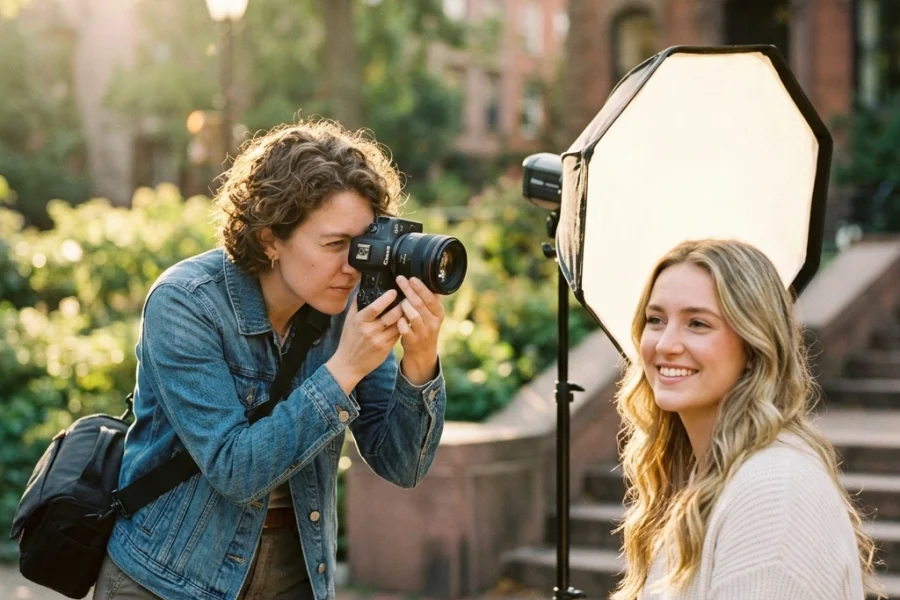
Whether you’re shooting with a high-end mirrorless setup: maybe you’ve been following our debate on the Panasonic Lumix S5 II vs. Sony A7 IV: or you're rocking the latest smartphone, the post-processing stage is where the magic really happens.
In this guide, I’m going to walk you through everything you need to know to master photo editing in 2026. We’ll cover the trends, the tools, and the exact workflow I use to get professional results without spending twelve hours glued to a desk.
The Vibe of 2026: Authenticity Over Perfection
The biggest trend this year is a move toward what I call "The Honest Edit." We’ve all seen the AI-generated images that look a little too clean, a little too perfect. Because of that, people are craving reality.
The 2026 aesthetic is all about natural skin tones, soft contrast, and subtle film-inspired colors. We want to see a little grain. We want to see the texture in the fabric. We want the photo to look like it was taken by a human being, not a prompt.
If you want your work to stand out, you need to stop over-processing. If you’re a landscape photographer, you might be tempted to crank the saturation, but that’s one of those 7 mistakes you’re making with landscape photography that can ruin an otherwise great shot. Instead, focus on color harmony and light.

The Software Powerhouse: AI and Beyond
In 2026, your software choice matters, but not for the reasons it used to. Every major player has integrated AI, but they do it differently.
Adobe Lightroom & Photoshop
Lightroom is still the gold standard for many, and for good reason. The AI suite within Lightroom now includes things like Reflection Removal and Generative Remove, which allow you to clean up a shot in seconds. No more jumping back and forth to Photoshop just to get rid of a stray power line.
Luminar Neo
If you want a more intuitive, AI-first approach, Luminar is where it’s at. Luminar has mastered the "one-click" professional look. Their AI tools for sky replacement and portrait bokeh are incredibly advanced now. It’s perfect for when you need high-quality results fast. I often recommend Luminar to photographers who want to spend more time shooting and less time masking.
Professional Workflow Software
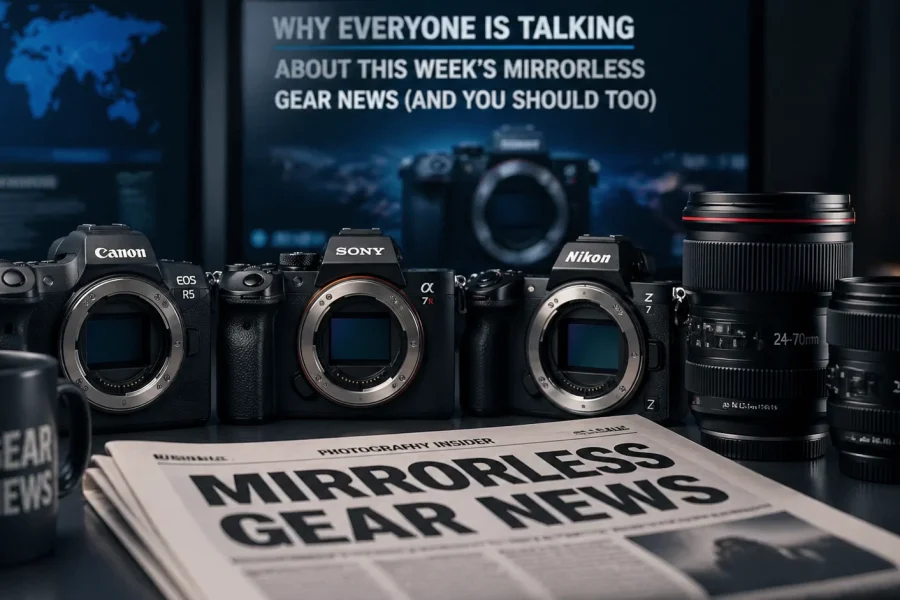
For those who need deep technical control, tools like DxO PhotoLab 7 or Affinity Photo 2 offer a subscription-free alternative to the Adobe ecosystem. It’s always worth checking out photography news to see which software just dropped a game-changing update.
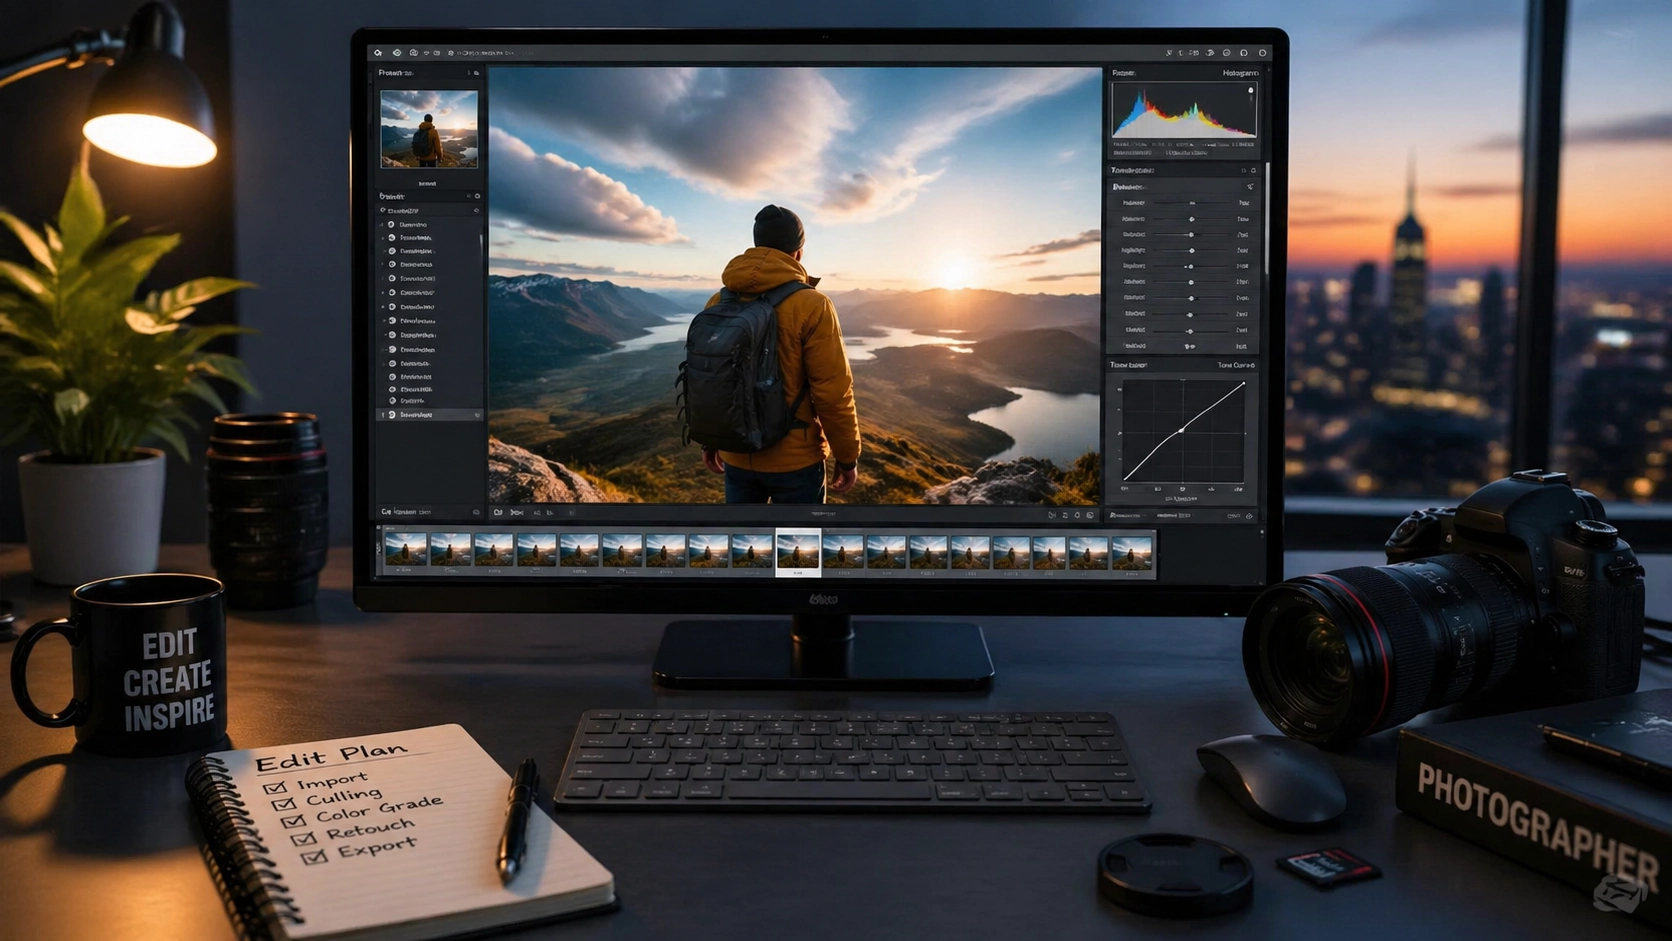
The Essential 2026 Editing Workflow
Having a repeatable workflow is the only way to stay sane. You don't have to follow this to the letter, but this framework will save you hours of frustration.
1. Culling with Intention
Don’t import 500 photos if you’re only going to edit five. Use AI culling tools to help you identify the sharpest shots and the ones where people are actually smiling. Be ruthless. A professional portfolio is built on what you don't show.
2. The Global Adjustments
Start with the basics: Exposure, White Balance, and Contrast. In 2026, we’re leaning toward warmer, more nostalgic white balances. Don't rely on "Auto": use your eyes. You want to set the foundation before you start getting fancy.
3. Subject Masking: The Secret Sauce
This is where 2026 editing shines. Modern AI masking can detect a subject, the sky, the background, or even specific articles of clothing instantly.
- Pro Tip: Use a mask to slightly brighten your subject (about +0.30 exposure) and drop the background exposure just a hair. This creates a natural depth that makes the subject "pop" without looking like a bad cutout.

4. Color Grading
This is where you develop your style. Instead of just sliding the Saturation bar, use the Color Mixer (HSL) or Color Grading wheels. Focus on the shadows and highlights. Adding a little bit of teal to the shadows and orange to the highlights is a classic for a reason, but try experimenting with more muted, earthy tones this year.
5. Final Polishing and Grain
Once the colors are set, add your finishing touches. A tiny bit of grain can help "glue" the image together, making the digital pixels feel more like a physical photograph. If you're doing corporate work, though, keep it clean. Mistakes in corporate headshots usually involve over-sharpening or weird skin textures, so proceed with caution.
Hardware: You Can't Edit What You Can't See
I see so many photographers spend $5,000 on a camera and then edit on a laptop screen with a blue-light filter turned on. Stop doing that.
If you want to succeed in 2026, you need a color-accurate monitor. Look for an IPS panel with at least 99% sRGB coverage (95% Adobe RGB is even better). Calibration is key. If your monitor isn't calibrated, you’re just guessing. You might think that sunset looks beautiful, but when you print it or view it on a phone, it might turn out radioactive orange.
For a deep dive into the best gear for your desk setup, check out the resources over at PhotoGuides.org.
The Role of AI: Tool vs. Replacement
There’s a lot of talk about AI replacing photographers. In 2026, we know that’s not true. AI is a tool: like a faster paintbrush.
Generative AI can help you extend a background if your composition was a little too tight, or it can remove a tourist from your landscape shot in seconds. But it can’t decide the mood of the photo. It can’t tell the story of the day you spent hiking in the rain to get that one perfect shot.
Use AI to handle the tedious tasks:
- Noise Reduction: Modern AI noise reduction is basically magic. You can shoot at ISO 6400 and it looks like ISO 100.
- Sharpening: AI can distinguish between "detail" and "noise," so you don't get those weird artifacts.
- Object Removal: It’s better than it’s ever been.
Just don't let the AI make all the decisions. If the software suggests a look, use it as a starting point, not the finish line. For more inspiration on maintaining your artistic voice, Edin has some great thoughts over at blog.edinchavez.com.

Organizing Your Digital Library
It’s April 2026. If your "Desktop" folder is full of files named "FINAL_EDIT_v2_REALLY_FINAL.jpg," we need to talk.
Success in editing is also about management.
- Tagging: Use keywords. If you’re looking for a photo of a "mountain" three years from now, you’ll thank yourself.
- Backups: The 3-2-1 rule still applies. Three copies of your data, on two different media types, with one copy off-site (cloud).
- Catalogs: Keep your catalogs organized by year or by project. A bloated Lightroom catalog is a slow Lightroom catalog.
Common Pitfalls to Avoid This Year
- The "Clarity" Trap: We’ve all been guilty of it. Pushing the clarity slider to +50 makes things look "crunchy" and dated. Use Texture instead for a more natural sharpening.
- Ignoring the Histogram: Your eyes can lie to you, especially if you’re editing in a bright room. The histogram doesn’t lie. Make sure you aren’t clipping your blacks or blowing out your highlights.
- Over-whitening Teeth and Eyes: Nothing screams "amateur edit" like a subject whose eyes are glowing like LEDs. Keep it subtle.

Training Your Eye
The best way to get better at editing isn't just watching tutorials; it's looking at great art. Go to galleries, look at high-end magazines, and study the work of masters. Look at the fine art photography of professionals to see how they handle light and shadow.
Notice where your eye goes first. Usually, it’s the brightest part of the image or the part with the most contrast. Use your editing tools to guide the viewer’s eye exactly where you want it to go.
The Future is Collaborative
I’ve been chatting with Sonny, our Social Media Manager, and we’ve noticed that the most successful posts right now are the ones that show the "Before and After." People love seeing the transformation. When you’re editing, save a copy of your RAW file or a zeroed-out version. Sharing your process isn't just educational; it builds trust with your audience. It shows that there’s a human behind the screen making creative choices.
Final Thoughts
Photo editing in 2026 is an incredible blend of high-tech efficiency and old-school artistry. We have tools that our predecessors couldn't even dream of, but the goal remains the same: to tell a story.
Don't get overwhelmed by the sliders. Start simple. Master the light, then the color, then the fine details. And most importantly, have fun with it. If you’re not enjoying the process, it’ll show in the final image.
Keep shooting, keep experimenting, and don't be afraid to break the rules once you know them. The "Ultimate Guide" is just a map: you’re the one driving the car.
For more tips and tricks, feel free to poke around the rest of Shut Your Aperture. We’re always updating our guides to keep up with the fast-moving world of photography. Now, get off the internet and go edit those shots!