Original date April 25, 2026. Updated October 2026.
You can own an excellent camera and still make flat, muddy portraits. The camera records light. It does not create it, and it does not decide where it falls. This guide is a five-step process for learning to read light, shape it and practice with it until the choices become automatic. It is aimed at photographers who already know the basic exposure controls and want portraits that look deliberate instead of lucky.
One note on how to read the numbers and angles below. They are common starting points from widely taught lighting practice and manufacturer guidance, not rules. Your subject, your room and your modifier will change them, so the real skill is looking at the result and adjusting. If any of the exposure controls feel shaky, our guides to aperture and ISO are a good warm-up, and the portrait lighting setups guide covers the patterns in more depth.
1. Understand your light sources
Before you touch a setting, name what is lighting the scene. Almost every light you will use falls into three groups: natural, artificial and ambient. Each one behaves differently, and each one asks for a different decision from you.
Natural light
This is the sun and the sky it fills. It changes by the minute, which is both its charm and its trap. Low sun near sunrise and sunset is warm, directional and soft in contrast. High midday sun is hard and tends to carve dark shadows under the eyes and nose. Open shade and overcast skies act like a very large softbox. Exact timing depends on your latitude and the season, so check a sun-position app before you plan a shoot.
Artificial light
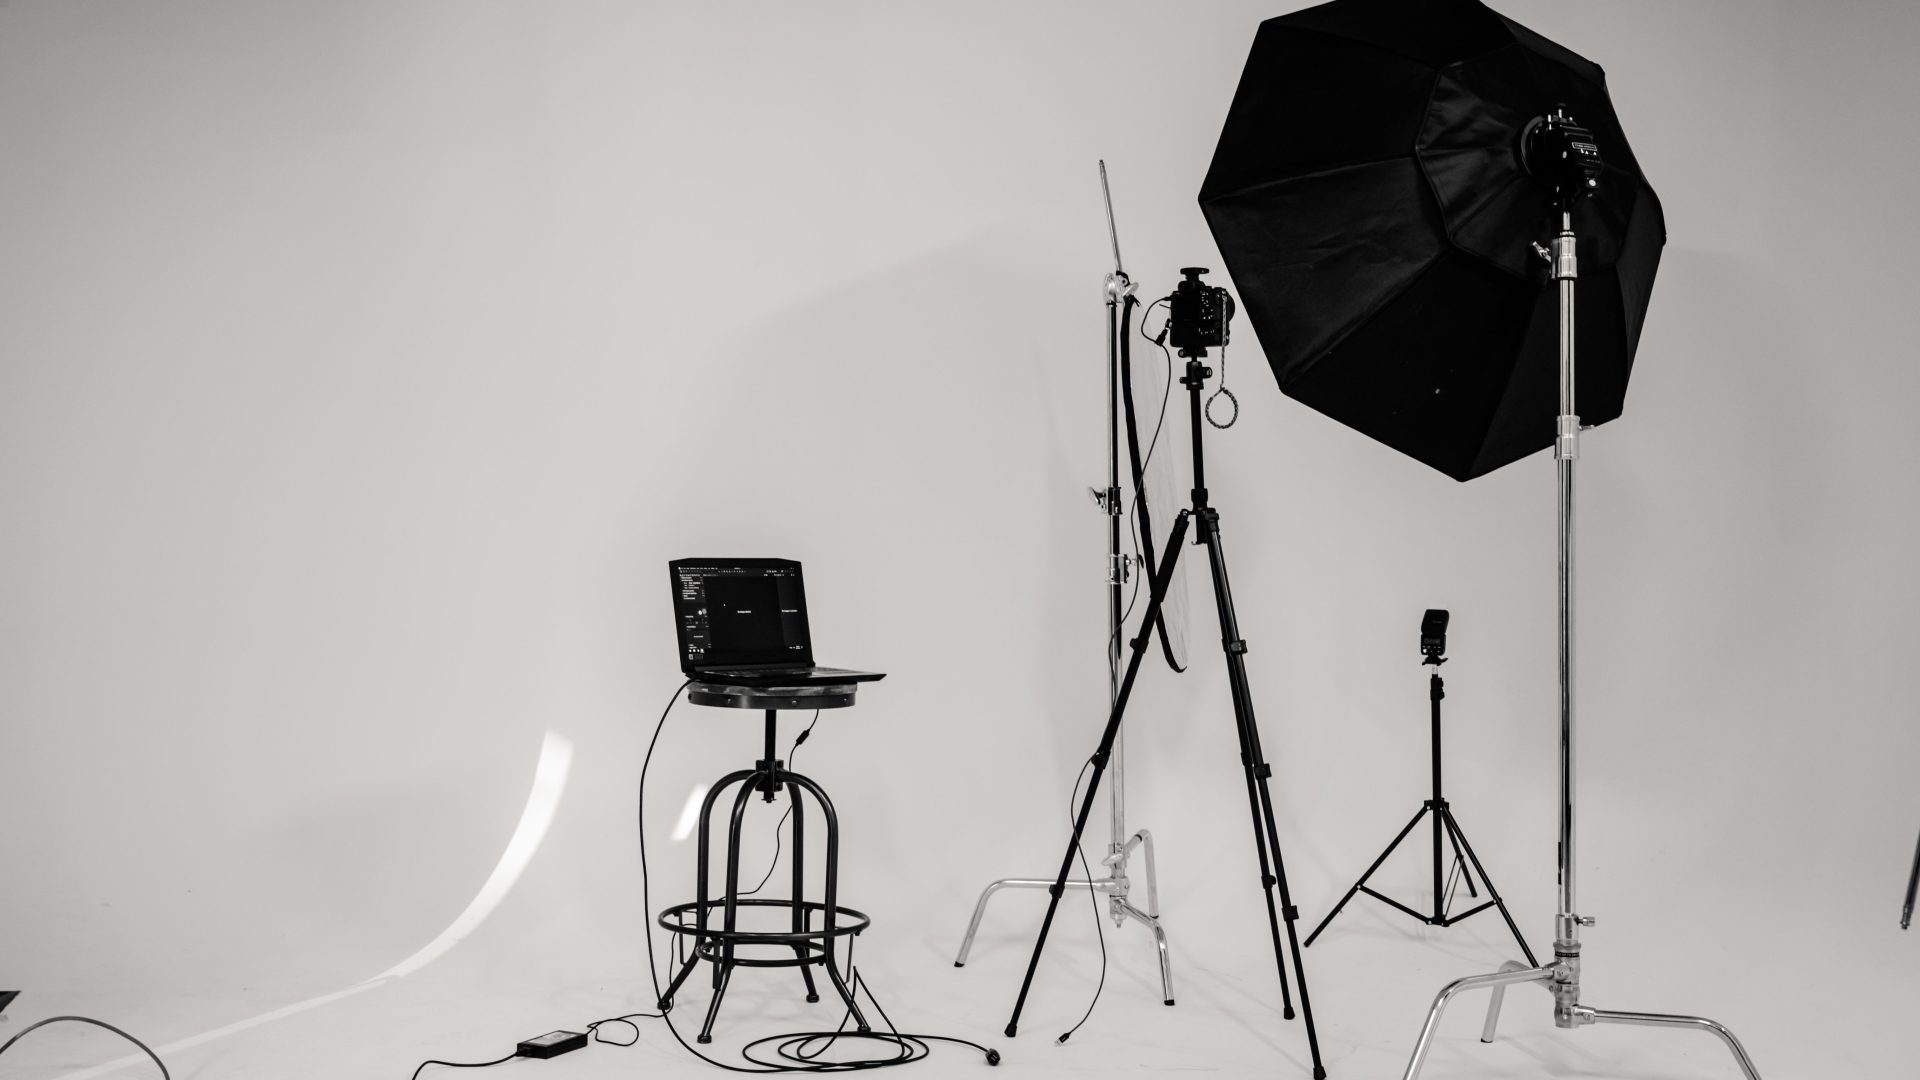
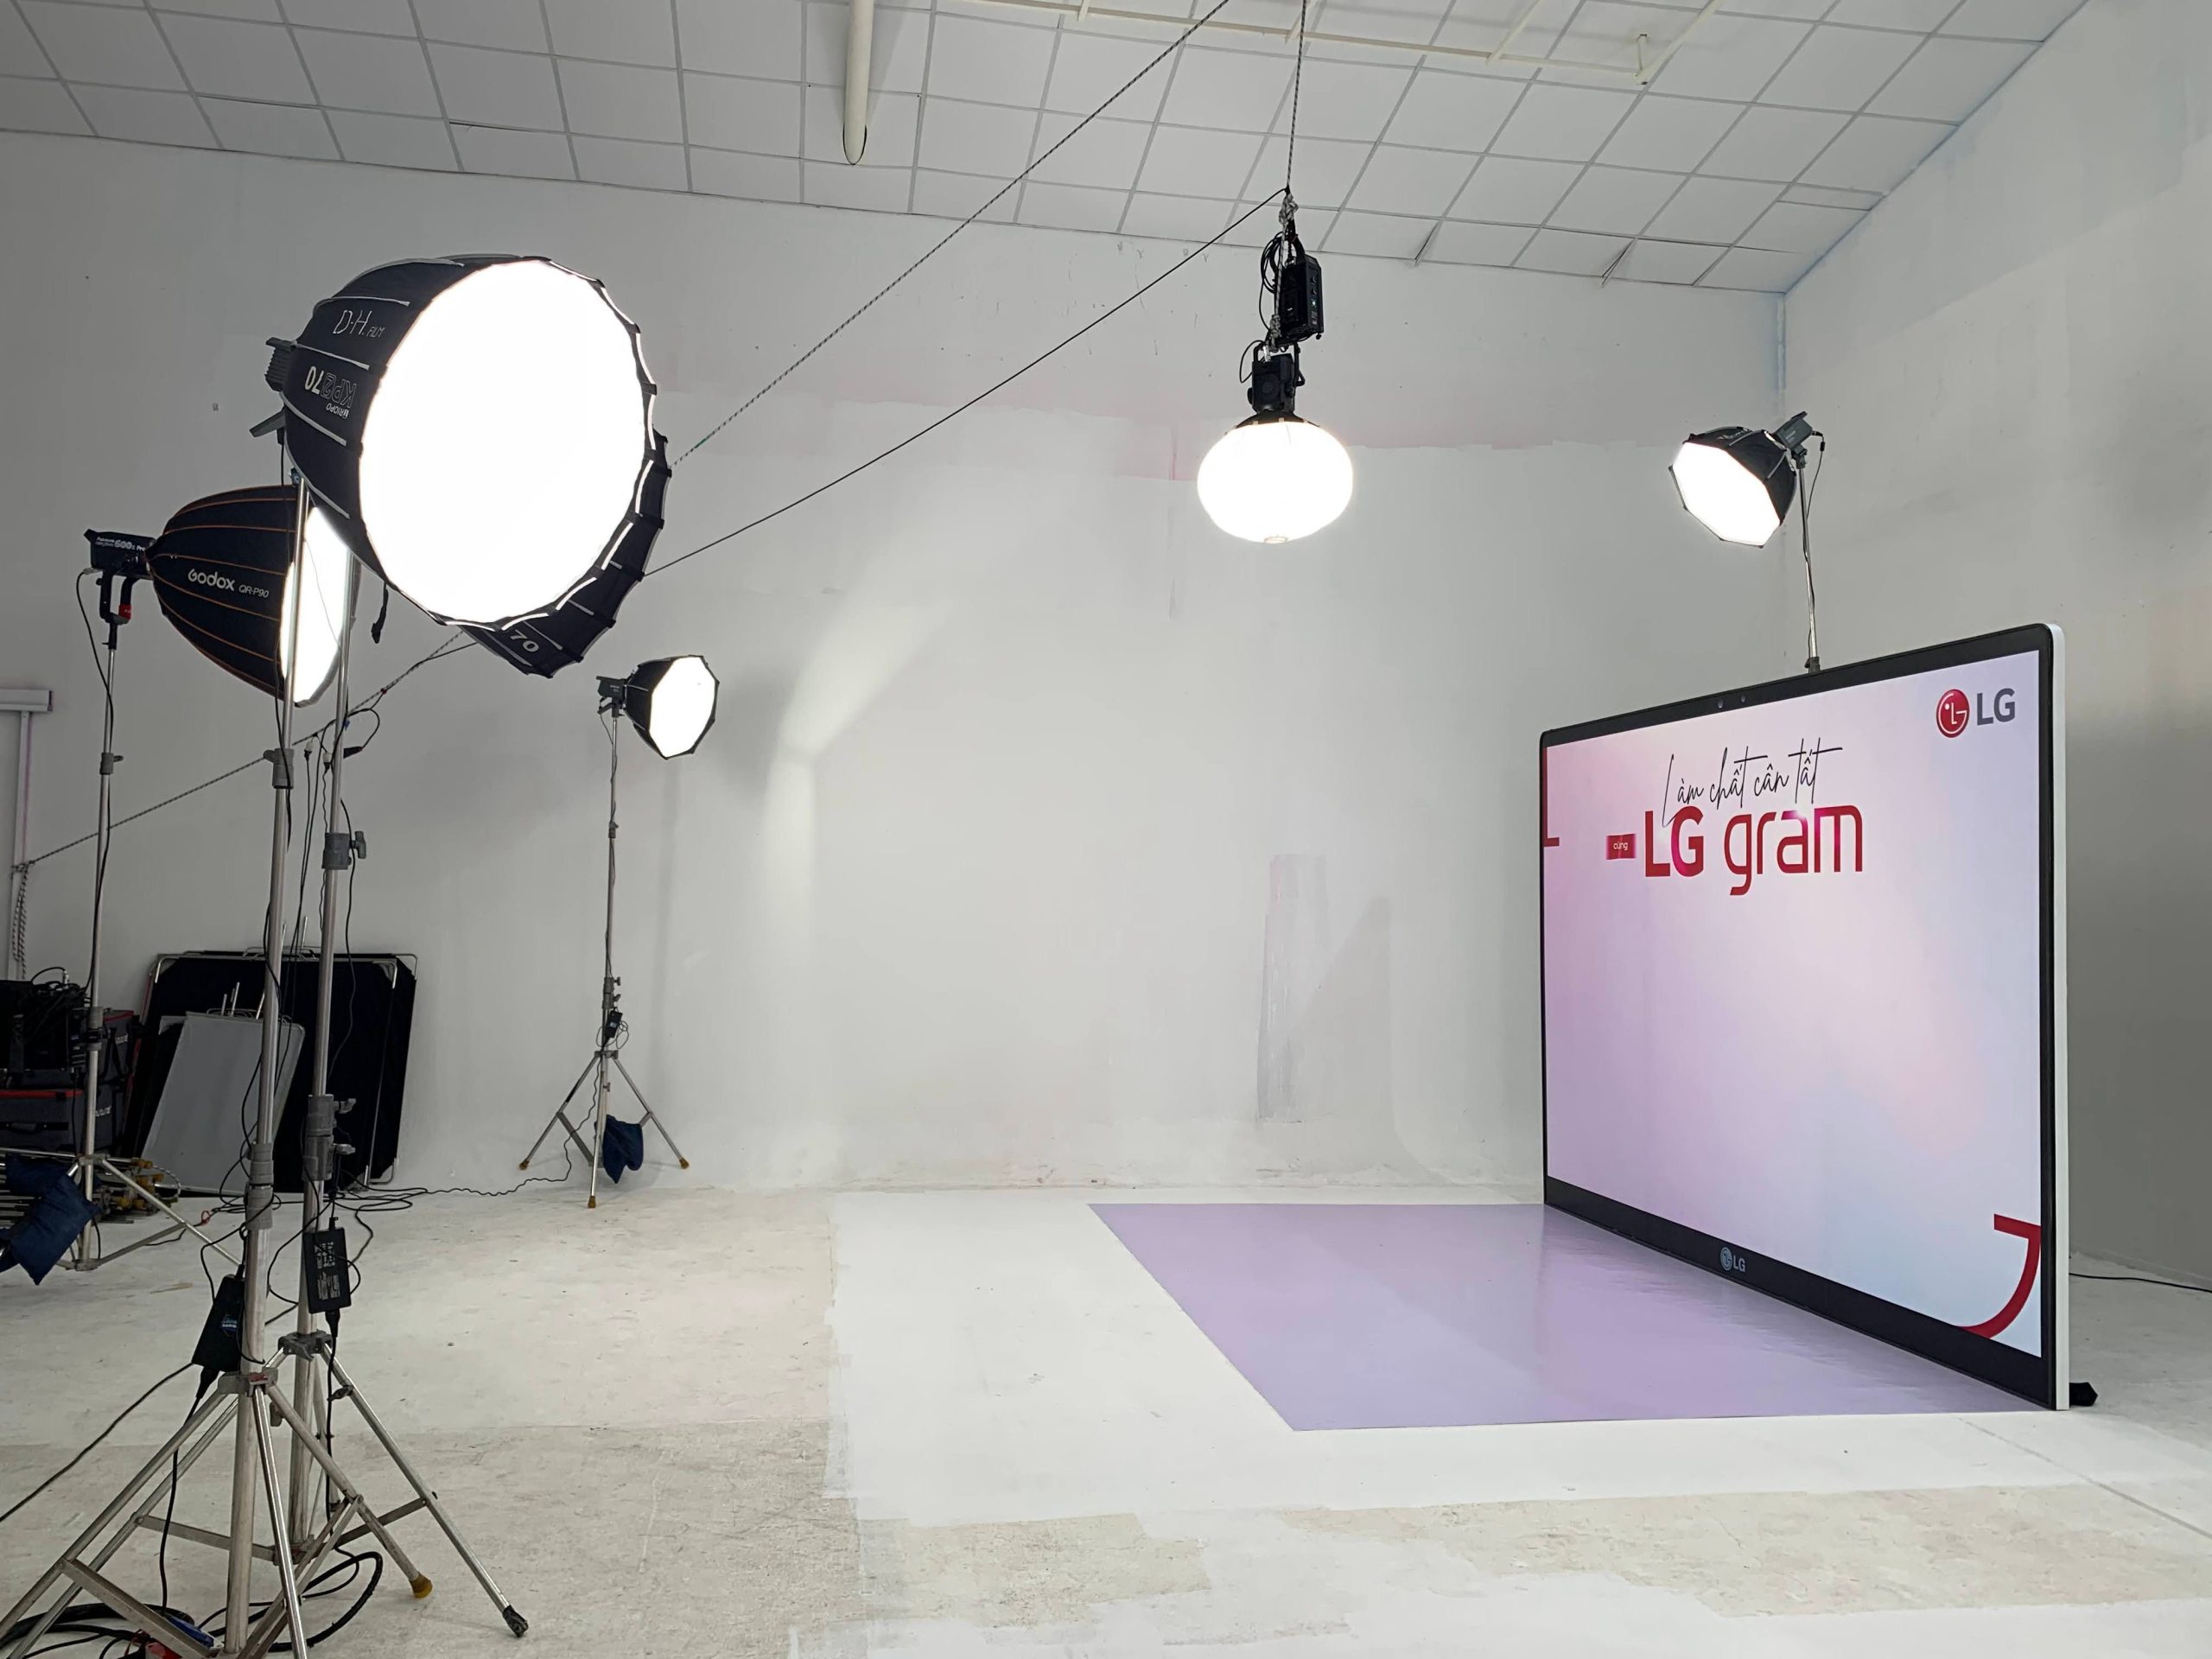
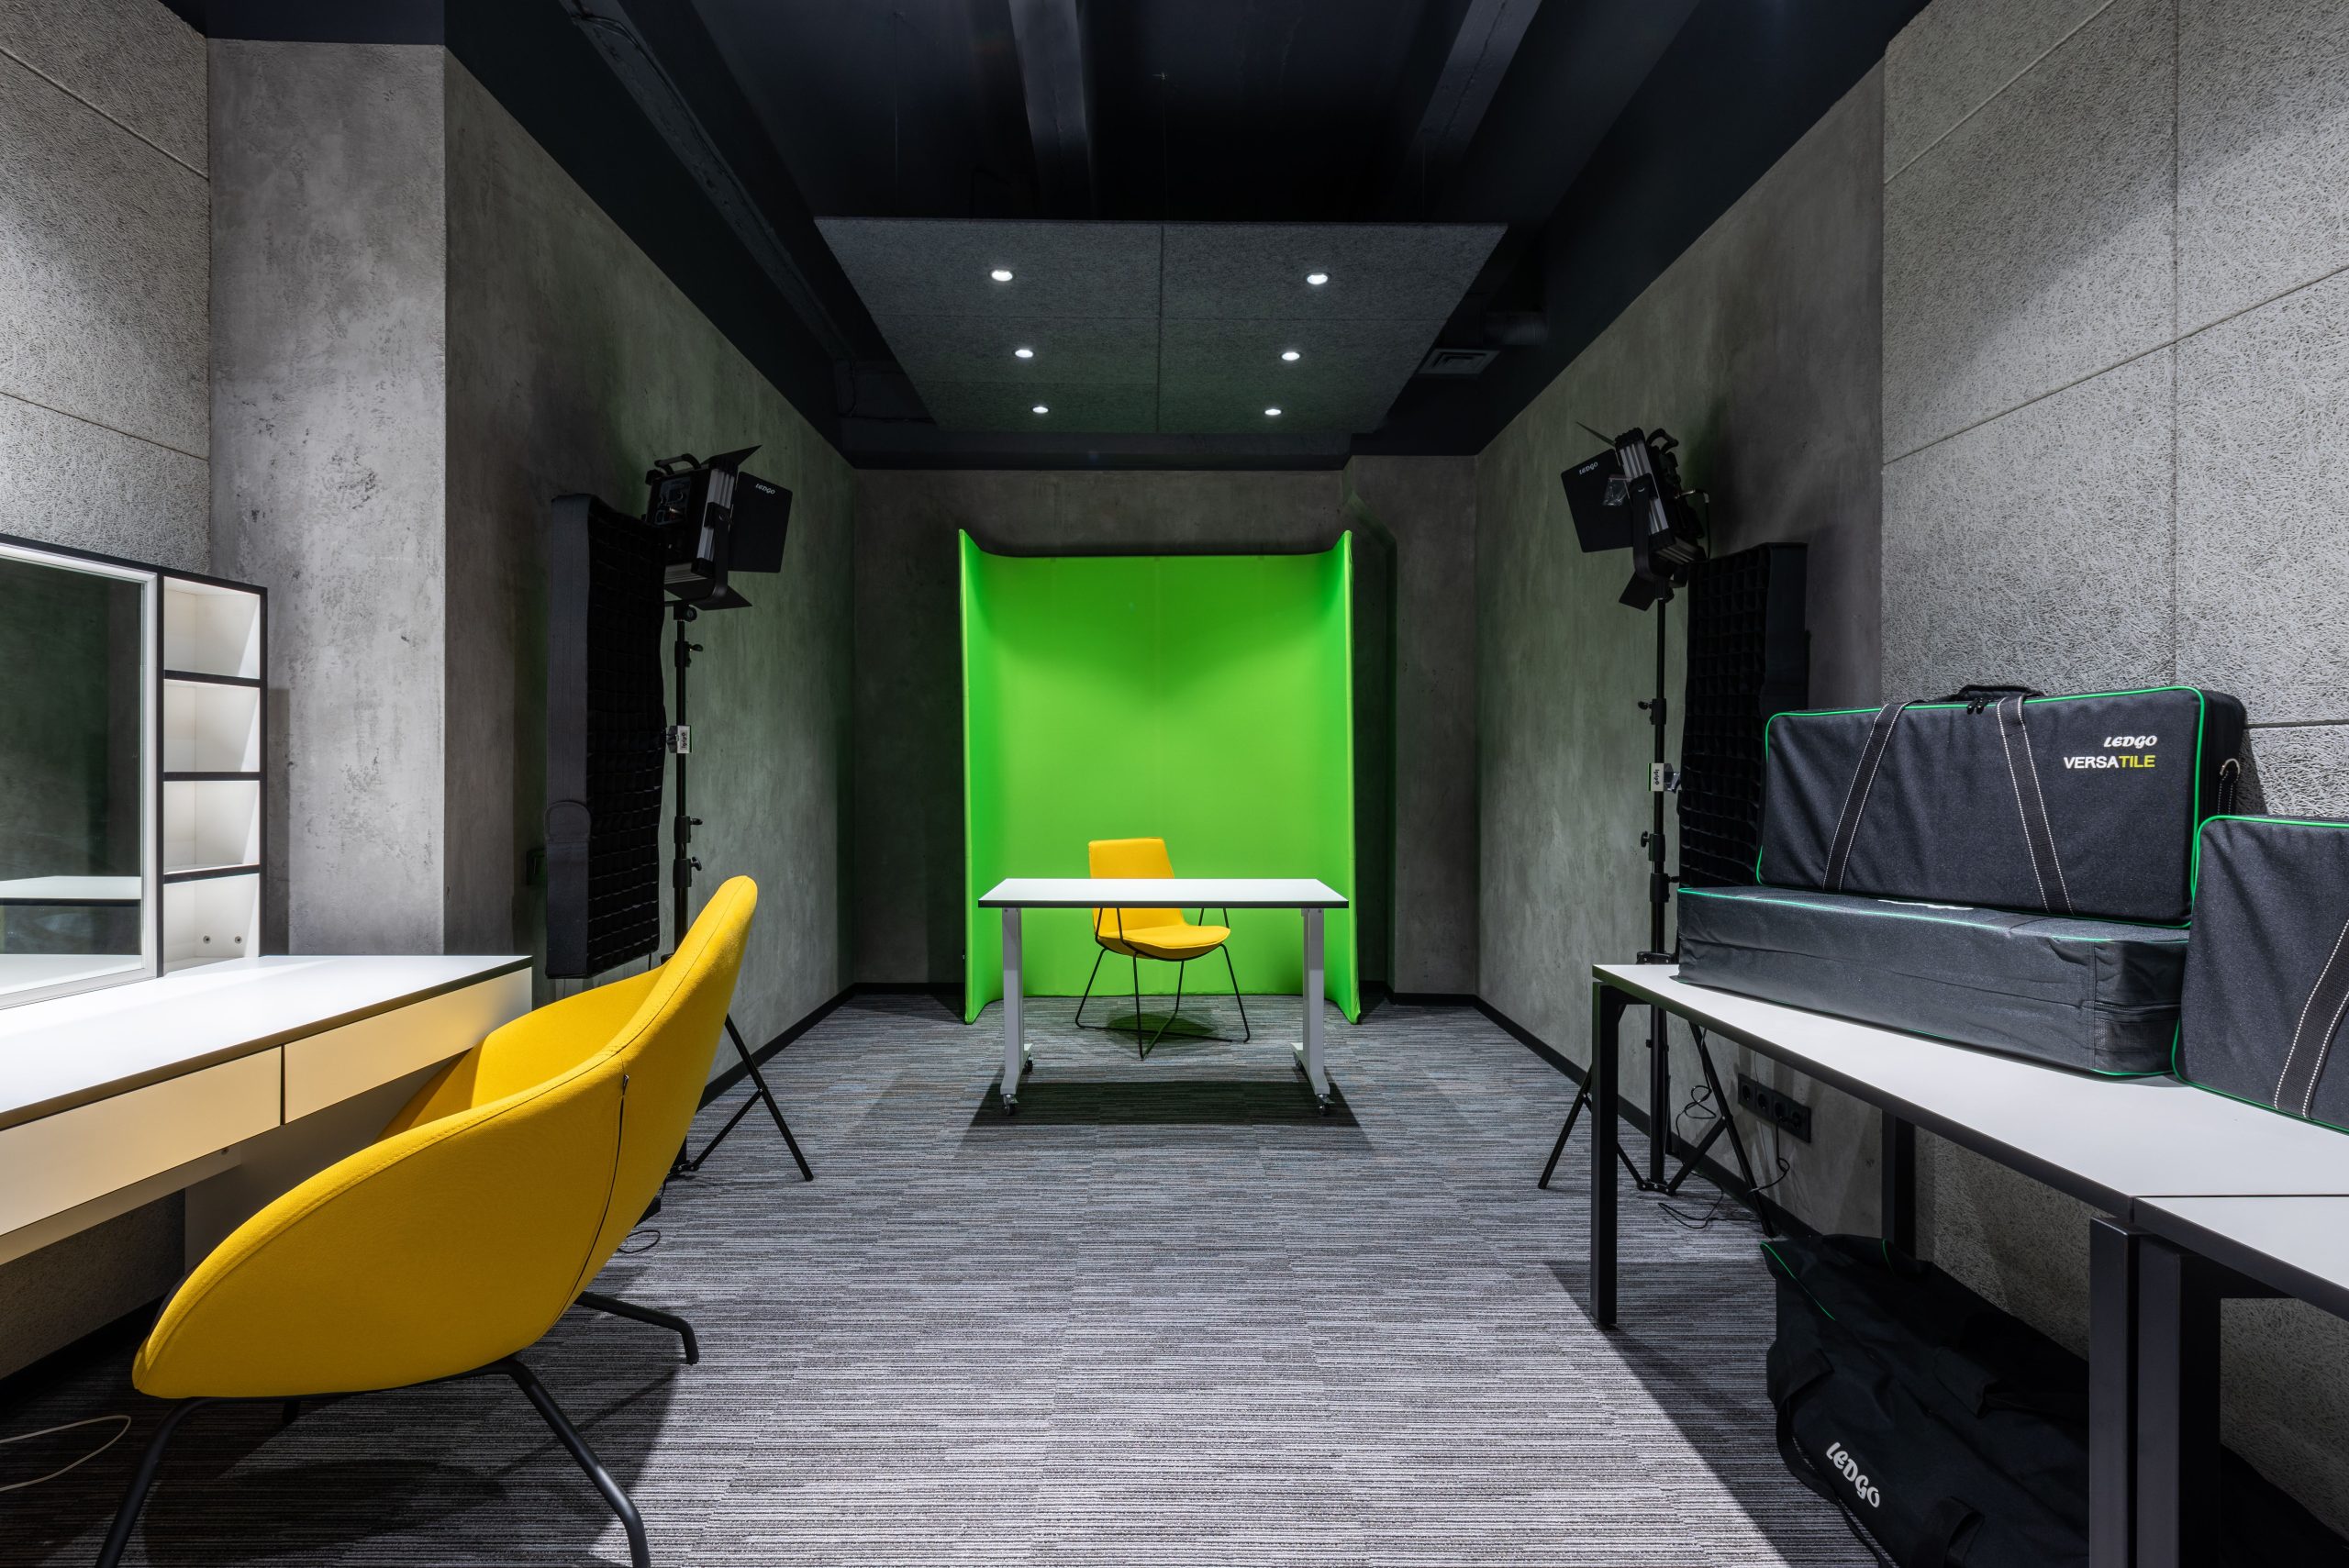
Strobes, speedlights and continuous LEDs are artificial light. The benefit is control: you choose the power, the angle, the size of the source and the color. The cost is gear and the learning curve. One light with a good modifier and a reflector is enough to learn most of what you need.
 Save
 Save
 Save
 Save
Ambient light
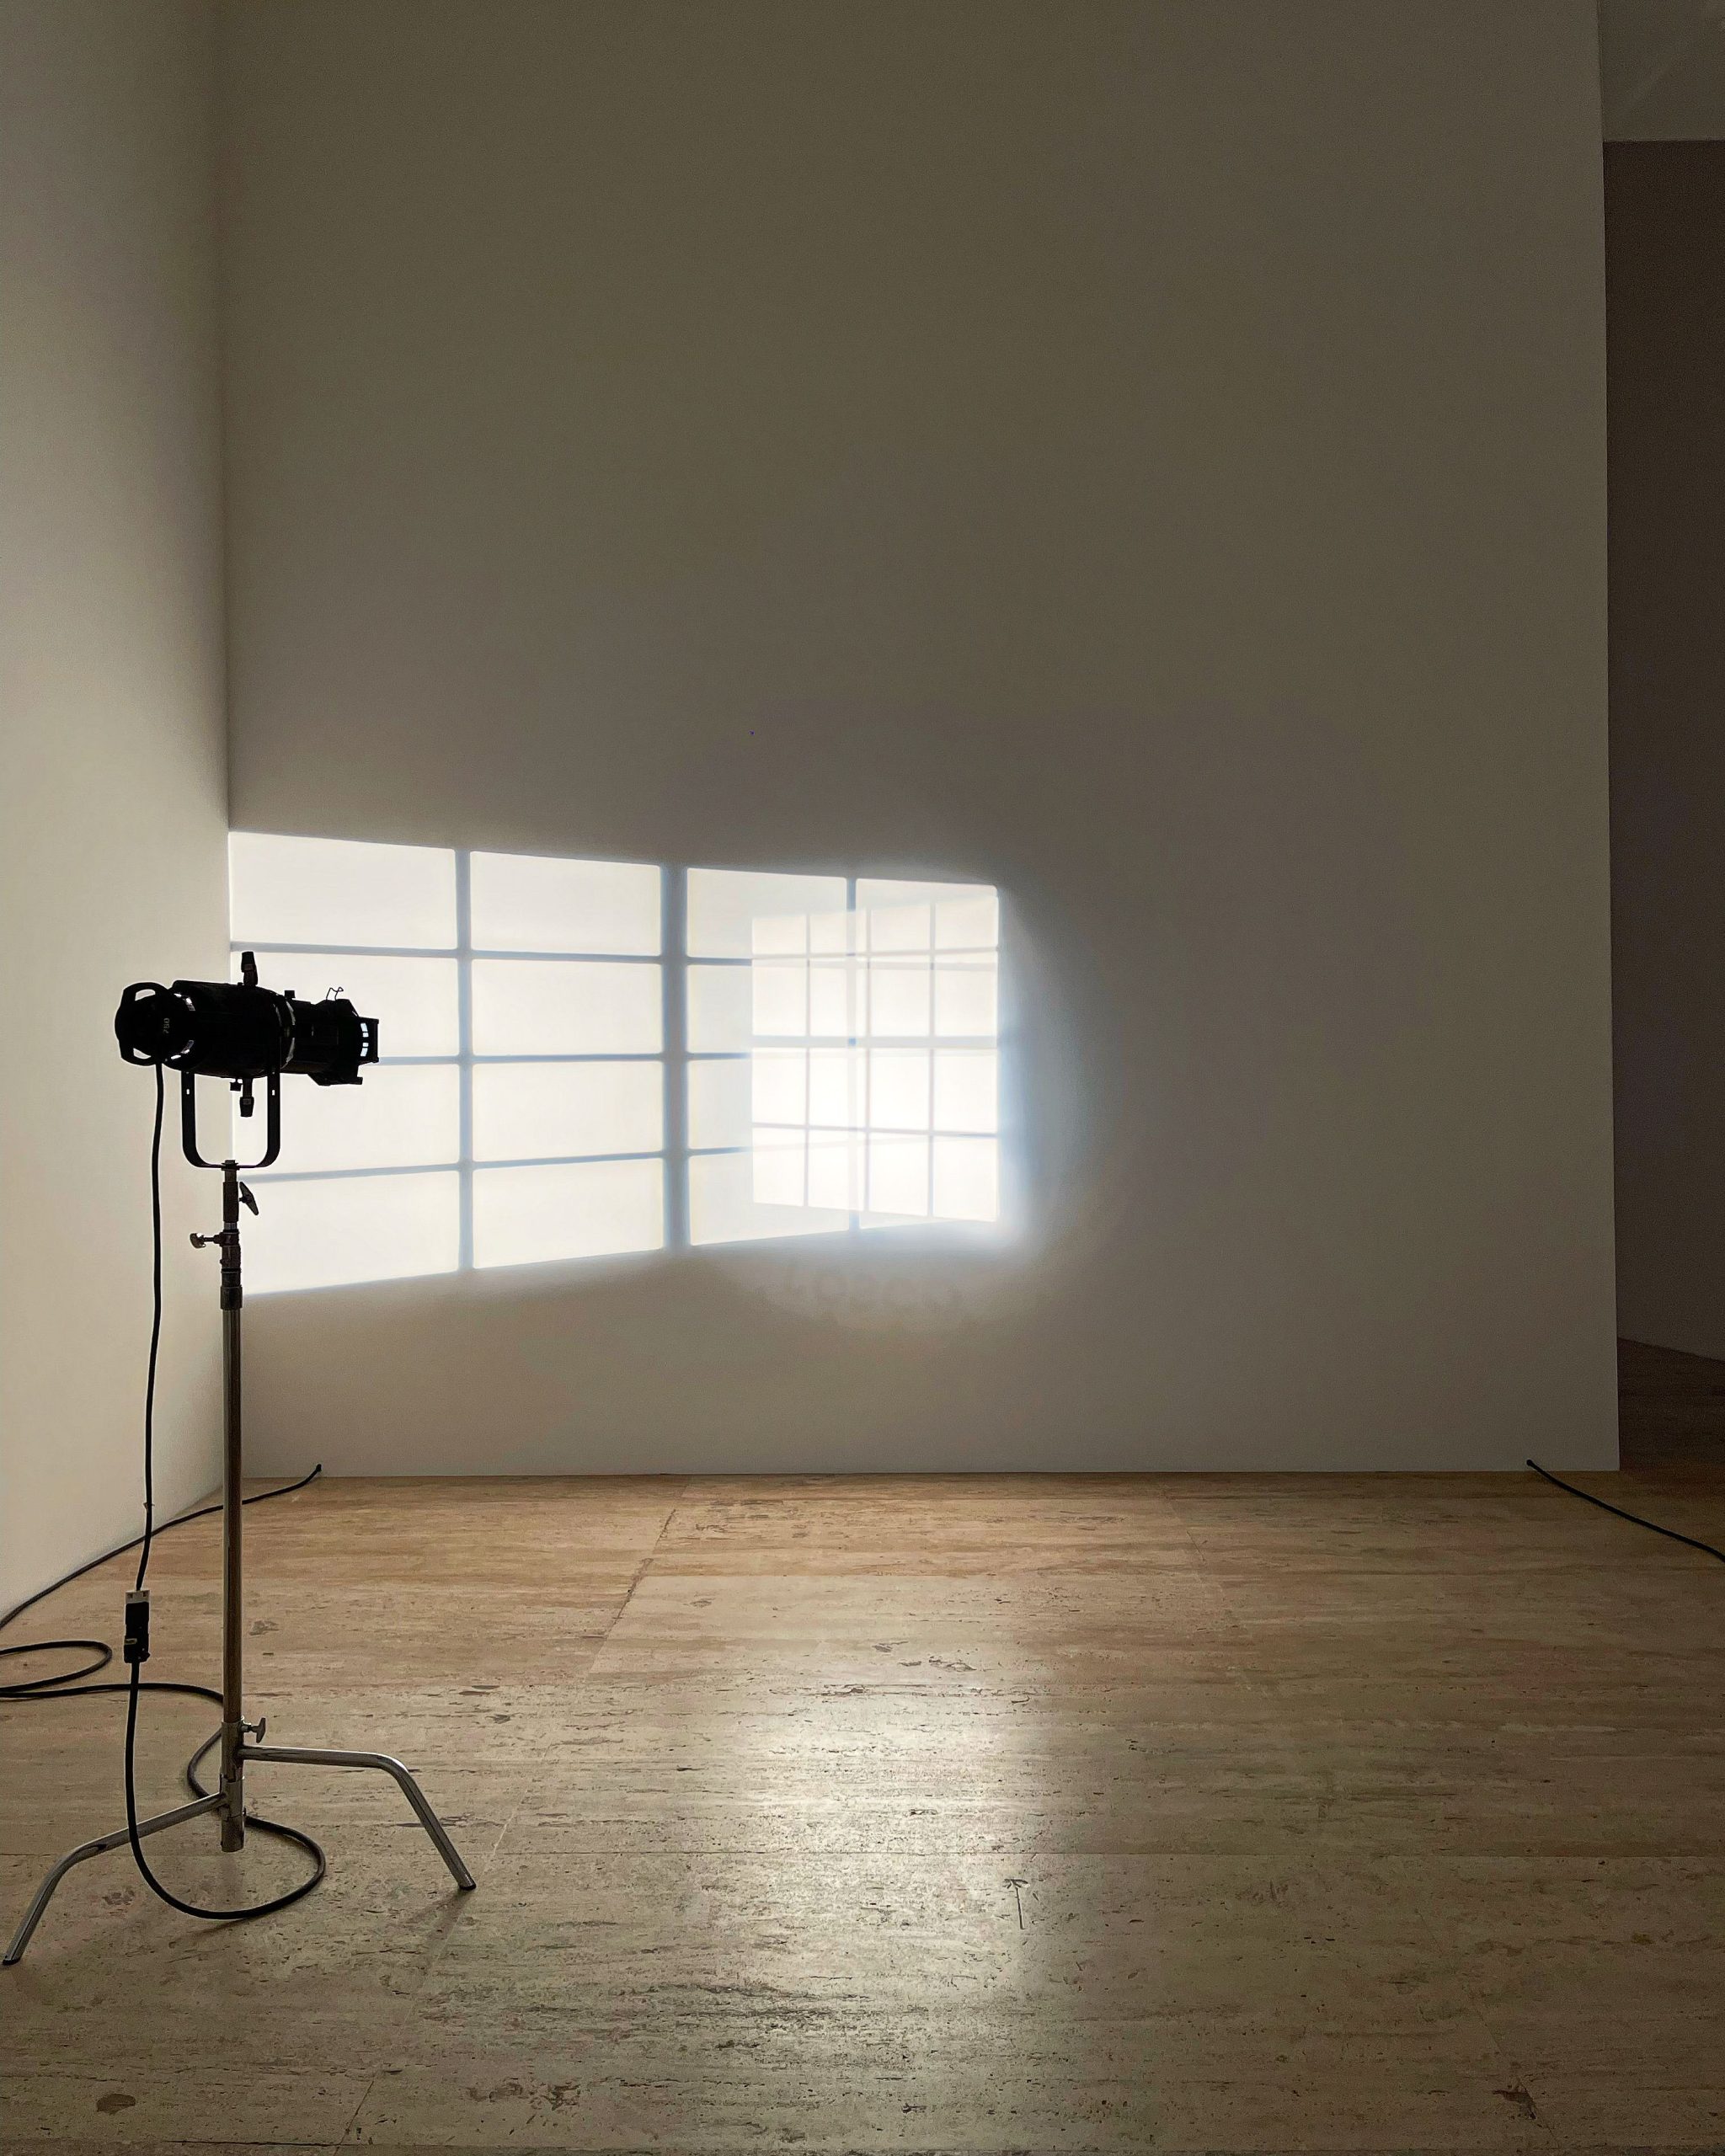
Ambient light is whatever is already in the scene: a window, a shop sign, overhead fluorescents, a lamp on a table. Some of the best portraits come from using ambient light as the main source and adding a small amount of fill. The catch is color. Mixed sources often have different color temperatures, so pick one dominant source and set white balance for it, or shoot raw and correct later.
2. Learn the five patterns
Most portrait lighting you will see falls into a handful of patterns. Learning them gives you a vocabulary, so when a face looks wrong you know which light to move. You can practice all five with one light and a reflector.
Rembrandt lighting
Named after the painter, this pattern puts the key light about 45 degrees to the side and above eye level. The signature is a small triangle of light on the cheek on the shadow side. Raise or lower the light, or turn the face a little, until the triangle closes and then adjust to taste.
Split lighting
Place the light about 90 degrees to the side at eye level. One half of the face is lit and the other is in shadow. It is bold and graphic, so use it for character portraits more than for general flattery.
Loop lighting
A common and forgiving pattern. Place the light slightly above eye level and about 30 to 45 degrees from the camera axis. The shadow of the nose makes a small loop on the cheek. It works on many face shapes, which is why it is so widely used.
Paramount (butterfly) lighting
Put the light high and directly in front, angled down. A butterfly-shaped shadow falls under the nose. It is a classic glamour pattern that emphasizes cheekbones. Check the eye sockets before committing, because deep-set eyes can darken.
Rim lighting (backlight)
Place the light behind the subject so it traces the hair and shoulders. It separates the subject from the background and adds depth. Meter for the face, or the rim will fool your exposure. A reflector or a second light in front brings the face back.
3. Develop your light eyes
This is the step that changes how you shoot, and it costs nothing. Start noticing light everywhere. In a cafe, look at how window light falls across the person opposite you. Is the edge soft or hard? Where do the shadows land under the nose and chin? Which direction is the light coming from, and how big is the source compared with the face?
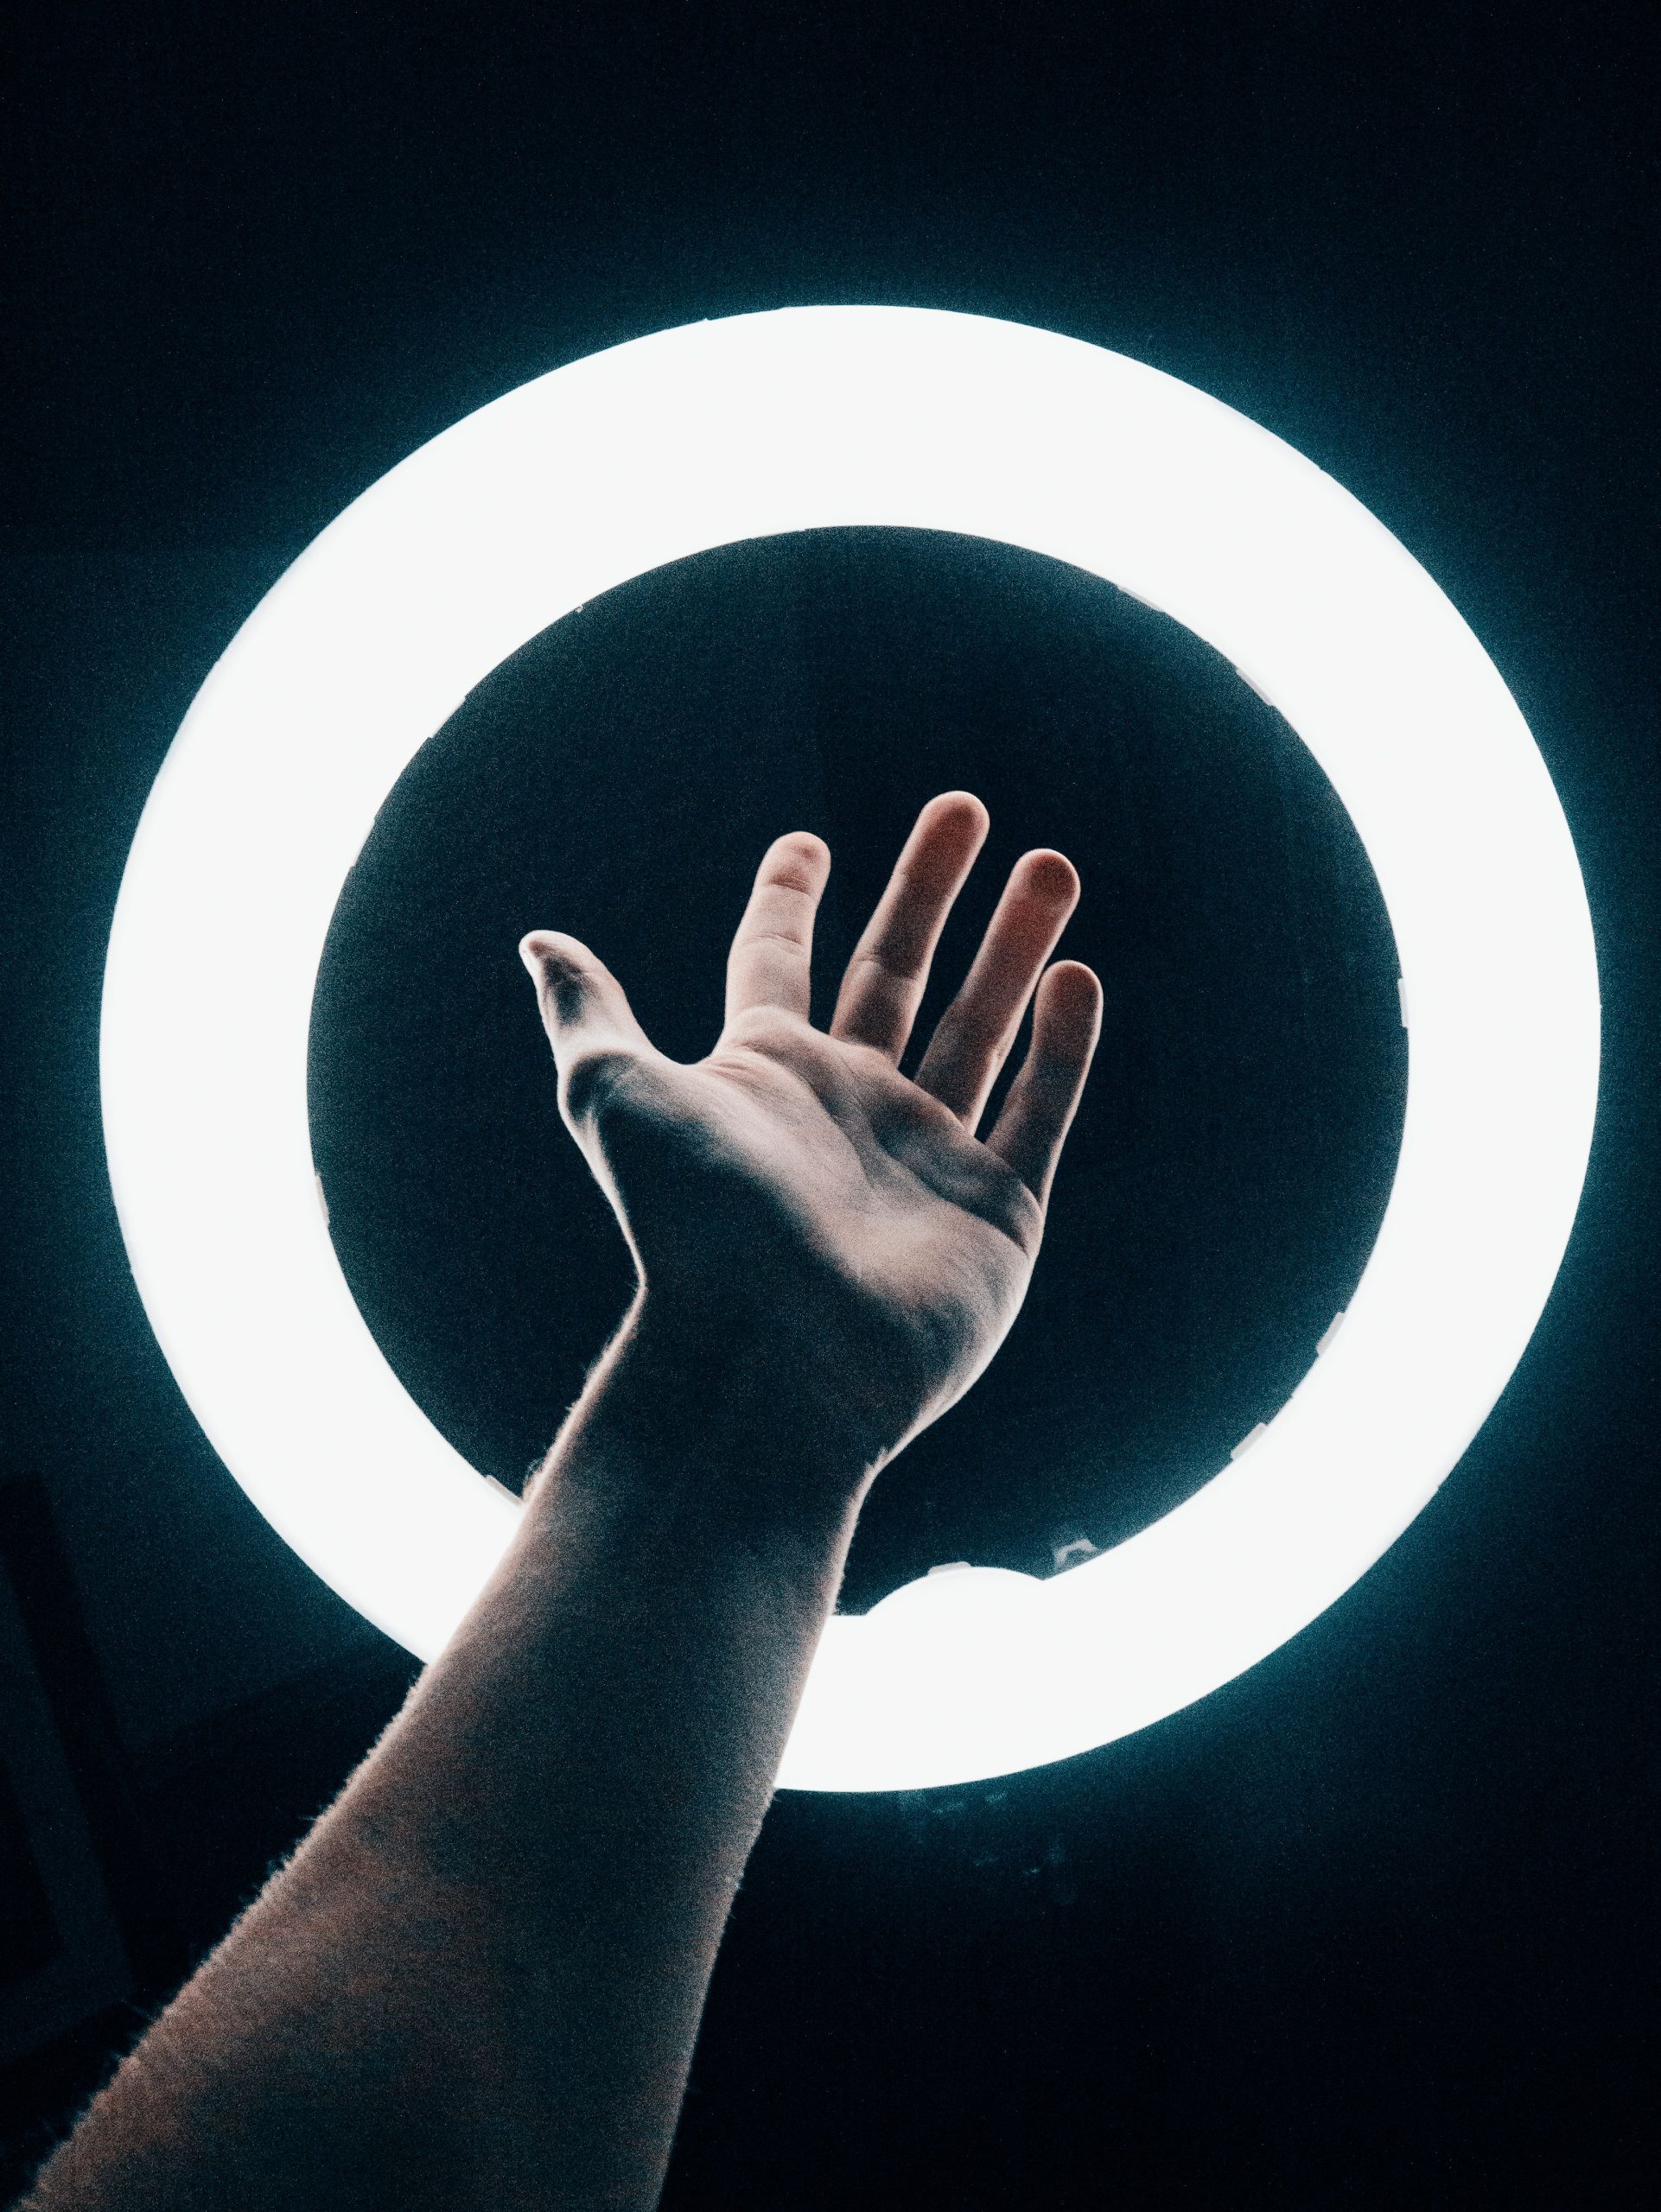
Catchlights are the quickest clue. The small bright reflections in the eyes show the shape and position of the source. A rectangle suggests a window or softbox. A round or octagonal shape suggests an umbrella or an octabox. A ring suggests a ring light. Study portraits you admire, including those on our portrait photography hub, and work out where the light must have been.
Write down what you see. A short note such as “window left, soft, bright background, no fill” is enough. Over a few weeks you stop thinking in settings and start thinking in direction, and that is the point where lighting starts to feel intuitive.
4. Control and modify
Soften it up
Hard light comes from a small source. To soften it, make the source larger relative to the subject or move it closer. A softbox, a shoot-through umbrella or a diffusion panel all do this. Outdoors, a diffusion scrim or a shaded spot does the same job.
Use reflectors
A reflector bounces existing light back into the shadows. White gives a soft lift, silver a stronger and cooler one, and gold a warm one. A 5-in-1 disc is a cheap way to practice, and a white foam board works for the first few sessions. Hold it close and aim it at the shadow side of the face.
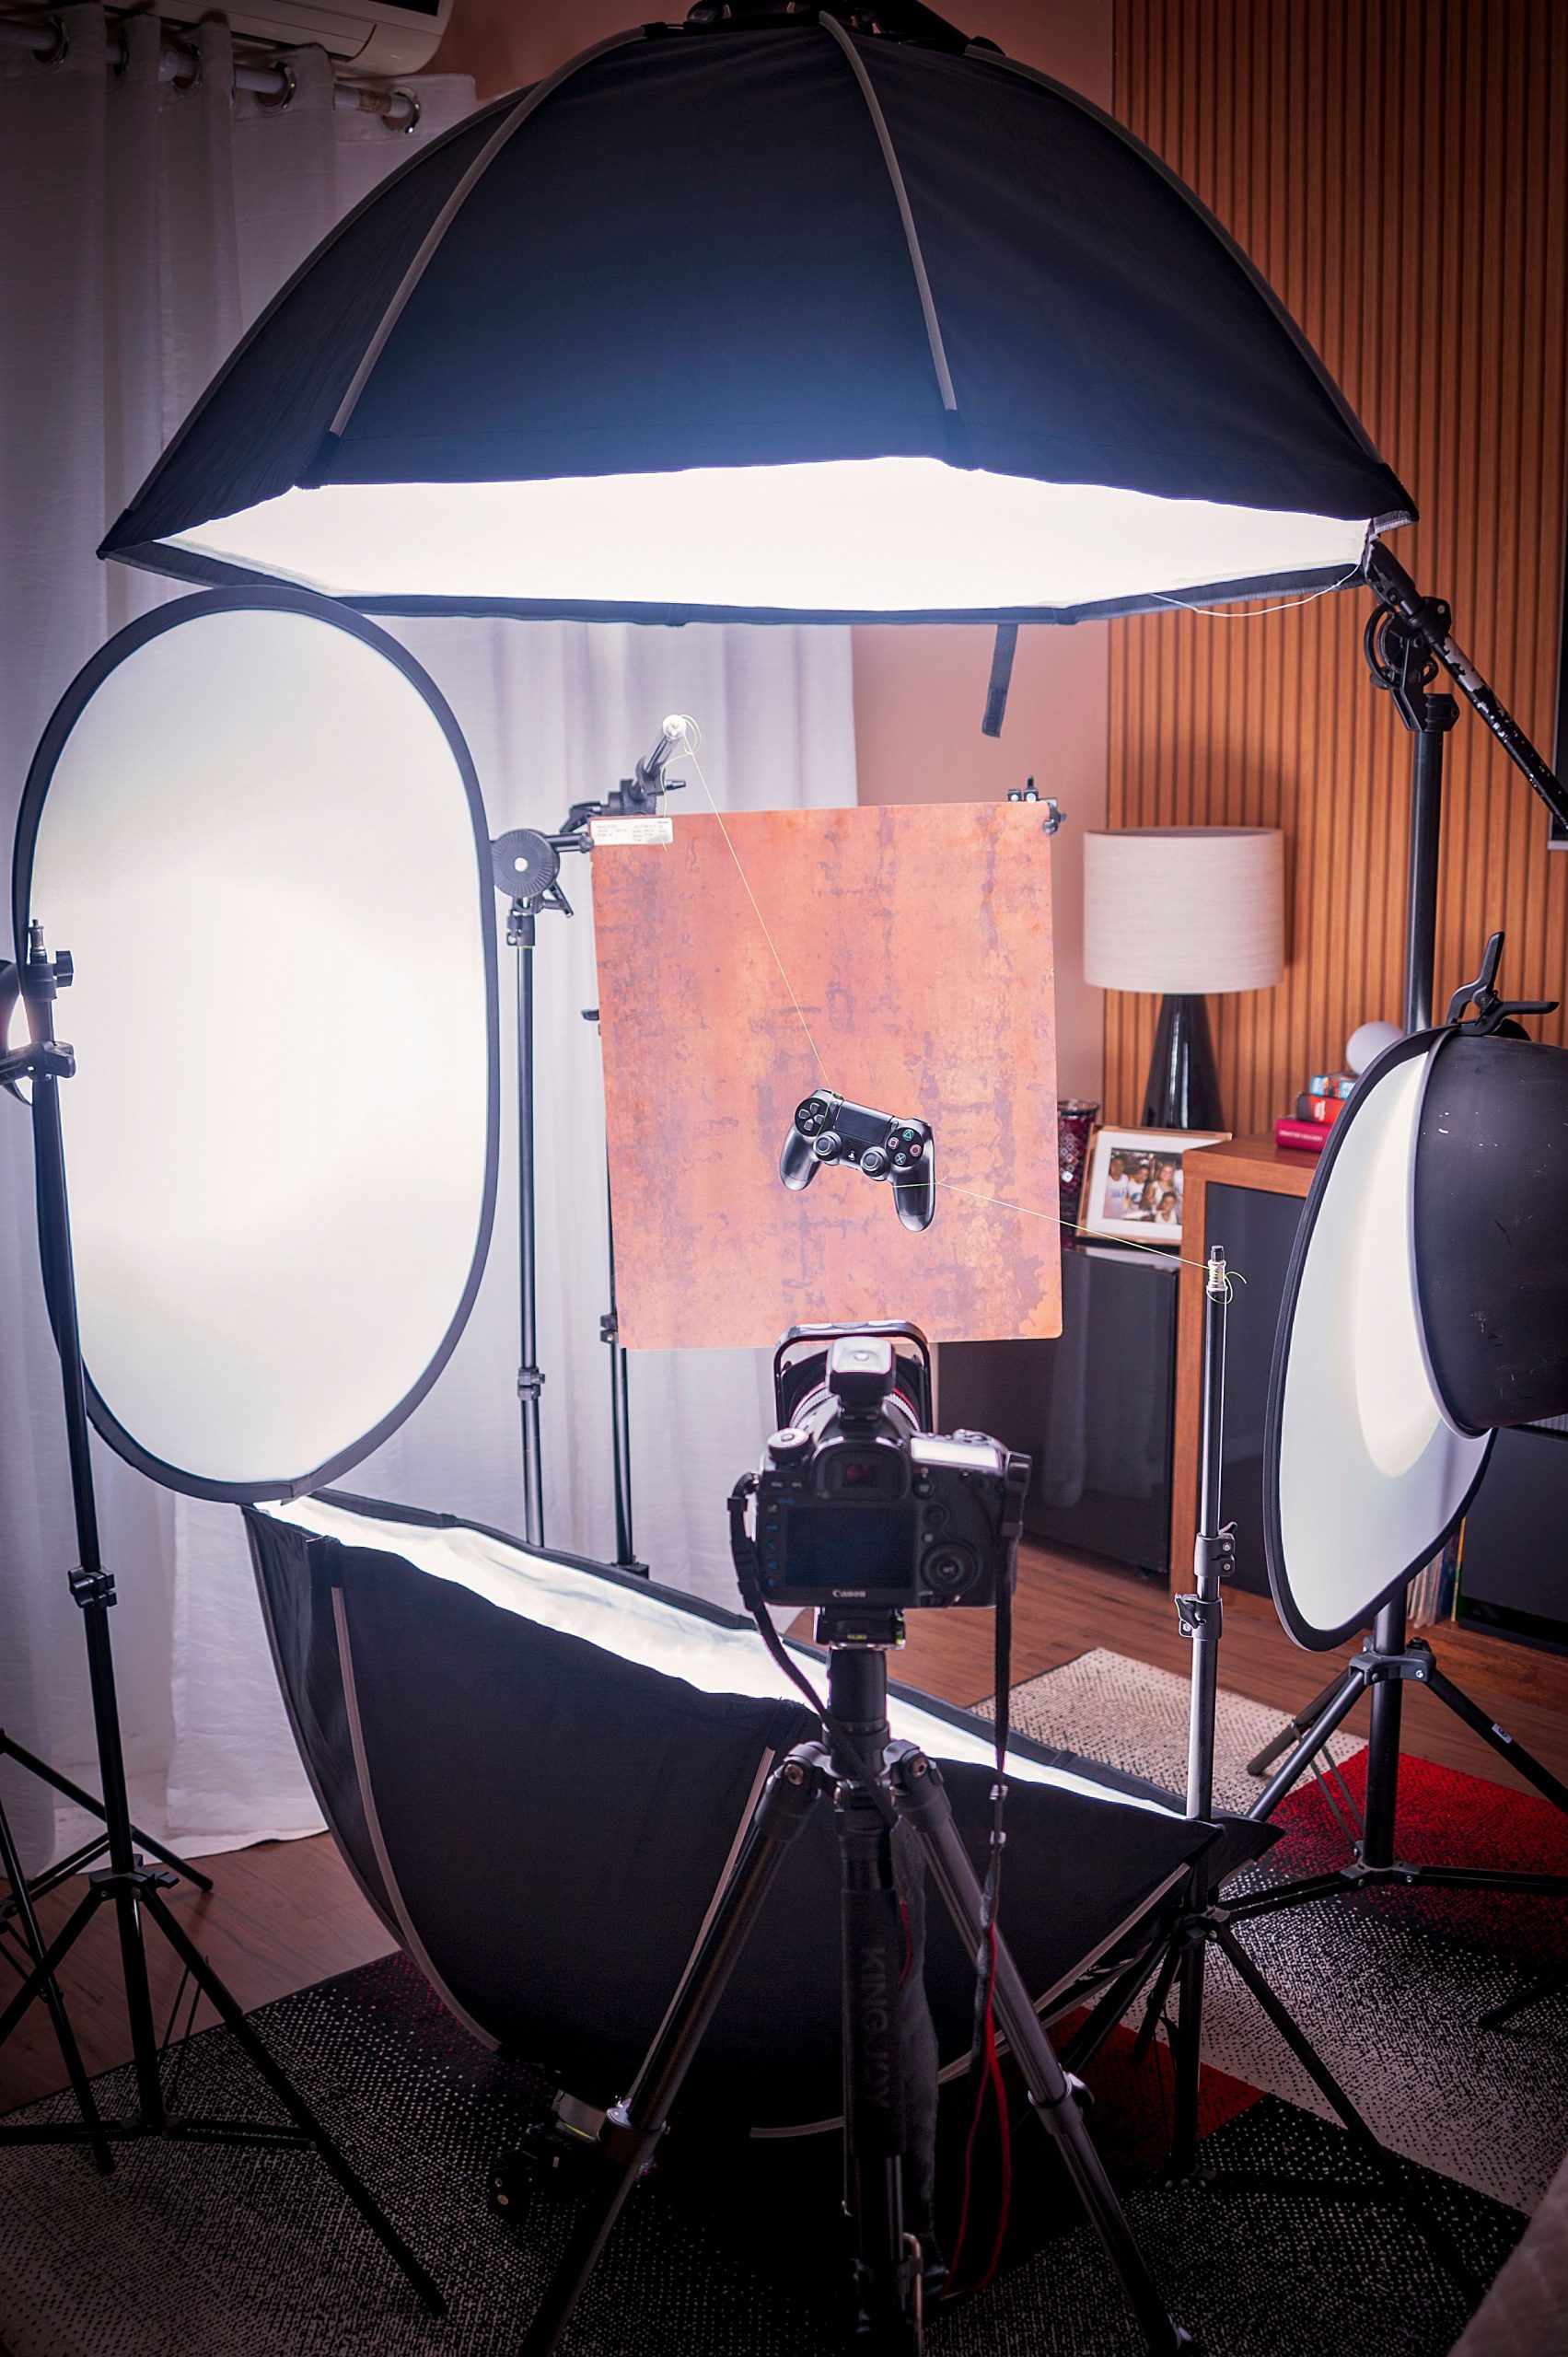 Save
The power of post-processing
Editing refines the light you captured. It cannot fix a bad direction, but it can balance exposure, adjust white balance and add gentle contrast. Shooting raw gives you the most room. Keep edits modest so the original lighting choice still reads.
5. Practice on purpose
You do not need a model every time. Set a small weekly routine and keep it simple.
- One light, one subject: photograph an object or a friend with a single lamp, and move the light in 15-degree steps. Review the whole sequence side by side.
- Window study: shoot the same subject at different distances from a window and watch the shadows soften.
- Golden hour walk: shoot into the sun, across it and away from it, and compare the three.
- Ratio check: add a reflector, then remove it, and look at how the shadow side changes.
- Review: pick the best frame from each session and write one sentence about why the light works.
Keep the sessions short. Twenty focused minutes beats a long, aimless afternoon, and the notes build a personal reference you can reuse.
A first session you can run this week
Reading about light only goes so far. Here is a simple session that puts steps one to four into a single hour, using a window, a reflector and a willing friend or family member.
- Pick the window. Choose a large window that is not in direct sun. Close any other lights in the room so one source dominates.
- Place the subject. Start about two feet from the glass, turned roughly 45 degrees toward it. Take a frame and check the shadow side of the face.
- Move closer, then farther. Take a frame at every step. Closer usually means more contrast and a brighter face. Farther means softer light and a darker frame.
- Add the reflector. Hold a white board or a 5-in-1 disc on the shadow side and take a frame with and without it. Notice how the eye on the shadow side opens up.
- Turn the face. Rotate the head a little toward and away from the window and watch the triangle on the cheek come and go. That is Rembrandt lighting appearing and disappearing.
- Review. Sort the frames by the position of the light and write one note per frame.
The aim is not a portfolio image. The aim is to see cause and effect fast enough that it sticks. Repeat the same session at a different time of day, and the effect of the changing sun will be obvious.
Common lighting mistakes and how to fix them
- Light too small and too far away. The result is hard, harsh shadows. Use a larger modifier or move the light closer.
- Light straight from the camera. On-camera flash and ring lights flatten the face. Move the light off axis to bring back shape.
- Ignoring the background. A bright window or lamp behind the subject can fool the meter. Check the exposure on the face, and look at what the light does to the backdrop.
- Mixed color temperatures. A warm lamp and a cool window in the same frame can give odd skin tones. Turn one off or fix it in raw.
- Dead eyes. If the catchlights vanish, the portrait can look lifeless. Raise the light or reposition the subject so the eyes pick up the source.
- Over-lit shadows. Too much fill removes the shape you worked to create. Use a reflector at a distance, or lower the power, until a little shadow remains.
- Skipping the review. Check the LCD and the histogram early. It is much easier to fix a light now than in editing later.
Treat every mistake as information. When a portrait looks wrong, ask three questions in order: where is the light coming from, how big is it compared with the face, and how much fill is in the shadows? Nearly every problem comes back to one of these three answers.
Over time you will build a short list of setups you trust, such as one for window light, one for open shade and one for a single strobe. A short list you know well will serve you better than a long list you have only read about.
Reading light on location
Everything above works the same away from home, but location shoots add one extra variable: the light keeps moving while you work. A short routine helps you stay ahead of it.
Arrive early and walk the space before you take a single frame. Look for open shade, light-colored walls that act as natural reflectors, and doorways or window edges that make a soft, directional source. Check where the sun will be in twenty minutes, not only where it is now, because the best spot at the start of a session is often the worst one by the end. A sun-position app can show the angle for your exact location and date.
Next, choose the background before you place your subject. A bright patch behind the person will pull your exposure down and make the face dark, while a deep, even background lets the face carry the frame. Turn your subject, not only yourself, until the light and the background both work. A step to the left or a small head turn often fixes more than any gear change.
Finally, take one test frame, check the histogram and the shadow side of the face, and adjust. If the shadows are too deep, bring in a reflector or move closer to the bright side of the scene. If the highlights are clipping, shift to open shade or wait for a cloud. Most lighting problems on location are timing and position problems, and both are free to fix.
Bringing it all together
Good portrait lighting is a set of small, repeatable decisions. Name the light you have, pick a pattern, check the direction and the size of the source, control it with a modifier or reflector, and then practice until the choices are quick. You do not need a large studio. A window, a reflector and the habit of looking carefully will teach most of it.
If you want guided instruction that builds on this, the Academy has a Portrait Photography course.
Still choosing a body for portrait work? Our best cameras for portrait photography in 2026 guide covers the field.
Frequently Asked Questions
What is the best light for portraits?
Soft, directional light is a safe choice: window light, open shade or low sun with a reflector. It flatters skin and keeps shadows gentle. Hard light can work too, but it needs more care in positioning.
Do I need a studio to practice portrait lighting?
No. A window, a lamp and a white board or reflector are enough to learn direction, softness and ratio. Studio lights add control and repeatability rather than better fundamentals.
How do I see where the light is coming from in a portrait?
Look at the catchlights in the eyes and the direction of the shadows under the nose and chin. The shape and position of the catchlight point to the shape and position of the source.
What is the easiest lighting pattern to start with?
Loop and Rembrandt lighting are good starting points. Both use one light at roughly 30 to 45 degrees from the camera axis and slightly above eye level, so you can learn them with minimal gear.
Should I use flash or natural light for portraits?
Either works. Natural light is free and fast to set up but changes with time and weather. Flash gives you consistent control but needs more gear and practice. Many photographers learn on natural light and add flash later.
Want to go further? The ShutYourAperture Academy has a Portrait Photography course that builds on these lighting steps.
Gear box: portrait staples that earn their keep
A classic portrait lens, the cheapest light shaper there is, and a small continuous light for when the sun quits. Check current price and availability on the retailer page before you buy.
Impact 5-in-1 Collapsible Circular Reflector Disc (42″)
Bounce, diffuse, or block natural light
Affiliate disclosure: We may earn a commission from qualifying purchases through the Amazon and B&H links, at no extra cost to you. Lighting advice is based on widely taught photography practice and published manufacturer specifications, not on sponsored testing. All photos in this guide are from our own photography archive.