Updated November 2026. Illustrative stock photograph, not an Edin Chavez photograph.
A window can be a barrier, a mirror, or both at once. Before choosing a filter or an editing tool, decide which of those roles belongs in your photograph. A clear view through glass and an image built around reflections need different choices.
This five-step guide separates those choices, then gives you a practical way to check position, light, focus and editing. The photographs are illustrative stock images, not before-and-after tests or proof of particular camera settings.
Step 1: Decide which layer should lead
Stand still for a moment and study the window without the camera. Identify the subject beyond the glass, the reflected scene on your side, and anything on the surface itself. Those are separate layers. A skyline, an overhead light and a raindrop can all appear in one frame, but they do not need the same remedy. Calling every distraction glare makes the problem harder to diagnose.
If the subject is beyond the window, give that scene priority. Look for a position where the reflected layer becomes weaker or moves away from the important details. If the reflection is the subject, watch for shapes behind the glass that compete with it. You may need a darker interior behind the reflected building, or a simpler reflected background around an interior object. Begin with a visual decision rather than a rule about angles.
A useful first frame is a reference photograph with no attempt to fix anything. Study where the competing edges cross. Does a ceiling light cut through the skyline? Does your shirt sit over the display? Does the window frame divide the subject in a useful way? Make one change and compare the next frame with that reference. Otherwise it is easy to mistake a different composition for a successful reflection fix.
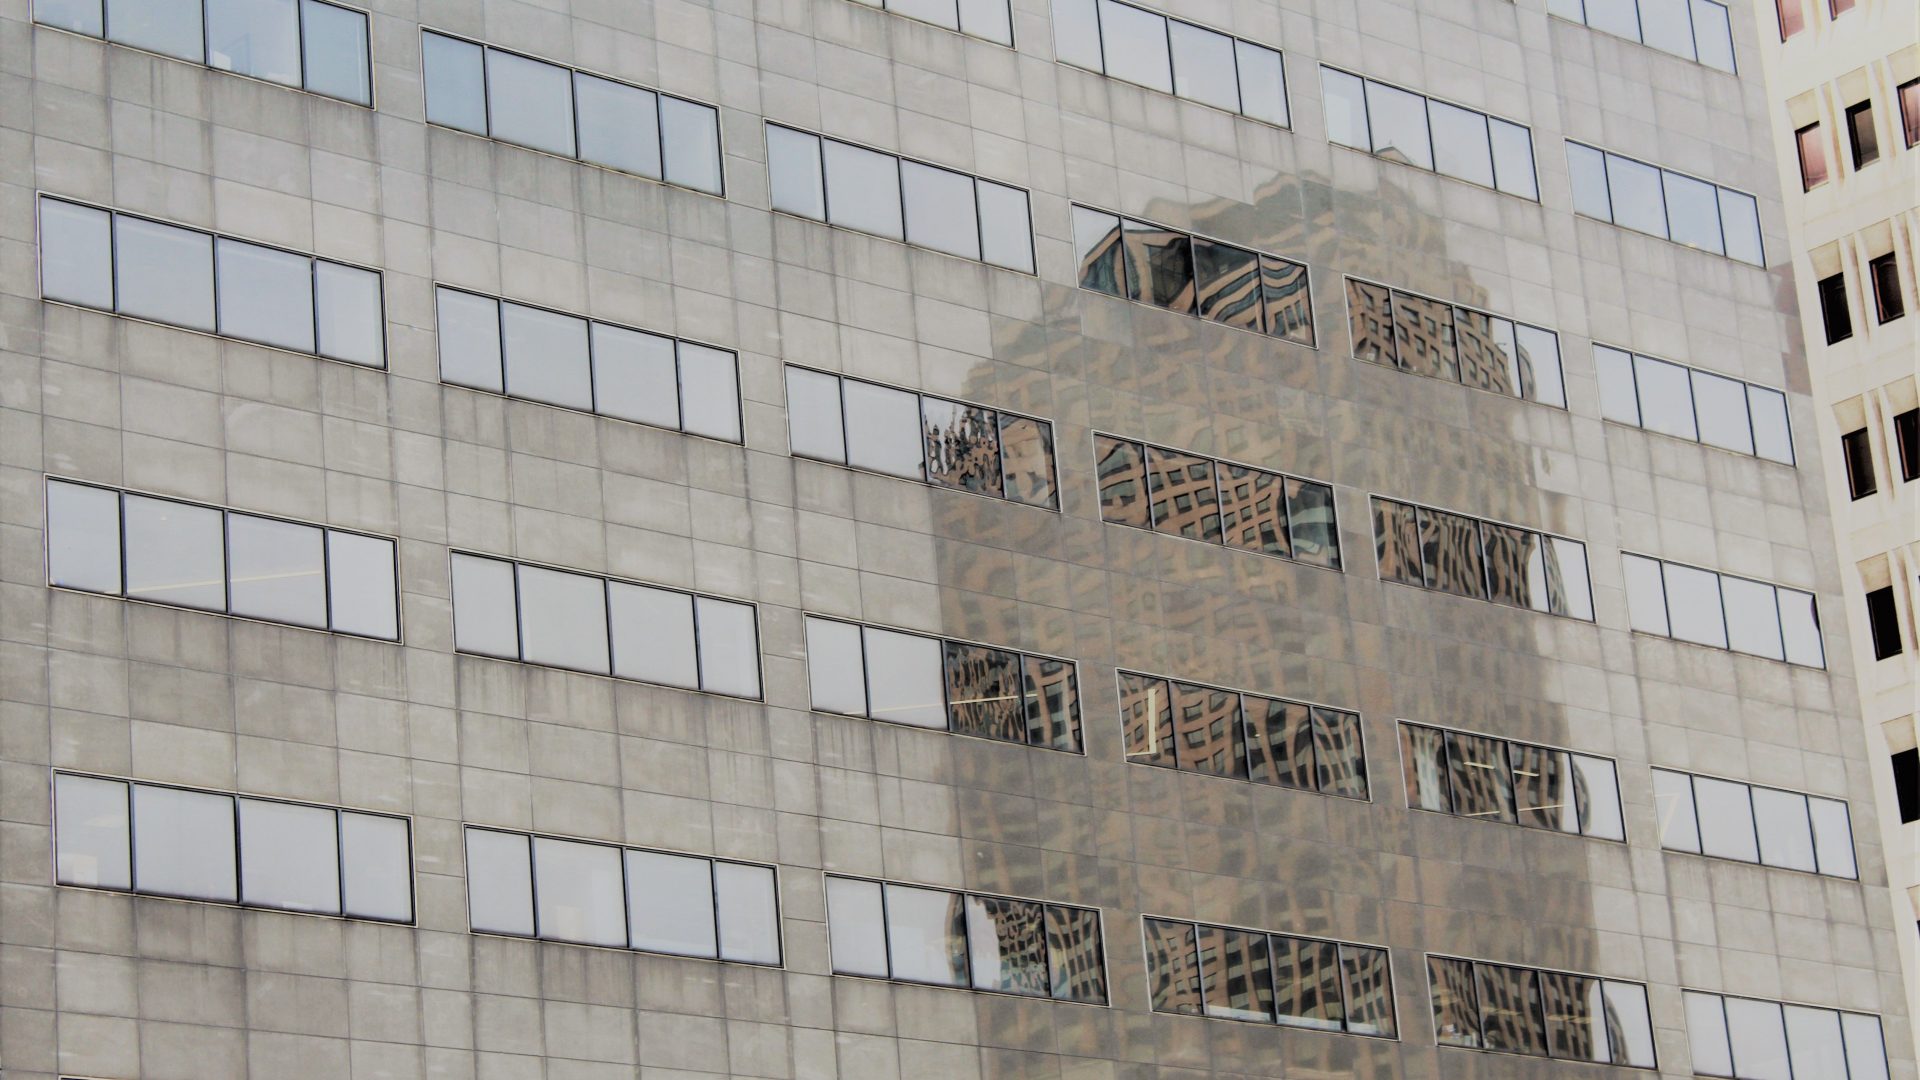
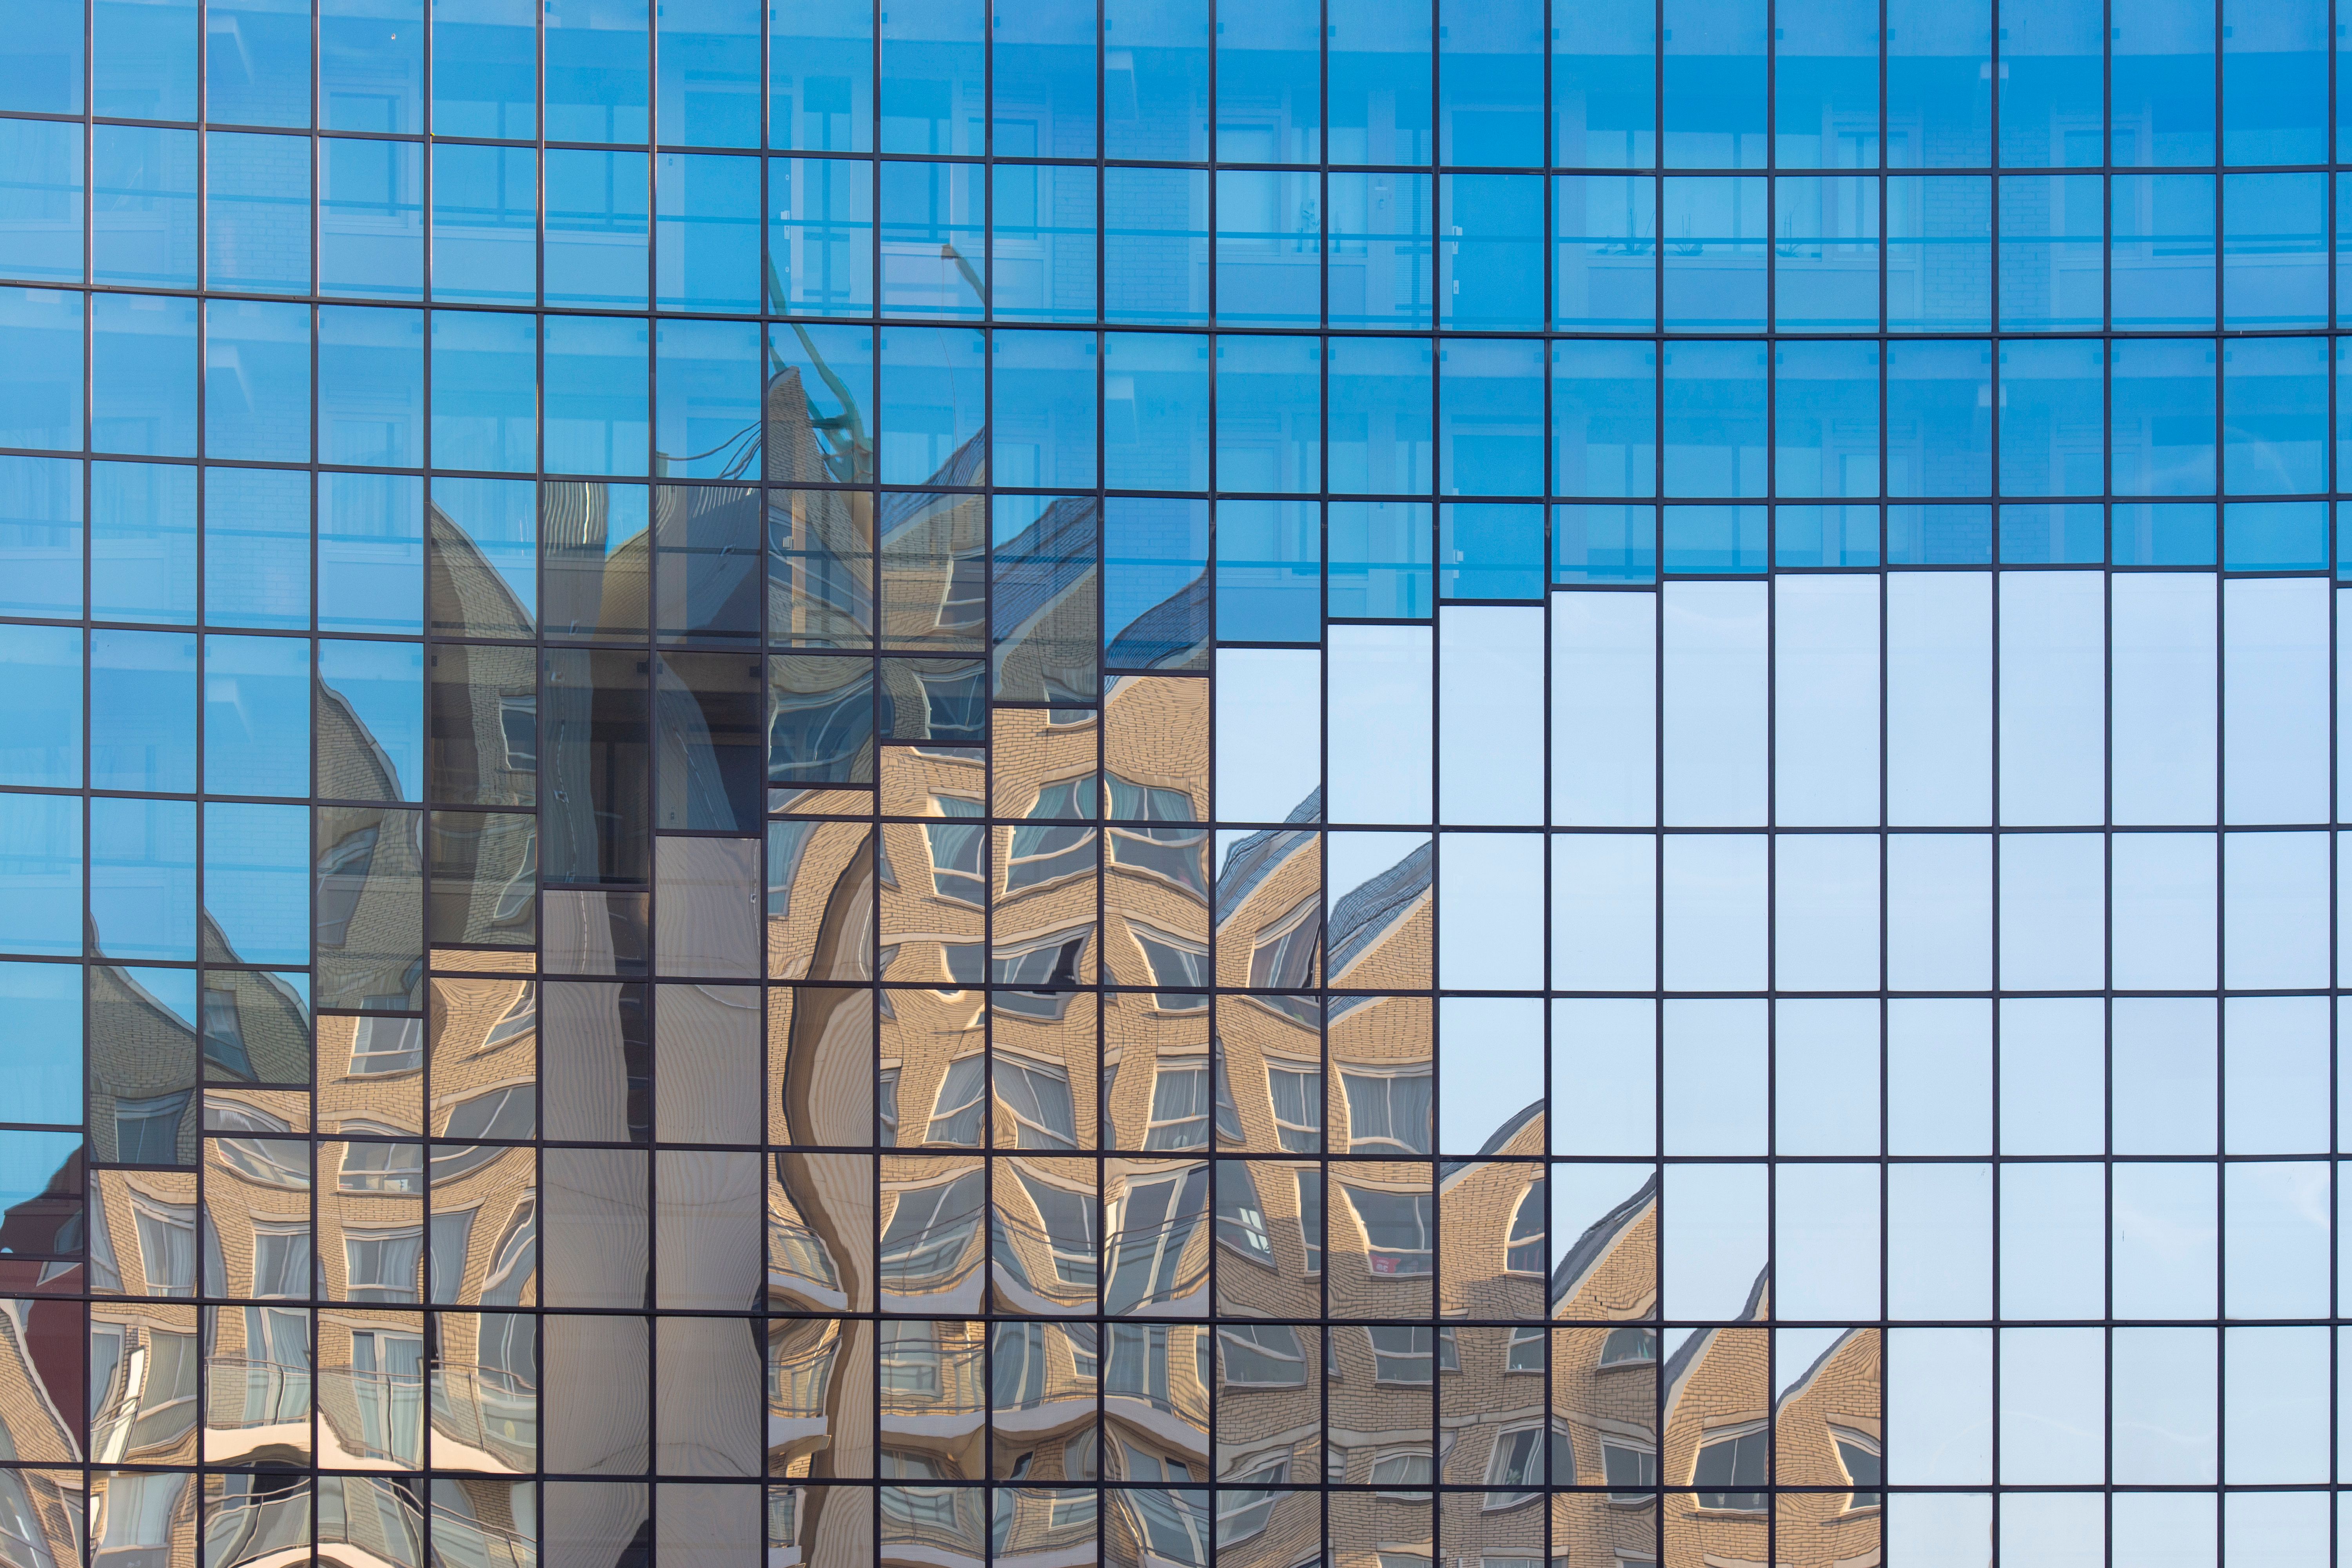
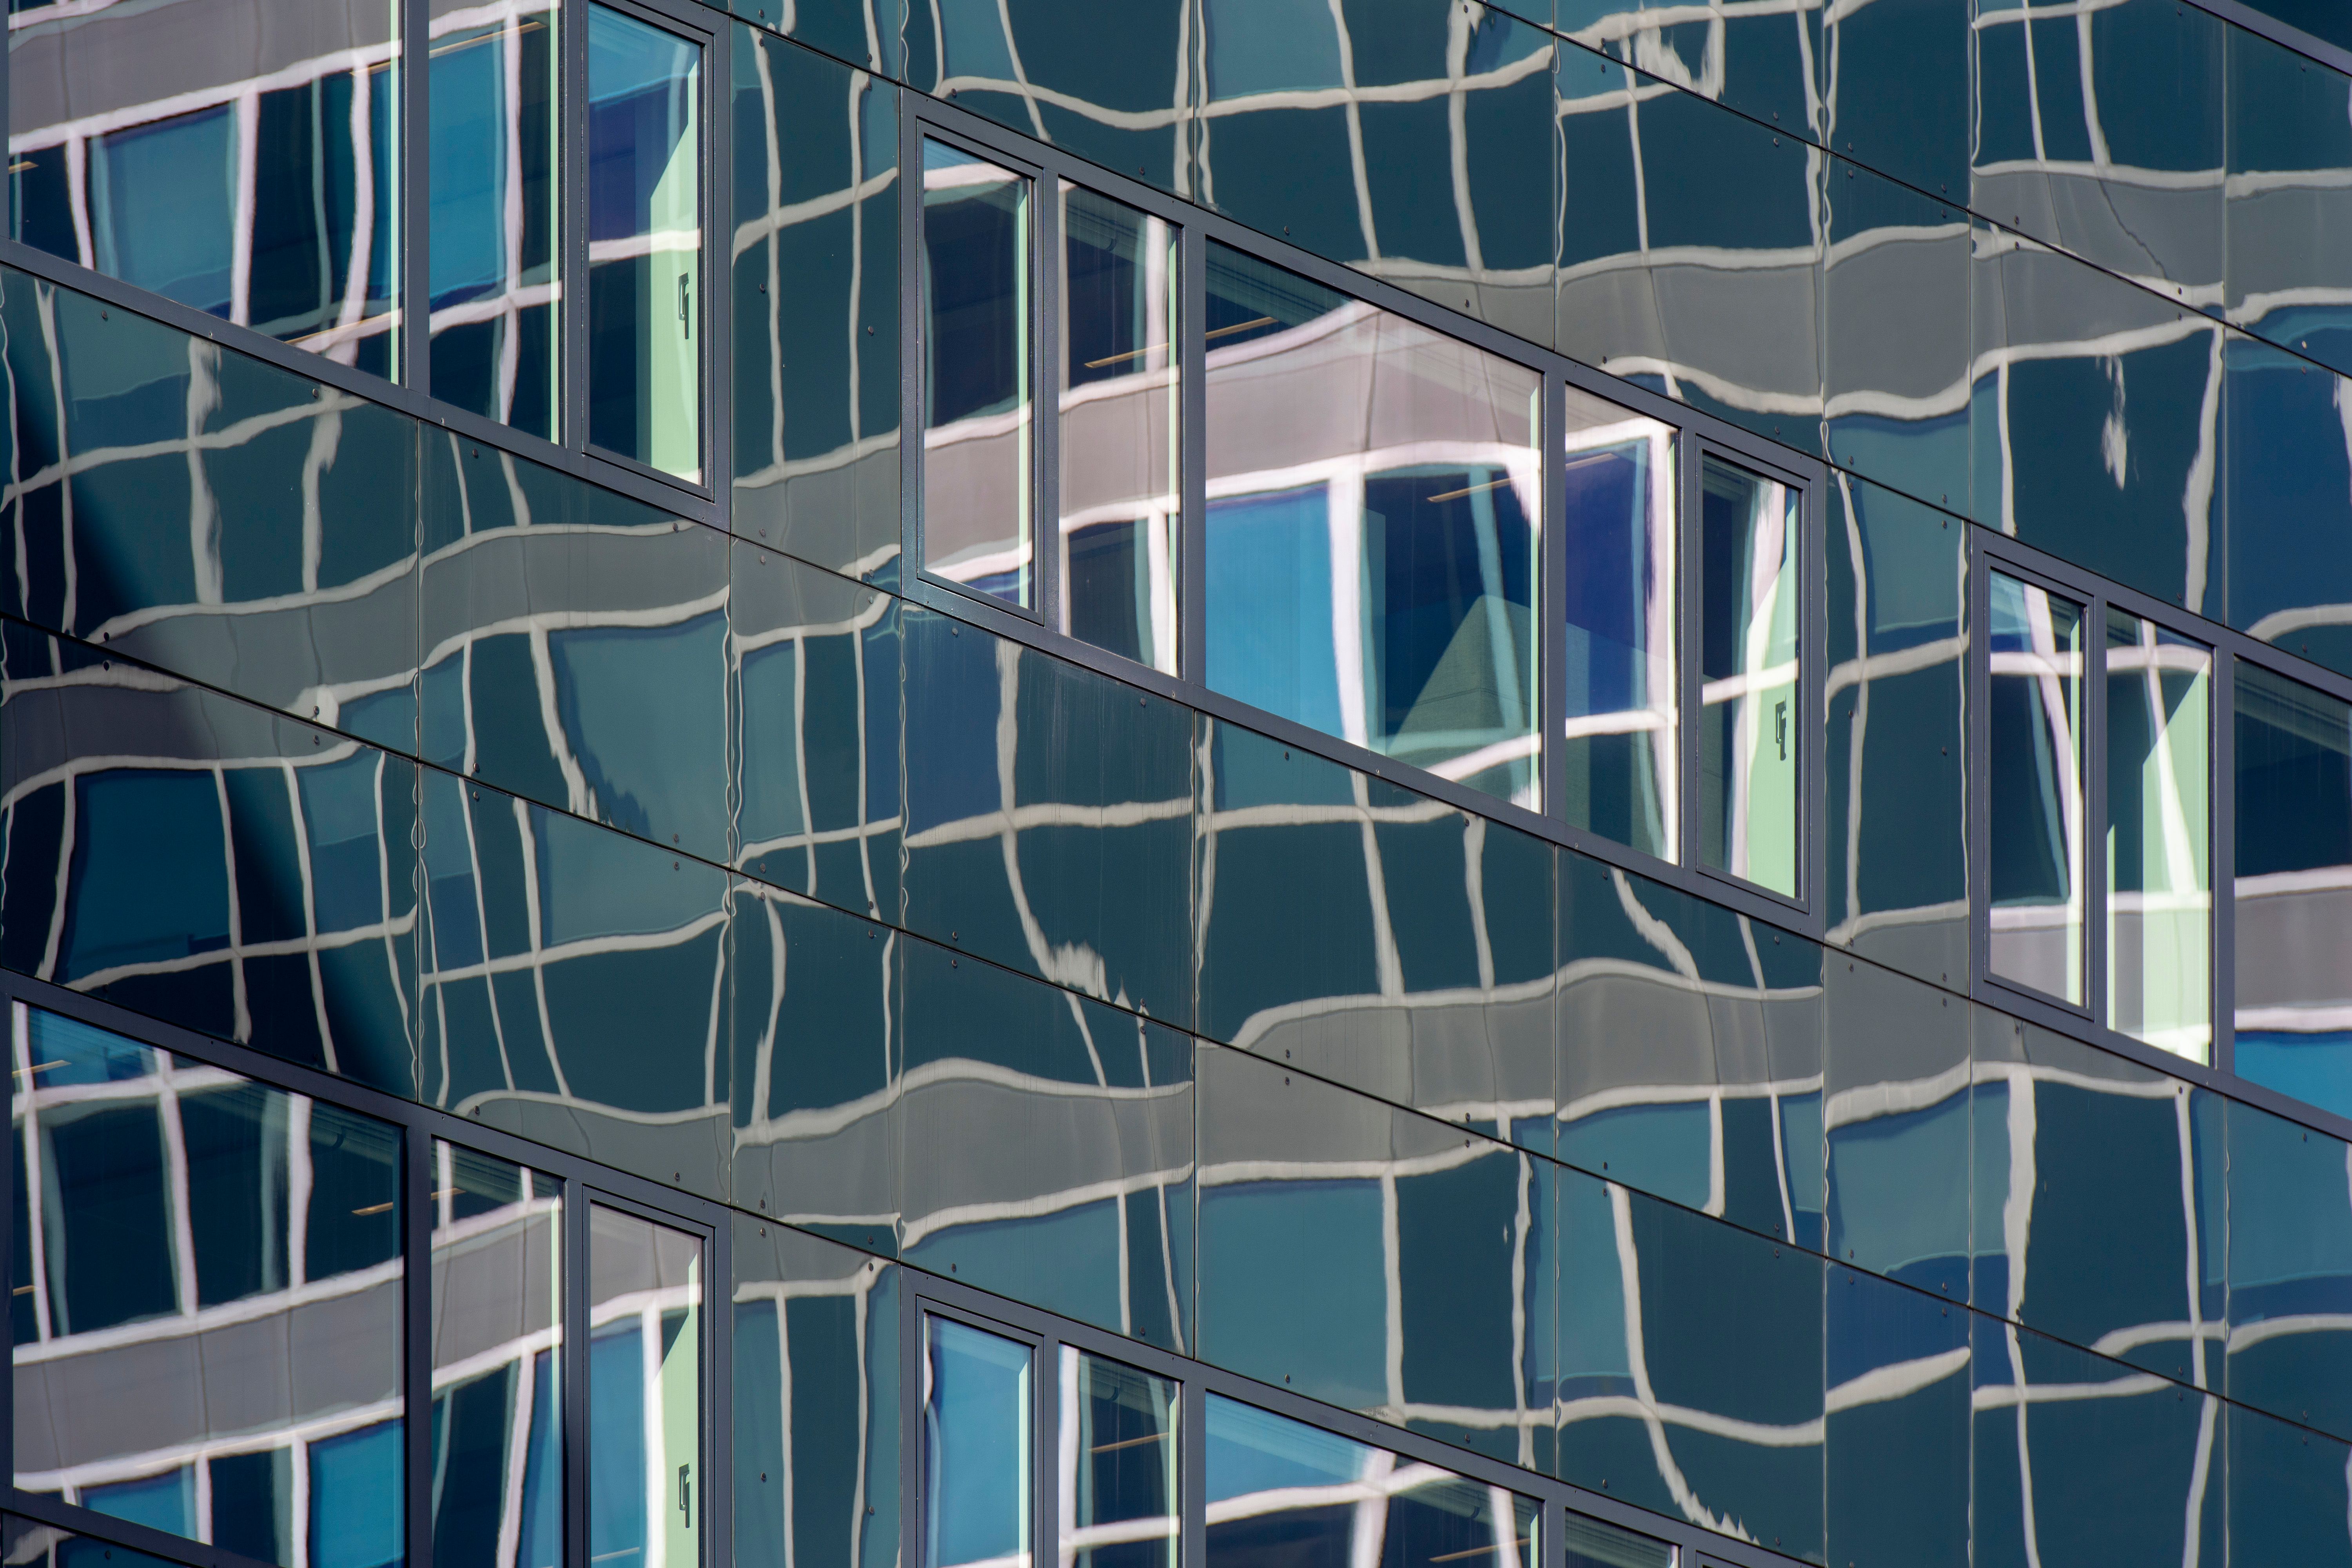
For creative work, a reflection does not have to disappear. Repeated windows can turn a straight facade into waves, while a reflected street can overlap an interior. Choose one dominant shape, then use the second layer as supporting information. Avoid explaining a confusing photograph with a long caption. If the two layers have equal contrast and neither has a clear subject, simplify the frame before adding more visual material.
This is different from manufacturing a reflection in an editor. Photographing an existing reflection records light already present at the scene. A composite combines selected elements later. Both can be creative, but they are different processes and should not be described as interchangeable. If you add or replace a reflection, be clear about the change when the image is presented as a record of a real place or event.
 Save
Step 2: Move the camera and control your side of the glass
For a clear view through a window, start by reducing light on the camera side. Turn off nearby lights only where you have permission. Move away from a bright screen, illuminated sign or sunlit wall behind you. Dark clothing can help reduce your own reflection, but it will not remove a bright ceiling fixture. Look around the room as well as through the viewfinder; the source of a distracting patch may be behind your shoulder.
Next, move closer without touching the pane with the lens. A shorter gap can reduce the area through which room light reaches the glass in front of the camera. A dark cloth or suitable hood may help shield that gap where the location permits it. Keep the setup away from other visitors and do not block a walkway. A cloth is a light shield, not permission to attach equipment to a building or cover a public window.
Canon’s observation-deck guidance recommends working close and shielding reflections, while also warning against scratching the window with the lens. Treat contact as a separate permission and safety issue. On a moving train or boat, leave room for unexpected movement. Do not brace a hard lens barrel against the glass, and never open or lean through a window just to improve a photograph. Passenger safety and the operator’s rules take priority over the frame.
Try a small sideways movement, then a small change in height. Reflections can shift relative to the scene beyond the window, allowing an important detail to emerge. There is no universal instruction to stand at forty-five degrees. A nearly square view may reduce some reflections, while an oblique view can help when using a polarizer or moving a reflected light out of the composition. Check the actual pane rather than forcing one angle everywhere.
Double glazing can produce more than one reflection, especially around bright lights at night. Shielding light near the first surface may not remove every ghost from the other surfaces. If a bright shape persists, change position and look for a different pane or a darker section of the room. Sometimes the useful decision is to change the composition or return under different light rather than keep adding equipment to an unworkable viewpoint.
Step 3: Test a polarizer instead of expecting a cure
A circular polarizing filter can reduce some reflections from nonmetallic surfaces, including glass. Fit a compatible filter, frame the subject, and rotate the front ring while watching the result. Stop where the reflection balance supports the photograph. Maximum suppression is not always the best choice, especially when the reflected layer is part of the design. Make a comparison frame without the filter if you are unsure what it is contributing.
The result depends on the angle and the glass. A filter that works well on one shop window may make little difference at the next. It does not remove dirt, repair a scratch or undo an obstruction. Nikon’s polarizer guidance describes a loss of roughly one and a half to two stops of light, so inspect the new shutter speed and ISO rather than assuming the camera can keep the same settings.
That light loss matters when a vehicle is moving, people are walking or the camera is handheld. If adding the filter produces motion blur, the cleaner reflection is not automatically an improvement. Raise ISO or choose a wider aperture when appropriate, or remove the filter if the tradeoff does not serve the subject. Compare subject detail, not only the strength of glare. A slightly reflective but sharp photograph may be the stronger result.
Some windows show colored patterns or uneven effects when viewed through a polarizer. Inspect the whole frame, including corners and pale areas of sky, rather than looking only at the main subject. If the filter introduces distracting color or banding, rotate it, alter the angle, or try the scene without it. Do not assume every colored patch can be corrected cleanly afterward. A reference frame without the filter makes the cause easier to identify.
On a phone, prioritize position and light before buying an accessory. If you use a clip-on polarizer, check that it covers the active camera without shading the edges or obstructing another lens. Compare the actual saved pictures, since the phone may change cameras or process the preview differently. The accessory still follows the same limitations as a camera filter: it is a testable tool, not a guaranteed reflection-removal switch.
 Save
Step 4: Put focus and exposure on the intended subject
Autofocus may settle on a raindrop, scratch or reflected edge instead of the scene you want. Place a smaller focus area over a clear, contrasting detail in the chosen layer. Magnify the result if the camera allows it. If focus keeps jumping, use manual focus and check a real detail in the image. Do not turn the lens to infinity automatically; the subject may be much closer than the distant skyline.
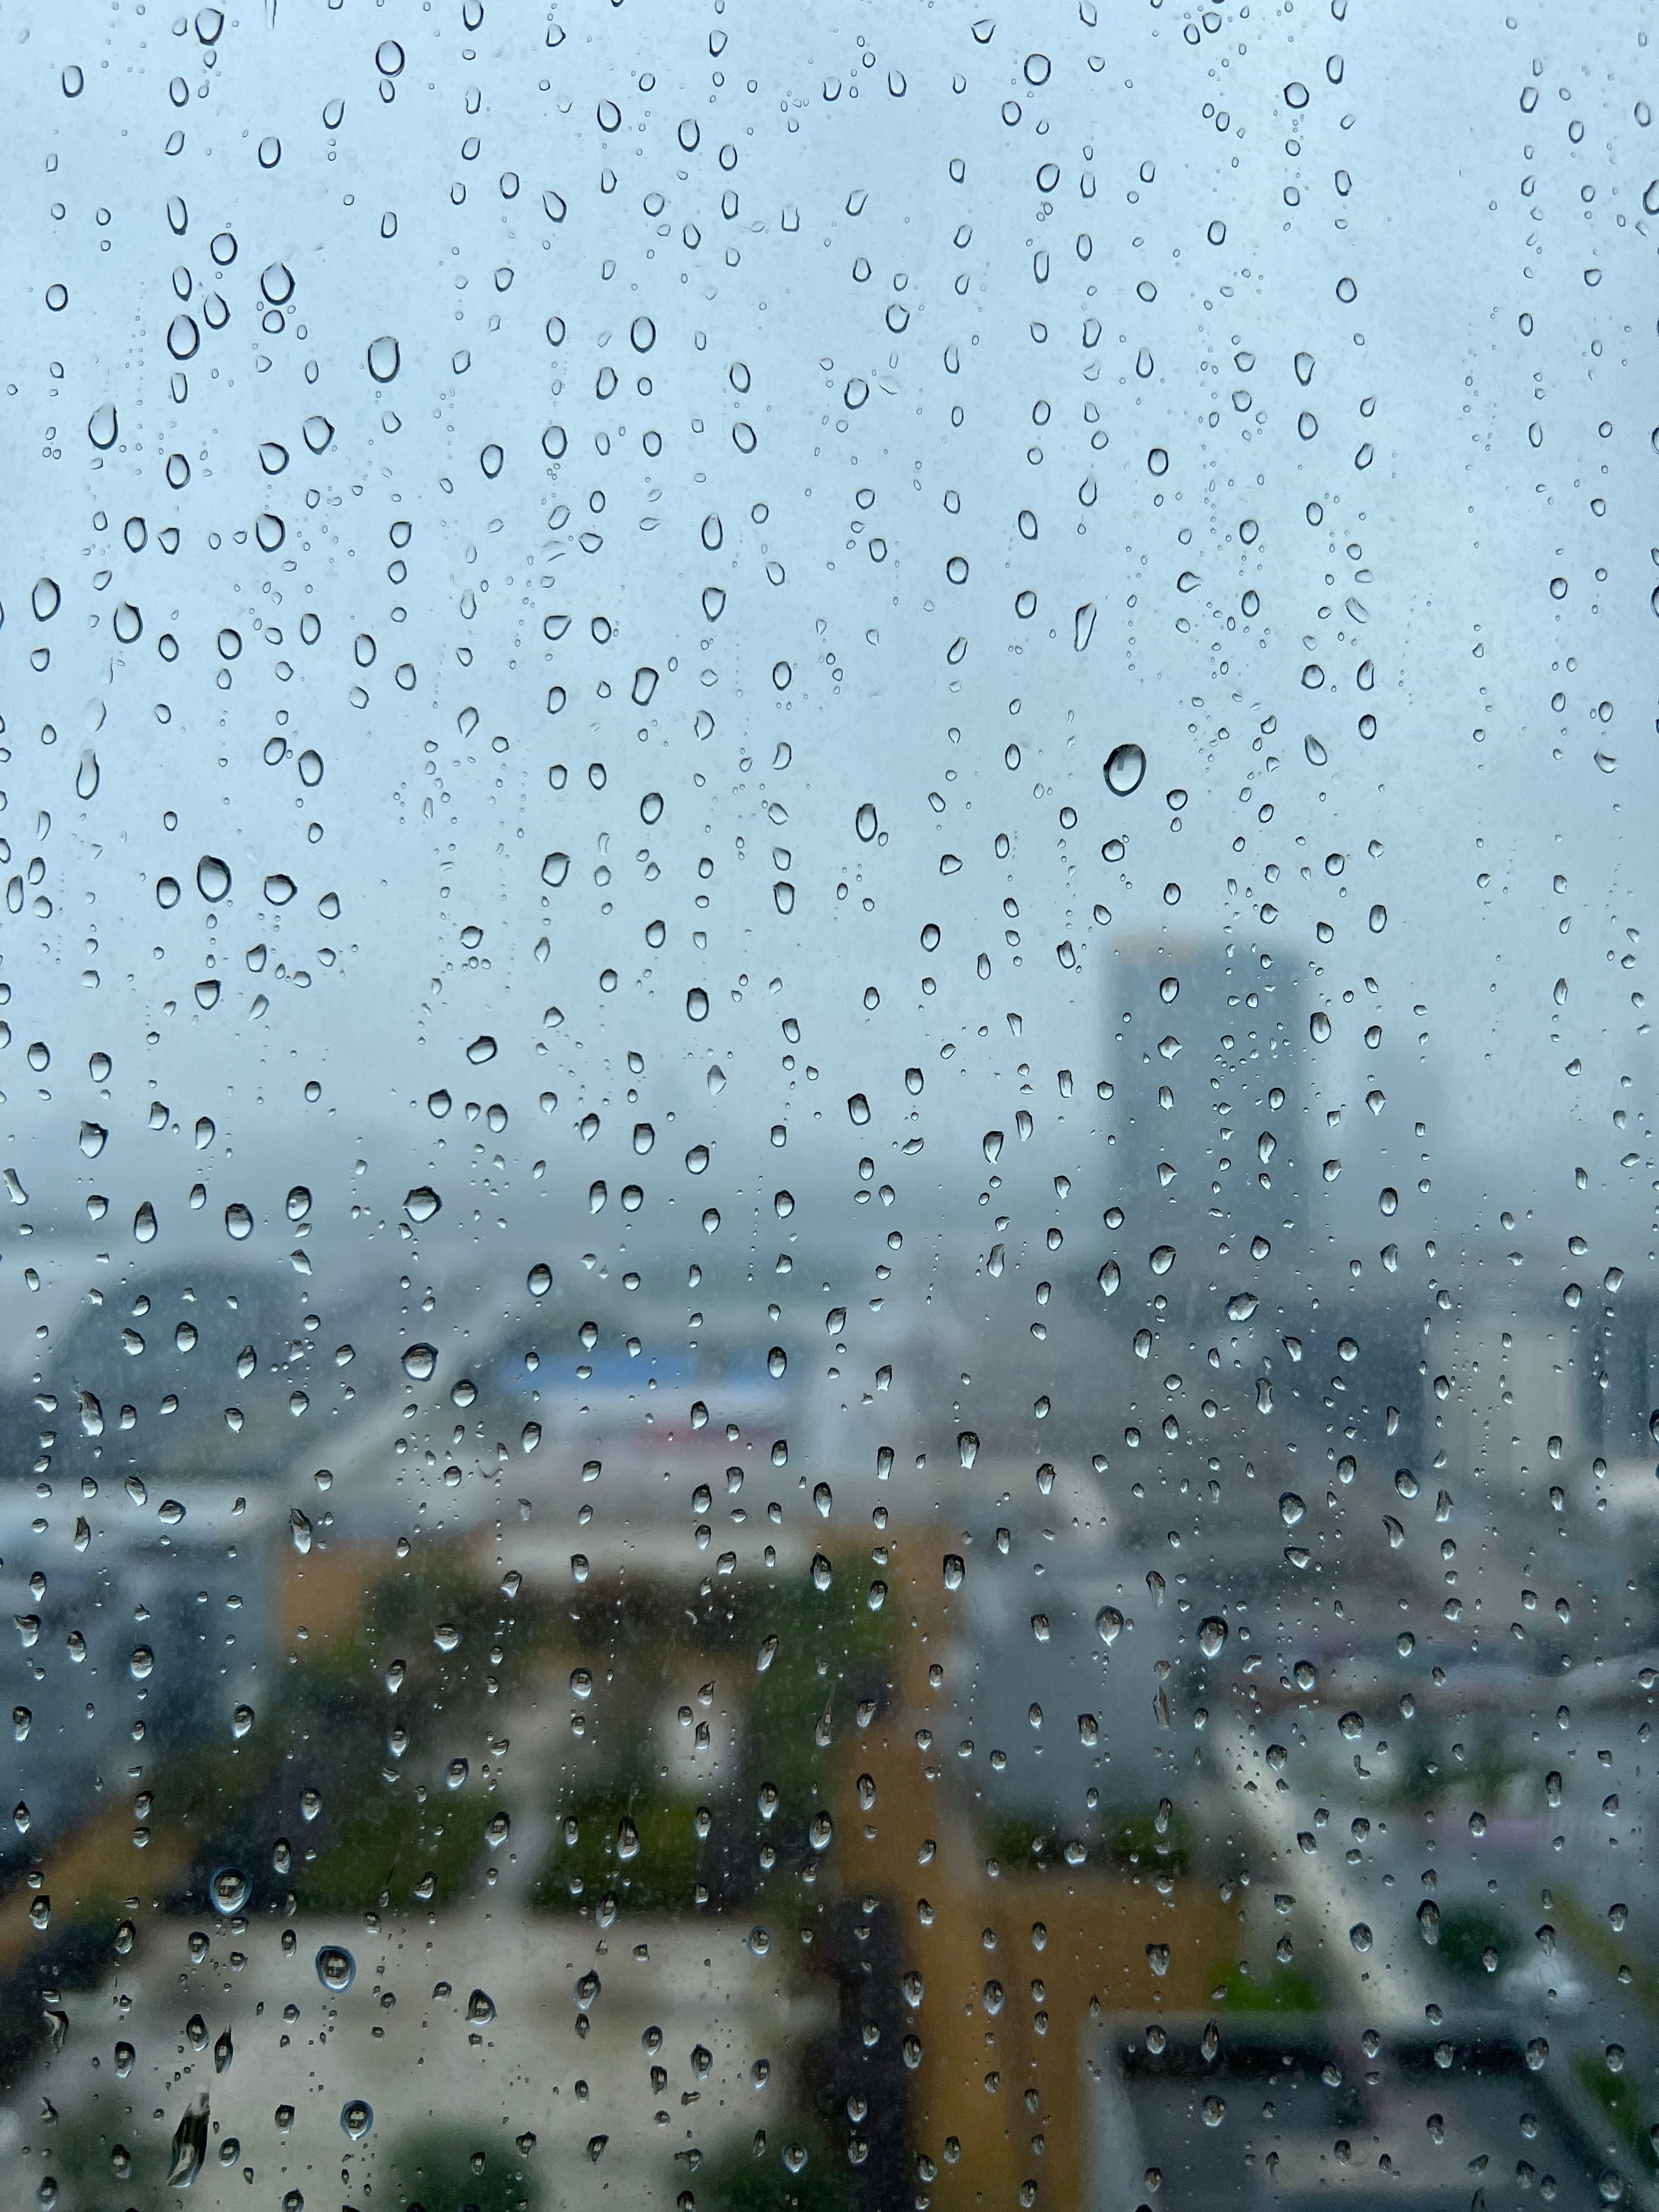
A reflection has an apparent scene depth, so focusing on the physical window is not necessarily focusing on the reflected building. Judge the reflected detail itself. Conversely, if droplets are the subject, focus deliberately on the surface and let the background become supporting color and shape. Keeping these intentions separate is more useful than trying to make every layer equally sharp. The right point of focus follows the picture you decided to make.
A wider aperture can make nearby surface marks less distinct when focus is farther away, but it cannot promise to erase them. The distance to the glass, the subject distance, focal length and size of the marks all affect the result. Nor does a small aperture guarantee that every scratch will become sharply visible. Choose aperture for the depth of field you need, then check a magnified frame for remaining surface distractions.
Set shutter speed for the motion in the scene and the way you are holding the camera. A static building from a stable position and a landscape from a moving train are different problems. Image stabilization can help with some camera movement, but it does not stop the landscape sliding past the window or a person moving through the frame. Make a short test sequence and inspect fine edges before committing to a long series.
Watch bright reflections as well as the subject’s highlights. A ceiling light reflected over a dark building can clip even when most of the picture looks dim. Use the histogram or highlight warning if available, and reduce exposure when important highlights are being lost. That may leave shadows dark. Decide which information matters most rather than expecting an editor to recover detail from a featureless white patch or a badly underexposed subject.
When the camera and subject are stationary, an exposure bracket can help with a large brightness range, provided support equipment is allowed. It is not a dependable solution for changing reflections, moving crowds or a moving vehicle. Multiple frames need compatible detail to blend naturally. Start with the best single exposure you can make, and use extra frames for a specific reason rather than treating them as insurance against every capture problem.
 Save
Step 5: Edit the remaining problem, then check what changed
Begin by choosing the frame with the strongest capture, not the one that needs the most ambitious repair. Compare position, focus and clipped highlights before looking at color. Crop an edge distraction if the composition remains useful. Straighten a tilted frame where needed, but avoid forcing every reflective facade into rigid geometry. The distortion may be part of the subject. Make that choice deliberately rather than correcting away the feature that first attracted you.
Exposure, white balance and modest local adjustments can improve the separation between layers. Heavy contrast or dehaze can also make an unwanted reflection more obvious. Apply changes while watching the subject and the competing edges together. Luminar or another editor may help with tonal adjustments, but a contrast or relighting control is not evidence that hidden detail has been recovered. Keep a realistic distinction between making the file clearer and changing what it contains.
Adobe’s current Lightroom desktop documentation describes a dedicated Reflections option under Remove and Distraction Removal. Its Amount slider lets you compare the original with the separated result, and its quality choices include a full-resolution Best output. If your version includes the feature, try it on a duplicate or nondestructive edit and compare the result carefully. Menu names and availability can change, so consult the documentation for the application you are actually using.
Inspect important boundaries at full resolution after any automated removal: window frames, rooflines, fine branches, small text and overlapping objects. Look for missing edges, strange transitions or pieces of the reflected layer left behind. A cleaner thumbnail is not enough. If the result weakens an important part of the photograph, reduce the effect, mask selectively where the software allows it, or choose the original. Automation is an option to evaluate, not a required finishing step.
Keep an unedited source file and record substantial changes when the photograph is for a client, publication or documentary use. Follow the receiving organization’s editing rules rather than assuming a tool’s availability makes its use acceptable. An intentionally layered reflection may need almost no removal at all. Your final review should ask whether the chosen subject reads clearly and whether the picture is being described honestly, not whether every trace of glass has disappeared.
 Save
A short practice session that makes the decisions visible
Choose an accessible window where photography is allowed and where you can stand without obstructing anyone. Make one reference frame, one closer frame and one with a small sideways move. Keep the subject similar enough that the comparisons mean something. If you can safely reduce light behind you, make another frame with that single change. Write down what you changed rather than inventing a technical explanation later from memory.
Repeat the exercise with two focus choices: the scene beyond the window and a visible mark or droplet on its surface. Compare them at a useful viewing size. You are learning to recognize separate layers, not proving that one aperture works everywhere. If you also test a polarizer, compare the whole image for color and sharpness. Keep the unsuccessful frames long enough to understand which tradeoff caused them to fail.
For a street-facing window, add courtesy to the exercise. Do not aim into private activity simply because glass makes it visible. Respect a refusal, move on when asked, and check venue rules before using a tripod, hood or cloth. Our street photography guide offers a wider starting point for respectful practice. A technically clean image is not a reason to ignore the people or property around it.
Leave with one clear decision you can repeat: a darker camera-side environment, a better angle, a specific focus target or a filter comparison that showed a real benefit. You do not need every accessory for every window. The sequence stays simple: choose the layer, manage the light and position, test the filter if useful, confirm focus and exposure, then edit only what the finished picture needs.
Window reflection questions
Can a polarizing filter remove every window reflection?
No. Its effect depends on the angle and the glass. Rotate it while watching the picture, check for unwanted color patterns, and compare sharpness and exposure with a frame made without it.
Should I always photograph a window at forty-five degrees?
No. Try small changes in position and height. A square view, an oblique view and a polarizer can produce different results. Choose the position that gives the intended layer a clear subject.
Why does autofocus choose the glass instead of the view?
Surface marks and reflected edges can attract autofocus. Place a small focus area on a clear detail in the intended subject, or use manual focus and inspect that detail at magnification.
Will a wide aperture make dirty glass disappear?
Not reliably. Nearby marks may become less distinct when focus is farther away, but the result depends on distances, focal length and the marks themselves. Check a test frame rather than treating one aperture as a cure.
Can I put a lens hood against a public window?
Check the venue rules and avoid scratching or pressing on the pane. Work close without hard lens contact. In moving vehicles, leave room for jolts and follow the operator’s safety instructions.
Can editing software remove a reflection after capture?
Some applications offer dedicated reflection removal, including current Lightroom desktop versions described in Adobe’s documentation. Compare the original and result at full resolution and inspect important edges. Ordinary contrast or dehaze adjustments are not a guaranteed reflection fix.
Are the photographs here before-and-after examples?
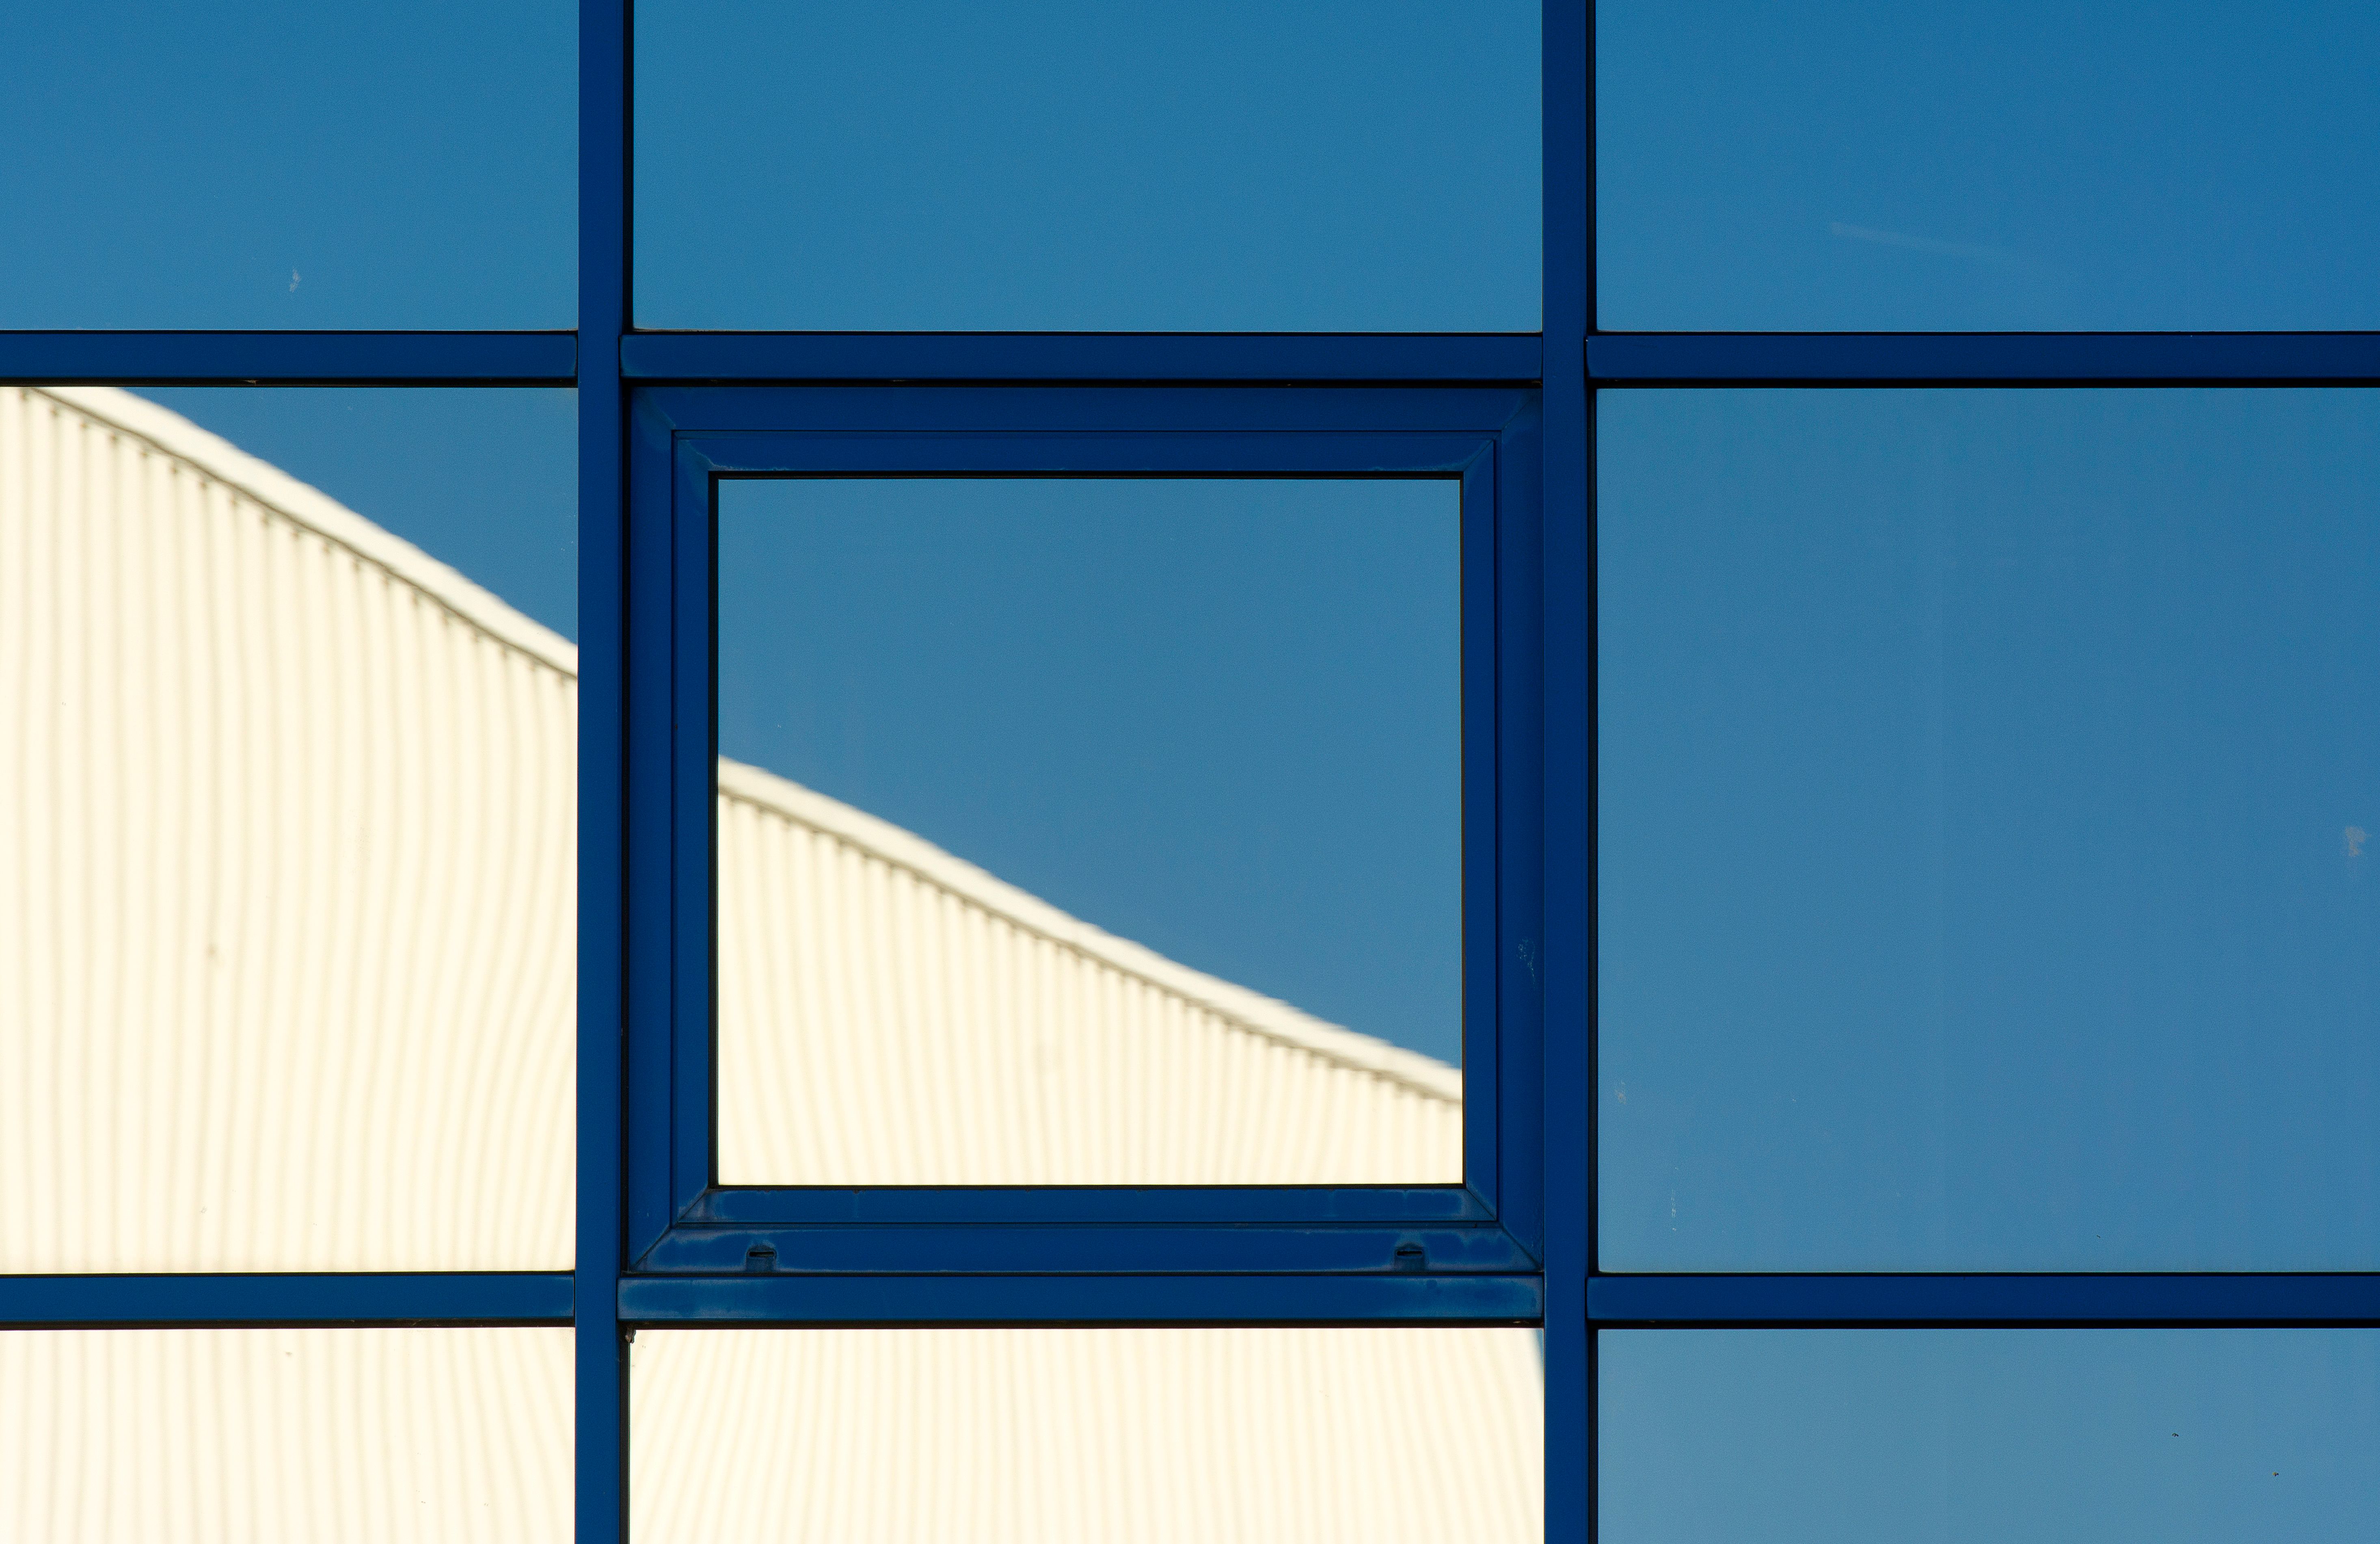
No. They are illustrative stock photographs, not Edin Chavez photographs. They do not establish filter use, camera settings, access permission, a particular shooting method or an editing result.
Keep learning
For further photography study, visit Shut Your Aperture Academy. To browse Edin’s fine-art photography, visit Edin Fine Art.
Sources and scope
The camera and filter sources support capture guidance; Adobe documents its own editing feature. Older feature-launch articles provide background, not a promise that their original format limits or menus still apply. No image here is presented as a controlled comparison.
- Nikon: Polarizing filters add POW to pictures
- Canon: How to reduce reflections
- Canon Academy: Polarizing filters in practice
- Adorama: Taking pictures through glass
- Digital Photography School: Preventing window reflections
- Adobe: Remove window reflections in a photo
- Adobe: Reflection Removal background and capture advice
Disclosure: This article includes links to photography education and Edin’s fine-art website. The photographs are licensed illustrative stock, not Edin’s photographs or documented equipment tests. Check current venue rules and software documentation before relying on a specific setup or feature.