To the casual observer, a photograph is a frozen fragment of time, a mere chemical or digital recording of what was. But to us, dear hobbyists and fellow enthusiasts, we know that the click of the shutter is only the beginning of the song. The raw file captured by your sensor is a silent, stoic block of marble; it is in the digital darkroom where we pick up our chisels and carve out the soul of the image.
In this expansive guide, we will navigate the ethereal waters of post-processing. Whether you are a beginner looking to understand the fundamental "why" behind a slider or a seasoned pro seeking to refine your creative workflow, this compendium is designed to help you master the tools that turn a simple snapshot into a timeless masterpiece. Editing is not an act of deception; it is an act of reverence for the scene you witnessed. It is about restoring the vibrancy that the camera's mechanical eye often fails to translate from the living, breathing world.
The Philosophical Foundation of Editing
Before we get down to the brass tacks of software and sliders, we must address a common misconception: the idea that editing is "cheating." I have tried every camera system under the sun, and I can tell you that no sensor: not even the one in the legendary Nikon D850: can fully replicate the dynamic range and emotional depth of the human eye.
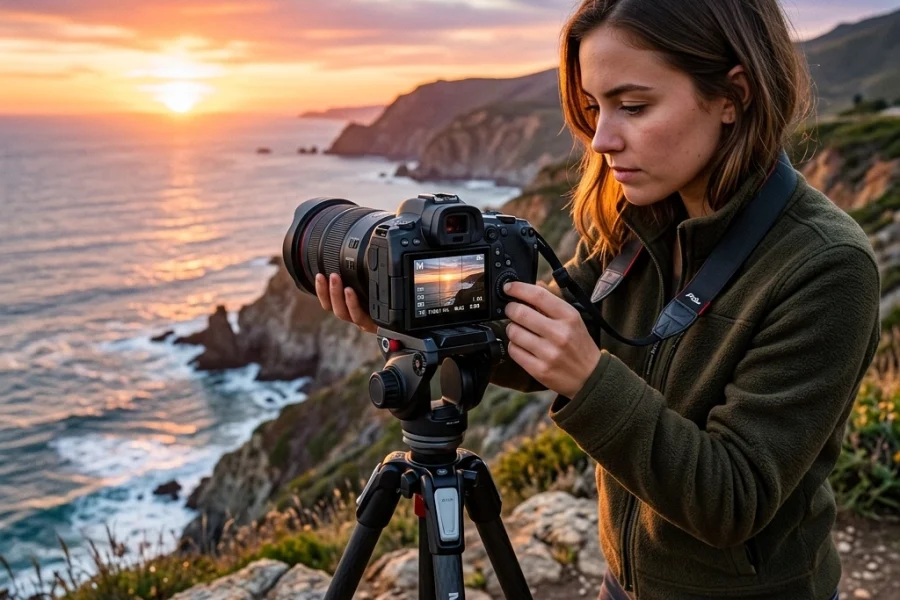
The environment is our canvas, and natural light is our paintbrush. However, that paintbrush often leaves behind faint strokes that need reinforcement. Post-processing is your opportunity to reclaim the "intrinsic" beauty of the moment. It is how we handle the ephemeral dance of shadows and the fleeting brilliance of a sunset. When you approach a photo editing tutorial, do not look for ways to fake a reality that wasn't there; look for ways to reveal the truth that was.
Masterful Methods: The Core Editing Workflow
A structured workflow is the unsung hero of the creative process. Without it, you are simply wandering in a digital forest without a compass. Nothing compares to the efficiency of a systematic approach that allows you to move from a raw file to a finished work of art in a matter of minutes. Let’s dive into the essential stages of a professional edit.
1. Horizon Harmony: Straightening the World
The very first step in any tutorial should always be the simplest: check your horizon. A crooked horizon is a jarring note in an otherwise perfect symphony. It creates a sense of instability that pulls the viewer out of the experience. Use the crop and straighten tool to ensure that the world sits level. This single, stoic adjustment instantly elevates an amateur shot into the realm of professional photography.
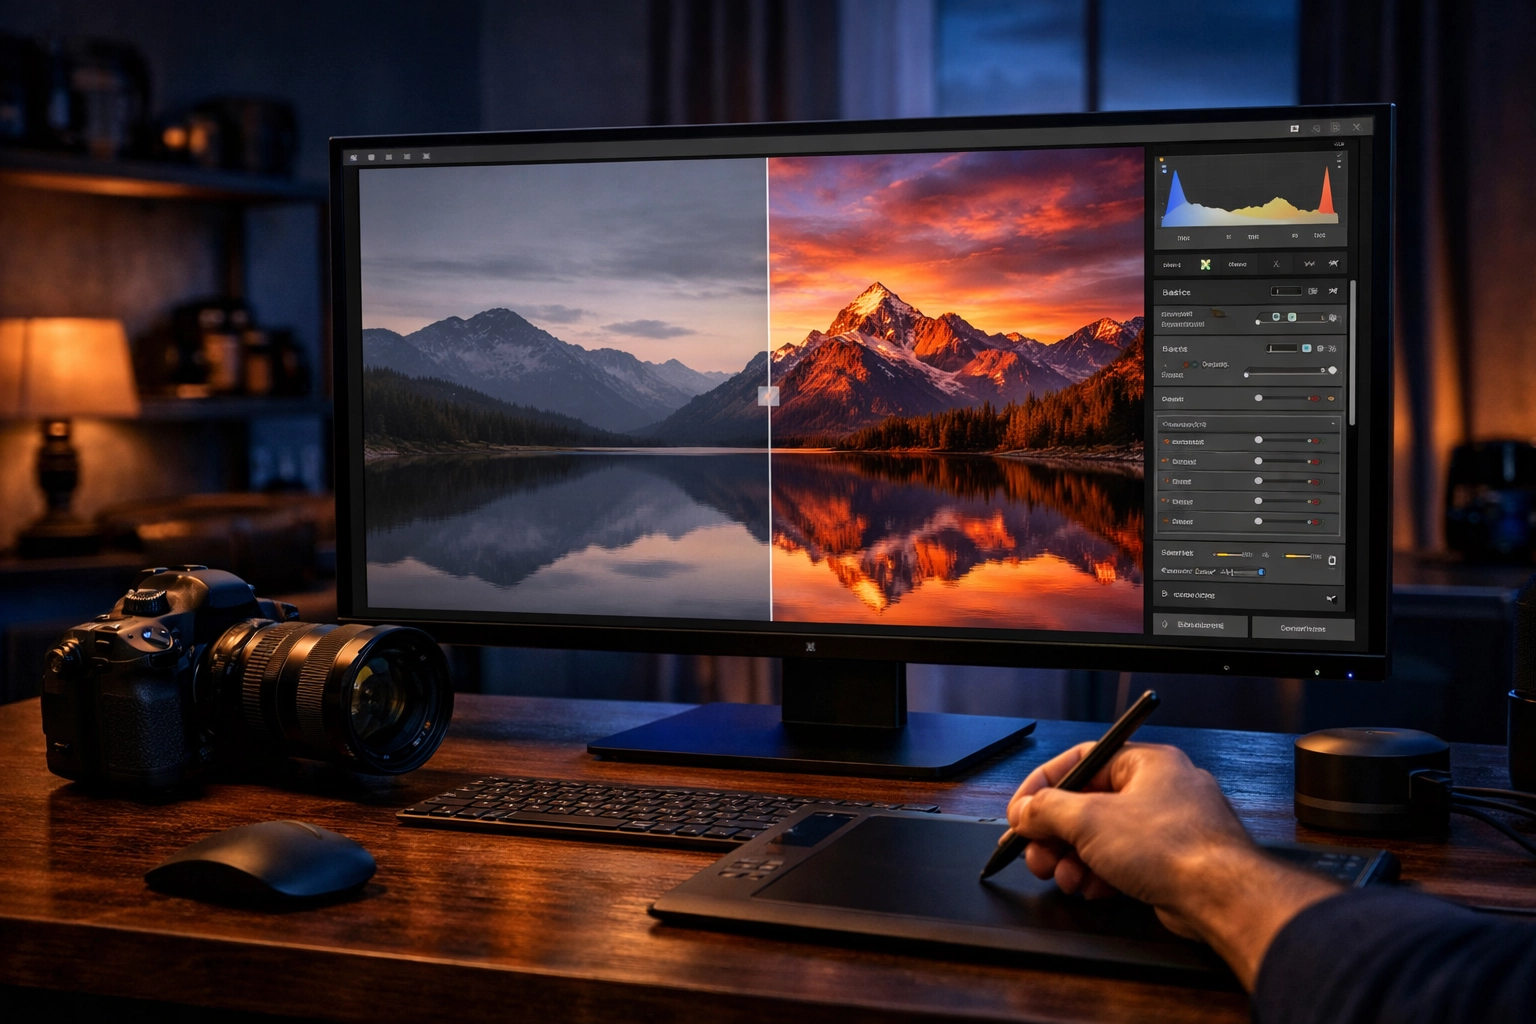
2. Exposure Equilibrium: The Breath of Life
Once the frame is level, we must address the light. Most modern software, including the tools found in our software category, offers an "auto-enhance" feature. Use this as your starting point: a digital suggestion, if you will.
From there, you must take control. Shadows often hide the "intrinsic" details of a subject's face or the texture of a stone wall. Gently pull those shadows up to breathe life back into the darkness. Conversely, if the sun has danced too brightly upon the clouds, pull down the highlights to recover that lost texture. This is where you balance the scales of light and dark.
3. Chromatic Consistency: The Mood of the Moment
White balance is the emotional thermostat of your photograph. An image that is too cool (blue) can feel clinical and detached, while an image that is too warm (orange) might feel nostalgic or even suffocating if overdone.
Adjusting the temperature allows you to recreate the exact atmosphere of the scene. Once the "reverence" for natural color is established, you can use the vibrance and saturation sliders. Be careful here, fellow enthusiasts! Saturation is a heavy hammer; use it sparingly. Vibrance is the more elegant tool, boosting the quieter colors without making the skin tones look radioactive.
4. Compositional Clarity: The Power of the Frame
The crop tool is more than just a way to fix a mistake; it is a way to direct the viewer’s gaze. By removing distracting elements at the edges of the frame: perhaps a stray branch or a modern sign in a historical setting: you simplify the narrative. Venture forth and experiment with the rule of thirds or leading lines to ensure your subject remains the undisputed protagonist of the story.

5. Tactile Texture: Sharpening and Detail
Texture is what makes a photograph feel like something you could reach out and touch. In the final stages of your edit, apply controlled sharpening. This enhances the edges and fine details of your subject. However, beware of the "halos" that appear when sharpening is pushed too far. We want texture, not digital noise. If you find your image is too grainy, use noise reduction tools to smooth out the "ephemeral" static of high-ISO shots.
6. Finality and Flow: Exporting Your Vision
The journey ends with the export. Preserving your original raw file is sacred; never overwrite it. Export your finished piece in the format that best suits its destination. For the web, a high-quality JPEG is standard, but for the stunning physical prints found at edinfineart.com, you may require a lossless TIFF.
Software Selection: Choosing Your Digital Companion
The tools we use are extensions of our hands. While some prefer the all-encompassing power of Adobe, others find solace in the intuitive nature of newer platforms.
- Adobe Lightroom: The industry standard for a reason. It is a game-changer for cataloging and bulk editing. Its non-destructive nature allows you to experiment without fear.
- Adobe Photoshop: When you need to go beyond the light and actually manipulate the canvas: removing objects, blending exposures, or creating complex composites: Photoshop is the king.
- Luminar 4: This software has introduced AI-driven tools that can replace skies or enhance skin in seconds. It is a fantastic option for those who want high-impact results with a shorter learning curve. You can read more about it in our Luminar 4 review.
- Mobile Suites: Don't dismiss the power of Google Photos or mobile Lightroom. For the "ephemeral" moments captured on the go, these apps provide surprisingly robust editing capabilities.

Specialized Styles: Beyond the Basics
Once you have mastered the 6-step workflow, it is time to branch out into specialized niches. Photography is a vast ocean, and there are many currents to follow.
The Beauty of Biolapse and Timelapses
Capturing the slow unfurling of a flower or the movement of the stars requires a different approach to editing. You aren't just editing one photo; you are editing thousands. Consistency is key here. If you want to see the pinnacle of this art form, explore the work of Biolapse. For those interested in the cityscape, our Dubai timelapse section offers a glimpse into the complexity of blending time and light.
High Dynamic Range (HDR) Mastery
When the contrast between the sky and the ground is too great for a single exposure, HDR is your salvation. By merging multiple brackets, you can create an image that reflects the full range of light. I have written an extensive HDR tutorial that covers the technical hurdles of this process. It’s a game-changer for landscape photographers who want to capture the "reverence" of a sunrise without losing detail in the shadows.
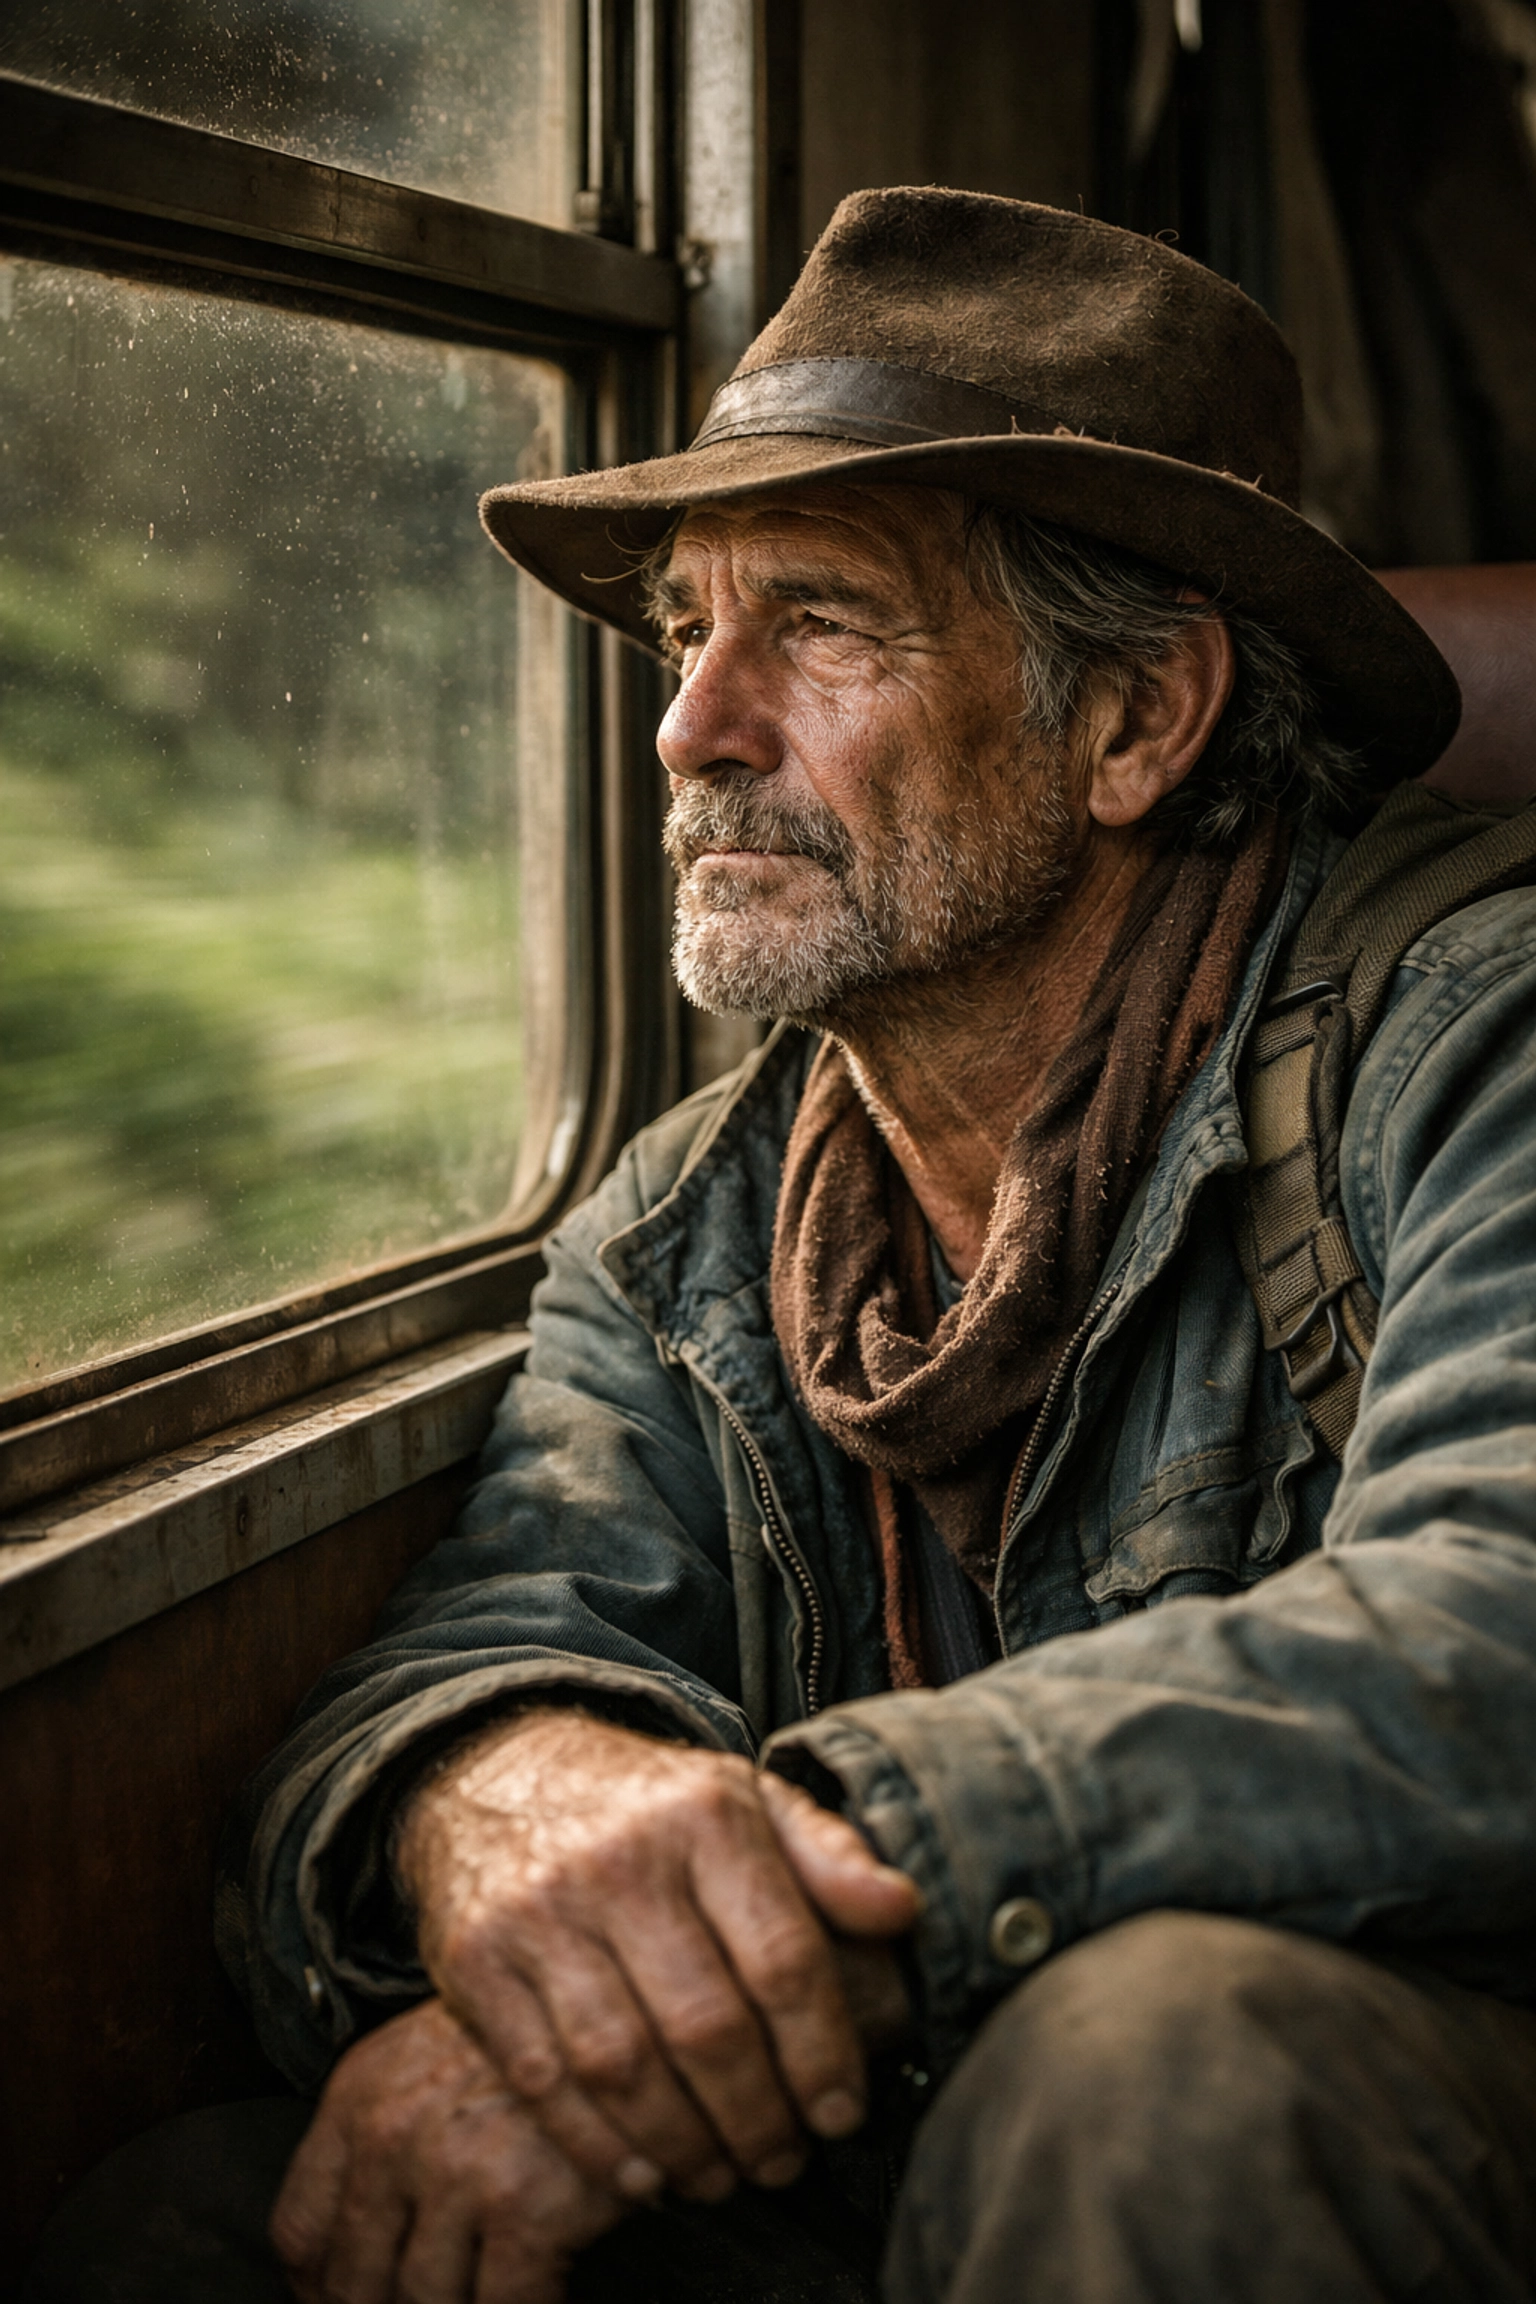
The Documentary Aesthetic
Documentary photography requires a light touch. The goal is to preserve the authenticity of the moment. We can learn a lot from masters like Cory Richards, whose work balances raw emotion with technical excellence. In these documentary categories, editing serves to emphasize the human condition rather than polish it away.
Efficiency and the Gift of Time
We often hear that "time is money," but in photography, time is the opportunity to create. A streamlined workflow is not just about finishing faster; it’s about reducing the friction between your vision and the final result. Once you internalize the steps mentioned above, a standard edit should take you no more than 45 seconds to a minute.
This efficiency allows you to spend less time staring at a glowing screen and more time out in the world, where the sun "dances" with the landscape and the weather "whispers" its secrets to those who listen. If you are struggling with your speed, I highly recommend checking out proshoot.io or visiting blog.edinchavez.com for more specific workflow tips.
Joining the Global Gallery
One of the greatest joys of mastering photo editing is sharing the results with a community that understands the struggle and the triumph. At Shut Your Aperture, we believe in the power of shared inspiration. We regularly feature artists like Joao Freire, Dylan Fox, and Marek Kijevsky. Their work serves as a testament to what is possible when technical skill meets artistic passion.
If you feel you’ve mastered these tutorials and have a body of work that captures the "ethereal" essence of the world, we invite you to send us your submissions. There is nothing quite like seeing your work recognized by your peers.
The Spiritual Reward of the Craft
As we draw this guide to a close, remember that the goal of every tutorial, every slider, and every piece of gear is to help you express something that words cannot. Photography is a bridge between the seen and the felt. When you sit down to edit, you are not just "fixing" a photo; you are reliving a moment of your life and deciding how that moment should be remembered.
The process can be stoic and demanding, but the reward is intrinsic. It is the feeling of finally seeing the image on the screen match the image in your heart. It is the satisfaction of knowing you have preserved a piece of the "ephemeral" world for others to see.
Now that we’ve delved into the philosophy and the mechanics of the digital darkroom, it’s time to get down to the actual work. Open your favorite software, select an image that speaks to you, and start the transformation. Seize these moments! Venture forth into your archives and rediscover the hidden gems waiting for your touch.
Drop me a line below if you have any questions or if there is a specific editing technique you’d like me to cover in a future post. Whether you are looking for downloads to help your workflow or just want to browse more tutorials, we are here to support your journey.
Happy editing, everyone. Let the light be your guide.