

So, you’ve got a fancy new camera, and you’re ready to take over the world, or at least your Instagram feed. But then you look at all those buttons, dials, and menus, and suddenly, that smartphone in your pocket starts looking a lot more appealing.
Don't put the camera back in the box just yet.
Welcome to Shut Your Aperture, the only place you need to be to master the craft. We’ve built the number one photography school online because we believe learning shouldn’t be a chore. It should be as fun as the shooting itself. Whether you’re trying to figure out how to use manual mode camera settings for the first time or you’re looking for advanced photography tutorials to level up your professional portfolio, we’ve got your back.
In this guide, we’re going to break down everything from the ground up. Grab a coffee, settle in, and let’s turn that "expensive paperweight" into a tool for art.
Why Photography Tutorials Matter (And Why Most Suck)
Let’s be honest: the internet is full of "tutorials" that are either too technical or just plain boring. You don't need a degree in optical physics to take a great photo. You need practical, hands-on advice that actually makes sense when you're standing in the middle of a field at sunrise.
At Shut Your Aperture, we focus on the "why" and the "how." Our goal is to make these concepts stick so you can stop thinking about the gear and start thinking about the story. If you're looking for even more inspiration, check out PhotoGuides.org for some incredible deep dives into the world of digital imaging.
Step 1: Understanding Your Gear Without the Headache
Before we get into the nitty-gritty of how to use manual mode camera settings, let’s talk about your gear. You don’t need a $10,000 setup to be a "real" photographer. You just need to know how to use what you have.
The Camera Body
Whether you have a DSLR or a Mirrorless system, the basics are the same. Your camera body is essentially a light-tight box with a sensor inside. The sensor is the magic part that captures the light.
The Lens
This is actually more important than the camera body. Your lens determines your field of view and how much light can enter the camera. If you're interested in high-end fine art, you can see what top-tier glass can do over at Edin Fine Art.
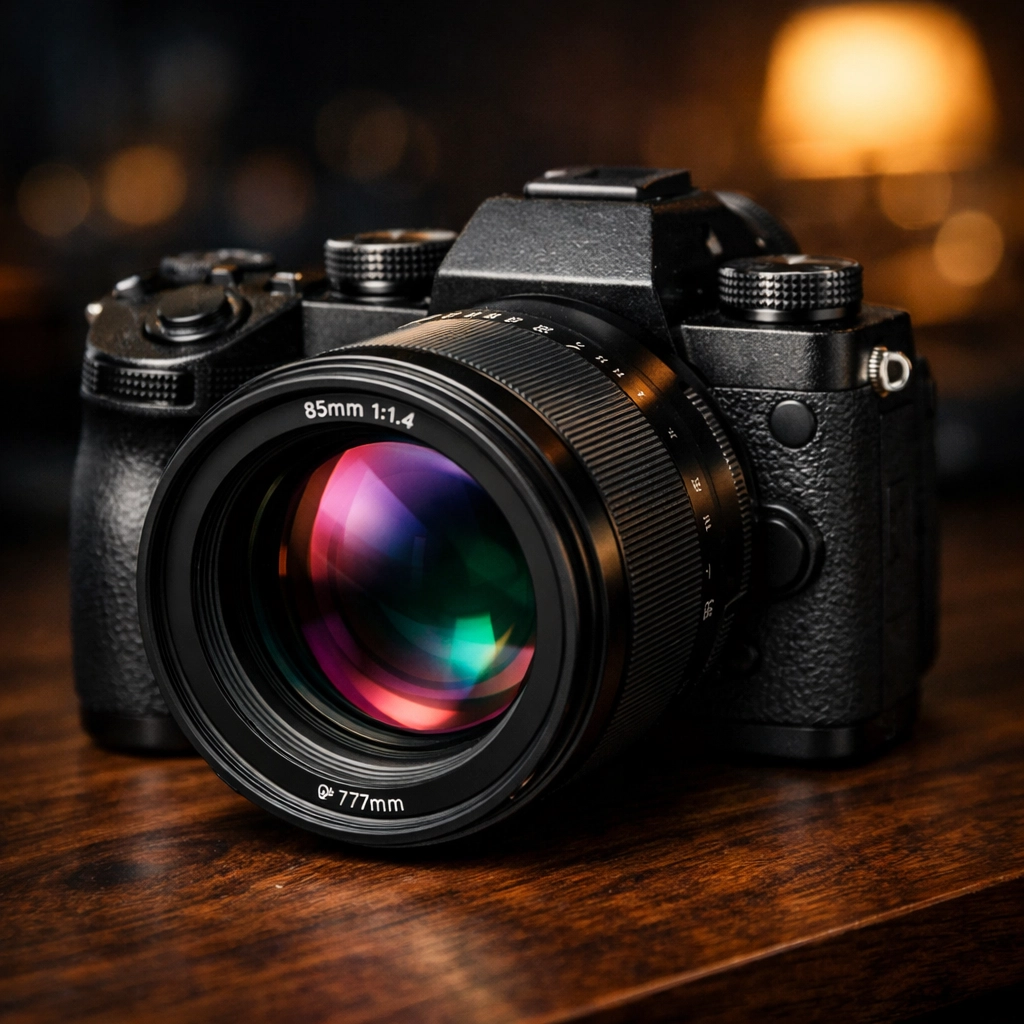
Alt Text: A modern mirrorless camera with a high-quality prime lens sitting on a wooden table, capturing the sleek design and technical dials of professional photography gear.
Step 2: How to Use Manual Mode Camera Like a Pro
If you want to take your photography from "okay" to "wow," you have to ditch the "Auto" mode. Using Auto is like letting someone else choose what you eat for dinner every night, it’s fine, but it’s never exactly what you want.
When you learn how to use manual mode camera settings, you take control of the three pillars of exposure: Aperture, Shutter Speed, and ISO. We call this the Exposure Triangle.
1. Aperture (The "A" in the Triangle)
Aperture is the opening in your lens. It’s measured in f-stops (like f/2.8 or f/11).
- Low f-stop (f/1.8): Wide opening, lots of light, and that blurry background everyone loves (bokeh).
- High f-stop (f/16): Small opening, less light, but everything from the foreground to the background is sharp.
2. Shutter Speed
This is how long your camera's shutter stays open.
- Fast Shutter (1/1000s): Freezes motion. Great for sports or birds.
- Slow Shutter (1/2s): Blurs motion. This is how you get those silky-smooth waterfalls.
3. ISO
ISO is your sensor's sensitivity to light.
- Low ISO (100): Best for bright daylight. Produces the cleanest images.
- High ISO (3200+): Used for low light. It helps you see in the dark, but it adds "noise" or grain to your photo.
Mastering these three is the core of all our photography tutorials. Once you get this, the world is your oyster. For more professional tips on commercial setups, ProShoot.io is a fantastic resource.
Step 3: Composition – The Secret Sauce
You can have the most expensive camera and perfect exposure, but if your composition is messy, the photo will fail. Composition is how you arrange the elements in your frame.
The Rule of Thirds
Imagine a tic-tac-toe grid over your viewfinder. Instead of putting your subject right in the middle, try placing them on one of the lines or intersections. It instantly makes the photo more dynamic.
Leading Lines
Use roads, fences, or even shadows to lead the viewer’s eye toward your subject. This creates a sense of depth. This is especially important in landscape work. If you want to dive deeper into this, check out our ultimate guide to landscape photography tips.
Framing
Look for natural frames, like windows, tree branches, or doorways, to surround your subject. It adds a layer of professional polish to your shots.
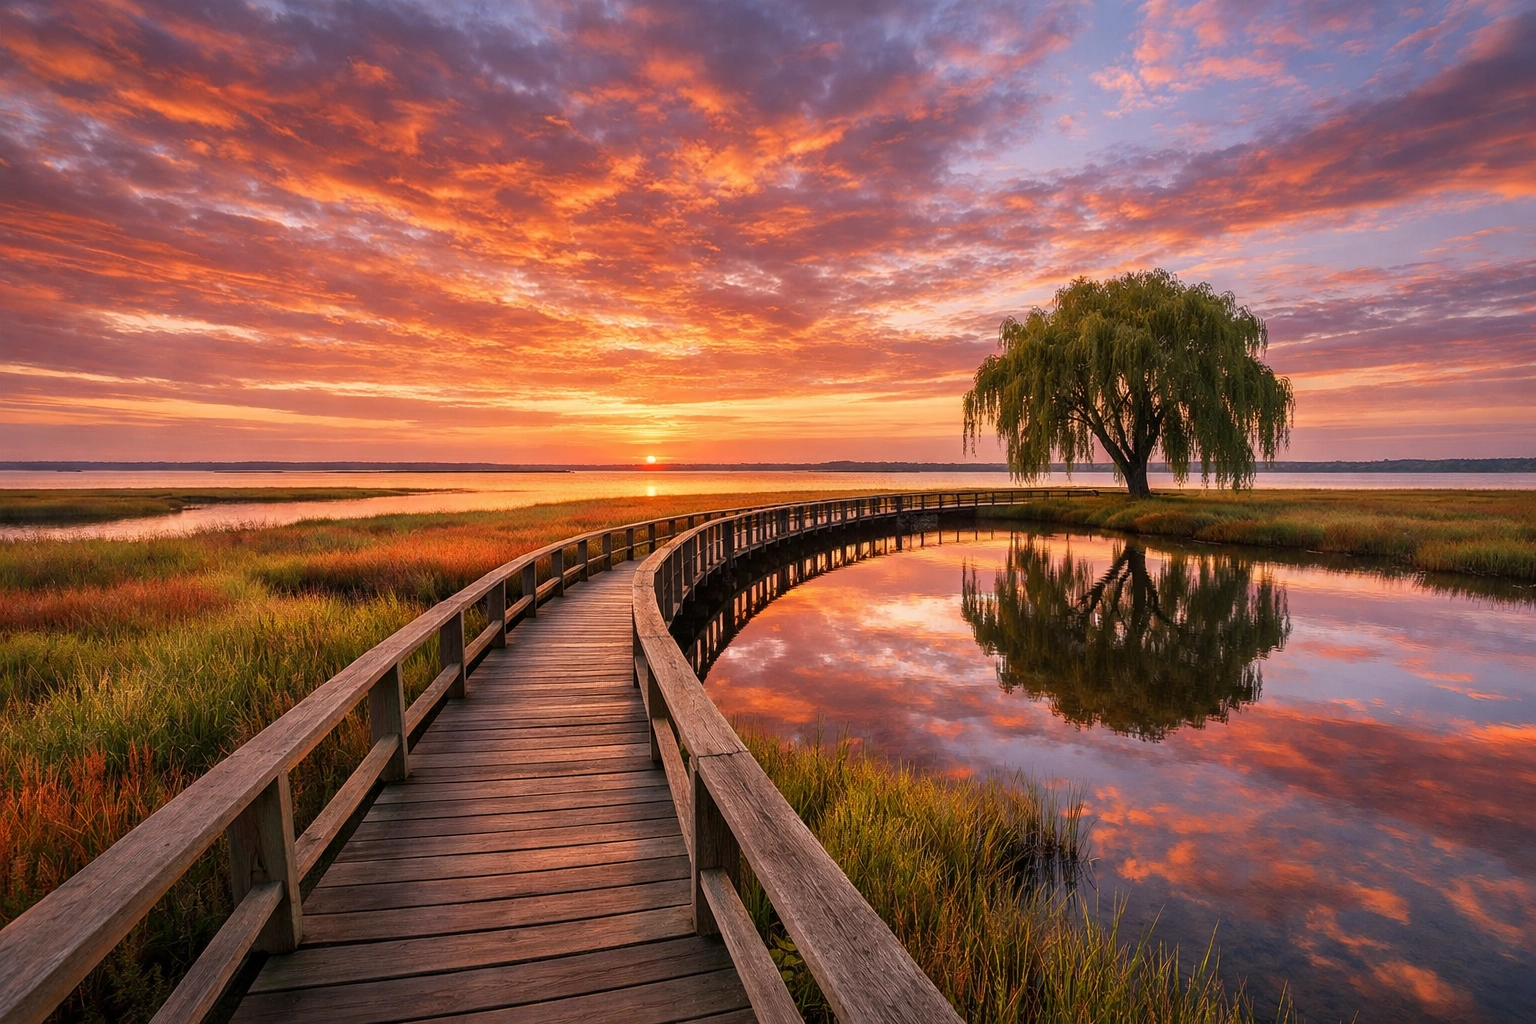
Alt Text: A stunning landscape photograph demonstrating the rule of thirds and leading lines, with a winding mountain path leading the viewer towards a sunset.
Step 4: Mastering Light
Light is everything. In fact, the word "photography" literally means "drawing with light." Our photography tutorials always emphasize that you should look for the light before you even take your camera out of the bag.
The Golden Hour
The hour after sunrise and the hour before sunset is the "Golden Hour." The light is soft, warm, and makes everything look like a movie.
Hard vs. Soft Light
- Hard Light: Think of the sun at noon. It creates harsh shadows.
- Soft Light: Think of a cloudy day. It’s flattering and even.
If you’re interested in how light affects specific niches like real estate, you should read about the role of luminosity in real estate photography. It's a game-changer for interior shots.
Step 5: Post-Processing and Editing
Taking the photo is only half the battle. Editing is where you bring your vision to life. You don't need to spend hours in a dark room anymore; you just need the right software.
We highly recommend using Luminar. It’s an AI-powered editor that simplifies the complex stuff, like sky replacement or skin retouching, so you can focus on the creative side.
When you're editing, remember: less is often more. You want to enhance the photo, not make it look like a cartoon (unless that's your vibe, then go for it!). For high-end production and studio work, you can always see how the pros do it at Edin Studios.
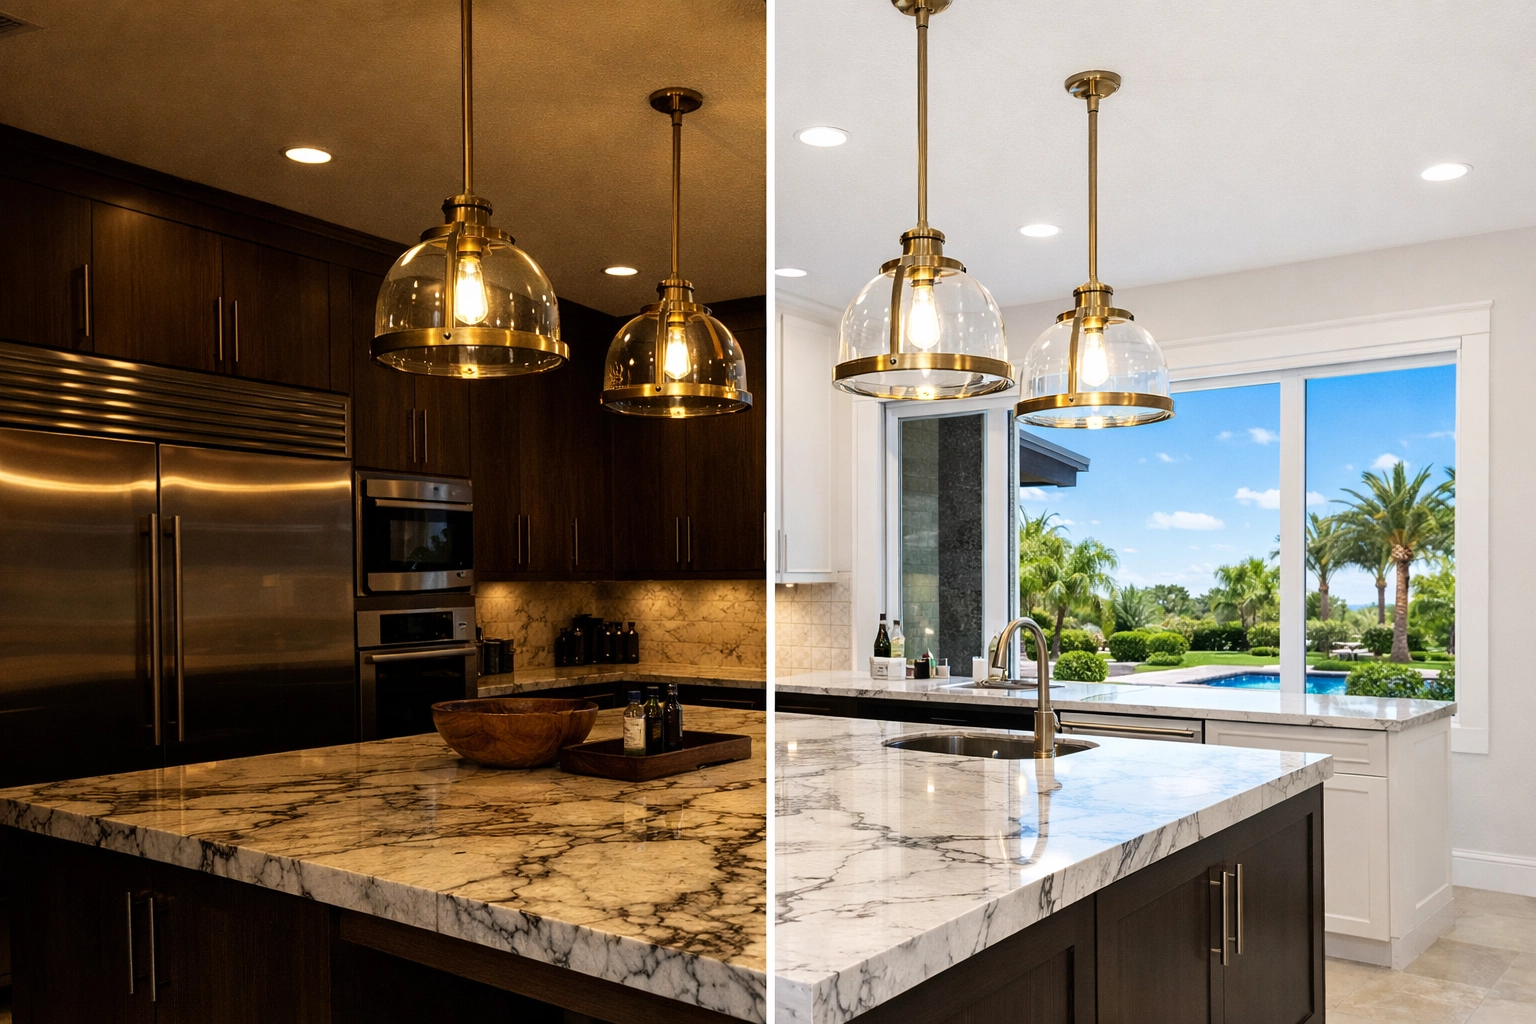
Alt Text: A split-screen image showing a before and after of a real estate interior shot, highlighting the power of editing and luminosity.
Step 6: Finding Your Niche
Once you’ve mastered the basics of how to use manual mode camera settings, it’s time to find what you love to shoot.
Landscape Photography
It’s you versus nature. It requires patience and a lot of hiking. Learn from the greats by checking out these lessons in landscape photography from Peter Lik.
Real Estate and Property
This is where the money is. Using cinematic techniques for property showcases can help you stand out in a crowded market. You can also explore ethereal imagery to elevate your listings.
Street Photography
Capturing life as it happens. It’s raw, it’s fast, and it’s incredibly rewarding. For more street and personal projects from our CEO, head over to blog.edinchavez.com.
Building a Habit: Practice Makes Perfect
I’m going to let you in on a secret: even the best photography tutorials won’t make you a pro if you don't pick up your camera. Our social media manager, Sonny, is always reminding our community that consistency is key. We coordinate our blog posts with our social content so you’re always getting a steady stream of inspiration and practical tasks.
Try a "365-day challenge" where you take one photo every day. It doesn't have to be a masterpiece; it just has to be a conscious effort to use your gear.

Alt Text: A photographer standing on a city street corner at dusk, capturing the motion blur of passing cars, demonstrating manual mode skills.
Shut Your Aperture: Your New Home for Photography
We didn't just build a website; we built the #1 photography school online. Why? Because we were tired of the "gatekeeping" in the industry. We want everyone to have access to high-quality, simple, and effective photography tutorials.
From understanding f-stops to mastering the art of the sale in pro photography, Shut Your Aperture is here to guide you every step of the way.
What's Next?
If you're ready to dive deeper, we have a massive library of resources. You can check out our various sitemaps to find exactly what you’re looking for:
Don't forget to explore the world of fine art and high-end dining, yes, food photography is a thing too! Take a look at luxury dining and the world's most exclusive restaurants to see how high-end imagery sells a lifestyle.
Final Thoughts on Learning Photography
The journey from a beginner to a pro is a marathon, not a sprint. There will be days when your photos look like garbage. That’s okay. That’s part of the process. Every "bad" photo you take is just a lesson in what not to do next time.
By following these photography tutorials and really taking the time to learn how to use manual mode camera settings, you’re already ahead of 90% of the people out there. You’ve moved past the "point and pray" method and started "making" images rather than just "taking" them.
Keep shooting, keep editing with Luminar, and keep pushing your creative boundaries. We’ll be right here at Shut Your Aperture to help you along the way. Whether it’s through our deep-dive articles or the community resources at ProShoot.io, you’ve got a team behind you.
Now, go out there and shut your aperture!


