
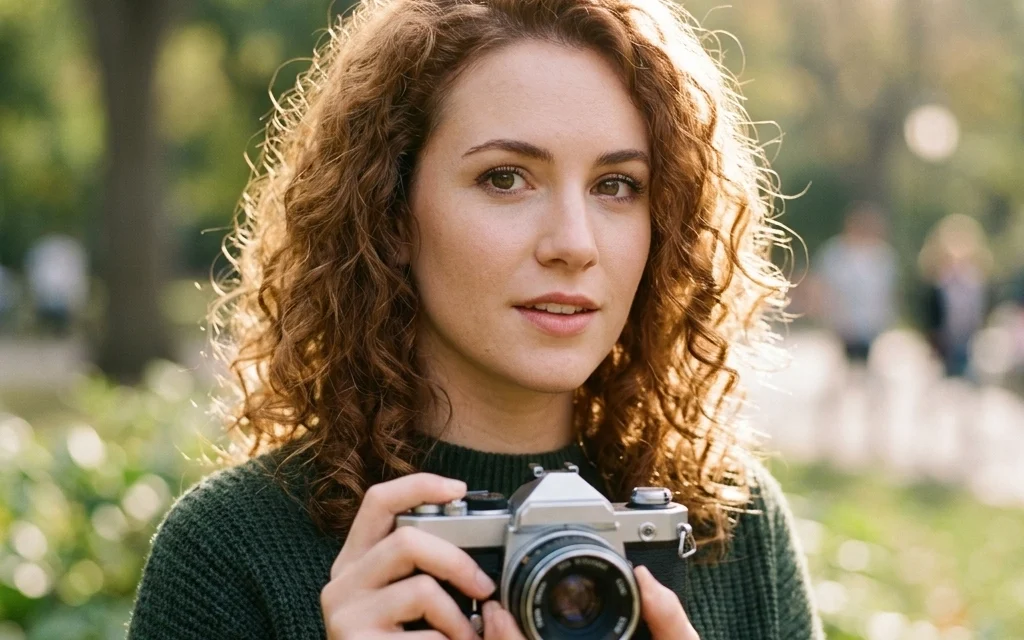
Let’s be honest: taking a picture of a person should be easy, right? You point the camera, they smile, and click: you’re done. But if you’ve ever tried to capture a professional-grade portrait, you know it’s rarely that simple. Sometimes the lighting makes your subject look like a character from a horror movie, or the background is so distracting it looks like a tree is growing out of their head.
Mastering portrait photography techniques is about more than just owning a fancy camera. it’s about understanding the delicate dance between light, gear, composition, and human connection. Whether you're looking to snap better photos of your kids or you're aiming to go pro, this guide is going to break down everything you need to know to make your portraits pop.
Why Portrait Photography is a Different Beast
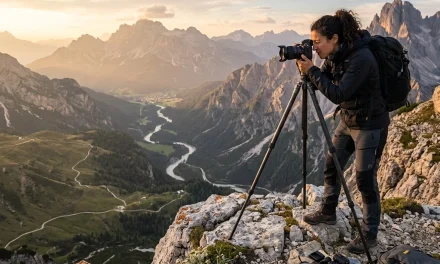
Unlike landscape photography: where you might wait hours for the sun to hit a mountain just right: portraiture is an active, living process. You’re managing a person's energy while simultaneously juggling your camera settings. If you’ve spent time looking at Peter Lik’s iconic works through the years, you know that light and perspective are everything. The same principles apply to people, but with the added challenge of expressions and poses.
If you’re just starting out, I highly recommend checking out our mastering photography 10 essential tips to get your feet wet. Once you’ve got the basics, come back here to dive deep into the world of portraits.
1. The Right Gear for the Job
You don’t need a $10,000 setup to take a great portrait, but the gear you choose definitely influences the "vibe" of the shot.
The Magic of Prime Lenses
While zoom lenses are convenient, most portrait pros swear by "prime" lenses (lenses with a fixed focal length). Why? Because they generally offer wider apertures, which give you that creamy, blurred-out background we all crave.
- 50mm (The "Nifty Fifty"): Great for full-body shots and environmental portraits. It’s close to what the human eye sees.
- 85mm (The King of Portraits): This is the sweet spot. It provides a beautiful compression that makes facial features look flattering and creates incredible bokeh.
- 35mm: Best for "lifestyle" portraits where you want to show the subject in their environment.
If you’re curious about how different lenses change the "feel" of a space, look at how we discuss vistas and perspectives in real estate. The way a lens manipulates a room is very similar to how it manipulates a face.
Camera Modes: To Manual or Not?
If you’re on a tripod and have total control, go Manual Mode. It gives you the ultimate power. But if your subject is moving: like a kid or a busy professional: don’t be afraid of Aperture Priority (A or Av). This lets you set the depth of field while the camera handles the shutter speed, ensuring you don’t miss "the moment."

2. Mastering Light: It’s Not Just About Brightness
Lighting is the "make or break" factor in any photo. In real estate, we often talk about the role of luminosity, and the same rules apply here. You aren't just looking for light; you're looking for quality light.
Soft Light is Your Best Friend
Harsh, direct sunlight is a portrait killer. It creates deep shadows under the eyes (the dreaded "raccoon eyes") and makes people squint.
- The Golden Hour: The hour after sunrise or before sunset provides that soft, warm glow.
- Overcast Days: Nature’s giant softbox. Clouds diffuse the sun, creating even, flattering light.
- Window Light: If you’re indoors, move your subject near a large window. It’s free, it’s easy, and it looks professional.
Lighting Setups to Try
If you're moving into a studio environment, you'll want to experiment with different setups. Rembrandt Lighting is a classic: it’s characterized by a small triangle of light on the subject’s cheek. It adds drama and depth. For a more modern, clean look, try Butterfly Lighting, where the light source is directly in front of and above the subject’s face.
3. The "Eyes" Have It: Focusing Techniques
If the eyes aren't sharp, the portrait is a fail. Period. The eyes are where the viewer connects with the subject.
When shooting at wide apertures (like f/1.8 or f/2.8), your depth of field is paper-thin. If you focus on the tip of the nose, the eyes will be blurry.
- Use Eye-Autofocus: Most modern mirrorless cameras have this. Turn it on. It’s like cheating, but in a good way.
- Single Point Focus: If you're using an older DSLR, use a single focus point and aim it right at the eye closest to the camera.
For more technical deep dives on focus and sharpness, you can always browse the resources at PhotoGuides.org.

4. Composition: Thinking Outside the Center
New photographers tend to put the subject’s face right in the dead center of the frame. It’s fine, but it’s a bit… boring.
Rule of Thirds
Imagine your frame is divided into a 3×3 grid. Place your subject’s eyes on one of the top intersections. This creates a more balanced, engaging image. We see this a lot in shot compositions for buyer attraction in the real estate world: it’s all about leading the eye where you want it to go.
Leading Lines and Framing
Use the environment to your advantage. A fence, a hallway, or even tree branches can act as "leading lines" that point toward your subject. You can also "frame" your subject using doorways or foliage to add depth.
Watch the Headroom
Don't leave too much empty space above the subject's head, but also don't "cut off" their limbs at the joints (ankles, knees, elbows). It makes people look like they’ve had a mishap with a lawnmower.
5. Connecting with Your Subject
This is the "secret sauce" that separates the pros from the amateurs. You can have the best lighting and the sharpest lens, but if your subject feels awkward, the photo will look awkward.
Building Rapport
Talk to them! Don’t just hide behind the camera. Ask about their day, tell a bad joke, or talk about Peter Lik’s favorite locations for adventure if they're into travel. The goal is to get them to forget there’s a giant glass lens pointed at their face.
Giving Direction
Most people don't know what to do with their hands. Give them a job. Tell them to put a hand in a pocket, hold a coffee cup, or lean against a wall. Instead of saying "Smile!", try giving them an action like "Look over your shoulder and then turn back to me." This creates more natural expressions.

6. Types of Portrait Photography
Not all portraits are created equal. Depending on your goal, you might use very different techniques.
- Traditional Portraits: Think "Yearbook" or "Corporate Headshot." These are usually posed, shot at eye level, and use controlled lighting.
- Lifestyle Portraits: These are "staged candid" shots. You’re documenting people in their natural element: playing with their dog, cooking, or walking through a park.
- Environmental Portraits: These focus on the person and their surroundings. Think of a carpenter in his workshop or an artist in her studio.
- Fine Art Portraits: This is where you get creative. Experiment with motion blur, double exposures, or extreme lighting. For inspiration on the creative process, check out Peter Lik’s creative process revealed.
7. The Power of Post-Processing
The job isn't done when you press the shutter. Editing is where you refine your vision. You don’t want to "over-edit" to the point where the person looks like a plastic mannequin, but subtle tweaks can make a massive difference.
Enhancing with Software
One of the best tools for this is Luminar. Its AI-driven tools for skin retouching, eye enhancement, and "bokeh" synthesis are absolute lifesavers. It allows you to fix those minor imperfections without spending six hours in Photoshop.
Color Grading and Mood
Are you going for a bright, airy look or something moody and cinematic? Your color choices will dictate the emotional response of the viewer. If you want to see how cinematic techniques can transform an image, look at how we apply it to property showcases.
Consistency is Key
If you’re delivering a gallery to a client, make sure the editing style is consistent across all images. This creates a cohesive "story" and shows your professional polish. You can see examples of professional-grade galleries at proshoot.io.

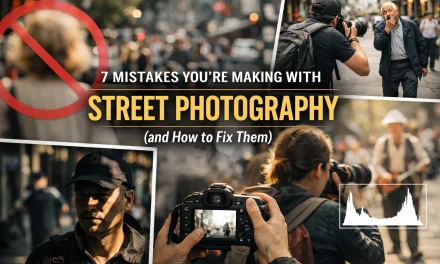
8. Common Mistakes (And How to Fix Them)
Even the pros mess up sometimes. Here are the most common pitfalls:
- Busy Backgrounds: A bright red car or a trash can behind your subject will pull focus away from them. Use a wider aperture to blur it or move your subject.
- Shooting from Below: Unless you want to give your subject a double chin they don't actually have, don't shoot from a low angle. Eye level or slightly above is usually the most flattering.
- The "Fake" Smile: If the eyes aren't smiling, the smile isn't real. Wait for the moment after they laugh; that’s usually when the real expression happens.
- Ignoring the Hair: Look out for "flyaways" or stray hairs that cross the face. It’s much easier to fix in person than it is in post-production.
9. Taking it to the Next Level
Once you’ve mastered the basics, it’s time to find your voice. Every great photographer has a style. Some prefer the "ethereal" look (similar to the concepts in ethereal imagery for real estate), while others like gritty, high-contrast black and whites.
Practice is the only way to get there. Offer to take photos of your friends, your family, or even strangers (with permission!). Every face presents a new challenge and a new opportunity to learn something about light and shadow.
For more inspiration on high-end photography and the intersection of art and business, you might want to explore Edin Fine Art or check out the latest musings at blog.edinchavez.com.
Putting it All Together
Portrait photography is a journey. It’s about more than just settings; it’s about capturing a moment in time that will never happen again. By focusing on your gear, mastering your light, and: most importantly: connecting with the person in front of your lens, you’ll be well on your way to creating stunning, professional-quality portraits.
If you’re looking for professional studio space or high-end production services to practice these techniques, swing by edinstudios.com to see how we set things up.
Don't forget to coordinate your shoots with your social media strategy! Our social media manager, Sonny, often shares tips on how to showcase these portraits to get maximum engagement, so keep an eye out for his updates. Now, get out there, open up that aperture (or shut it!), and start shooting!


