

Let’s be honest: taking a photo of a person is easy, but creating a portrait is an entirely different ballgame. Anyone can point a smartphone and click, but a true portrait captures a mood, a personality, and a moment in time that feels alive. Whether you are shooting a high-fashion model in a studio or your grandmother in her garden, the techniques remain surprisingly consistent.
At Shut Your Aperture, we believe photography shouldn't be gated behind complex jargon or elitism. It’s about the gear, the light, and most importantly, the connection. If you’ve been struggling to get that professional "look", you know, the creamy backgrounds and the eyes that seem to pop off the screen, you’re in the right place.
In this guide, we’re going to break down everything from lens selection and camera settings to the psychological art of posing. Let’s get into it.
The Gear: It’s Not Just About the Camera
Before you start worrying about megapixels, let’s talk about glass. In portrait photography, your lens is arguably more important than your camera body.
Why Focal Length Matters
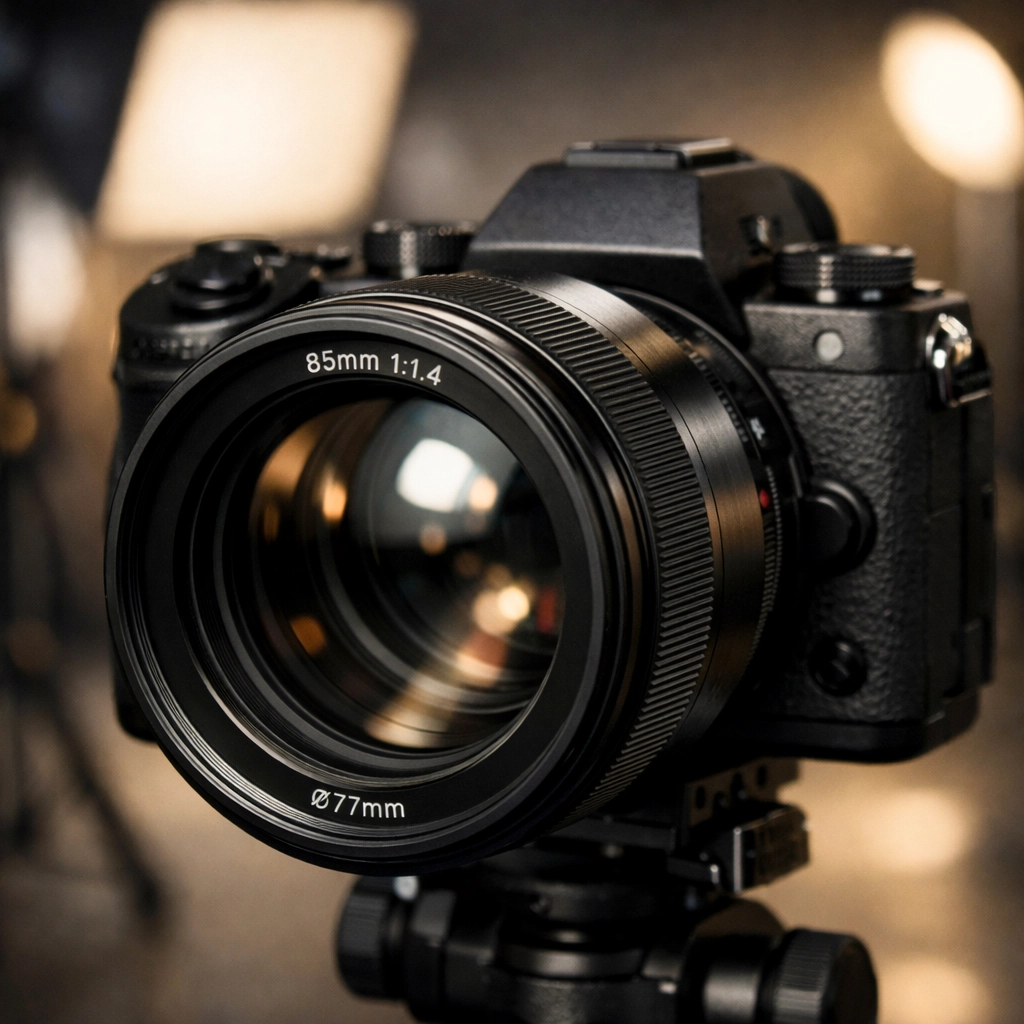
Focal length determines how the subject’s face is compressed. If you use a wide-angle lens (like a 24mm) for a close-up, you’ll end up with a "clown nose" effect where the nose looks huge and the ears disappear. For portraits, you generally want to stay between 50mm and 135mm.
- The 50mm (The "Nifty Fifty"): This is the gold standard for beginners. It’s affordable, lightweight, and mimics the human eye’s field of view.
- The 85mm: Many pros consider this the "sweet spot." It offers a beautiful compression that makes facial features look incredibly flattering.
- The 135mm: If you want that ultra-blurry background (bokeh), this is your lens. It requires more space between you and the subject, but the results are ethereal.
If you are still rocking an older DSLR, you might want to see why everyone is talking about mirrorless cameras in 2026 and how they can revolutionize your eye-tracking focus.
Mastering Your Camera Settings
You can have a $5,000 camera, but if you leave it on "Auto," it’s going to make decisions you might not like. For portraits, you need control.
Aperture: The King of Portraits
If you want that blurred background, you need a wide aperture (a low f-number). Shooting at f/1.8 or f/2.8 will isolate your subject from the background, making them the undisputed star of the show. Just be careful, at f/1.4, the depth of field is so thin that if you focus on the tip of the nose, the eyes might be out of focus. Always aim for the eyes.
ISO and Shutter Speed
Keep your ISO as low as possible (usually ISO 100) to avoid "noise" or grain. As for shutter speed, a good rule of thumb is to keep it at least double your focal length to avoid camera shake. If you’re shooting with an 85mm lens, don't go below 1/160th or 1/200th of a second if you’re shooting handheld.
For more technical deep dives, check out some of the resources at PhotoGuides.org to sharpen your manual mode skills.
The Magic of Lighting
Lighting is the difference between a flat, boring photo and a masterpiece. You don't need a $2,000 strobe setup to get great results; you just need to understand how light behaves.
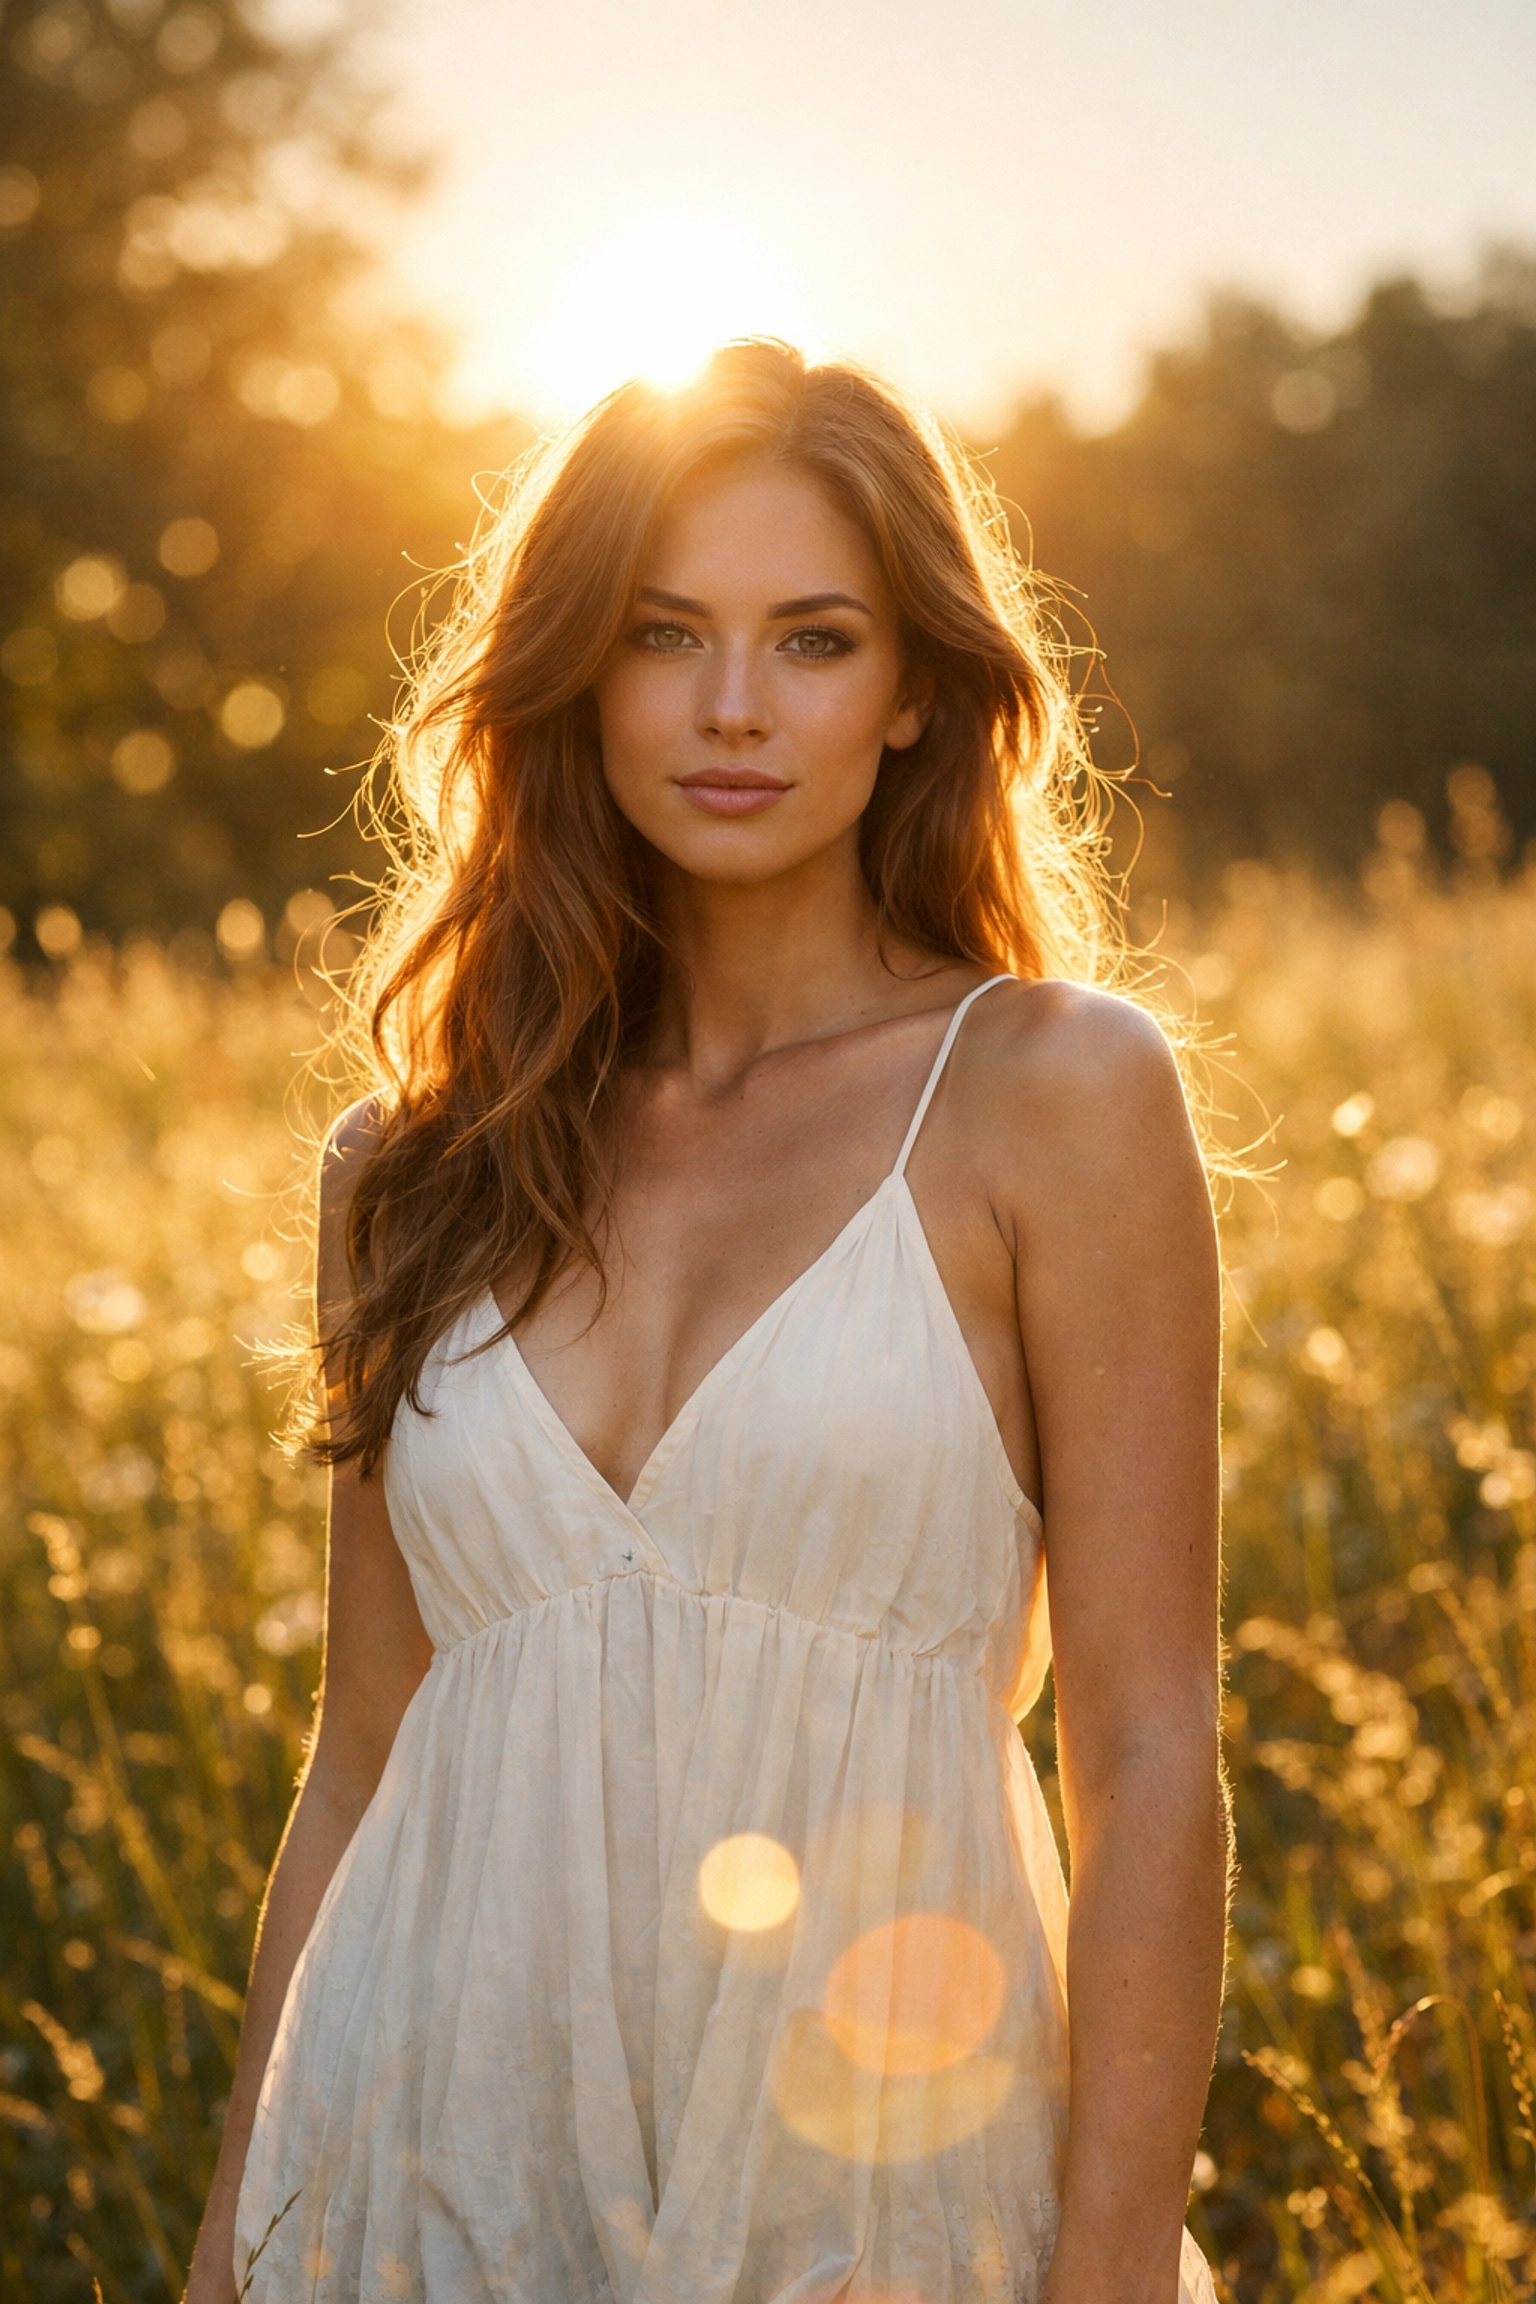
Natural Light and the Golden Hour
The hour after sunrise and the hour before sunset is called "Golden Hour" for a reason. The light is soft, warm, and directional. It creates a natural glow that is incredibly forgiving on skin. If you’re shooting in the middle of the day, find some "open shade", like under a tree or in the shadow of a building. This prevents harsh shadows under the eyes (the dreaded "raccoon eyes").
Using Reflectors
A simple 5-in-1 reflector is the best $20 investment you will ever make. If the sun is behind your subject, use the silver or white side of the reflector to bounce some of that light back onto their face. It fills in shadows and adds a "catchlight" to the eyes, making them look vibrant and full of life.
Composition: Thinking Outside the Box
While the "Rule of Thirds" is a great starting point, portraits allow for a lot of creativity.
- Eye Level vs. Different Angles: Most people shoot from their own standing height. Try squatting down to shoot from the subject’s eye level or slightly below to give them a sense of power. Shooting from slightly above can make the subject look more approachable and soften facial features.
- Framing: Use the environment to frame your subject. This could be a doorway, tree branches, or even rare textures in an urban setting.
- Negative Space: Don't be afraid to leave a lot of empty space on one side of the frame. It creates a sense of mood and allows the viewer’s eye to rest on the subject.
If you’re looking for unique spots to practice these compositions, take a look at our guide on unlocking secrets to enchanting urban photography.
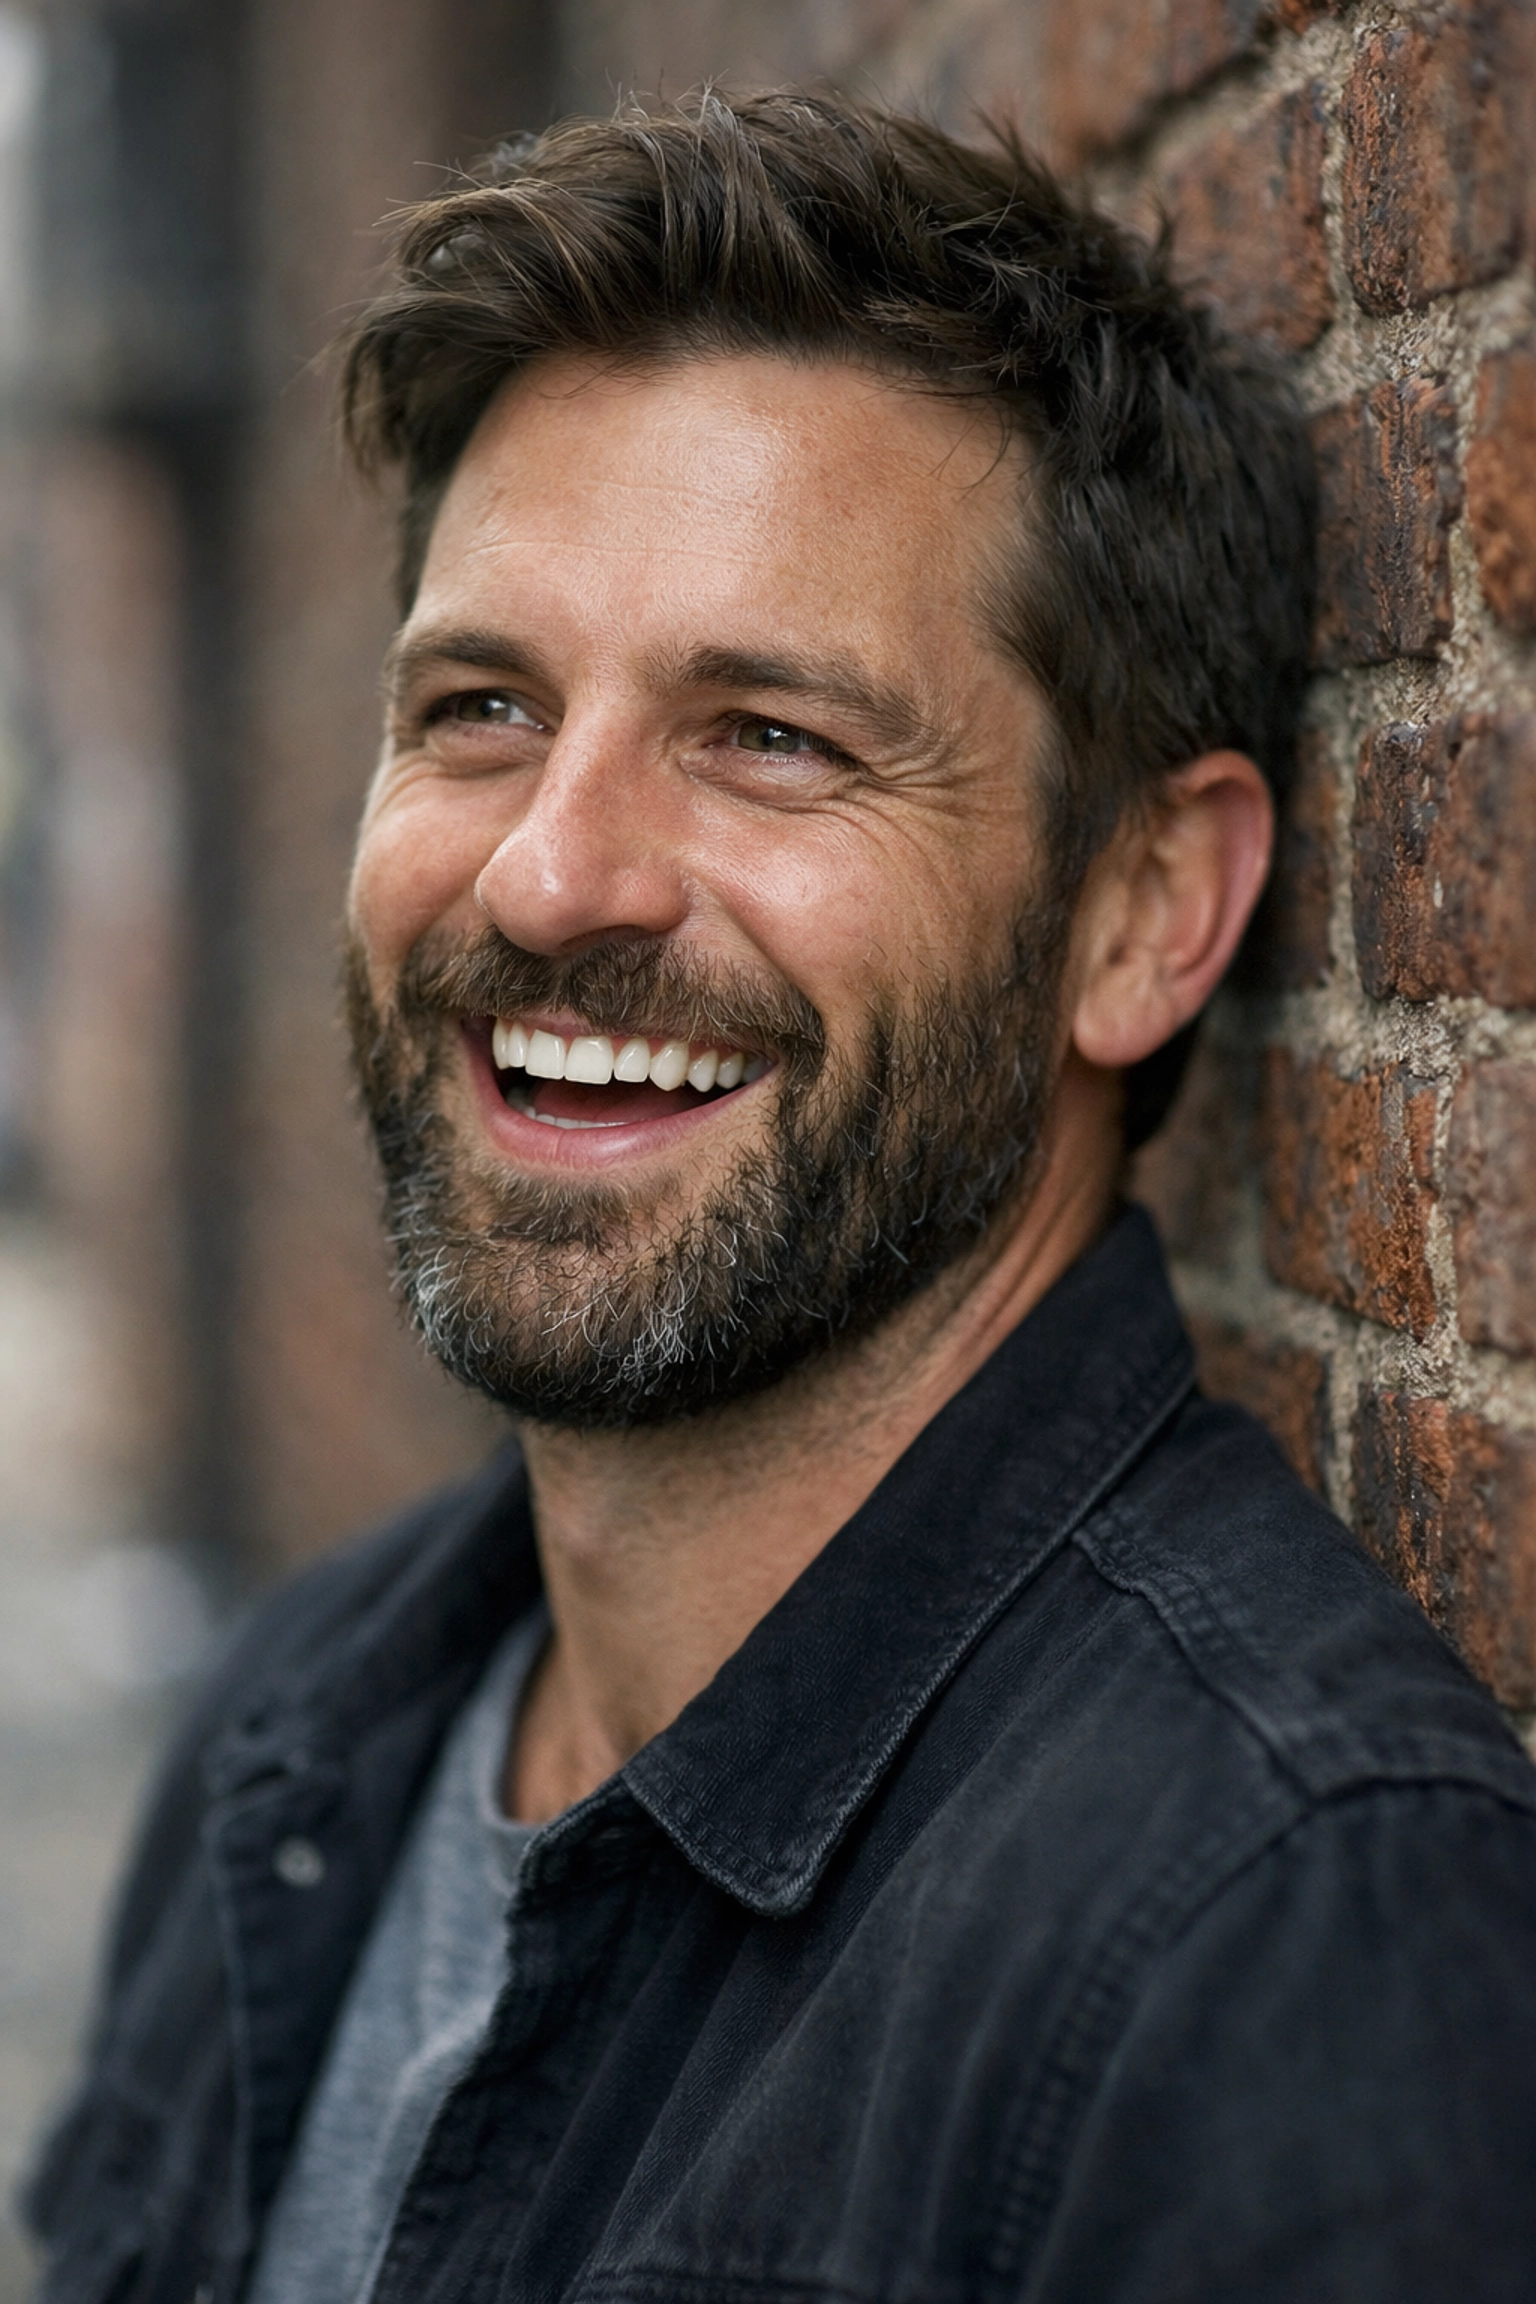
Posing and Directing: The Secret Sauce
The biggest mistake photographers make is not talking to their subject. If you are silent behind the lens, your subject will get stiff and nervous.
- Give Specific Directions: Instead of saying "do something with your hands," say "put your left hand in your pocket" or "brush your hair back with your right hand."
- The "Chicken Neck": To avoid a double chin (even on thin people), ask your subject to push their chin out and down slightly. It feels weird to them, but it looks amazing on camera.
- Capture the In-Between Moments: Sometimes the best shot happens right after you say "okay, we're done." The subject relaxes, laughs, or moves naturally. Keep your finger on the shutter.
For professional-grade posing tips, ProShoot.io has some fantastic galleries to use as "pose boards" during your sessions.
Environment and Context
A portrait isn't just a face; it’s a story. The background should complement the subject, not distract from them.
If you are shooting a traveler, finding hidden gem locations can add an adventurous layer to the portrait. Imagine a portrait of a surfer taken at one of the picturesque coastal escapes we've covered, the environment tells half the story before the viewer even looks at the person's face.
Conversely, if you're in a busy city, you can use a wide aperture to turn a chaotic street into a beautiful blur of colors and lights, focusing entirely on your subject's expression.
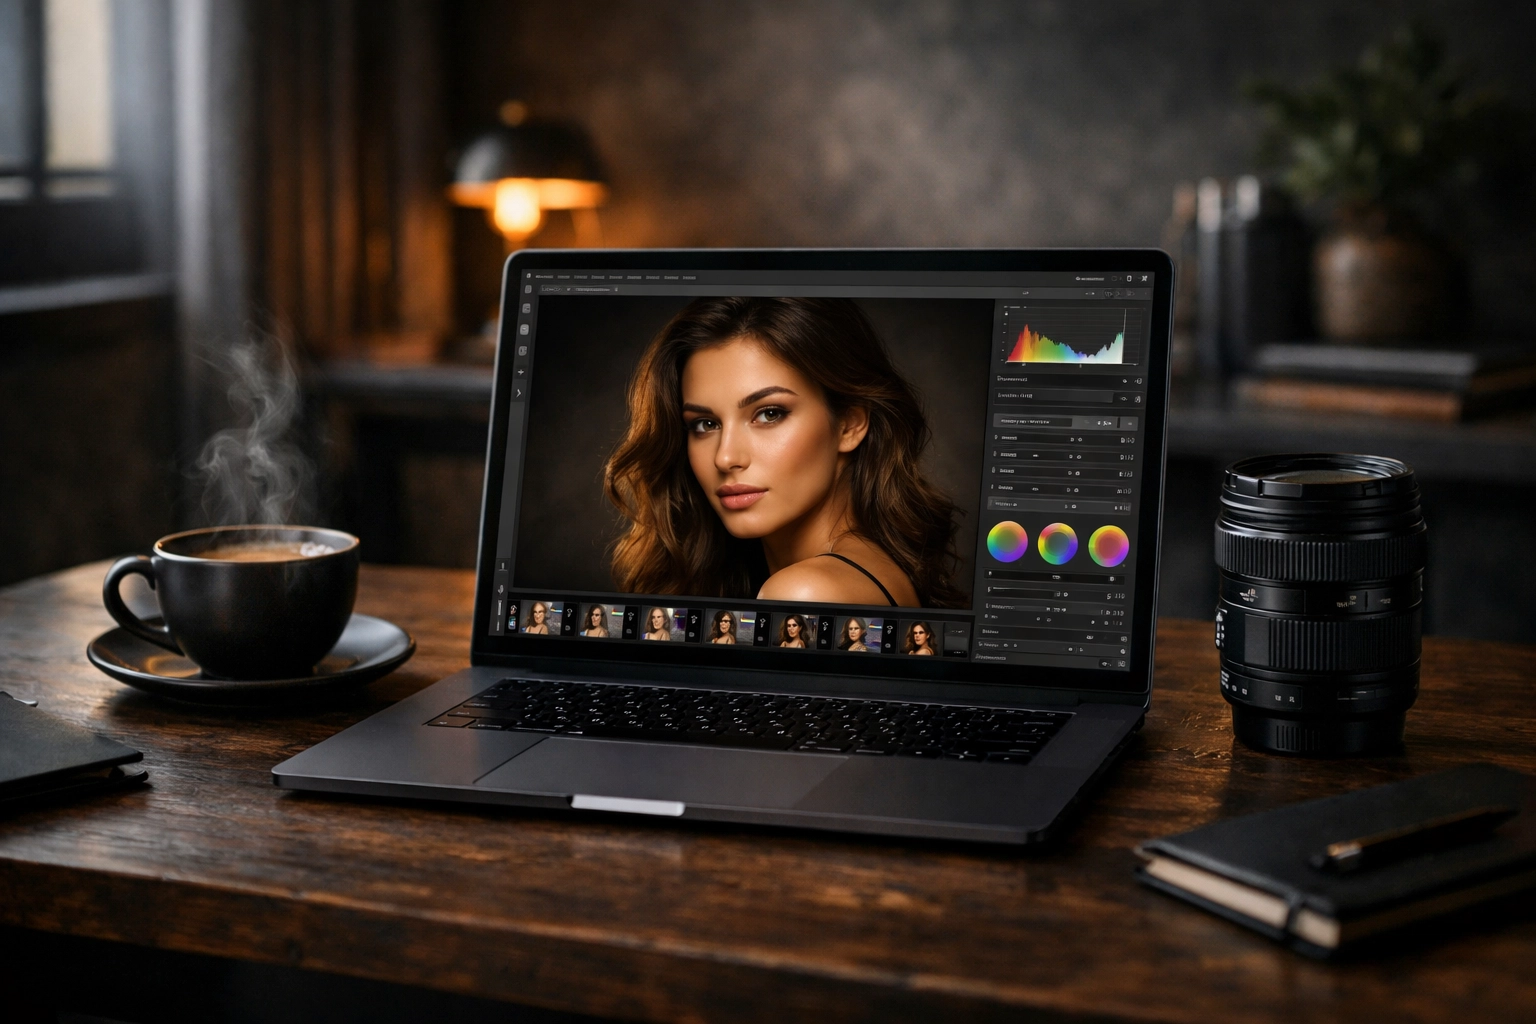
Post-Processing: Elevating the Image
Taking the photo is only 70% of the work. The rest happens in the edit. You don't want to over-process and make your subject look like a plastic doll; you want to enhance what is already there.
Skin Retouching
The goal is to remove temporary blemishes (pimples, scratches) while leaving permanent features (moles, freckles, character lines).
Color Grading
This is where you set the mood. Warmer tones feel nostalgic and happy, while cooler tones can feel clinical or moody. Tools like Luminar have incredible AI-driven tools that can simplify this process, allowing you to enhance eyes or skin with just a few sliders.
If you’re new to the editing world, we have a comprehensive beginner's guide to mastering your workflow that will save you hours of frustration. You can also see some of Edin's finished work at EdinFineArt.com for inspiration on how high-end editing should look.
Specialized Portrait Techniques
Once you've mastered the basics, you can start experimenting with more niche styles.
The Headshot
Headshots are the "bread and butter" of many pro photographers. They are tightly framed and usually require very even, flattering lighting. Think corporate LinkedIn profiles or acting portfolios. The key here is "approachability."
Action Portraits
Who says portraits have to be static? Capturing a dancer mid-leap or a runner in a sprint can be incredibly powerful. Use a high shutter speed (1/1000th or higher) and burst mode to make sure you catch the peak of the movement. If you're shooting near water, check out our best camera settings for water landscapes to see how to handle those tricky reflections and splashes.
Black and White Portraiture
When you strip away color, you are left with light, shadow, and texture. Black and white portraits are timeless and often feel more "honest" than color shots. They are perfect for subjects with a lot of "character" in their faces, think older individuals with stories etched into their skin.
Common Pitfalls to Avoid
Even the pros mess up sometimes. Here are the things to watch out for:
- Distracting Backgrounds: A telephone pole growing out of your subject’s head will ruin even the best expression. Always check the edges of your frame.
- Missed Focus: If the eyes aren't sharp, the photo is usually a throwaway. Most modern mirrorless cameras have "Eye-AF", turn it on and use it!
- Over-Posing: If the subject looks like they are in pain, they probably are. Keep it natural. If a pose isn't working, move on.
- Harsh Light: Avoid shooting at noon in direct sunlight unless you have a specific artistic reason for those high-contrast shadows.
Putting It All Together
Portrait photography is a journey, not a destination. Your first hundred portraits might be "meh," but as you learn to read light and connect with your subjects, you'll start to see a shift. You'll stop taking pictures of people and start making portraits that tell a story.
Don't be afraid to get out there and experiment. Use different lenses, try weird lighting, and visit hidden spots to see how different environments change the vibe of your work.
If you're looking for more inspiration or want to see the gear Edin is using lately, head over to EdinStudios.com or check out his personal blog at blog.edinchavez.com.
Photography is about the hustle and the heart. So grab your camera, find a subject, and remember to keep it simple. Your best portrait is probably just one shutter click away.


