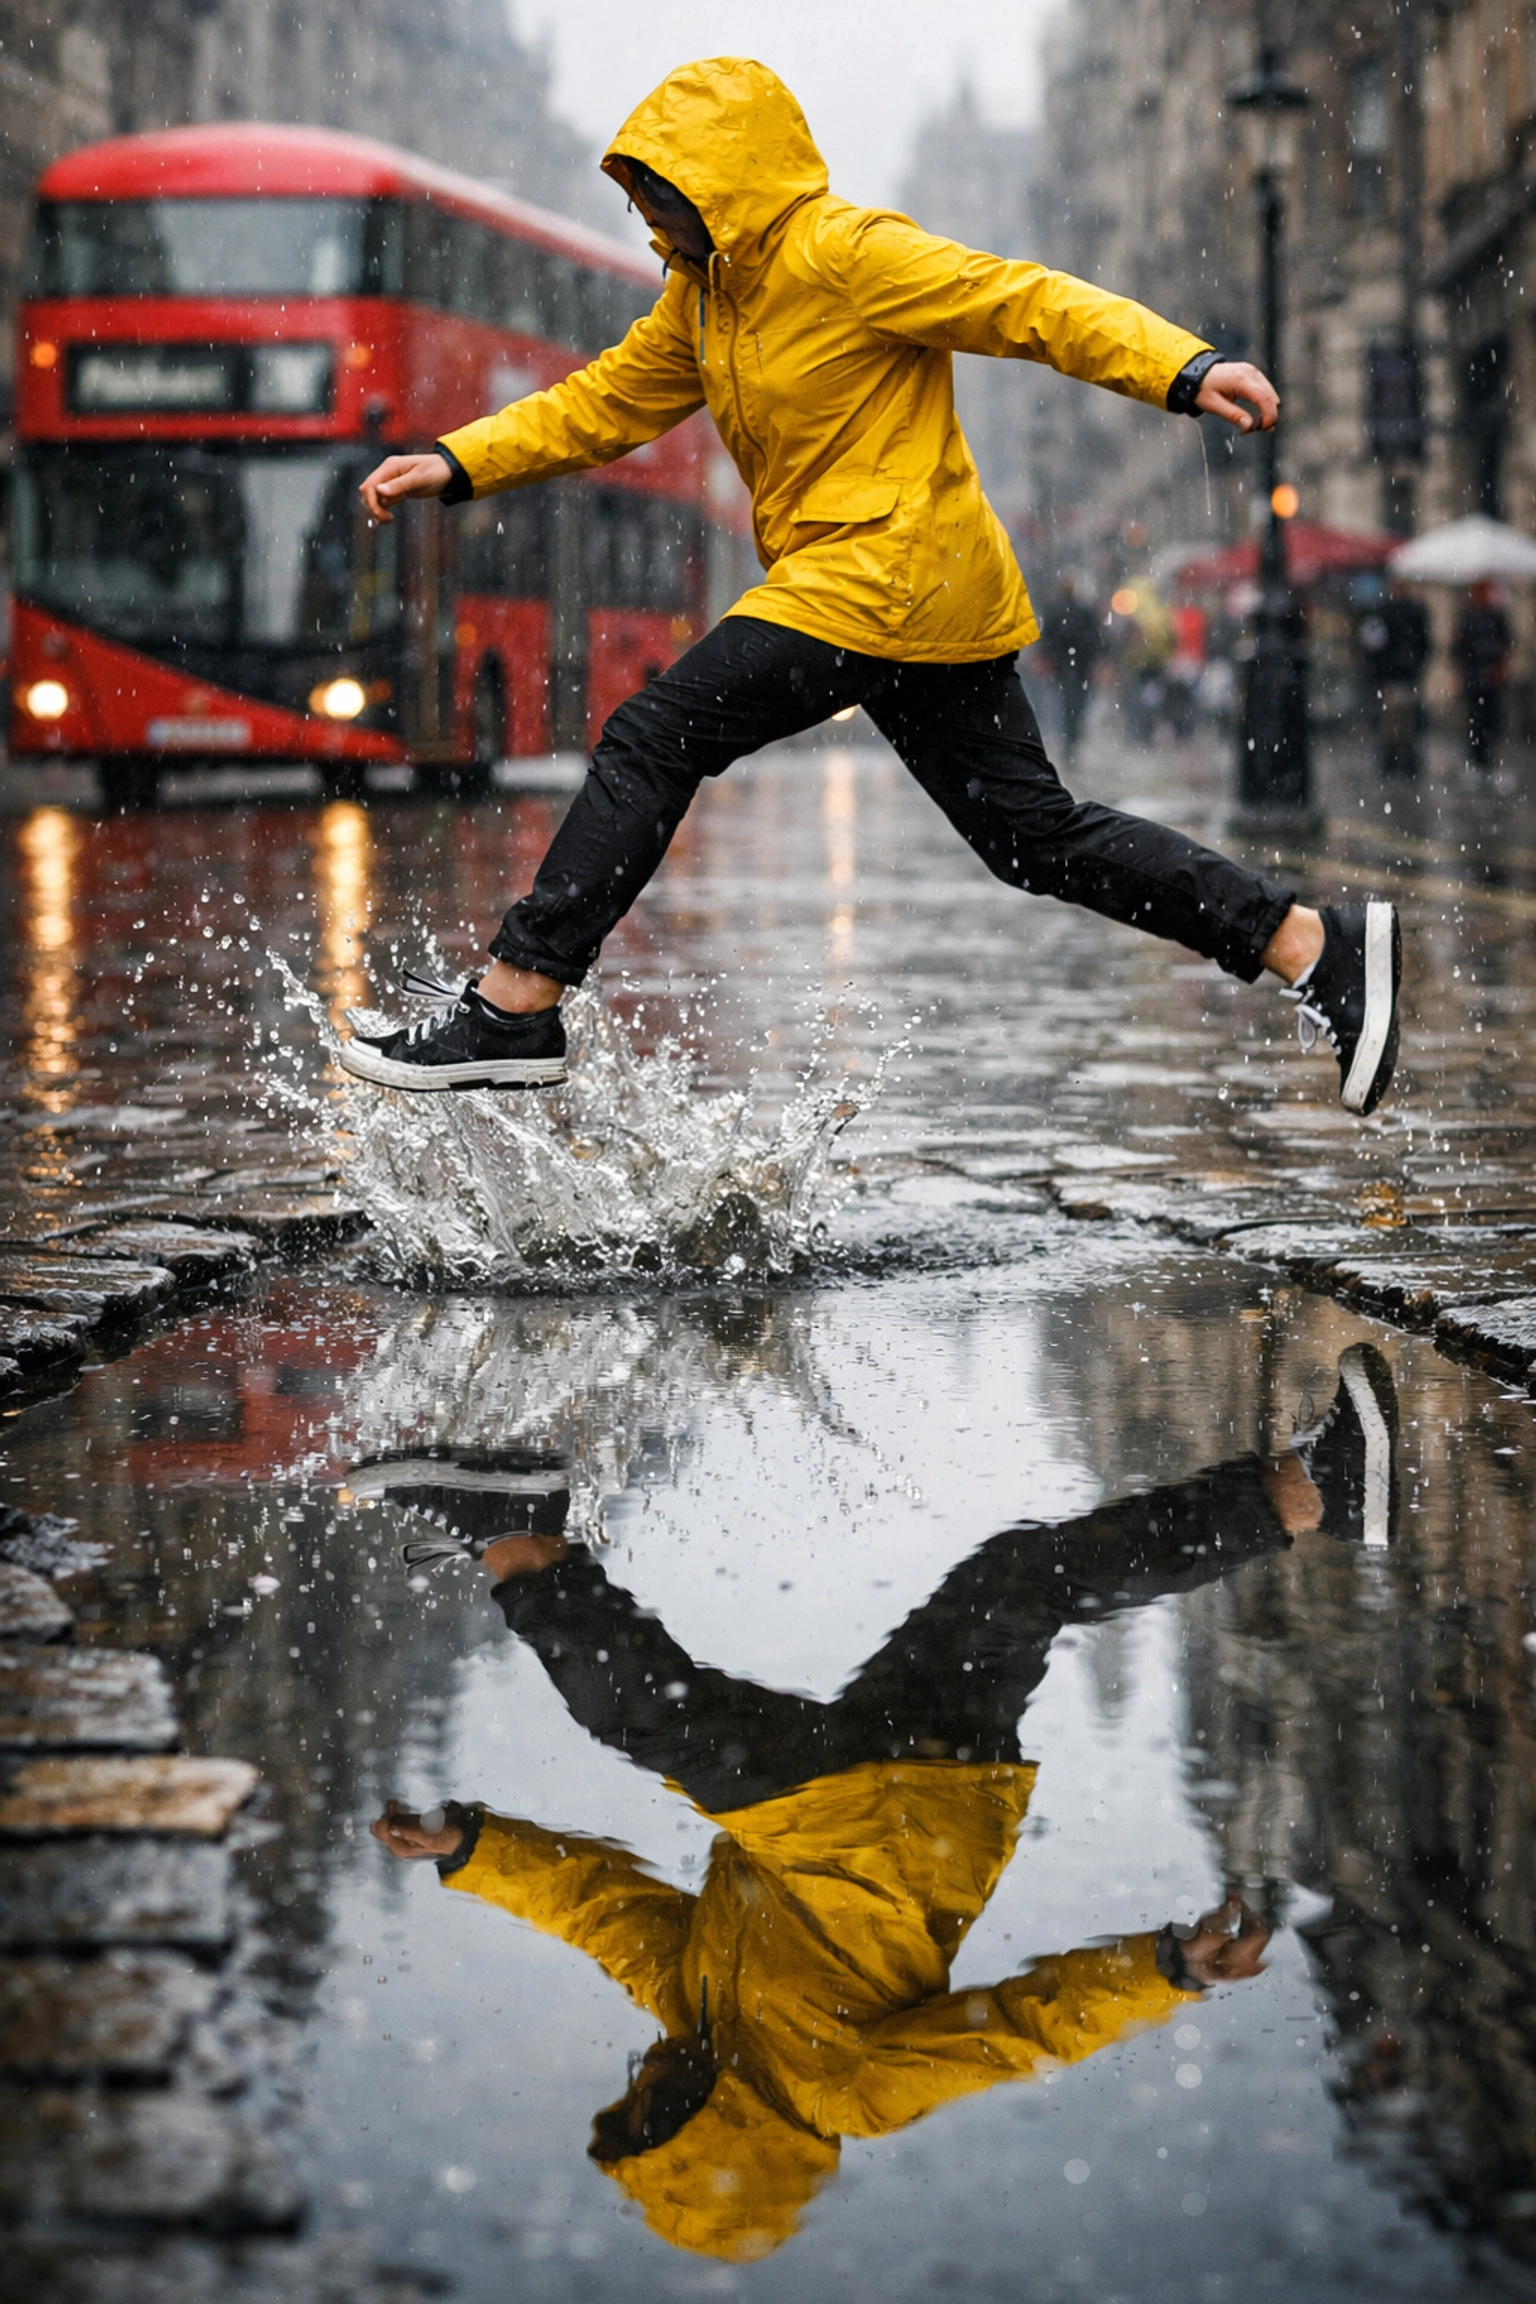
Street photography is the ultimate adrenaline rush for anyone with a camera. There’s no studio, no controlled lighting, and definitely no "can you do that again?" from your subjects. It’s raw, it’s unpredictable, and it’s arguably the most honest form of photography there is.
But let’s be real: walking up to a stranger or trying to find a "moment" in a crowded city can be intimidating. You’re worried about looking like a creep, missing the shot, or fumbling with your settings while the perfect scene vanishes forever.
At Shut Your Aperture, we believe photography should be simple. You don’t need a degree in fine arts to capture something beautiful; you just need to know how to look. This guide is going to walk you through everything: from the gear that won't weigh you down to the mental tricks that make you invisible on the sidewalk.
What is Street Photography, Really?
In its simplest form, street photography is about documenting human life in public spaces. It’s about the "decisive moment," a term coined by Henri Cartier-Bresson, where everything in the frame: the light, the subject, and the background: aligns perfectly for a fraction of a second.
It’s not just about people, though. Street photography can be about the traces people leave behind, the way light hits a fire escape, or the weird juxtaposition of a "Sale" sign next to a sleeping dog. If you want to dive deeper into how to see the city differently, check out our guide on how to unlock secrets to enchanting urban photography.
Choosing Your Weapon: The Best Gear for the Street
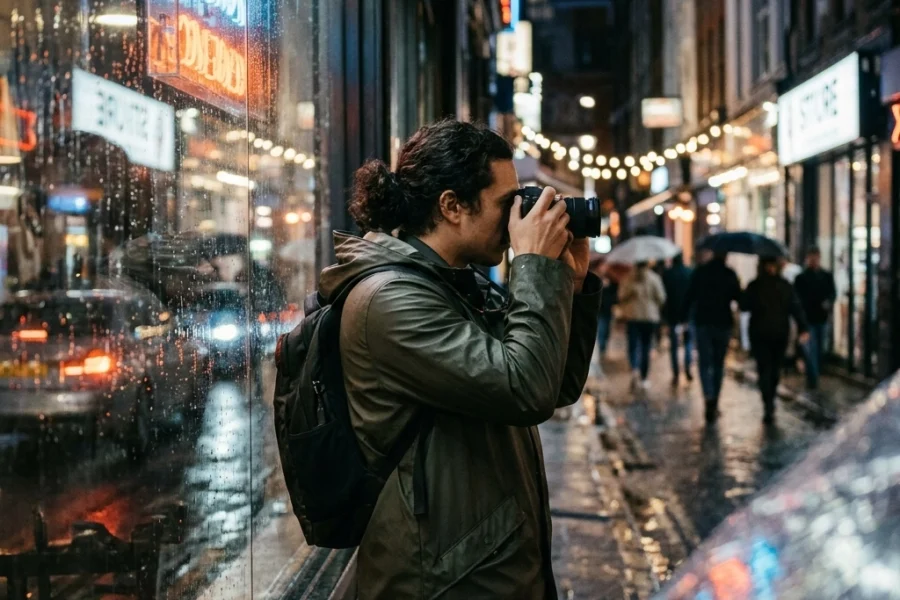
The first rule of street photography gear is: keep it light. If you look like you’re carrying a bazooka, people are going to notice you. If you look like a tourist with a small camera, you’re just part of the background.
Mirrorless vs. DSLR
In 2026, mirrorless is the king of the street. They are smaller, quieter, and the electronic viewfinders help you see exactly what your exposure looks like in real-time. If you’re debating between the latest tech, our breakdown of the Nikon Z6 III vs Sony A7 IV is a great place to start. Both are incredible for street work, but the Z6 III’s autofocus in low light is a game-changer for those moody evening shots.
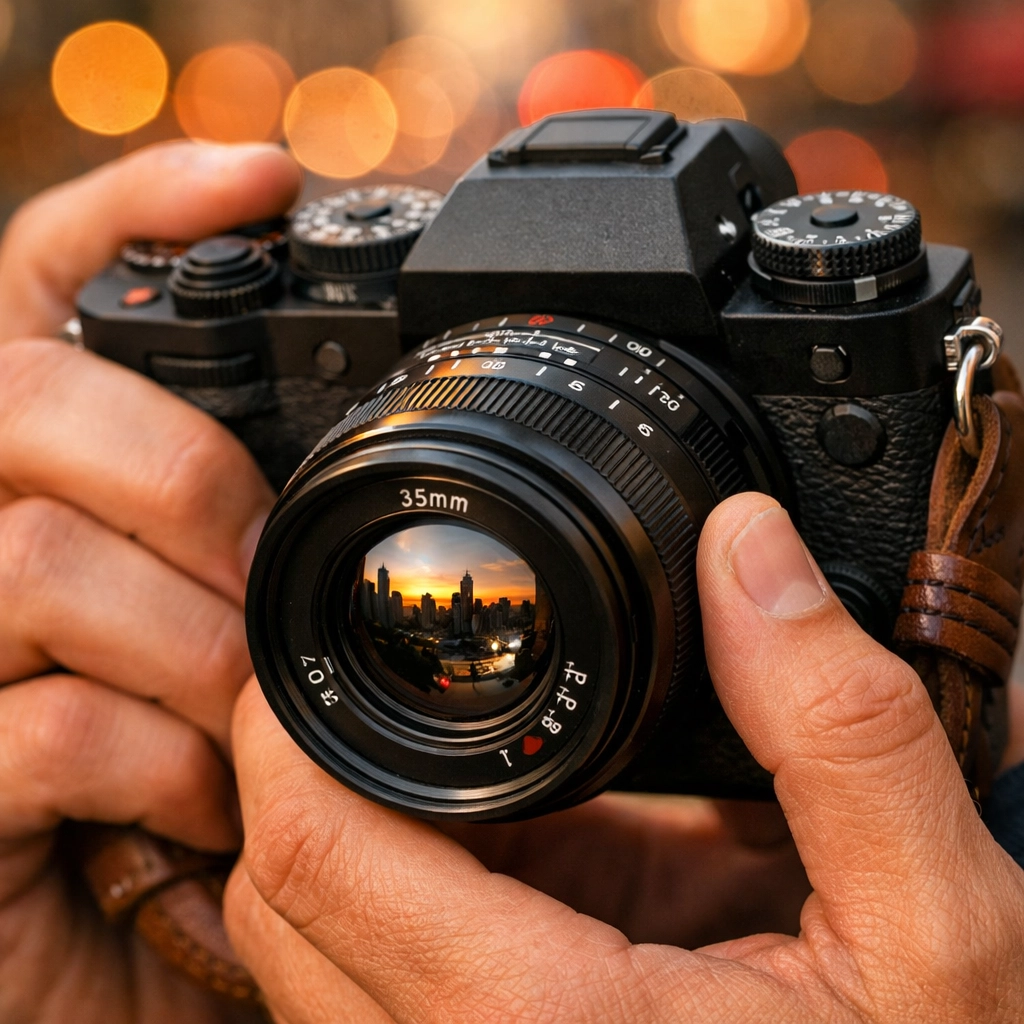
The Magic of Prime Lenses
While zoom lenses are versatile, most street photographers swear by "primes" (fixed focal length lenses).
- 35mm: The classic choice. It’s wide enough to show the environment but tight enough to focus on a subject.
- 50mm: The "nifty fifty." It mimics how the human eye sees and provides a bit more compression and background blur.
- 28mm: For those who like to get right in the action. It forces you to get close, which can be scary but results in very immersive photos.
Using a prime lens forces you to move your feet. Instead of zooming with a dial, you "zoom" by walking. This makes you more engaged with the scene.
Technical Skills: Set It and Forget It
The sidewalk moves fast. If you’re busy menu-diving, you’re going to miss the shot. You need your camera to be an extension of your hand.
Zone Focusing: The Street Photographer’s Secret
This is the most important skill you can learn. In street photography, autofocus: no matter how fast: can still fail you. Zone focusing involves switching to manual focus and setting your focus distance to a specific "zone" (let's say 8 to 10 feet).
If you use a small aperture like f/8 or f/11, your depth of field will be wide enough that anything within that 8-to-10-foot range will be sharp. This allows you to snap a photo instantly without the camera hunting for focus. It’s how the greats did it back in the day, and it still works perfectly on the streets of New York or Tokyo today.
Shutter Priority (Tv or S Mode)
Motion blur is the enemy unless it’s intentional. In bright daylight, keep your shutter speed at at least 1/500th of a second. If people are moving fast, bump it to 1/1000th. By using Shutter Priority, you tell the camera, "I don't care what else you do, just keep the shutter fast," and it will handle the aperture for you.
ISO: Don’t Fear the Grain
A sharp, grainy photo is always better than a blurry, clean one. Don’t be afraid to push your ISO to 1600, 3200, or even higher. Modern sensors handle noise incredibly well, and in street photography, a little grit actually adds to the aesthetic. If you want to learn more about achieving that specific look, take a look at using rare textures for tangible aesthetic photography.
Composition Techniques for the Sidewalk
Great street photography isn't just about what's in the frame; it's about how those things interact.
1. Juxtaposition
This is the art of placing two things in a frame that shouldn't belong together or that create a funny or thought-provoking contrast. Think of a person walking past a billboard where the person on the ad looks like they are interacting with the pedestrian. It’s witty, it’s clever, and it’s the hallmark of a great street eye.
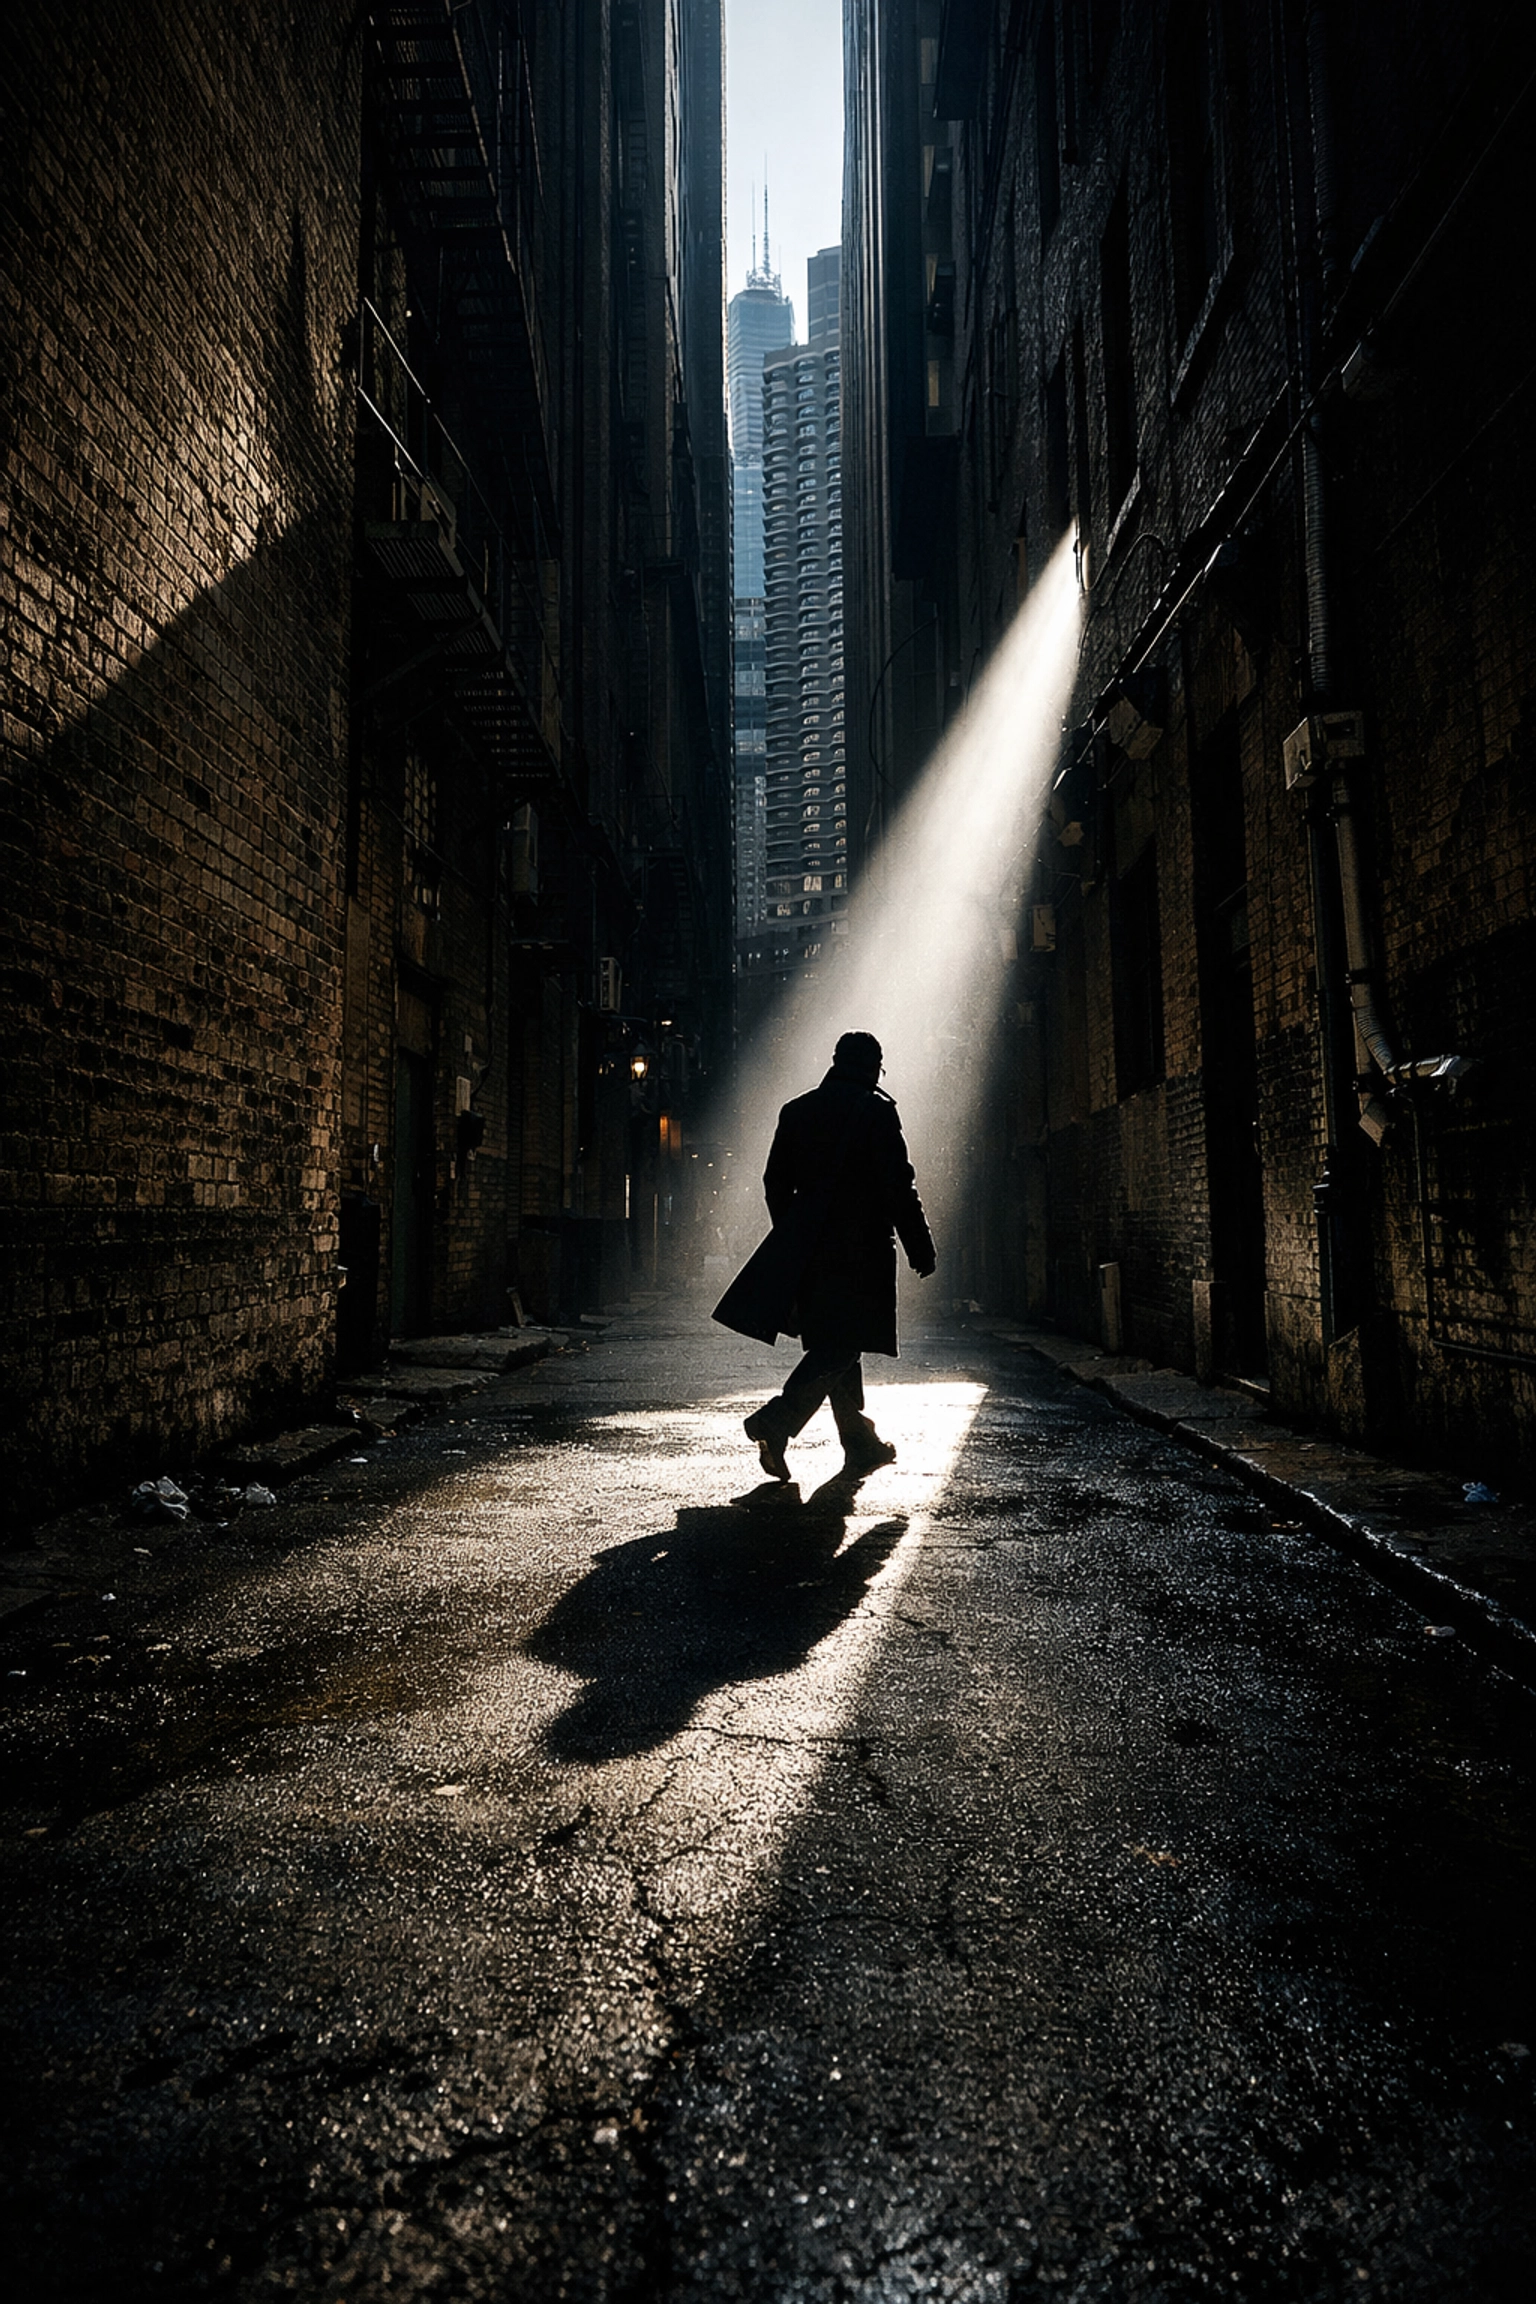
2. Leading Lines and Frames Within Frames
Use the architecture of the city. Use shadows, doorways, and alleyways to lead the viewer’s eye toward your subject. A person standing at the end of a long, dark tunnel of shadows is instantly more interesting than a person standing in a flatly lit park.
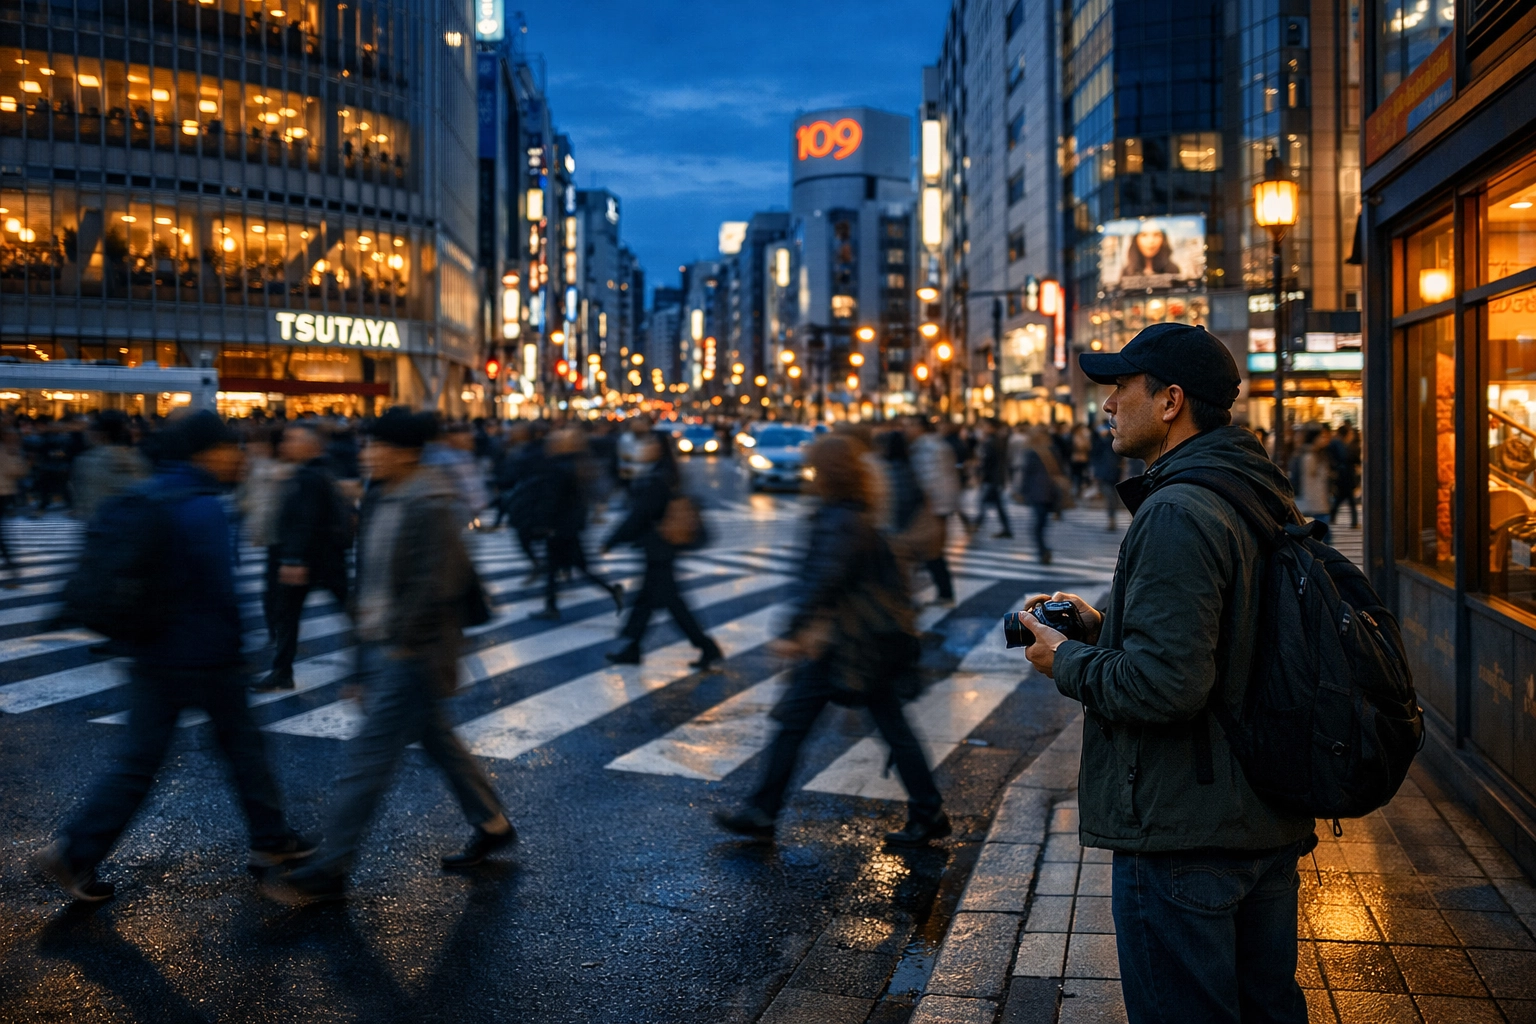
3. The "Stage" Method
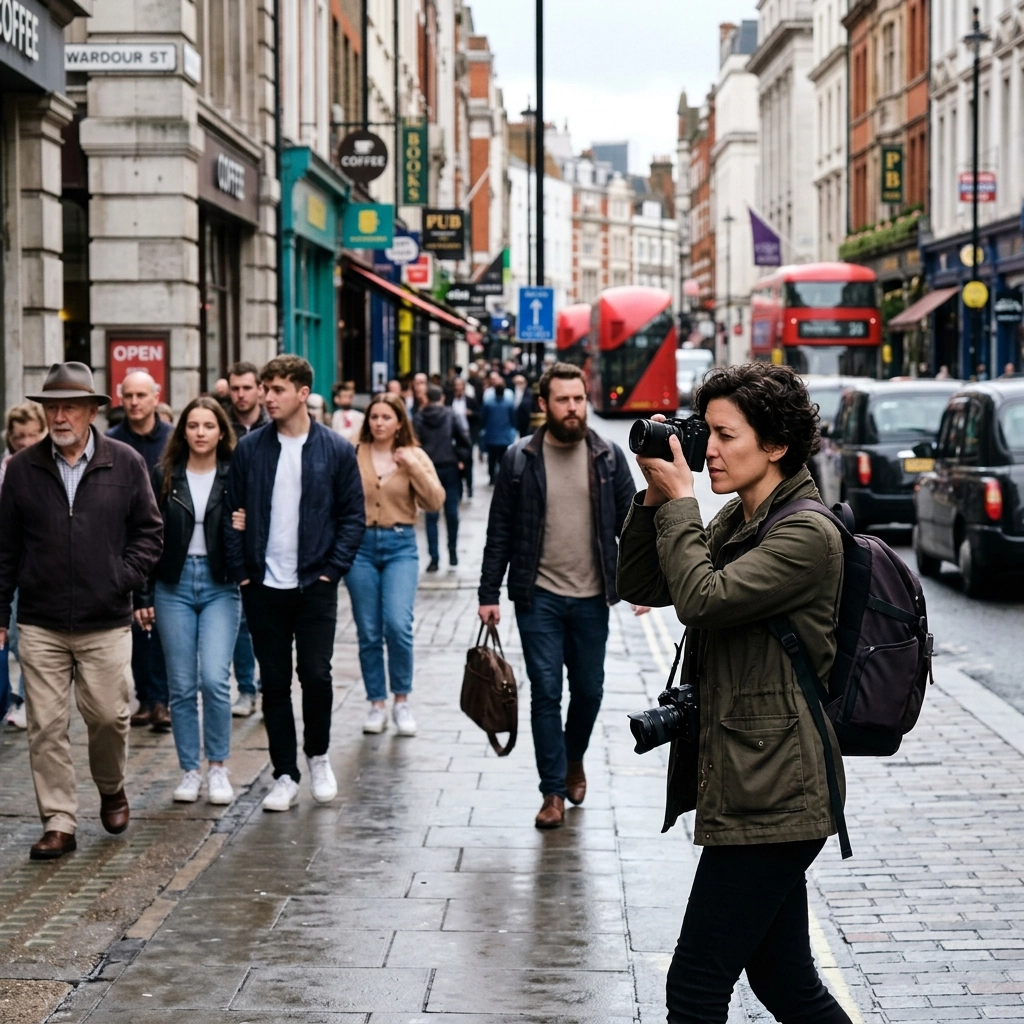
Instead of hunting for subjects, find a "stage." This is a spot with great light, an interesting background, or a cool architectural element. Once you find your stage, stay put. Wait for the right character to walk into your frame. This is much less exhausting than chasing people around and usually results in better-composed shots.
Finding Your Rhythm and Locations
Where should you go? Busy intersections are the obvious choice, but sometimes the best shots happen in the quiet moments.
If you’re traveling, it’s easy to hit the tourist spots, but we always recommend looking for hidden gem locations for travel photography. Sometimes a local market or a quiet residential street in an unfamiliar city offers more "soul" than the Eiffel Tower or Times Square.
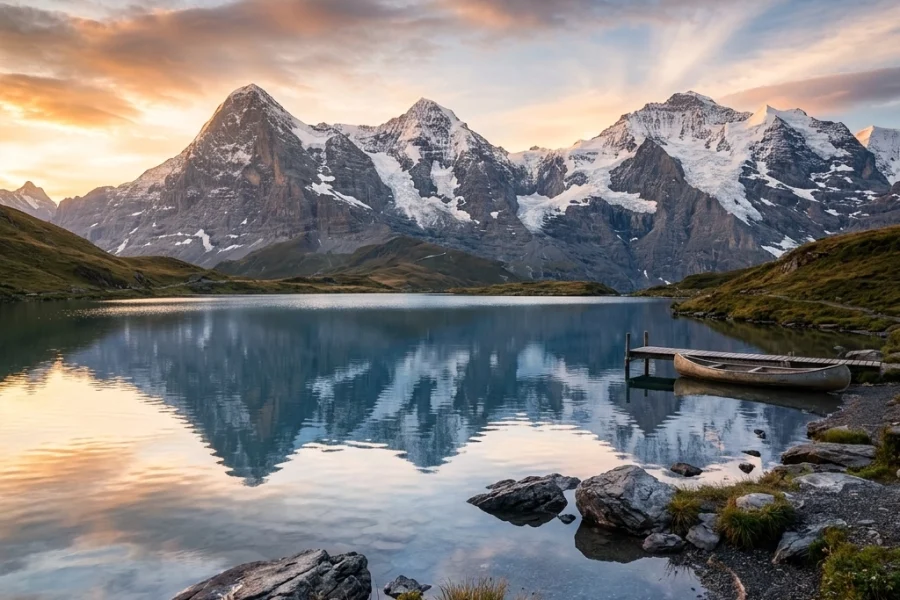
For those who prefer a mix of nature and urban life, searching for lesser-known vistas for enigmatic photos can lead to some incredible street-meets-nature shots, especially in coastal cities.
The Mental Game: Overcoming Fear
The biggest hurdle in street photography isn't technical: it's psychological. We’re programmed not to stare and to respect personal space. Breaking that "social contract" to take a photo feels weird at first.
Here are a few tips to stay "invisible":
- The "Look Past" Technique: After you take a photo of someone, don't immediately pull the camera down and look at the screen. Keep the camera to your eye and look past them, as if you’re waiting for something else to happen behind them. They’ll assume they just got in your way and move on.
- The Tourist Mask: Wear a strap and carry a map or a bag. People are much more forgiving of a "tourist" taking photos than a "professional" photographer.
- Smile: If someone catches you taking their photo, don’t look guilty. Smile, nod, or even show them the photo. Most people are actually quite flattered if you approach them with good energy.
For more professional advice on how to conduct yourself and improve your eye, I always recommend checking out resources like PhotoGuides.org or visiting proshoot.io for technical deep dives.
The Ethics and Legality of the Street
Before you head out, know the rules. In the US and many other Western countries, you generally have the right to take photos of anything visible from a public space. However, "legal" and "ethical" are two different things.
- Respect the Vulnerable: Be cautious about photographing people in distress or the homeless. Ask yourself: "Am I telling a story, or am I taking advantage of someone's situation?"
- Kids: This is a sensitive area. Always be mindful. If a parent looks uncomfortable, move on. It’s not worth the conflict.
- Private Property: Malls, train stations (sometimes), and museums are private property. If security asks you to stop, just be polite and stop.
Post-Processing: Bringing the Street to Life
Once you get home with a memory card full of shots, the real storytelling begins. Street photography is one of the few genres where black and white is still a powerhouse. It strips away the distraction of color and focuses the viewer on the light and the emotion.
When I edit my street work, I almost always start in Luminar. Their AI tools are great for quickly balancing harsh shadows and highlights: something you deal with a lot when shooting in high-contrast urban environments.
Don't over-edit. The goal isn't to make the photo look like a CGI movie; it's to enhance the feeling you had when you pushed the shutter. I often visit blog.edinchavez.com to see how different lighting conditions can be manipulated to tell a better story.
Making it a Habit
Street photography is a muscle. If you only do it once a month, you’ll always feel rusty and awkward. Try to carry a small camera with you every day. Even your commute to work is an opportunity to see something interesting.
I’ve been working closely with Sonny, our Social Media Manager, to make sure we’re sharing more of these "daily life" moments on our channels. He’ll be linking back to these guides often, so make sure you’re following along for real-time tips and street challenges.
If you’re looking for more inspiration beyond the pavement, check out Edin’s personal work at edinfineart.com or see the commercial side of things at edinstudios.com. Seeing how street techniques apply to high-end art and commercial work will change the way you see your own "sidewalk" shots.
Final Thoughts: Just Go Out and Shoot
The "Ultimate Guide" can only take you so far. You can read every book and watch every video, but the sidewalk is the only true teacher. You’re going to miss shots. You’re going to have awkward encounters. You’re going to take a lot of boring photos.
But then, you’ll have that one moment. The light hits a passerby’s face perfectly, a bird flies into the frame at the exact right second, and you click. That one photo makes all the walking and the waiting worth it.
So, grab your camera, check your settings, and head out the door. The street is waiting. For more tips on different types of environments, like mastering water photography in any environment, keep exploring our site. There's a whole world out there to capture.