Landscape photography seems like it should be the easiest thing in the world. You find a big, beautiful mountain, you point your camera at it, and you click the button. Nature does all the work, right?
Wrong. If it were that easy, every photo on Instagram would look like it belongs in National Geographic. Instead, we often end up with shots that look flat, crooked, or just plain boring. We’ve all been there, you hike four hours at sunrise, get to the peak, and your photos look like they were taken with a potato during an earthquake.
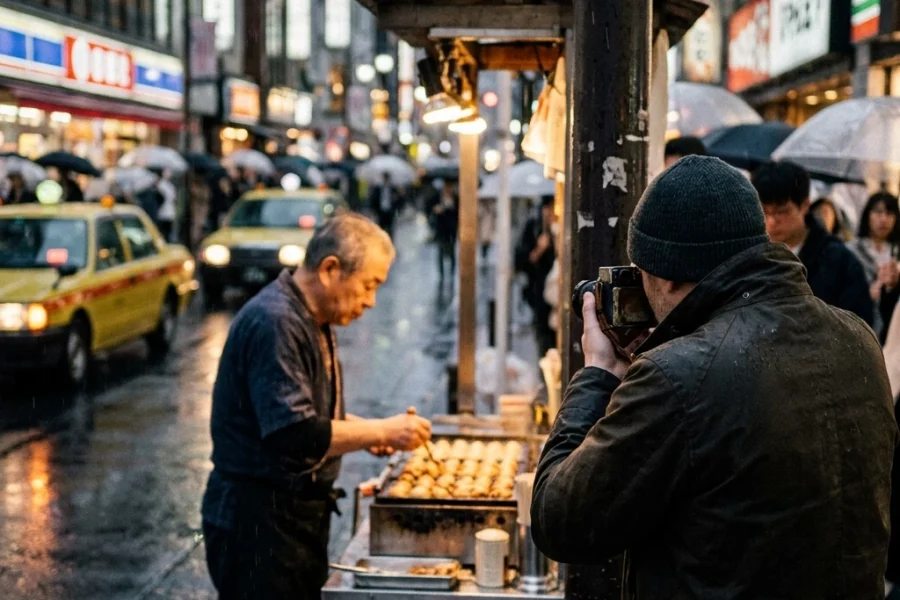
I’ve spent years traveling the world, from the neon streets of Tokyo to the jagged peaks of the Andes, and I can tell you that the difference between a "meh" photo and a "wow" photo usually comes down to avoiding a few common pitfalls. If you’re looking to level up your game, check out these top photography tips to get started on the right foot.
Today, we’re diving into the seven most common mistakes people make with landscape photography and, more importantly, how to fix them. Let’s get your shots looking like the ones in Edin Chavez’s fine art collection.
1. The "Drunken" Horizon
There is nothing that screams "amateur" louder than a crooked horizon. It’s the visual equivalent of a nagging itch you can’t scratch. Unless you’re trying to be edgy with a Dutch angle (which almost never works in landscapes), your horizon needs to be perfectly level. Even a one-degree tilt can make the viewer feel like the ocean is about to leak out of the side of the frame.
How to Fix It:
Most modern best mirrorless cameras have a built-in electronic level (the "virtual horizon"). Turn it on and use it. If your camera doesn’t have one, turn on the grid lines in your viewfinder or on your LCD screen.
If you still mess it up in the field, don't panic. You can fix it in post-processing using software like Luminar. Just keep in mind that rotating a photo requires cropping, so if you’re too tilted, you might lose some of the edges of your composition. It’s always better to get it right in-camera.
2. No Clear Subject (The "Empty Field" Syndrome)
A common mistake beginners make is thinking that because a view is "pretty," it will make a good photo. They see a vast mountain range and just snap a wide shot. The result? A photo where the viewer’s eye wanders aimlessly, looking for somewhere to land.
Without a clear focal point, the scale of the landscape gets lost. You need something to anchor the image: a lone tree, a jagged rock, a winding path, or even a person standing in the distance.

How to Fix It:
Before you press the shutter, ask yourself: "What am I actually looking at?" If the answer is "everything," you probably need to refine your composition. Use leading lines to draw the eye toward your subject. If you’re shooting in narrow spaces, check out our guide on mastering canyon and gorge travel photography for specific tips on finding subjects in tight spots.
3. Ignoring the "Bad" Light
I see so many photographers out at high noon, wondering why their photos look harsh and washed out. Midday sun creates deep, ugly shadows and blown-out highlights. It kills the texture of the landscape and makes colors look muddy.
If you want those epic, glowing shots, you have to be willing to lose some sleep.
How to Fix It:
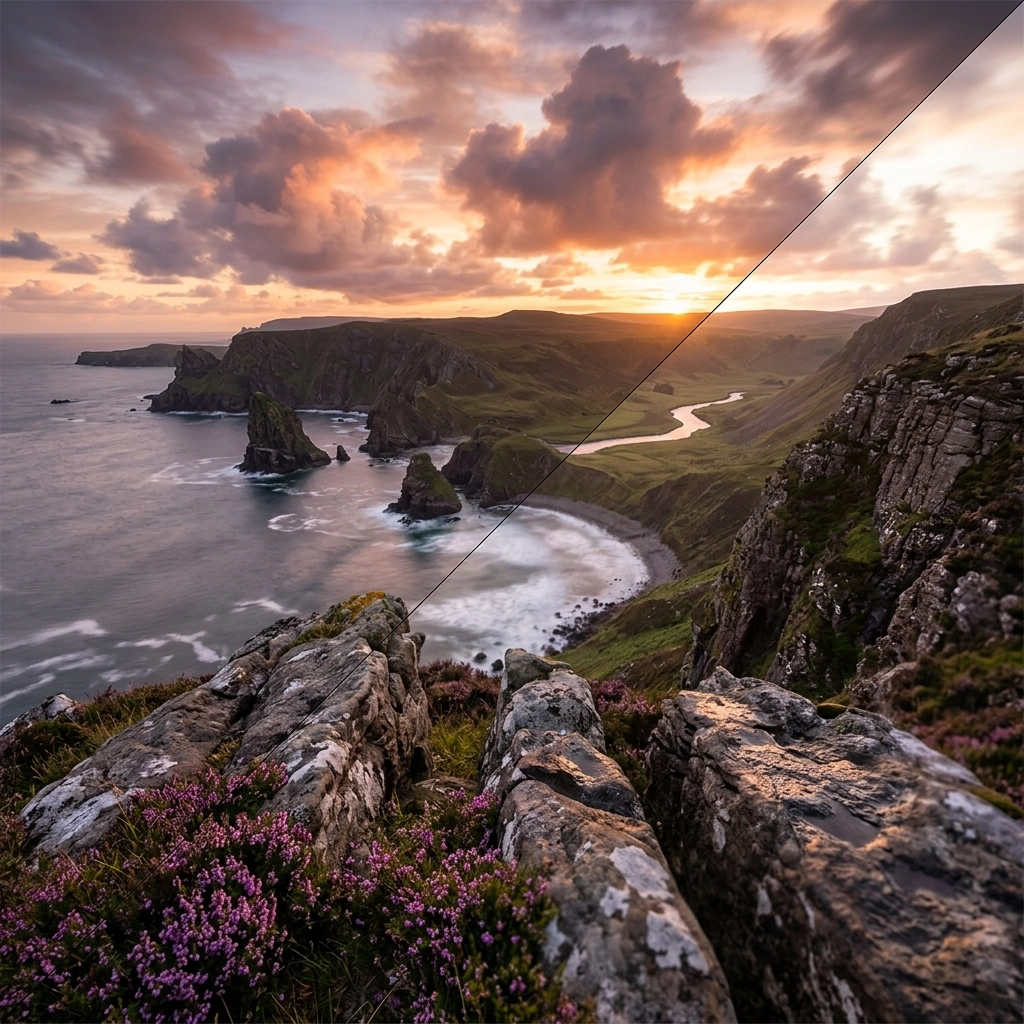
Shoot during the Golden Hour (the hour after sunrise and the hour before sunset). The light is softer, warmer, and hits the landscape at an angle, which brings out textures and shapes. If you miss the Golden Hour, stay for the Blue Hour (just after sunset), when the sky turns a deep, moody blue and the world feels calm.
If you’re stuck shooting during the day, try using a Circular Polarizer to cut down on glare and bring back some color in the sky. For more gear ideas, look at our list of essential camera accessories for 2024.
4. Only Using Wide-Angle Lenses
There’s a myth that landscape photography must be done with a 16mm or 24mm lens. While wide angles are great for capturing a sense of scale, they also tend to push everything away. That massive mountain in the distance suddenly looks like a tiny hill in your frame.
Wide-angle lenses also make it harder to isolate a subject, often leading back to Mistake #2.
How to Fix It:
Don’t be afraid to pull out a telephoto lens (like a 70-200mm). Longer focal lengths compress the scene, making distant objects appear larger and closer together. This is a great way to show the layers of a mountain range or to focus on a specific detail in the distance.
If you're just starting and aren't sure which lens to buy next, take a look at our camera comparison insights to see how different setups handle various focal lengths.

5. Thinking a Tripod is Optional
"I have steady hands," you say. "My camera has 6 stops of Image Stabilization," you argue.
In landscape photography, a tripod isn't just about preventing blur; it’s about intent. When you put your camera on a tripod, you slow down. You become more deliberate with your composition. You stop taking "snapshots" and start making "photographs."
Plus, if you want to do long exposures (like making a waterfall look like silk), a tripod is non-negotiable.
How to Fix It:
Buy a decent tripod. It doesn’t have to be a $1,000 carbon fiber beast, but it shouldn't be a $20 plastic one from a drug store either. Look for something sturdy that can handle the weight of your heaviest lens. If you’re a beginner, check out our recommendations for the best cameras for beginners and the accessories that go with them.
Also, don't forget camera maintenance. Sand and salt water from coastal landscapes can ruin a tripod (and a camera) quickly if you don't clean it properly.
6. Not Checking the Edges of the Frame
You get home, put your "perfect" shot on the big screen, and realize there’s a stray tree branch poking into the top corner or a trash can sitting on the edge of the frame. These distractions pull the viewer’s eye away from your subject and make the photo feel cluttered.
How to Fix It:
Before you click the shutter, do a "border patrol." Move your eyes around the very edges of the viewfinder. If you see something distracting, move your feet or adjust your focal length. It’s much easier to take a step to the left than it is to spend an hour in Photoshop trying to clone out a complicated branch.
For more advanced composition techniques, I always recommend checking out Shut Your Aperture; they have some incredible deep dives into the geometry of a great shot.
7. The "Crunchy" Post-Processing Trap
We’ve all seen them: those HDR photos that look like they were deep-fried. Over-processing is a massive mistake. People tend to go overboard with the "clarity," "texture," and "saturation" sliders. This results in halos around trees, "crunchy" looking skies, and colors that don't exist in nature.
Editing should enhance the mood of the photo, not change the reality of the scene into a neon nightmare.

How to Fix It:
Use a light touch. If you think you’ve added enough saturation, back it off by 10%. Software like Luminar uses AI to help you get natural-looking results without the "crunch." Focus on shadows and highlights first, then move to color.
If you’re looking for inspiration on a natural but professional edit, check out Edin’s personal blog at blog.edinchavez.com. He shares a lot of behind-the-scenes looks at how he treats his files.
Bonus Tip: Coordinate Your Content
I’ve been chatting with Sonny, our Social Media Manager, about how we can help you guys even more. We’ve decided that for every major blog post like this, he’s going to be dropping specific "How-To" reels and TikToks that visualize these fixes. So, if you’re reading this, make sure you’re following us on social so you can see these tips in action. This workflow ensures that whether you’re reading or watching, you’re getting the best info possible.
Final Thoughts
Landscape photography is a journey. You’re going to make mistakes: I still make them. The key is to recognize them and understand why they happened. Whether it’s fixing a "drunken" horizon or finally investing in a tripod, these small changes will have a massive impact on your work.
If you’re still rocking an old camera and think it might be time for an upgrade to help with these issues, check out our guide on choosing the best camera in 2024 or browse the top camera deals currently available.
Now, stop reading this, grab your gear, and get outside. The light is waiting!
Luminar Neo’s Sky AI, atmosphere AI and SuperSharp are designed for landscape work — replace flat skies, add depth, and recover detail in seconds. Tagged as affiliate per FTC.