
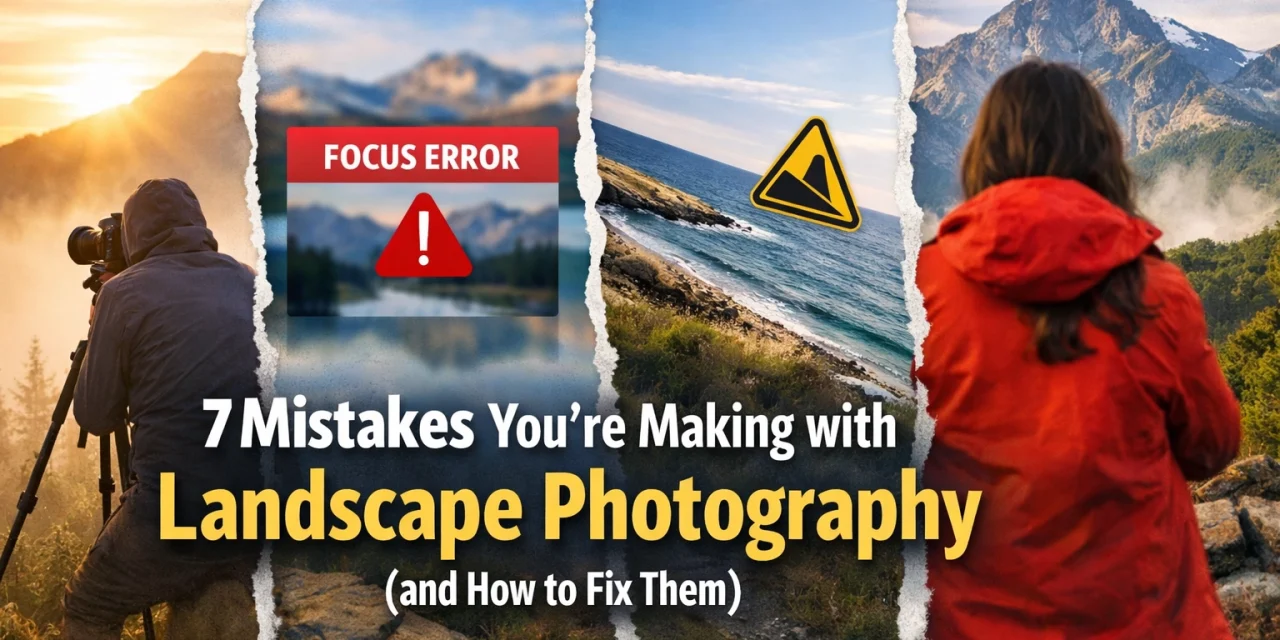
Landscape photography seems like the easiest gig in the world, right? You just find a pretty mountain, point your camera, and click. But then you get home, load the photos onto your computer, and they look… well, flat. Boring. Maybe even a little bit amateur.
Don't sweat it. We’ve all been there. Even the pros at Shut Your Aperture started by accidentally cutting off the tops of mountains or blowing out the sky until it looked like a nuclear blast. The difference between a "nice snapshot" and a "wall-worthy masterpiece" usually comes down to a few common blunders that are incredibly easy to fix once you know what to look for.
Here are the seven most common mistakes people make in landscape photography and exactly how you can stop doing them today.
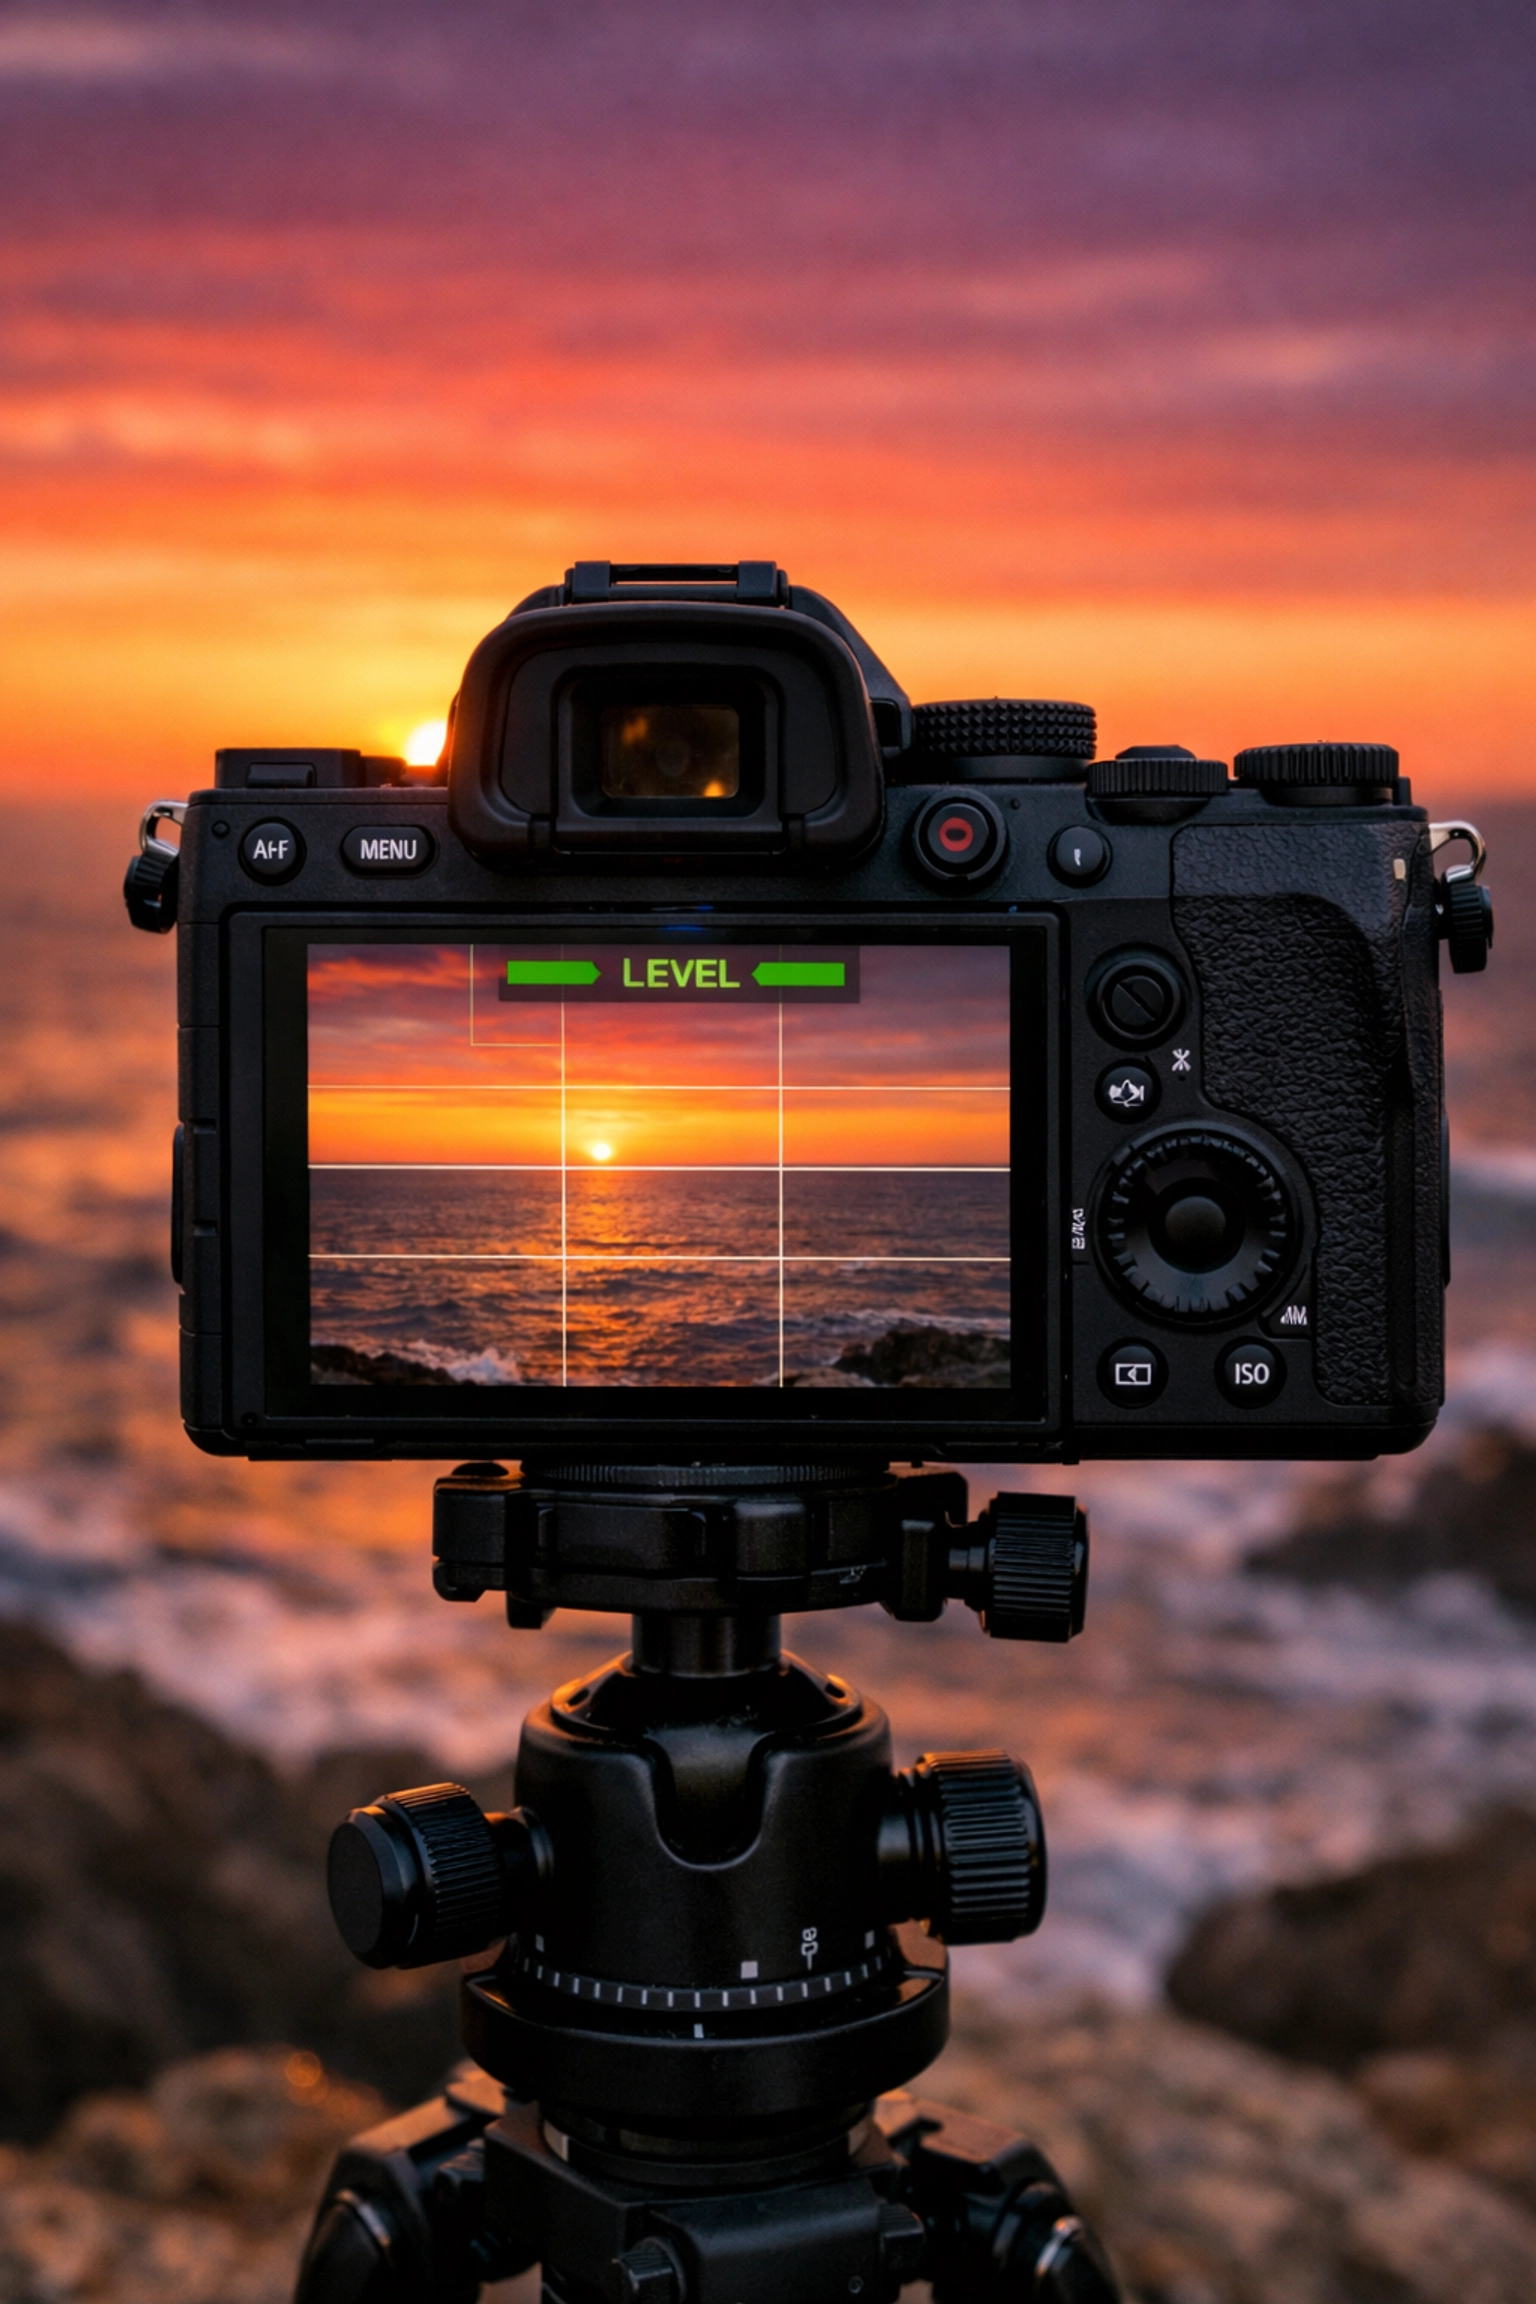
1. The "Drunk" Horizon
There is nothing that screams "beginner" louder than a crooked horizon. It’s the visual equivalent of a picture frame hanging slightly tilted on a wall: it’s distracting, it’s annoying, and it pulls the viewer right out of the moment. If your ocean looks like it’s about to drain out of the left side of the frame, you’ve got a problem.
The Fix:
Most modern cameras, like the Sony Alpha a6000, have a built-in electronic level or a grid overlay. Turn it on! Use the grid lines to line up the horizon perfectly. If you’re using a tripod (which you should be), many of them have a physical bubble level on the head.
If you still mess it up in the field, you can fix it in post-production using tools like Luminar, but keep in mind that rotating an image requires cropping. If you crop too much, you might lose that perfect rock in the corner of your frame. Get it right in the camera first.
2. Obsessing Over Wide-Angle Lenses
When people think "landscape," they immediately reach for the widest lens they own. They want to "get it all in." But here’s the secret: getting "everything" in the frame often results in getting "nothing" of interest. Wide-angle lenses push the background away, making majestic mountains look like tiny pimples on the horizon.
The Fix:
Stop ignoring your zoom lenses. Sometimes, the best landscape shot is found at 70mm or even 200mm. A telephoto lens allows you to compress the scene, making layers of mountains or trees look closer together and more dramatic. It helps you pick out the "scene within the scene."
Next time you’re out, try to capture a travel photographic memory by focusing on a specific detail rather than the whole vista. If you’re looking to expand your kit, check out this Nikon lens sale to find something with a bit more reach.

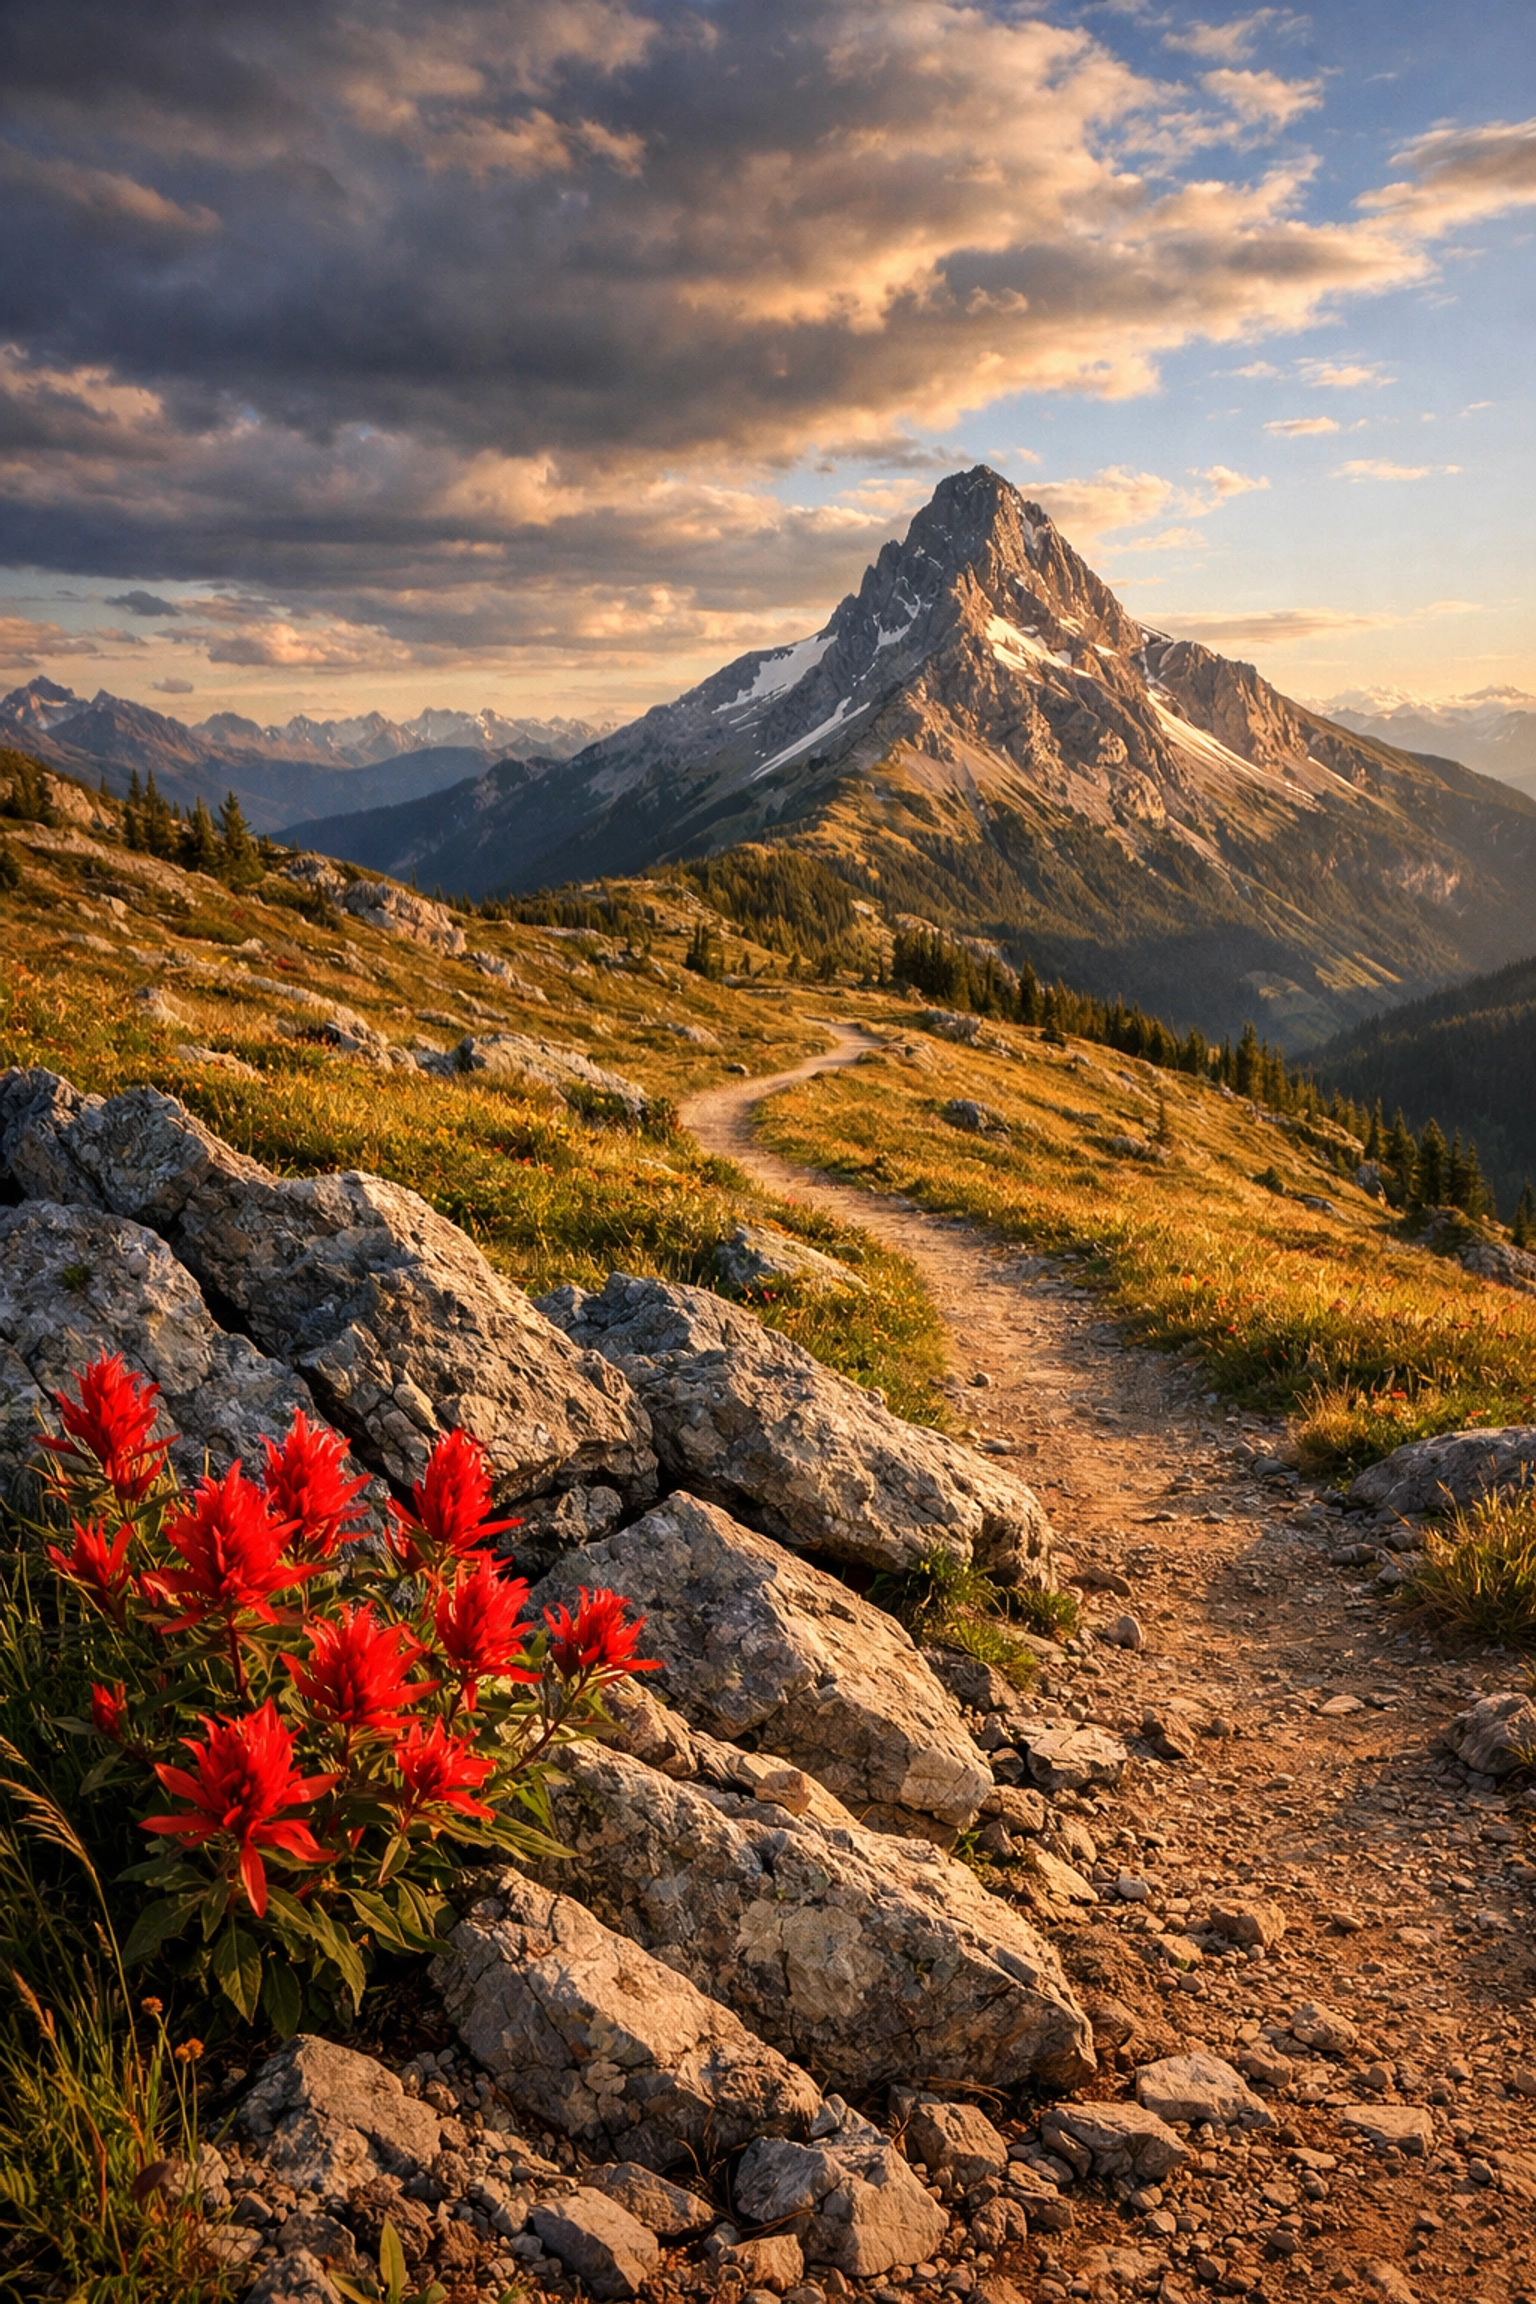
3. The "Bullseye" Composition
The Rule of Thirds is the first thing everyone learns, and for good reason: it works. However, a common mistake is either following it too rigidly or ignoring composition entirely and putting the subject dead center (the "bullseye"). While center composition can work for symmetrical subjects, it often makes a landscape feel static and uninteresting.
The Fix:
Think about balance rather than just "rules." Use leading lines: like a path, a river, or even a fallen log: to lead the viewer’s eye through the frame. Look for a strong foreground element to give the image depth. If you have a massive mountain in the background but nothing in the foreground, the image will feel two-dimensional.
For more inspiration on how to break the rules effectively, take a look at the work of our Photographer of the Week Poliana Devane. She’s a master at creating balance in complex scenes. You can also find deep-dive composition guides at PhotoGuides.org.
4. Blown-Out Skies and "Crushed" Shadows
The camera doesn't see the world the way your eyes do. Your eyes can see detail in a bright sky and a dark forest at the same time. Your camera sensor? Not so much. This "dynamic range" limitation leads to "blown-out" highlights (pure white skies with no detail) or "crushed" shadows (pure black areas).
The Fix:
Learn to read your histogram. That little graph on your screen isn't just for show: it tells you if you’re losing detail. If the graph is touching the far right side, your highlights are blown. If it's touching the left, your shadows are dead.
In high-contrast situations, "expose for the highlights." It’s much easier to recover shadow detail in post-processing than it is to bring back a sky that has zero data. If you’re still struggling with settings, check out our guide on how to master your camera’s manual mode in 5 minutes. If you want the ultimate dynamic range, a medium format system like the Phase One IQ250 is the dream, but most of us can get by with better technique and a little help from Luminar.
5. Using the Wrong Aperture
There’s a common myth that for landscapes, you should always use the smallest aperture possible (like f/22) to get everything in focus. While this seems logical, it actually causes a phenomenon called "diffraction," which makes your entire image look slightly soft and blurry.
The Fix:
Most lenses have a "sweet spot," usually between f/8 and f/11. This is where the lens is at its sharpest. If you need a deep depth of field to get both a close-up flower and a distant mountain in focus, try f/11. If that’s still not enough, look into "focus stacking," which involves taking multiple shots at different focus points and merging them later.
Don't be afraid to use a wider aperture for "intimate landscapes" either. Sometimes blurring the background can make a subject pop. For more technical tips on gear and settings, visit www.proshoot.io.

6. Over-Editing (The "Clown Vomit" Effect)
We’ve all seen them: landscape photos where the grass is neon green, the sky is a terrifying shade of purple, and the "clarity" slider was clearly cranked to 100. Over-processing is a trap that’s easy to fall into because we want our photos to look "epic." But overdoing it just makes them look fake.
The Fix:
Edit with restraint. A good rule of thumb is to push a slider until it looks "just right," and then pull it back by 20%. Use Luminar for its powerful AI tools, but use them to enhance the natural beauty, not replace it. Focus on subtle adjustments to contrast, white balance, and selective color.
If you want to see how a pro handles complex post-production without losing the "art," check out the Cut & Fold behind the scenes by Erik Johansson. Editing should be about telling a story, not just saturating every pixel. For more personal insights on the philosophy of editing, Edin Chavez shares some great thoughts over at blog.edinchavez.com.
7. Shooting in Bad Light
You can have the best composition in the world and the most expensive camera, but if the light is boring, the photo will be boring. Shooting at noon on a cloudless day is the quickest way to get flat, harsh, unappealing images.
The Fix:
Plan your shoots around the "Golden Hour" (the hour after sunrise and the hour before sunset) and the "Blue Hour" (the time just before sunrise and just after sunset). This is when the light is soft, warm, and creates long, beautiful shadows that give landscapes their shape.
Don't be afraid of "bad" weather either. Stormy clouds, fog, and rain add mood and drama that a clear blue sky just can’t provide. If you’re looking to get a different perspective on the landscape and find better light from above, consider how drones are the skies of tomorrow. They allow you to chase the light in ways a tripod on the ground never could.
Landscape photography is a marathon, not a sprint. It’s about being patient, understanding your gear, and: most importantly: learning from your mistakes. Next time you head out into the great outdoors, keep these seven tips in mind. You might find that the "perfect shot" was there all along; you just needed to stop getting in your own way.
For more deep dives into the world of photography, from gear reviews to travel stories like our journey through Varanasi, India, stay tuned to Shut Your Aperture. We're here to help you stop taking snapshots and start making art. If you're serious about taking your work to the next level, check out the resources at www.edinfineart.com and www.edinstudios.com. Now, get out there and start shooting!


