
We’ve all been there. You’re standing on the edge of a cliff, the sun is dipping below the horizon, painting the sky in colors you didn't even know existed, and you think, "This is it. This is the shot that goes on the wall." You click the shutter, head home, pull the photo up on your computer, and… it’s just okay. Maybe it’s even a little boring.
Why? You were there. You saw the magic. But the camera didn't catch it.
Landscape photography looks easy from the outside. You just point the camera at something pretty and press a button, right? Wrong. It’s a craft of patience, technical precision, and avoiding some very common pitfalls that even the pros fall into from time to time.
At Shut Your Aperture, we want you to stop taking "okay" photos and start taking "wow" photos. Whether you're using a high-end DSLR or a compact Rewindpix camera, these tips apply to everyone.
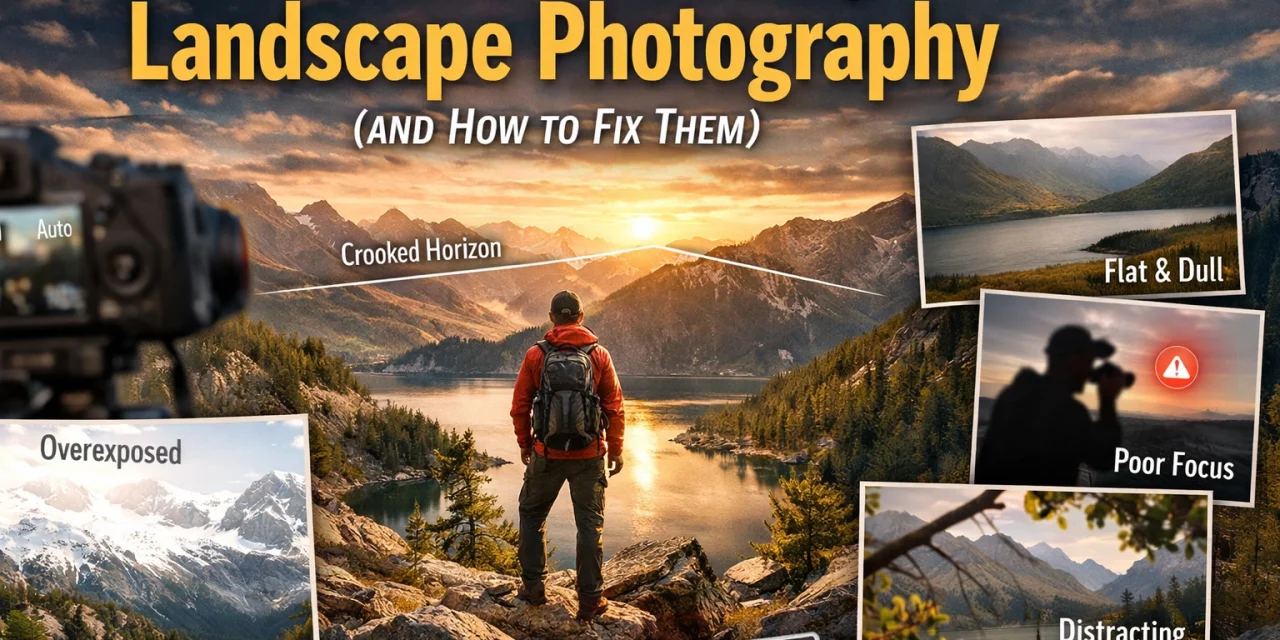
Here are the seven most common mistakes people make in landscape photography and, more importantly, how you can fix them.
1. The Leaning Tower of Landscapes (Crooked Horizons)
There is nothing that ruins a beautiful coastal shot faster than the ocean looking like it’s about to drain out of the side of the frame. A crooked horizon is the hallmark of a rushed shot. It’s distracting, it feels "off" to the human brain, and it’s one of the easiest things to fix.
How to Fix It:
Most modern cameras have a built-in electronic level or a grid overlay. Turn it on! If you’re using a tripod (and for landscapes, you usually should be), make sure the legs and the head are level.
If you still mess it up in the field, you can fix it in post-processing tools like Luminar. Just remember that when you rotate a photo to straighten it, the software has to crop into the edges. If your composition was tight to begin with, you might lose something important. For more technical basics, check out our guide on how to master your camera’s manual mode in 5 minutes.
2. The Wide-Angle Trap
When people think "landscape," they immediately reach for their widest lens. It makes sense: you want to fit everything in! But when you try to fit everything in, you often end up with an image that has no clear subject. Everything looks tiny and far away, and that massive mountain range looks like a small hill in the distance.
Wide-angle lenses also tend to pull in a lot of "dead space" in the foreground or distracting elements at the edges of the frame.
How to Fix It:
Don't be afraid to zoom in. Using a telephoto lens for landscapes (like a 70-200mm) allows you to compress the scene. It makes mountains look bigger and helps you isolate specific details that tell a better story. This is one of the techniques behind Peter Lik’s landscape photography that makes his work feel so immersive.
Sometimes, leaving things out of the frame is more important than what you put in. If you want to see how composition impacts the viewer's eye, read up on shot composition’s impact on buyer attraction: the principles apply to mountains just as much as they do to houses.
3. Photographing a Boring, Blank Sky
A clear blue sky might be great for a picnic, but it’s usually terrible for a landscape photo. A big, empty blue space at the top of your photo adds zero drama and often acts as a giant distraction. It lacks texture, mood, and interest.
How to Fix It:
Wait for the clouds! Clouds are a landscape photographer’s best friend. They catch the light of the rising or setting sun, create shadows that give the ground texture, and add a sense of scale. If you find yourself at a location with a boring sky, try to minimize the sky in your composition. Tilt your camera down and focus on the foreground textures, or find a way to frame the scene using overhanging trees.
For more inspiration on finding the right conditions, check out Peter Lik’s favorite locations for adventure to see how he uses weather to his advantage. You can also find great weather-tracking tips over at PhotoGuides.org.
4. The "Edge Chaos" Problem
We often get "tunnel vision" when we see something beautiful. We stare at the mountain in the center of the viewfinder and forget to look at what’s happening at the very edges of the frame. This leads to stray branches sticking into the side, half a trash can in the corner, or a bright white rock that pulls the eye away from the subject.

How to Fix It:
Before you press the shutter, perform a "border patrol." Deliberately run your eyes around all four edges of the frame. Is there anything distracting? Can you shift your position six inches to the left to hide that branch? Taking an extra three seconds to clean up your edges will save you an hour of cloning things out in Photoshop later. This is one of those 10 essential tips for mastering photography that separates amateurs from pros.
5. Over-Editing and the "Nuclear" Sunset
We’ve all seen them on Instagram: photos of sunsets where the oranges are so bright they look like a hazardous chemical spill. Over-saturation is the quickest way to make a professional photo look like a cheap postcard. When you push the "Saturation" slider to +100, you lose detail in the colors, and the image starts to look "crunchy" and fake.
How to Fix It:
Be subtle. If you want the colors to pop, use the "Vibrance" slider instead of "Saturation." Vibrance is "smarter": it boosts the less saturated colors while leaving the already saturated ones alone.
If you’re using Luminar, try using their AI Accent tools to enhance the light naturally rather than just cranking up the color. Also, keep an eye on your "Clarity" and "Dehaze" sliders. Adding too much clarity creates dark halos around mountains and trees that look very unnatural. For a deeper dive into making your images look high-end without over-processing, look at how ethereal imagery can elevate listings in the professional world.
6. Ignoring the Quality of Light
You can have the most beautiful composition in the world, but if the light is flat and boring, the photo will be flat and boring. Shooting in the middle of a sunny day (between 11 AM and 3 PM) creates harsh, vertical shadows and "blown-out" highlights. It’s the least flattering light for the planet.

How to Fix It:
Light is everything. The most iconic landscape photos are almost always taken during the "Golden Hour" (shortly after sunrise or before sunset) or the "Blue Hour" (just before sunrise or after sunset). This is when the light is directional, soft, and colorful.
If you have to shoot during the day, look for overcast skies which act as a giant softbox, or try shooting in black and white to emphasize shapes and textures instead of color. Understanding the role of luminosity is key to making any subject: from a valley to a living room: look its best. You can also find great professional lighting tutorials at ProShoot.io.
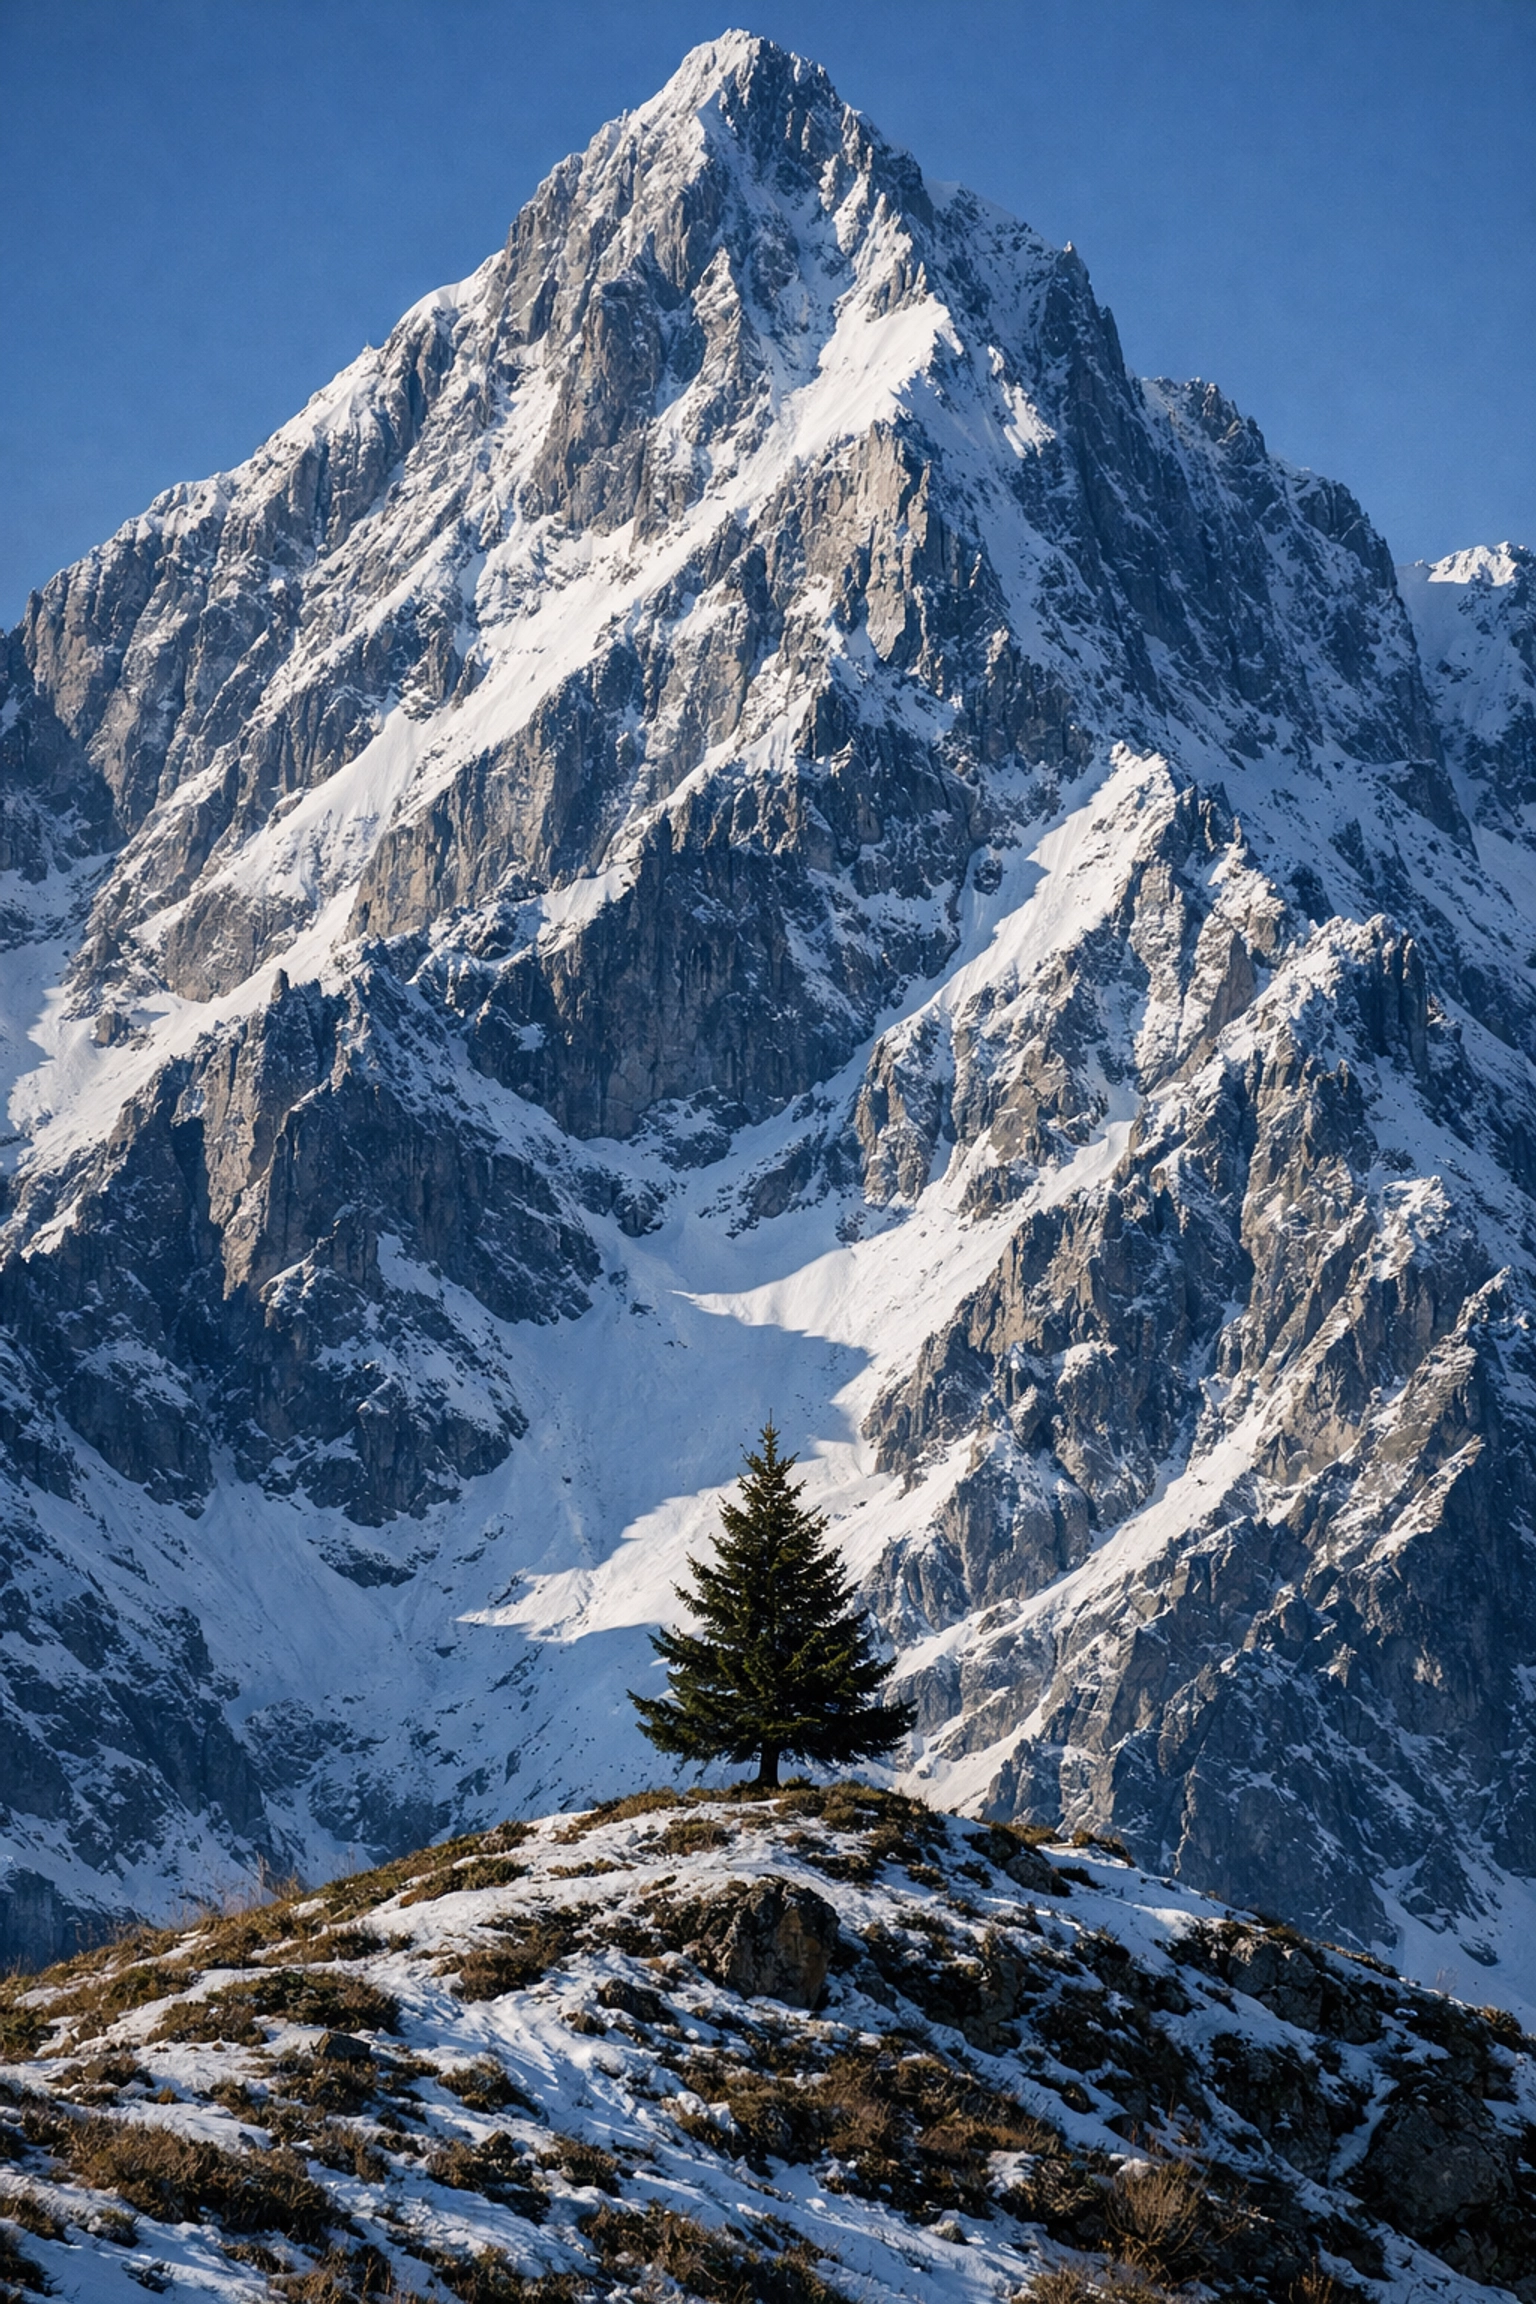
7. Not Having a Subject
A "pretty view" is not a subject. A common mistake is standing in front of a vast landscape and thinking the whole thing is the photo. Without a specific point of interest for the viewer’s eye to land on, the brain gets tired and moves on.
How to Fix It:
Find a "hero" for your image. It could be a unique rock in the foreground, a winding path leading into the distance, or a single tree standing against the elements. Use this subject to anchor your composition.
Think about vistas and perspectives. How can you lead the viewer's eye through the frame? Sometimes, getting low to the ground and using a rock or some flowers as a foreground subject adds the depth needed to make the image feel three-dimensional. If you want to see how a master does it, look into Peter Lik’s iconic works through the years.
Bonus Tip: Use the Right Gear for the Job
While you don't need a $10,000 setup to take a great photo, having gear that you actually enjoy using makes a big difference. Sometimes, the best way to learn is to simplify. We’ve seen a big trend lately with photographers going back to basics with compact, tactile gear.
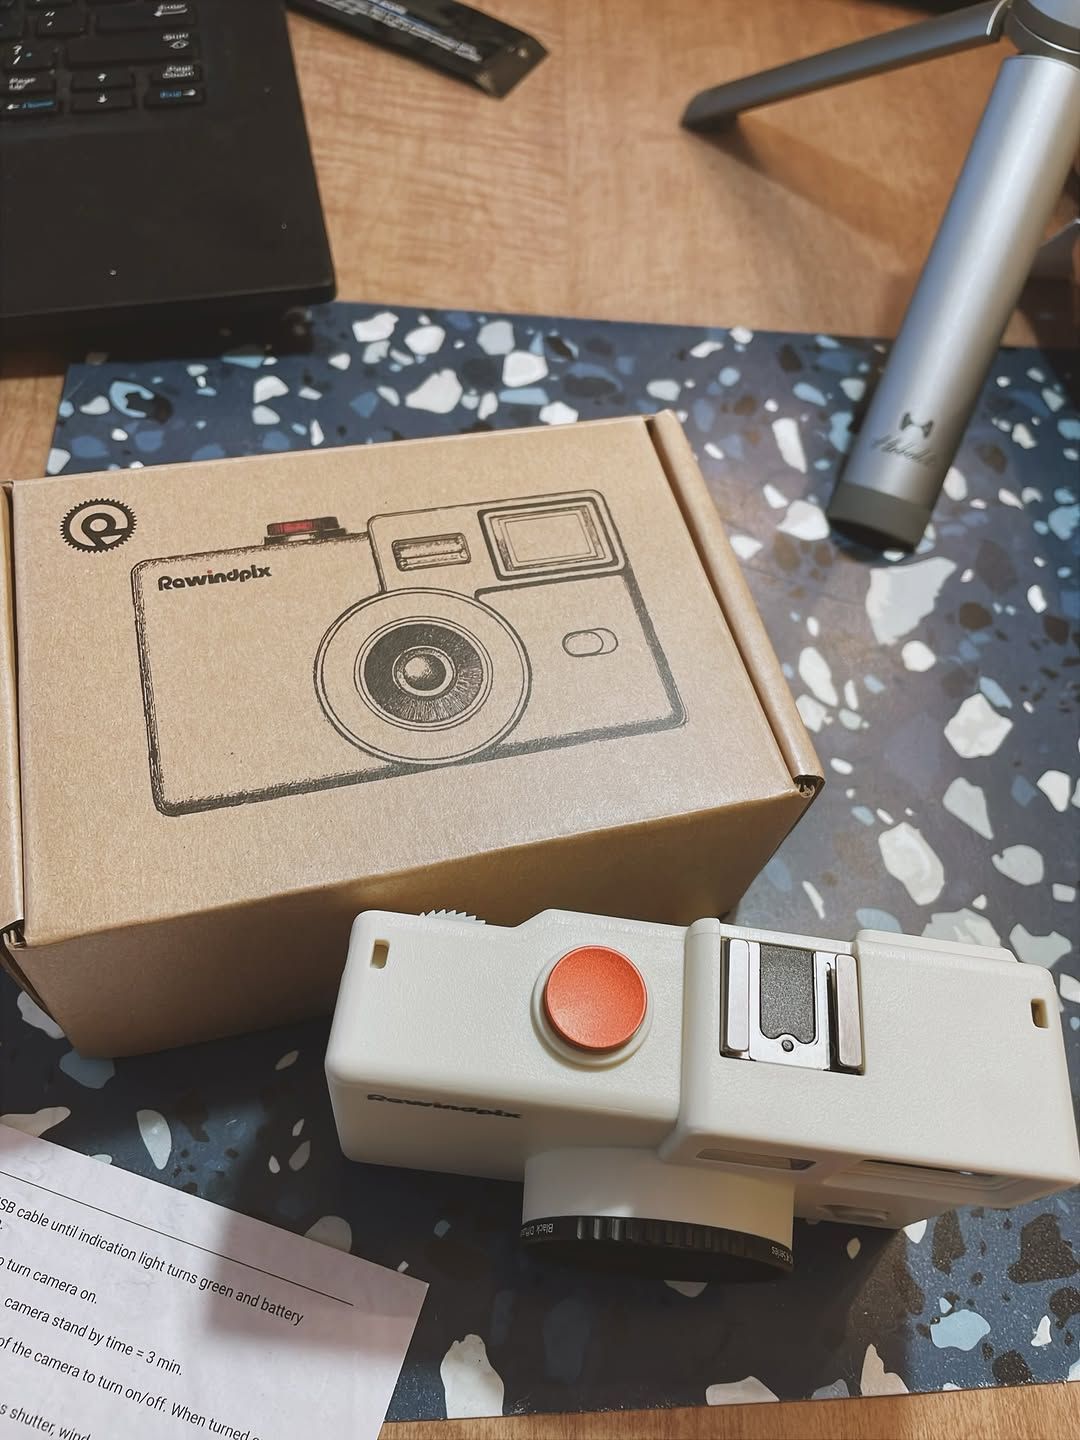
Whether you’re unboxing a new Rewindpix camera or upgrading your professional kit, remember that the camera is just a tool. The real work happens in your head and your heart. If you're looking for fine art inspiration to see what's possible with the right gear and vision, check out Edin Fine Art or browse the gallery at Edin Studios.
Putting It All Together
Landscape photography is a journey. You’re going to make these mistakes: everyone does. The key is to recognize them when they happen.
Next time you’re out in the wild:
- Check your level.
- Consider a longer lens.
- Wait for the clouds.
- Scan your edges.
- Go easy on the sliders in Luminar.
- Chase the best light.
- Find your hero subject.
If you want to stay updated on the latest gear and techniques, why everyone is talking about today's photography news is a great place to start. For more personal insights and behind-the-scenes looks at the life of a pro, head over to blog.edinchavez.com.
Landscape photography is about more than just a picture; it's about the experience of being out there in nature. By fixing these seven mistakes, you'll ensure that the photos you bring home actually do justice to the beauty you saw with your own eyes.
Now, stop reading and go get outside. The light is getting good!


