
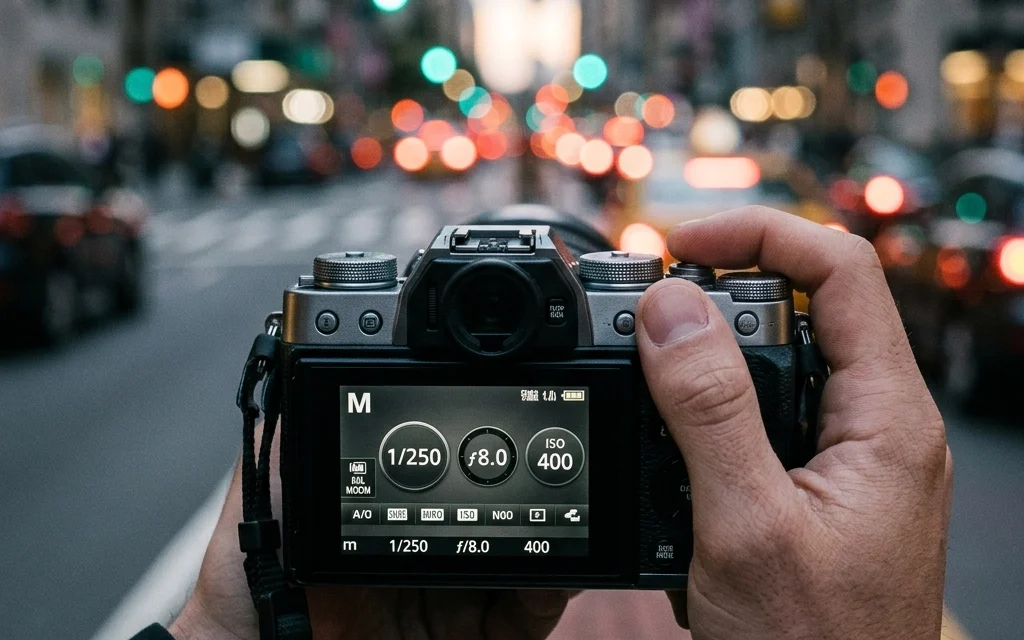
So, you finally worked up the courage to click that dial over to "M." You’ve watched the tutorials, you’ve read the manuals, and you’re ready to take full control of your creative destiny. But then, it happens. You press the shutter, and the result is… well, it’s not what you expected. Maybe it’s a blurry mess, maybe it’s completely black, or maybe it just looks "off."
Don't panic. Transitioning to manual mode is a rite of passage for every photographer. It’s the moment you stop letting the camera make decisions for you and start telling the camera what to do. But with great power comes great responsibility: and a whole lot of room for error.
At Shut Your Aperture, we see it all the time. Photographers get so bogged down in the technicalities that they lose the "soul" of the shot. If you're struggling, check out our guide on photography for beginners: how to use manual mode without getting overwhelmed.
Let’s dive into the seven most common mistakes you’re likely making with manual mode and, more importantly, how to fix them.
1. ISO Paranoia (The Fear of Noise)
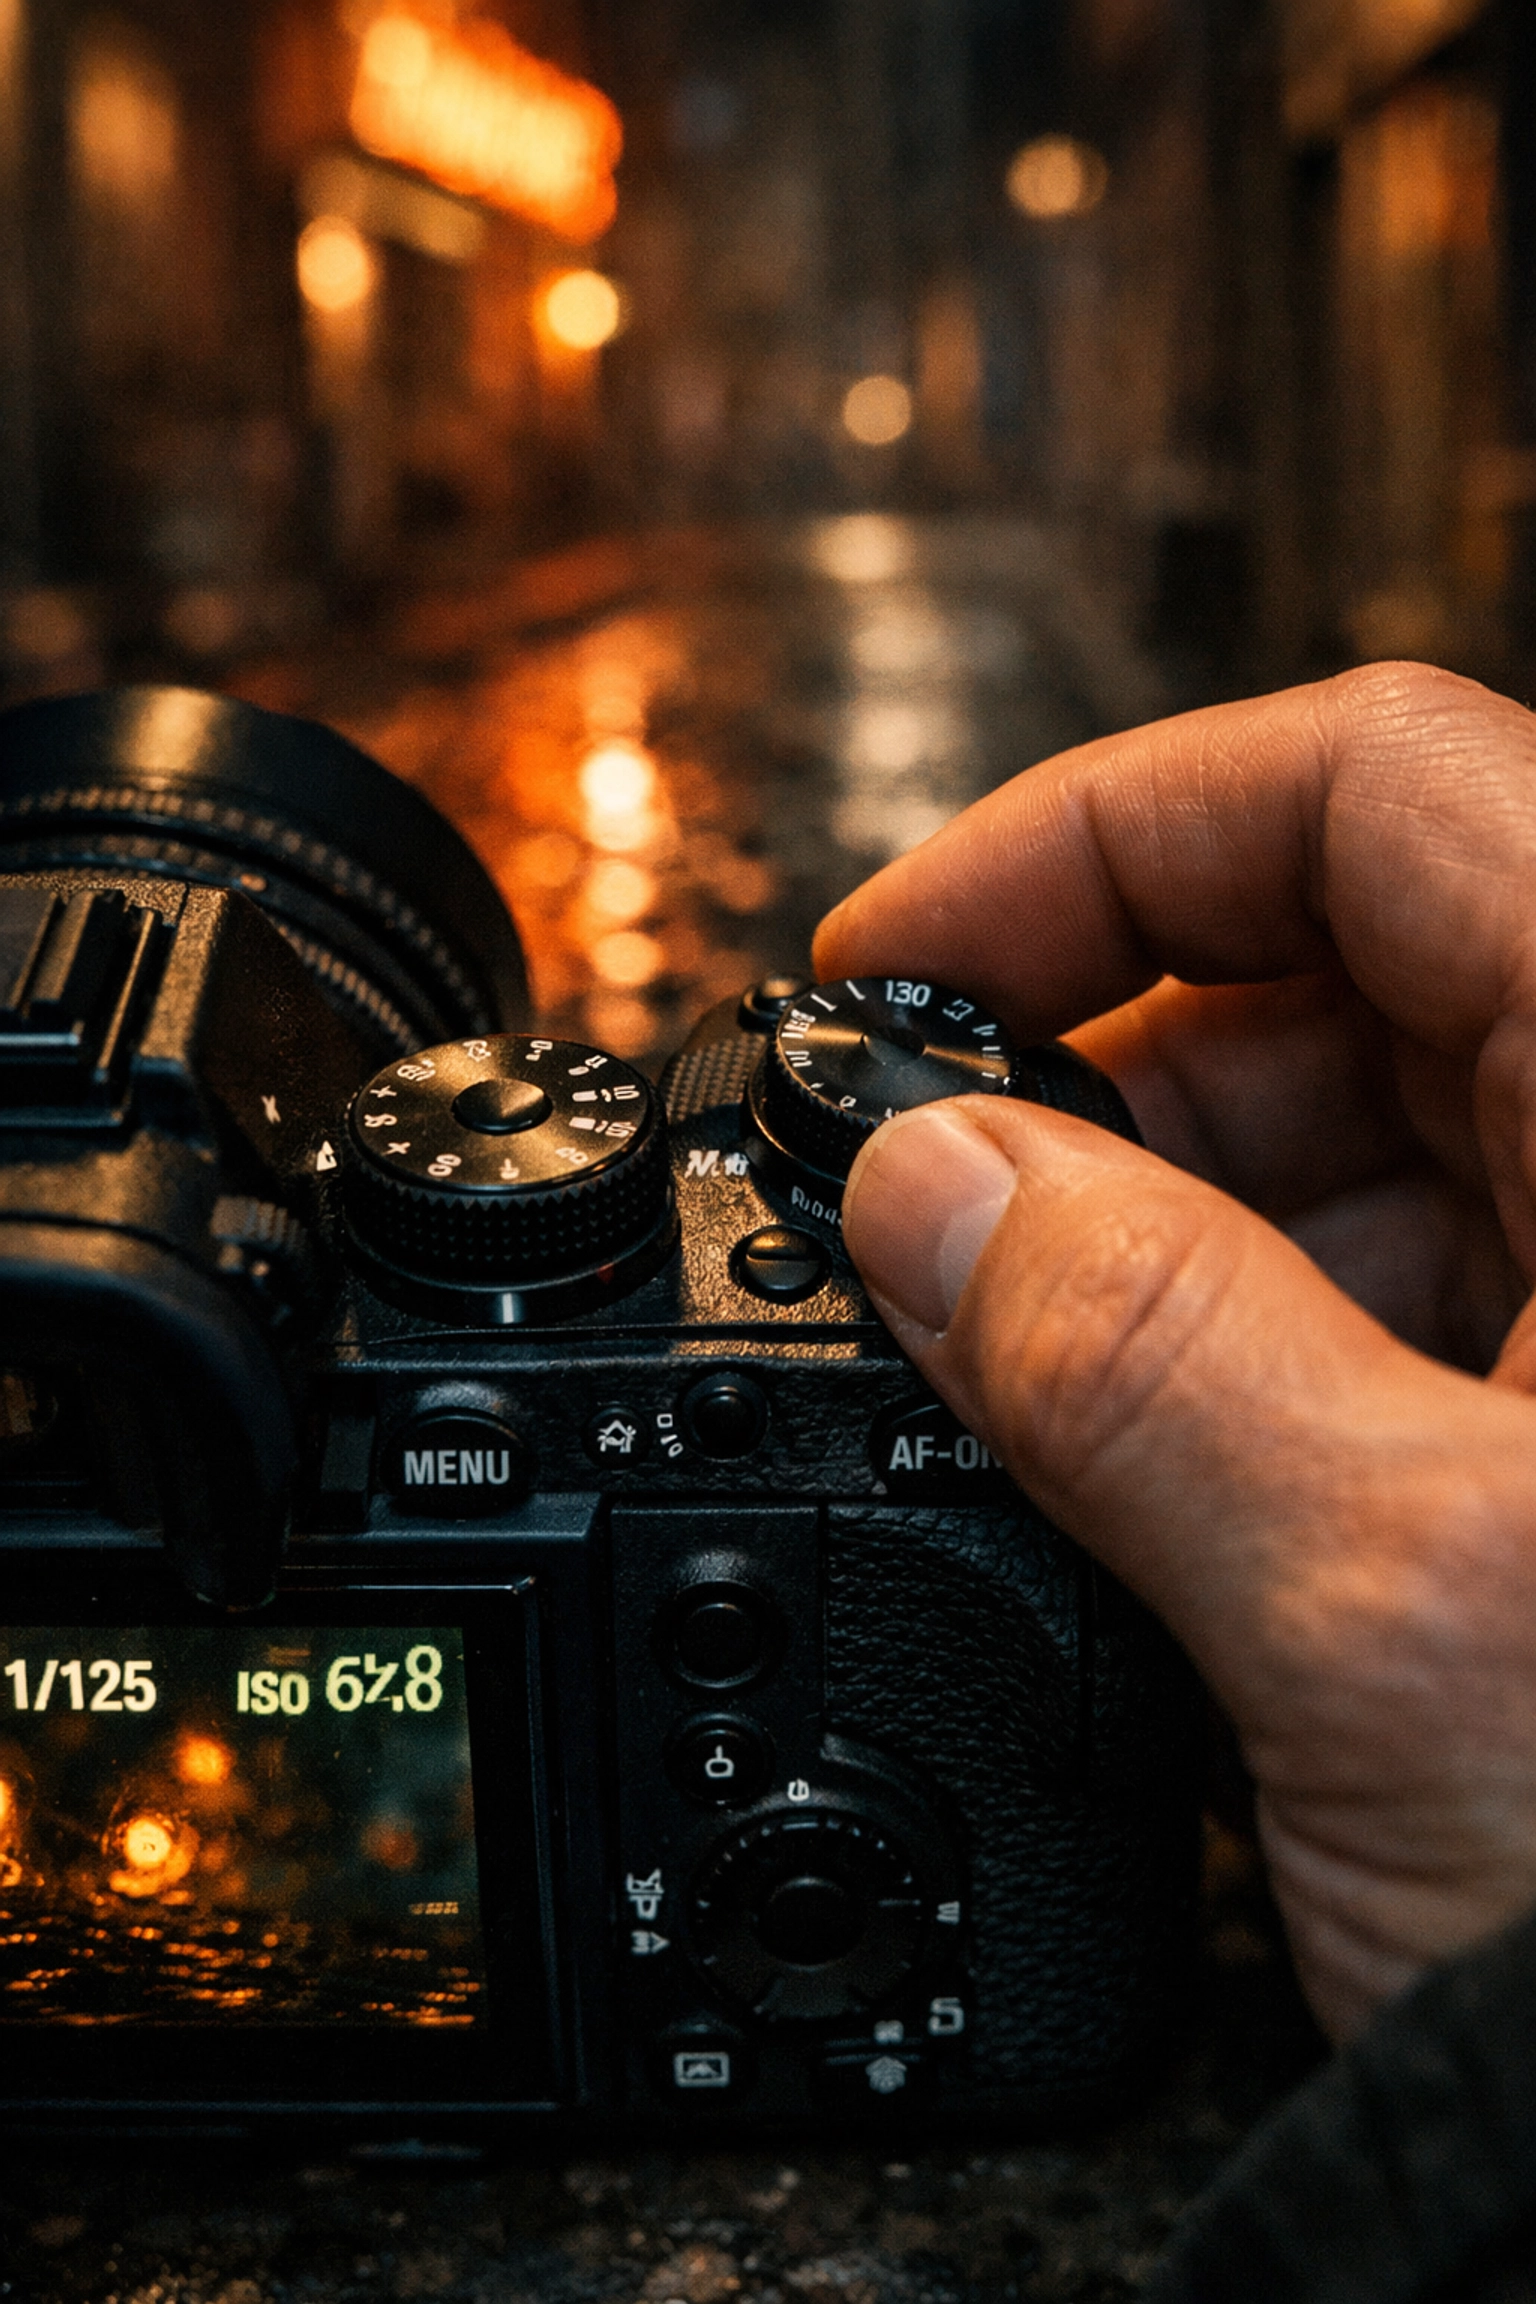
We’ve all heard the advice: "Keep your ISO as low as possible to avoid grain." While that’s technically true, many photographers take it way too far. This "ISO Paranoia" leads to people shooting at ISO 100 in low-light situations, forcing them to use shutter speeds that are way too slow or apertures that are way too wide.
The result? A photo that is technically "noise-free" but completely unusable because it’s blurry or has a depth of field so shallow the subject's nose is in focus but their eyes aren't.
The Fix: Modern sensors are incredible. Don't be afraid to push your ISO to 800, 1600, or even 3200 if the scene demands it. A sharp photo with a little bit of grain is infinitely better than a clean photo that is blurry. Besides, if the noise really bothers you, software like Luminar has incredible AI-powered noise reduction that can clean up your shots in seconds.
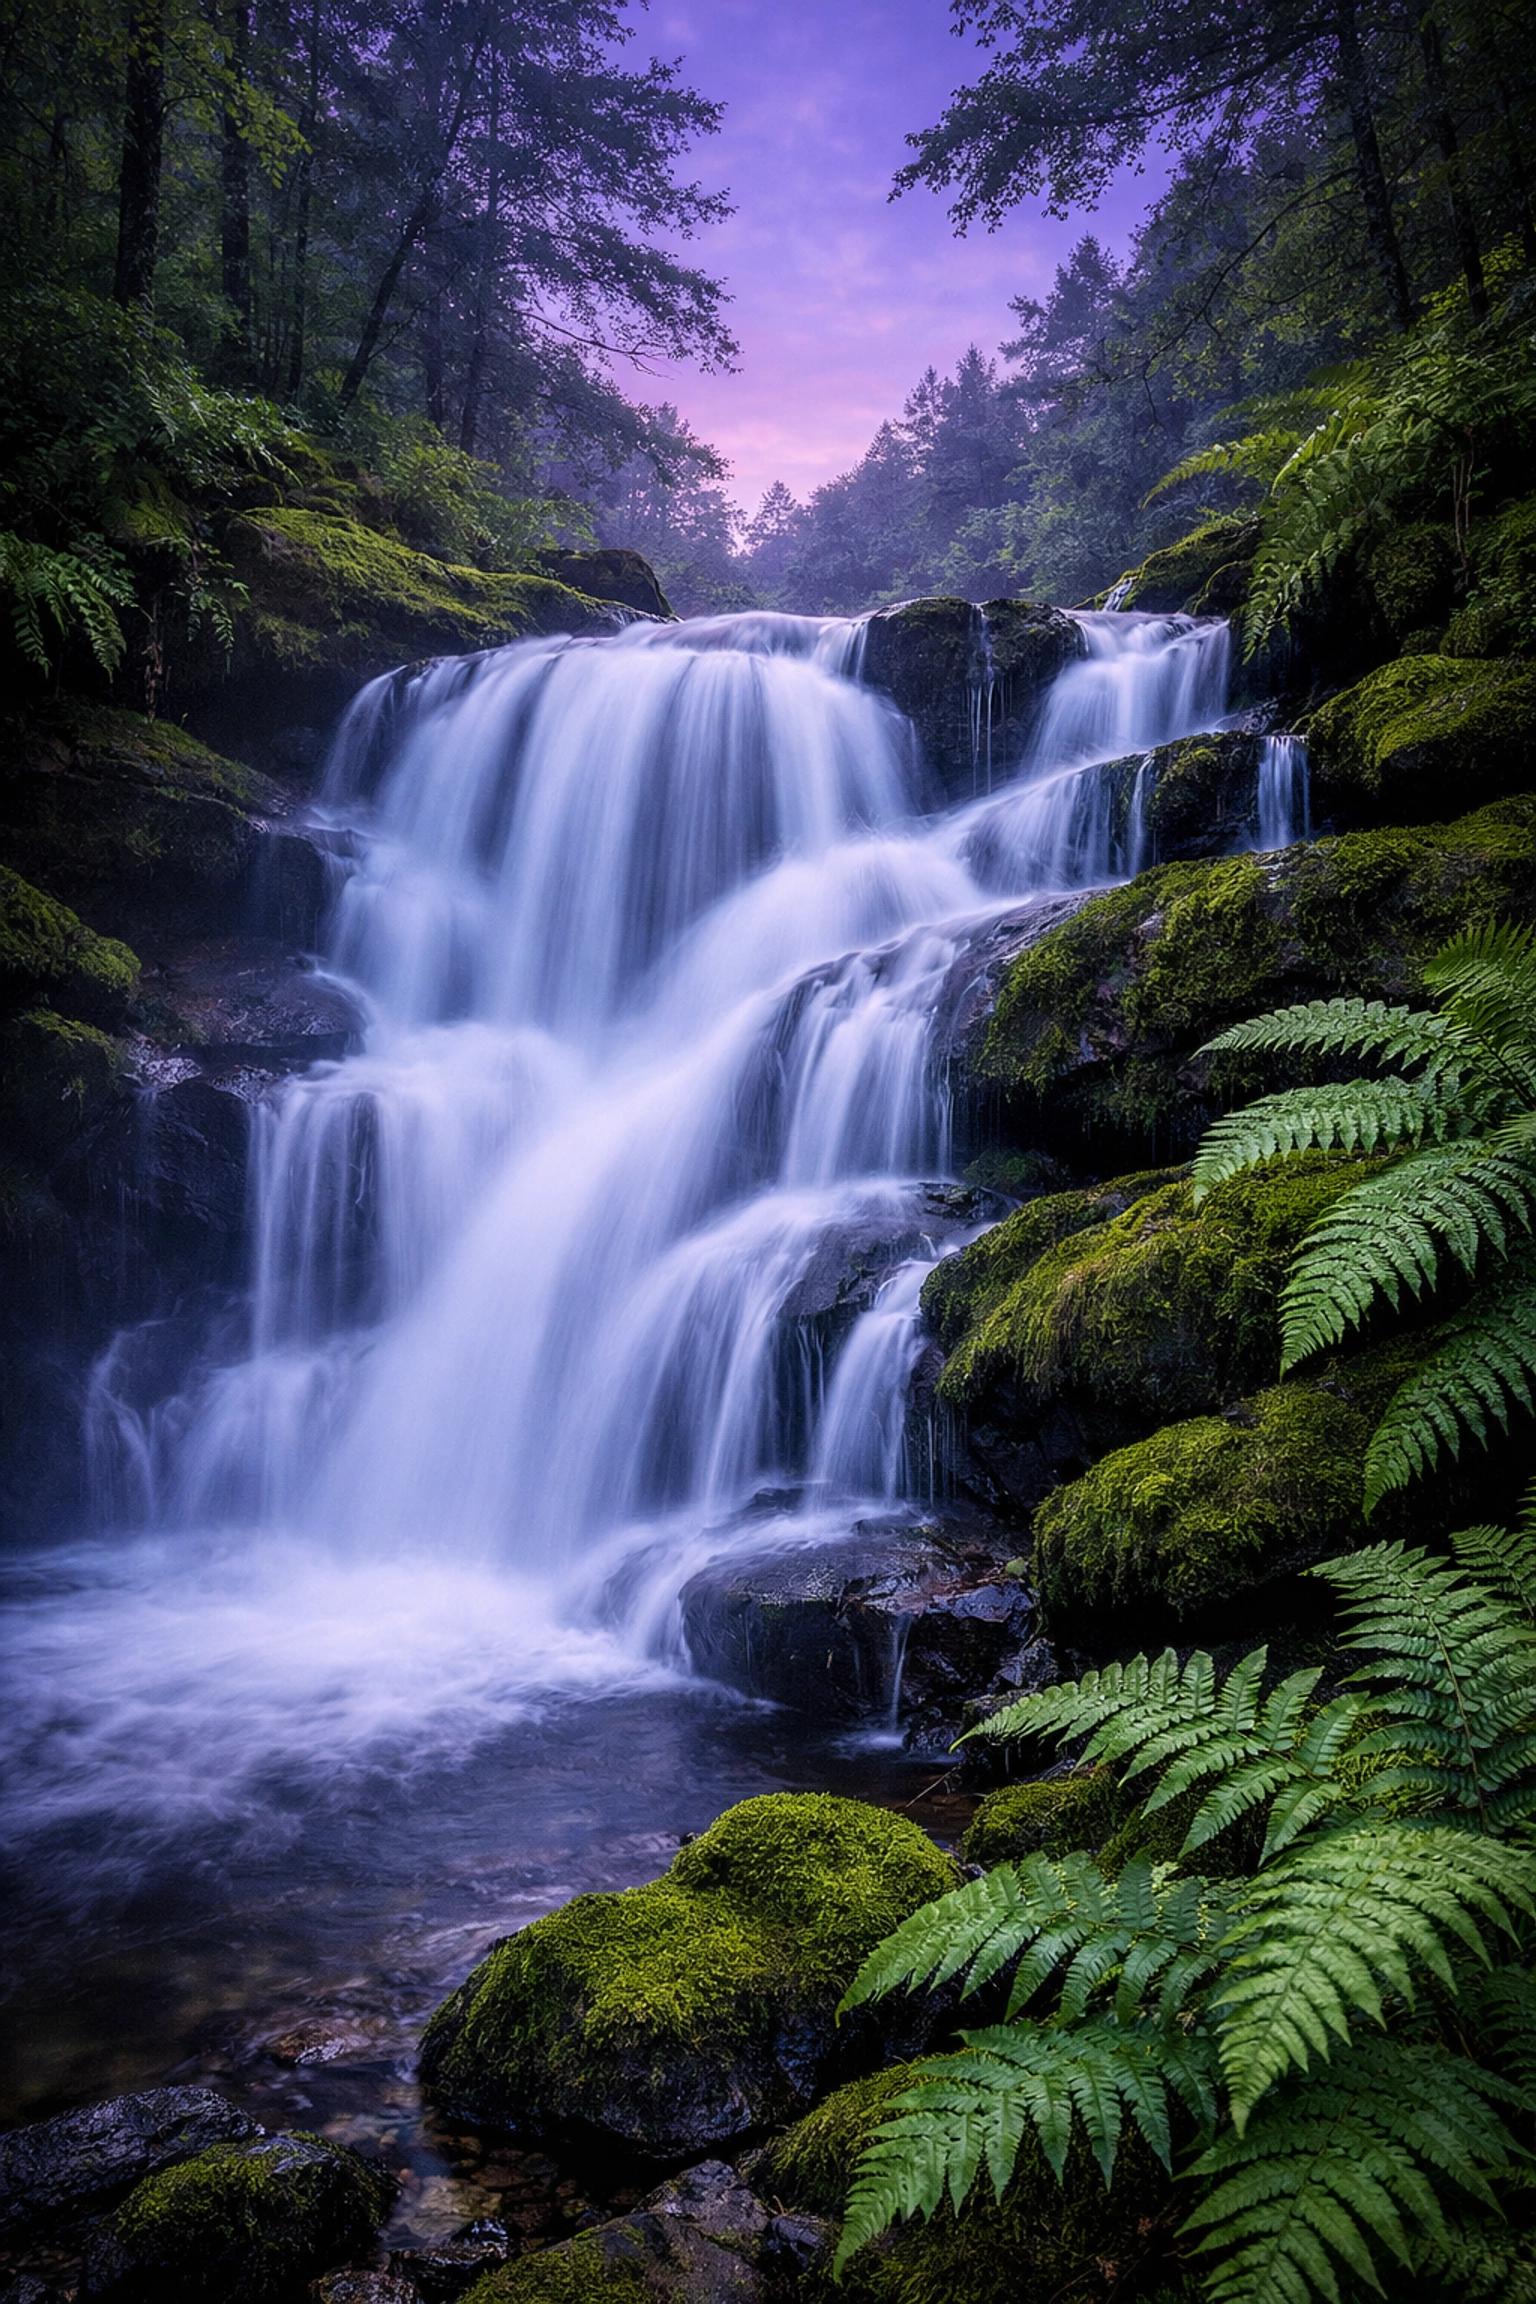
2. Ignoring the Reciprocal Rule
When you're in manual mode, you're responsible for every aspect of the exposure triangle. One of the biggest culprits of "unexplained" blur is forgetting the reciprocal rule. Your hands shake: it’s just a human reality. If your shutter speed is too slow, that micro-shake will ruin your sharpness.
The reciprocal rule is a simple math trick: your shutter speed should be at least 1 divided by your focal length. For example, if you’re shooting with a 50mm lens, your shutter speed shouldn't drop below 1/50th of a second. If you’re using a 200mm zoom, you need to be at 1/200th or faster.
The Fix: Always check your focal length before setting your shutter speed. If you need to shoot slower to get enough light, use a tripod or find a way to brace yourself. If you’re looking to improve your handheld technique, check out some photography tutorials to master your stability.
3. Blindly Trusting the Internal Light Meter
Your camera is smart, but it’s also kind of a one-trick pony. The internal light meter is designed to look at a scene and try to make everything "18% gray." It doesn't know if you’re shooting a bride in a white dress on a snowy mountain or a black cat in a coal cellar. It just wants to reach that middle-ground gray.
If you blindly follow the little "0" on your exposure scale, your snow will look dirty and your black cat will look washed out.
The Fix: Use the light meter as a guide, not a god. Learn to use exposure compensation or simply adjust your settings based on the specific scene. If you're shooting something very bright, you might need to "overexpose" according to the meter to keep the whites white. For more advanced lighting tips, you can explore portrait photography techniques that explain how to handle tricky highlights.

4. Letting the Camera Pick the Focus Point
Manual mode usually refers to exposure, but many photographers leave their autofocus on "Auto Area" while shooting in manual. This is a mistake. When you let the camera choose the focus point, it usually hunts for the closest object with the most contrast.
In a portrait, this might mean the camera focuses on the subject's shoulder or a stray leaf in the foreground rather than the eyes. In a landscape, it might focus on a random rock instead of the distant mountains.
The Fix: Switch to Single Point AF. This allows you to manually move the focus point exactly where you want it. It gives you total control over the narrative of the image. If you’re into street photography, where things move fast, mastering your focus points is essential. For some inspiration, check out these creative street photography ideas.
5. Prioritizing Technical Settings Over Composition
This is the biggest "mental" mistake. Beginners often think that because they are using manual mode, the photo is automatically going to be "pro." They spend ten minutes fiddling with the dial to get the exposure perfectly balanced, only to realize they’ve completely ignored the composition.
A technically perfect exposure of a boring subject is still a boring photo. The settings are just the foundation; the composition is the house.
The Fix: Simplify your workflow. Get your exposure "close enough" and then focus on the story you’re trying to tell. Are there leading lines? Is the framing interesting? Are you using the rule of thirds? Technical control is meaningless without a vision. You can find some great examples of vision and composition at Edin Fine Art.

6. The "Ghost of Shoots Past" (Not Resetting Settings)
We’ve all been there. You were out shooting the Milky Way last night at ISO 6400, f/2.8, and a 20-second exposure. The next morning, you see a beautiful bird in your backyard, grab your camera, and fire off a shot in broad daylight.
The result is a pure white frame because you didn't check your settings from the night before. This is the "Ghost of Shoots Past," and it’s a quick way to miss a once-in-a-lifetime moment.
The Fix: Make it a habit to "zero out" your camera every time you put it in the bag. Set it back to a "base" setting: ISO 100, f/5.6, 1/125th. That way, when you pull it out for a quick shot, you’re at least in the ballpark. If you want to keep up with the latest gear that makes these transitions easier, stay updated with photography news.
7. Not Reviewing the Histogram
Relying on the LCD screen on the back of your camera is a dangerous game. Depending on the brightness of the sun or the settings of the screen itself, an image might look perfectly exposed on the monitor but actually be way too dark or "blown out" (meaning the highlights are lost forever).
If you’re not checking your histogram, you’re essentially guessing.
The Fix: Turn on the histogram overlay. It’s a mathematical representation of the light in your image. If the graph is all the way to the left, you’re losing detail in the shadows. If it’s smashed against the right, you’re losing detail in the highlights. Aim for a balanced "mountain" in the middle, or at least ensure you aren't clipping your data. This is especially important when you are trying to discover ethereal landscapes where the dynamic range can be extreme.
How to Practice Manual Mode Without Losing Your Mind
If reading this makes manual mode feel like a chore, you're doing it wrong. It should be fun! The key is to practice in "low stakes" environments. Don't try to learn manual mode while you're shooting your best friend’s wedding or on a once-in-a-lifetime trip to hidden gem locations.
Start in your backyard. Pick a flower. Change your aperture and see how the background melts. Change your shutter speed and see how the wind moving the leaves creates a blur.
If you get stuck, there are plenty of resources out there. PhotoGuides.org is a fantastic place to find deep dives into specific manual techniques.
Use Post-Processing to Your Advantage
Even the pros don't get it right 100% of the time. Sometimes, you have to sacrifice exposure to catch a moment. This is where post-processing becomes your best friend.
As mentioned before, Luminar is a game-changer for fixing those "oops" moments. Whether it's lifting shadows that you accidentally underexposed or using AI to enhance a sky that was a bit too bright, having a solid editing workflow allows you to be a bit more daring in manual mode.
Moving Beyond the Basics
Once you've mastered the technical side of manual mode, you can start focusing on the "why" instead of the "how." Why choose a specific aperture? Why intentionally underexpose? This is where photography becomes art.
If you’re looking for more advanced inspiration, check out Edin Chavez’s blog for stories from the field, or head over to ProShoot.io to see how professional setups work.
Manual mode isn't about being a "purist." It’s about having the keys to the car. Sure, automatic is easier for a grocery run, but if you want to drive on a racetrack, you need to know how to shift the gears yourself.

Summary of How to Fix Your Manual Mode Mistakes
To wrap things up, let's look at a quick checklist for your next shoot:
- Check your ISO: Is it high enough to give you a fast shutter speed? Don't fear the grain; use Luminar to clean it up later.
- Mind the Reciprocal Rule: Is your shutter speed faster than your focal length?
- Question the Meter: Is the scene naturally bright or dark? Adjust accordingly.
- Take Charge of Focus: Use a single focus point to tell the camera exactly what matters.
- Compose First: Don't let the dials distract you from the art.
- Reset Your Gear: Don't let yesterday's settings ruin today's shots.
- Trust the Histogram: The screen lies; the graph doesn't.
Mastering manual mode takes time. You’re going to mess up. You’re going to come home with a memory card full of black squares or white blurs. That’s okay. Every mistake is a lesson that makes you a better photographer.
If you want to dive deeper into specific niches like urban photography or nature imagery, keep exploring our site. We’ve got everything you need to go from a frustrated beginner to a confident pro.
Now, go out there, shut your aperture (or open it wide), and start shooting!


