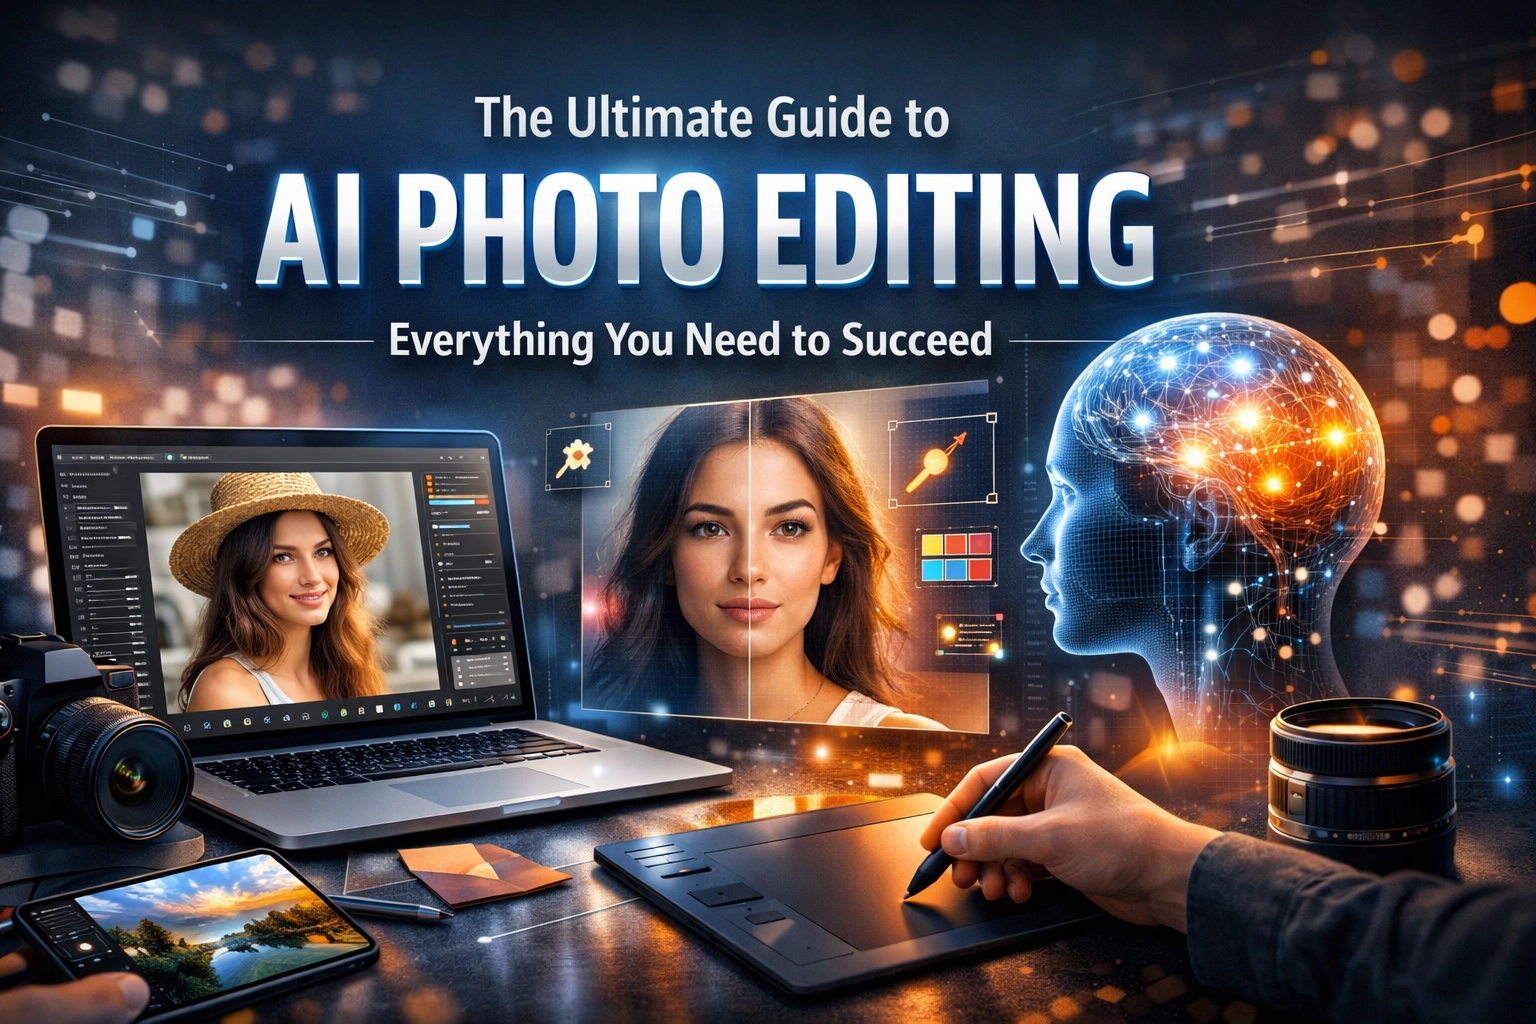
Photography has always been a game of evolution. We went from heavy glass plates to film rolls, then to digital sensors that felt like magic. Now, we’re in the middle of the biggest shift since the darkroom went digital: Artificial Intelligence.
If you’re still sitting on the fence about AI photo editing, it’s time to hop over. It isn't about "cheating" or letting a machine take your creative license. It’s about getting your life back. Instead of spending six hours masking a single tree branch, you can do it in six seconds. At Shut Your Aperture, we’re all about working smarter, not harder.
This guide is going to walk you through everything: from the tools you need to the workflow that will actually make you a better photographer.
What Exactly is AI Photo Editing?
Let’s keep it simple. Traditional editing involves you moving sliders and clicking pixels to tell the computer what to do. AI photo editing uses machine learning to recognize what is actually in your photo.
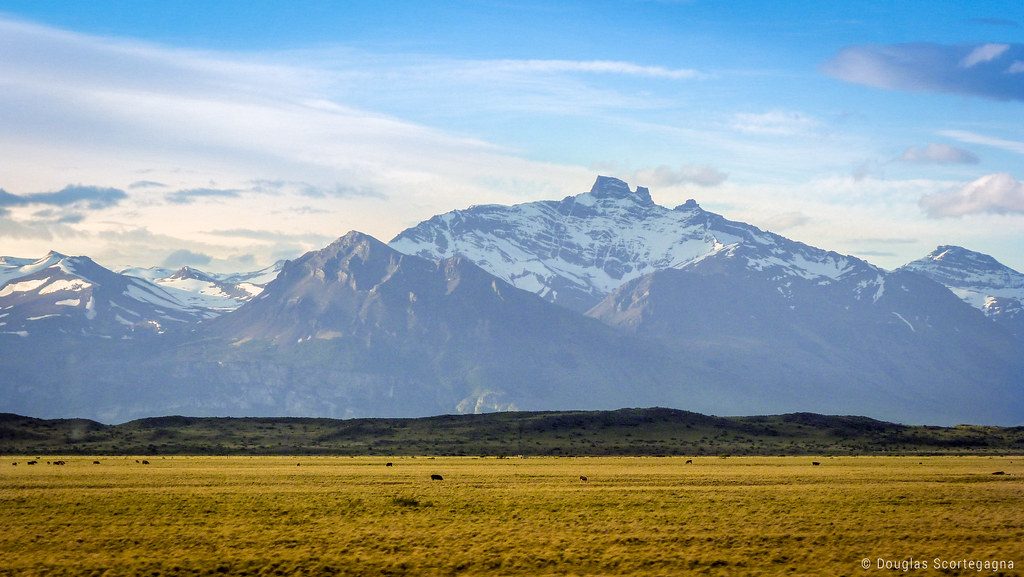
It knows the difference between a human face, a mountain range, and a stray power line. Because it "sees" the image, it can make decisions based on context. It doesn’t just brighten the whole photo; it recognizes that the subject is underexposed while the sky is perfect, and it fixes only what needs fixing.
If you’re just starting out, check out these mastering photography 10 essential tips to get your foundations solid before you start letting the AI take the wheel.
 Save
Save
The Big Players: Which Tool is For You?
The market is flooded with AI tools right now. Some are built into software you already own, while others are standalone powerhouses.
1. Adobe Photoshop & Lightroom
Adobe has integrated "Firefly," their AI engine, directly into the apps we’ve used for decades. Features like "Generative Fill" are game-changers. You can literally type "add a vintage car" into a selection, and it appears. It’s wild, it’s powerful, and for pros, it’s almost mandatory.
2. Luminar Neo
If you want results fast without a steep learning curve, Luminar is the king of AI-centric editing. It’s designed from the ground up to be an AI-first platform. Things like "Sky AI" or "Relight AI" allow you to change the entire mood of a photo with one click. It’s perfect for landscape photographers who want that "Golden Hour" look even if the weather didn't cooperate.
3. Canva
Don't sleep on Canva. While it started as a graphic design tool for non-designers, its AI "Magic Edit" and background removal tools are surprisingly robust for quick social media content.
4. ON1 Photo RAW
For those who want a mix of traditional file management and cutting-edge AI, ON1 is a heavy hitter. Their "NoNoise AI" is arguably some of the best tech on the market for cleaning up grainy photos taken in low light.
Key Features That Will Change Your Life
Generative Fill and Expand
We’ve all been there. You take a perfect shot, but you cropped it too tight. Or there’s a distracting trash can in the corner. Generative AI allows you to "expand" the canvas, and the AI will literally paint in the rest of the scenery. It looks at the textures and lighting and mimics them perfectly.
AI Noise Reduction
In the old days, high ISO meant a ruined photo. Now, AI can look at the grain and distinguish it from actual detail. Platforms like Shut Your Aperture often discuss how technical hurdles are being lowered by these advancements. You can now shoot in near-darkness and come out with a clean, professional file.
Sky Replacement
Purists might hate it, but clients love it. If you’re shooting a wedding or a real estate listing and the sky is a flat, boring grey, you can swap it for a dramatic sunset in seconds. The AI even adjusts the lighting on the ground to match the new sky.
Portrait Enhancement
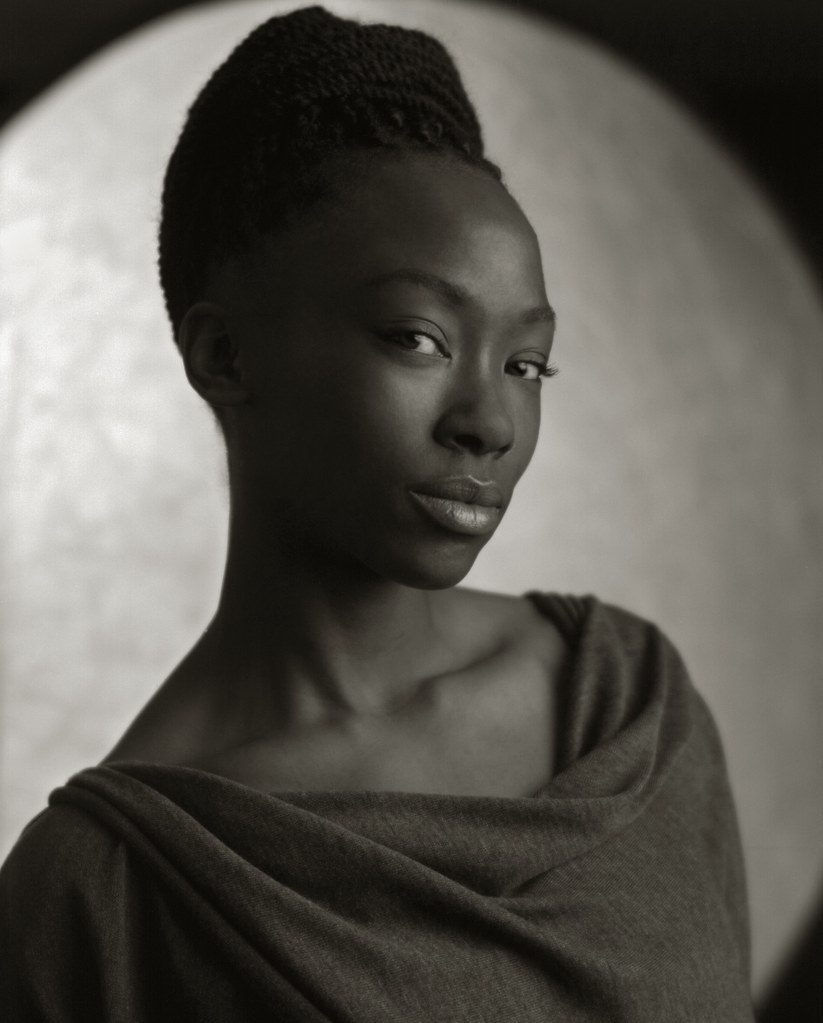
AI can now detect eyes, teeth, and skin texture. It can soften skin without making it look like plastic (the "uncanny valley" effect). It can even add "Catchlights" to eyes to make them pop. It’s a massive time-saver for headshot photographers.
 Save
Save
AI in Real Estate Photography
Real estate is one area where AI is becoming the standard. When you're shooting 10 houses a day, you don't have time to manually mask every window to show the view outside.
Using AI to manage the role of luminosity in real estate photography is a massive advantage. AI can balance the dark corners of a living room with the bright sunlight hitting the patio, creating a natural look that used to take hours of HDR blending.
If you want to take it further, combining AI editing with aerial photography can make a listing look like a million bucks. AI can remove unwanted cars from the driveway or even "virtually stage" a room by adding furniture that isn't there.
AI for Landscape Photographers
Landscape photography is often about patience, but AI is about enhancing that captured moment. Inspired by legends like Peter Lik, many photographers use post-processing to bring out the ethereal quality of nature.
You can learn about the techniques behind Peter Lik’s landscape photography to see how composition and light matter, but then use Luminar to enhance the "Glow" or "Atmosphere" of the shot. It’s about emphasizing what was already there, making the colors more vibrant and the textures more tactile.
For those looking to sell their work, check out Edin Fine Art to see how high-end finishing can turn a digital file into a physical masterpiece.
 Save
Save
The Step-by-Step AI Workflow
How do you actually use this stuff without making your photos look like a video game? Here is a simple workflow:
- Cull with AI: Use tools like AfterShoot to quickly pick the best photos from a set. It identifies blurry shots and closed eyes automatically.
- Basic Adjustments: Import into Lightroom or Luminar and use the "Auto" or "Enhance" AI button as a starting point. It usually gets you 80% of the way there.
- Clean Up: Use the AI Eraser or Generative Fill to remove distractions. This is where you clean up the "visual noise."
- Targeted AI: Apply specific AI masks. Maybe you want to darken the sky but brighten the subject. Use "Select Subject" AI for this.
- Final Polish: This is the human element. Adjust the colors to fit your personal brand. No AI can perfectly replicate your specific "vibe" yet.
Advanced Workflows: Personal AI Profiles
For the pros, there is a tool called Imagen. It actually learns your editing style. You upload 3,000 of your previously edited photos, and it creates a profile. The next time you have a wedding with 2,000 photos, you run it through your profile, and it edits them exactly like you would.
This is the future of the industry. It’s not about replacing the photographer; it’s about replacing the grunt work. If you're running a business, check out ProShoot.io for more tips on scaling your professional workflow.
Is It "Cheating"?
This is the big question. Some people say if you didn't capture it in-camera, it's not a photo. We disagree. Photography has always been about manipulation: from choosing a lens to dodging and burning in a darkroom.
AI is just a more powerful brush. The art is in the vision, not the labor. If you’re curious about how these trends are shifting the industry, read up on the impact of Peter Lik on photography trends. He’s a guy who knows a thing or two about making an impact with a bold aesthetic.
 Save
Save
Choosing the Right Hardware
AI requires power. You can’t run complex Generative Fill on an old laptop from 2012. You need a decent GPU (Graphics Processing Unit). AI tasks are heavy on the processor, so if you’re upgrading your kit, prioritize RAM and a modern graphics card.
You can find more hardware advice at Edin Studios, where we look at the intersection of tech and creativity.
Practical Tips for Success
- Don't Overdo the Sliders: Just because you can make the sky purple doesn't mean you should. Keep it grounded in reality unless you're going for a specific surrealist style.
- Check the Edges: AI is smart, but it’s not perfect. Sometimes when it removes a background, it leaves a weird "halo" around the subject’s hair. Zoom in and check the details.
- Batch Edit: Use AI to sync edits across similar photos. If you're shooting a series of portraits in the same light, the AI can apply the same "Face Enhance" settings to all of them at once.
- Keep Your RAWs: Always edit on RAW files, not JPEGs. AI tools need all that data to work their magic effectively. If you want to dive deeper into the technical side, blog.edinchavez.com has some great deep dives on file types and processing.
AI photo editing is here to stay. It’s making professional-level results accessible to everyone, and it’s freeing up seasoned pros to focus on the creative side of the craft. Whether you’re using Luminar for its simplicity or Photoshop for its sheer power, the goal is the same: creating an image that makes people stop and stare.
Get out there, shoot something beautiful, and let the machines handle the boring stuff. Your aperture is open( now go capture the world.)
Skylum’s Luminar Neo runs as a Lightroom plugin and adds AI-powered sky replacement, portrait retouching and noise reduction to your existing workflow. Tagged as affiliate per FTC.