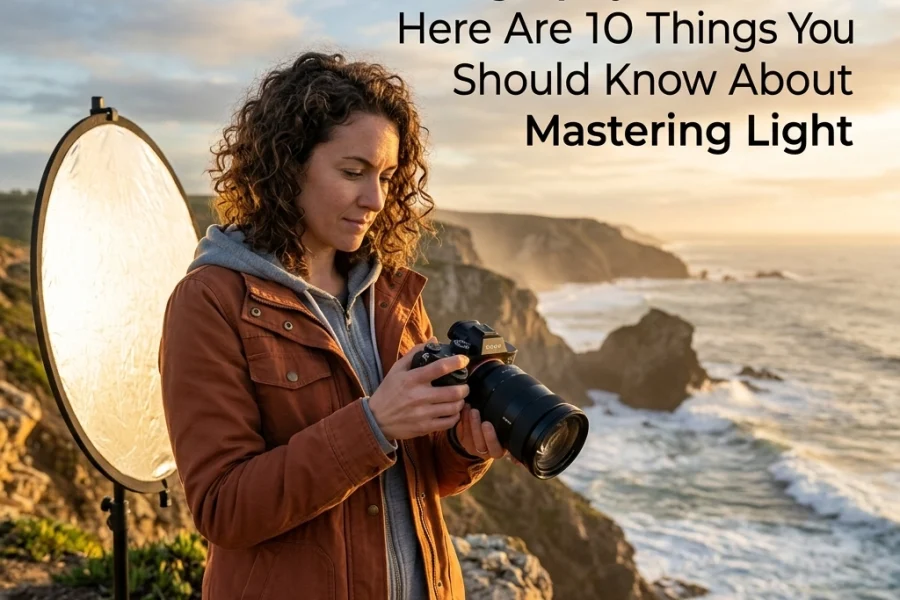
So, you finally worked up the courage to click that dial over to the "M." Welcome to the club. It’s a bit like taking the training wheels off your bike, exhilarating, slightly terrifying, and there’s a high probability you’re going to skin your knees a few times.
Manual mode is the holy grail for photographers. It’s where you take back control from the computer inside your camera and start making actual creative decisions. But here’s the thing: just because you’re in manual doesn’t mean your photos will automatically look like they belong in a gallery. In fact, for many beginners, manual mode is a fast track to missed shots and grainy, blurry messes.
I’ve spent years behind the lens, and I can tell you that even the pros slip up. The difference is they know how to spot the errors before the shutter clicks. If you’ve been struggling with exposures that look like a coal mine or a nuclear explosion, don’t hang up the camera just yet. You’re probably just falling into one of these seven common traps.
Let’s break down the mistakes you’re making with manual mode and, more importantly, how to fix them so you can start shooting like a boss.
1. Treating the Light Meter Like the Absolute Truth
When you’re in manual mode, that little scale at the bottom of your viewfinder (the light meter) becomes your best friend. You’re constantly tweaking your dials to get that little needle to sit perfectly at "0."
Here’s the problem: your camera’s light meter isn't actually "seeing" the world. It’s measuring reflected light, and it’s programmed to think the whole world should be a dull, 18% middle gray. If you point your camera at a pile of white snow, the meter thinks, "Whoa, way too bright!" and tells you to underexpose. The result? Gray, depressing snow. If you point it at a black cat in a dark alley, it thinks, "Too dark!" and tells you to overexpose. The result? A noisy, gray cat.
The Fix:
Stop aiming for "0" every single time. Learn to read the scene. If you’re shooting something very bright, you might need to push your meter to +1 or +2 to keep those whites white. If you’re shooting a moody, dark scene, you might need to sit at -1. If you find your exposure is still a bit off after the fact, you can always use a powerful editor like Luminar to recover those highlights or lift the shadows without losing detail.

2. The "Set it and Forget it" ISO Trap
We’ve all done it. You’re shooting outdoors in the bright sun, so you set your ISO to 100. Then you head inside a dim cafe, adjust your shutter speed and aperture, but forget that your ISO is still stuck at 100. Suddenly, your shutter speed is three seconds long, and everything is a blurry mess. Or worse, you’re shooting at ISO 6400 at night, walk back into the sun the next morning, and blow out every highlight because you forgot to dial it back down.
ISO is often the "forgotten" corner of the exposure triangle. Because it doesn't change the physical look of the motion or the depth of field as drastically as shutter speed or aperture, it’s easy to overlook.
The Fix:
Develop a mental "pre-flight" checklist. Every time the lighting environment changes: even slightly: check your ISO first. A good rule of thumb is to keep your ISO as low as possible to maintain image quality, only bumping it up when you’ve hit the limits of your aperture and shutter speed. For more in-depth technical breakdowns, I always recommend checking out Shut Your Aperture for their deep dives into sensor performance.
3. Shutter Speeds That Are Too Slow for Handholding
One of the biggest heartbreaks in photography is coming home, opening your photos on a large monitor, and realizing that every single one is slightly soft. Not "artistic blur" soft: just "you shook the camera" soft.
In manual mode, it’s easy to get tunnel vision. You want that f/1.8 bokeh, so you set your aperture. You want a low ISO for quality, so you set that. Then you adjust your shutter speed to balance the meter, not realizing it’s dropped to 1/15th of a second. Unless you have the hands of a surgeon or a very expensive tripod, that photo is going to be blurry.
The Fix:
Follow the "Reciprocal Rule." Generally, your shutter speed should be at least 1 divided by your focal length. If you’re shooting with a 50mm lens, don’t go below 1/50th of a second. If you’re using a 200mm zoom, you need at least 1/200th. If you find yourself needing more light but can't drop the shutter speed further, it’s time to sacrifice some ISO or open that aperture. You can find more gear-specific tips on how to handle different lenses at www.proshoot.io.

4. Ignoring the Histogram (The LCD Lies)
Your camera’s LCD screen is a liar. It’s bright, it’s pretty, and its appearance changes based on the ambient light around you. If you’re shooting in the dark, the screen will look incredibly bright, leading you to think your photo is perfectly exposed when it’s actually underexposed. If you’re in the bright sun, you might think your photo is too dark and overexpose it, only to find you’ve "clipped" your highlights beyond repair.
The Fix:
Learn to read the histogram. It’s a mathematical graph of the light in your image. If the "mountain" is slammed against the right side, you’re losing detail in the highlights (whites). If it’s slammed against the left, your shadows are "crushed" (pure black). Aim for a balanced distribution. To see how professional-grade exposure looks in final prints, take a look at the work on www.edinfineart.com. You’ll see that a perfect histogram often leads to a much more "printable" image.
5. Using Manual Mode for the Wrong Reasons
There is a weird sense of "photographer pride" associated with manual mode. Some people think that if they aren’t in "M," they aren’t a "real" photographer. This is nonsense.
The mistake here is using manual mode in fast-paced situations where the light is changing constantly: like a wedding or street photography: and missing the "decisive moment" because you were busy fumbling with a dial. If you spend five seconds adjusting your settings, the person has stopped smiling, the bird has flown away, and the light has changed.
The Fix:
Know when to use semi-automatic modes. Aperture Priority (Av or A) is a godsend. It lets you control the depth of field while the camera handles the shutter speed. If you’re in a high-pressure environment, don’t be afraid to use the tools your camera provides. For more on choosing the right workflow for your style, check out our Ultimate Guide to Photography Tutorials.

6. Forgetting to Change Settings Between Shots
This is the "Legacy Setting" mistake. You were just taking a beautiful landscape photo at f/11 with a 2-second exposure on a tripod. Your friend calls you over to take a quick candid portrait of them. You grab the camera, point, and click.
What happens? You just took a 2-second exposure of a moving human. The result is a ghostly blur. In manual mode, the camera doesn't reset itself. It stays exactly where you left it until the end of time.
The Fix:
Get into the habit of "zeroing out" your camera. Whenever you finish a specific "scene," dial your settings back to a neutral starting point (like f/4, 1/125s, ISO 400). This way, if something unexpected happens, you’re at least in the ballpark of a usable exposure. It’s a habit we teach all the time at www.edinstudios.com.
7. Misunderstanding the Exposure Triangle Relationship
A lot of people treat Shutter Speed, Aperture, and ISO as three separate things. They aren't. They are three sides of the same triangle. If you change one, the others must react to keep the exposure the same.
The mistake beginners make is changing one setting to get a specific effect (like a shallow depth of field) but then failing to understand how many "stops" they need to move the other settings to compensate. This leads to a lot of "guess and check" photography, which is slow and frustrating.
The Fix:
Practice "Full Stop" adjustments. Most cameras are set to change in 1/3 stop increments. That means three "clicks" of the dial equals one full stop of light. If you close your aperture by three clicks (one stop), you need to either slow your shutter speed by three clicks or double your ISO to keep the exposure identical. Once you master the "click counting," manual mode becomes second nature.
For those just starting out, keeping a cheat sheet in your bag can be a lifesaver. You can find plenty of these in our resources section.

Bonus Tip: Post-Processing is Your Safety Net
Even if you make a mistake in manual mode, it’s not always a total loss. This is why we shoot in RAW format. A RAW file contains so much more data than a JPEG, allowing you to fix exposure blunders that would otherwise be permanent.
When I have a shot that’s slightly off-base, I run it through Luminar. Its AI-powered tools can intelligently balance exposure, bring back sky detail, and clean up ISO noise in seconds. It’s not an excuse to be lazy with your manual settings, but it’s a fantastic insurance policy.
Why Manual Mode is Still Worth the Effort
After reading all those mistakes, you might be tempted to switch back to Auto and never look back. Don't.
Manual mode is where the magic happens. It’s how you get those silky-smooth waterfalls, those "starburst" streetlights, and those perfectly moody silhouettes. The learning curve is steep, but the view from the top is worth it.
If you’re looking to stay updated on the latest techniques and camera tech to help you on this journey, be sure to visit Photography Tutorials and News. We’re constantly dropping new tips to help you master your gear.
You can also find more personal insights and behind-the-scenes stories on blog.edinchavez.com, where I talk about the real-world application of these technical skills.
Manual mode isn't about being "perfect" every time you press the button. It’s about understanding the why behind your images. Every mistake you make is just a lesson in how light works. So go out there, make some terrible exposures, and then fix them. That’s how you become a photographer.

Summary Checklist for Your Next Shoot:
- Check your meter, but don't blindly obey it.
- Verify your ISO before the first shot.
- Watch your shutter speed: keep it fast enough for your lens.
- Look at the histogram, ignore the LCD screen brightness.
- Be strategic: don't use manual mode if the action is too fast.
- Reset your settings between locations.
- Count your clicks to maintain the exposure triangle balance.
Keep practicing, and soon you'll be making these adjustments without even thinking about it. For more help with your gear or to see the latest mirrorless options that make manual mode even easier with electronic viewfinders, check out our guide on how to choose the best mirrorless cameras in 2026.
Happy shooting!