
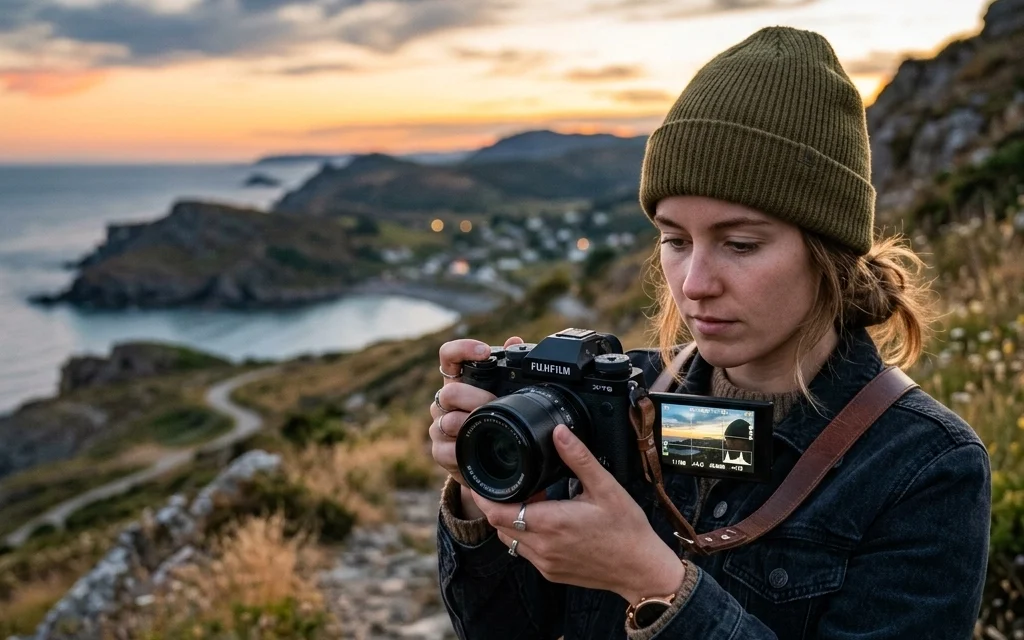
Switching that dial on your camera from the green “Auto” box to the intimidating “M” is a rite of passage. It’s the moment you stop letting a computer make creative decisions for you and start taking control of your art. But let’s be real: manual mode can be a massive headache when you’re starting out. You’re balancing three different variables, shutter speed, aperture, and ISO, while trying to capture a fleeting moment. It’s easy to mess up.
If you’ve ever come home from a shoot only to find your photos are blurry, grainy, or just plain dark, don’t hang up your camera strap just yet. Even the pros at Edin Studios had to start somewhere. Mastering how to use manual mode camera settings takes time, but most beginners fall into the same seven traps.
In this guide, we’re going to break down these common blunders and give you the fixes you need to start shooting like a pro. Whether you are looking for landscape photography tips or trying to master portrait photography techniques, avoiding these mistakes will change your game.
1. The ISO Paranoia (Keeping it Too Low)
One of the first things you learn in photography for beginners is that high ISO equals "noise" or grain. Because of this, many new photographers become terrified of touching the ISO dial. They’ll keep it at 100 even when the sun is going down, resulting in images that are way too dark.
The mistake here is thinking that a low ISO is always better. While you want the cleanest image possible, an underexposed photo shot at ISO 100 is actually much harder to fix than a properly exposed photo shot at ISO 800 or 1600. When you try to "push" a dark photo in post-processing using something like Luminar, you’ll actually see more digital noise in the shadows than if you had just bumped the ISO up in the first place.
The Fix: Don't be afraid of your ISO. Modern sensors in the best mirrorless cameras are incredible at handling high ISO levels. If your shutter speed is getting too slow or your aperture is already wide open, crank that ISO. It’s much better to have a slightly grainy, sharp photo than a clean, blurry, dark mess. If you do end up with a bit of noise, check out some photo editing tutorials to learn how to clean it up effectively.
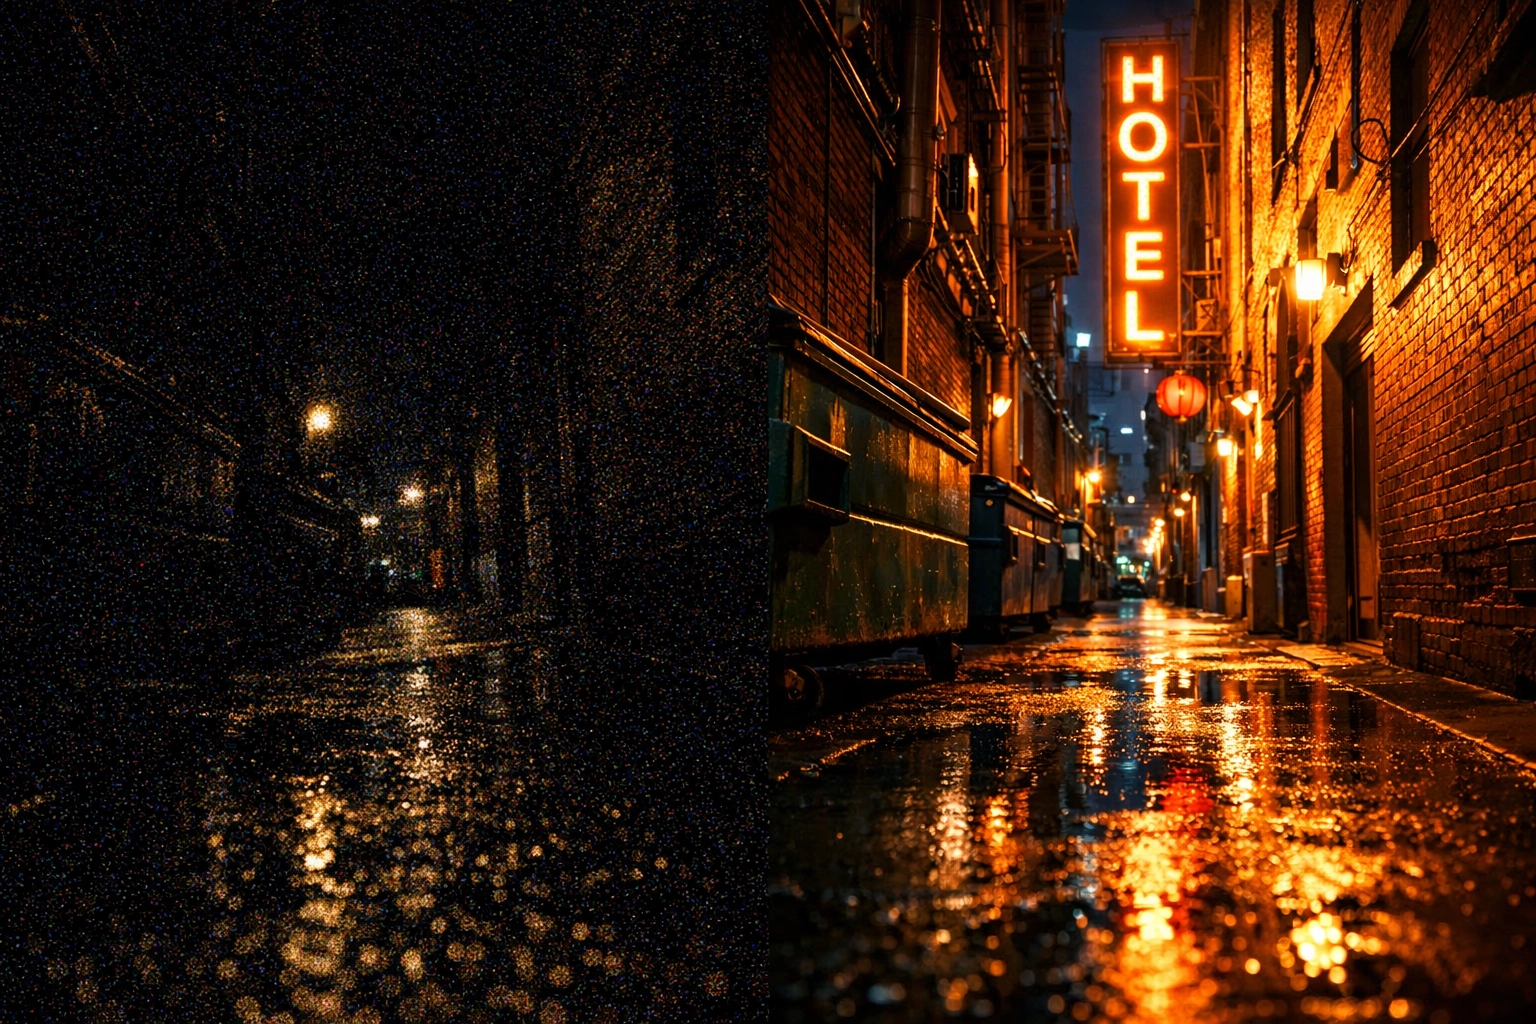
Alt Text: A side-by-side comparison of a noisy underexposed photo and a clean high-ISO photo, illustrating the benefits of proper exposure in manual mode.
2. Ignoring the Reciprocal Rule (Shutter Speed Too Slow)
You’ve got your aperture set for that sweet bokeh and your ISO is looking good, but your photos are still coming out slightly "soft." If you aren't using a tripod, the culprit is likely your shutter speed.
A common mistake is forgetting that our hands shake. Even if you think you’re as steady as a rock, tiny vibrations will blur your image if your shutter stays open too long. This is a frequent issue when exploring street photography ideas where you’re moving fast and shooting handheld.
The Fix: Follow the reciprocal rule. Your shutter speed should be at least 1 over your focal length. If you’re shooting with a 50mm lens, your shutter speed should be at least 1/50th of a second. If you’re using a 200mm zoom lens, you need to be at 1/200th or faster. This simple trick ensures that handheld camera shake doesn't ruin your shot. For more technical deep dives, PhotoGuides.org is a great resource.
3. Letting the Camera Take the Wheel (The Auto-ISO Trap)
Many people think they are shooting in manual mode, but they leave ISO on "Auto." While Auto-ISO has its place (like in rapidly changing light), using it while you’re trying to learn manual mode can actually stunt your growth.
If the camera is still controlling one side of the exposure triangle, you aren't truly learning how the three elements interact. You might change your aperture to get more depth of field, and the camera will automatically compensate by raising the ISO, leaving you wondering why your image looks different than you expected.
The Fix: To truly master how to use manual mode camera settings, turn off Auto-ISO. Force yourself to adjust all three settings manually for a few sessions. This will help you internalize the relationship between light and your gear. Once you understand the "why" behind every setting, you can go back to using shortcuts when you're on a professional gig with ProShoot.

Alt Text: A close-up of a digital camera screen showing manual settings: Shutter Speed 1/250, Aperture f/4.0, and ISO 400, demonstrating total control.
4. Searching for "Magic Settings"
I see this all the time in photography forums: "What settings did you use for that sunset?"
The mistake is thinking there is a "plug and play" formula for photography. Light is organic. It changes by the second. The settings I use for a landscape in the Swiss Alps will be completely different from the settings you need for a sunset in Florida. Even the best mirrorless cameras can't give you a universal preset that works everywhere.
The Fix: Instead of memorizing numbers, learn the concepts. Understand how aperture affects light and depth. Understand how shutter speed affects motion. When you look at Peter Lik’s photographs, don't ask what his shutter speed was; ask how he used light to create that mood. Check out this guide to landscape photography tips to understand how to read a scene rather than just copying settings.
5. Staying in Manual When You Shouldn't
Wait, didn’t I just tell you to use manual? Yes, but there’s a catch. Professional photographers don't use manual mode 100% of the time. The biggest mistake you can make is being a "manual mode snob" and missing the shot because you were too busy fiddling with dials.
If you’re shooting sports or birds in flight, the light can change as the subject moves from sun to shadow. In these cases, shooting in Aperture Priority or Shutter Priority is often the smarter move.
The Fix: Use manual mode for controlled environments, landscapes, portraits, studio work, or when the lighting is consistent. For fast-paced action where the light is shifting, don't be afraid to use semi-auto modes. The goal is the final image, not the pride of saying you shot it in manual. Even Edin Chavez’s own blog talks about the importance of being adaptable in the field.

Alt Text: An action shot of a bird in flight, captured using Shutter Priority mode to freeze motion in changing light conditions.
6. Trusting the LCD Screen Too Much
We’ve all done it. We take a photo, look at the back of the camera, and think, "Wow, that looks perfect!" Then we get home, open it on a calibrated monitor at Edin Fine Art, and realize it’s actually way underexposed.
The LCD screen on your camera lies to you. It’s small, it’s bright, and its appearance changes based on the ambient light around you. If you’re in the bright sun, the screen looks dark. If you’re in a dark room, the screen looks blindingly bright.
The Fix: Learn to read the histogram. The histogram is a mathematical representation of the tones in your image. It doesn't lie. If the "mountain" of the graph is pushed all the way to the left, you’re losing detail in the shadows. If it’s all the way to the right, you’re blowing out your highlights. Checking the histogram is one of the most vital photography tutorials you can give yourself. It ensures your manual exposure is actually correct, regardless of how bright your screen is.
7. Lacking Creative Intentionality
The final mistake is simply guessing. Many beginners switch to manual mode and just move the dials until the little meter in the viewfinder hits "0." If you’re just doing what the meter tells you, you might as well be in Auto mode.
Manual mode is about intent. Do you want the background to be a blurry mess of colors? Then you need a wide aperture (low f-number). Do you want a waterfall to look like silky smooth ribbons? Then you need a slow shutter speed.
The Fix: Before you even look at your meter, ask yourself: "What is the most important element of this shot?"
- If it’s a portrait, prioritize aperture for portrait photography techniques.
- If it’s a fast car, prioritize shutter speed.
- Once you set your primary creative setting, adjust the other two to get the exposure right.
This shift in mindset moves you from being a camera operator to being an artist. You can see this intentionality in everything from luxury dining photography to real estate showcases.
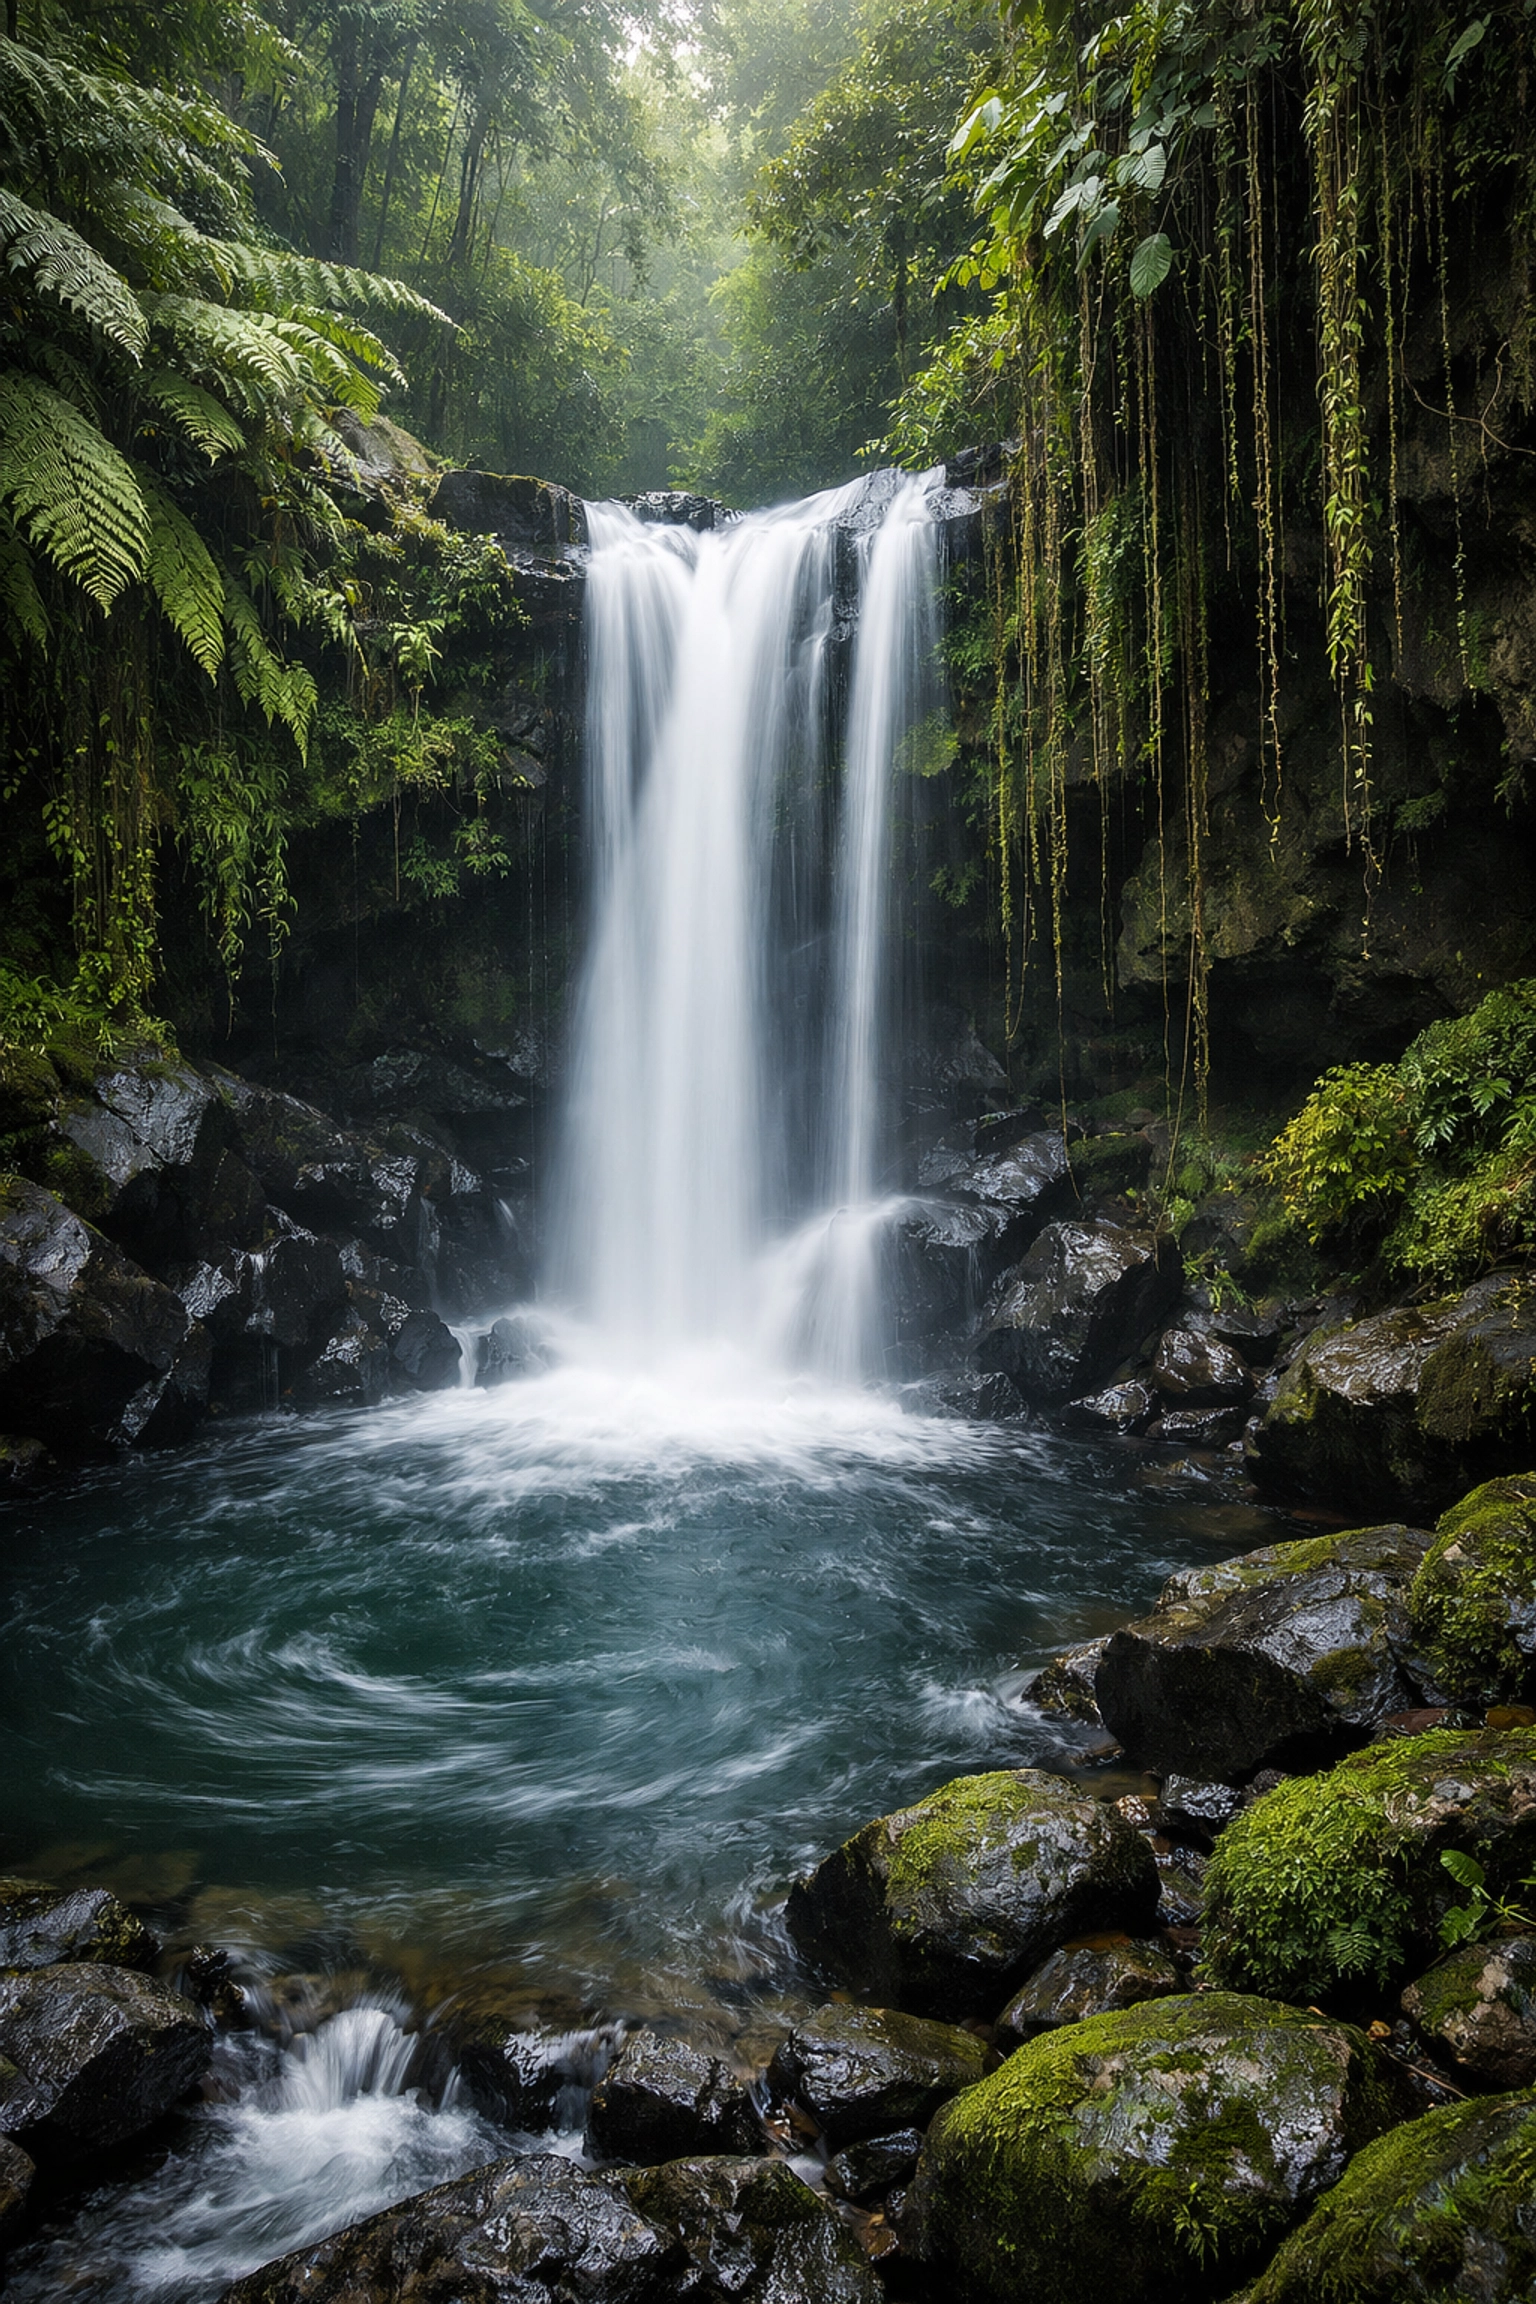
Alt Text: A beautiful landscape photo of a waterfall with a long exposure, showing the creative intent behind slow shutter speeds.
Moving Forward with Manual Mode
Mastering manual mode is a journey, not a destination. You’re going to mess up. You’re going to leave your ISO at 3200 in the middle of a sunny day (we’ve all done it). You’re going to shoot a whole series at f/22 by accident. It’s all part of the process.
To speed up your learning curve, keep an eye on the latest photography news and camera gear reviews to see how new tech can help you. But remember, the gear is just a tool. The real magic happens when you understand the light.
If you’re looking to take your editing to the next level after you’ve nailed your manual exposure, definitely grab a copy of Luminar. It makes the post-processing part of the workflow so much more intuitive, allowing you to focus more on the shooting part.
And hey, if you need more inspiration, check out the lessons in landscape photography from Peter Lik or dive into our ultimate guide to landscape photography tips.
Stop letting your camera make the decisions. Take the wheel, avoid these seven mistakes, and go create something awesome. Manual mode isn't just a setting; it’s the key to your creative freedom.


