
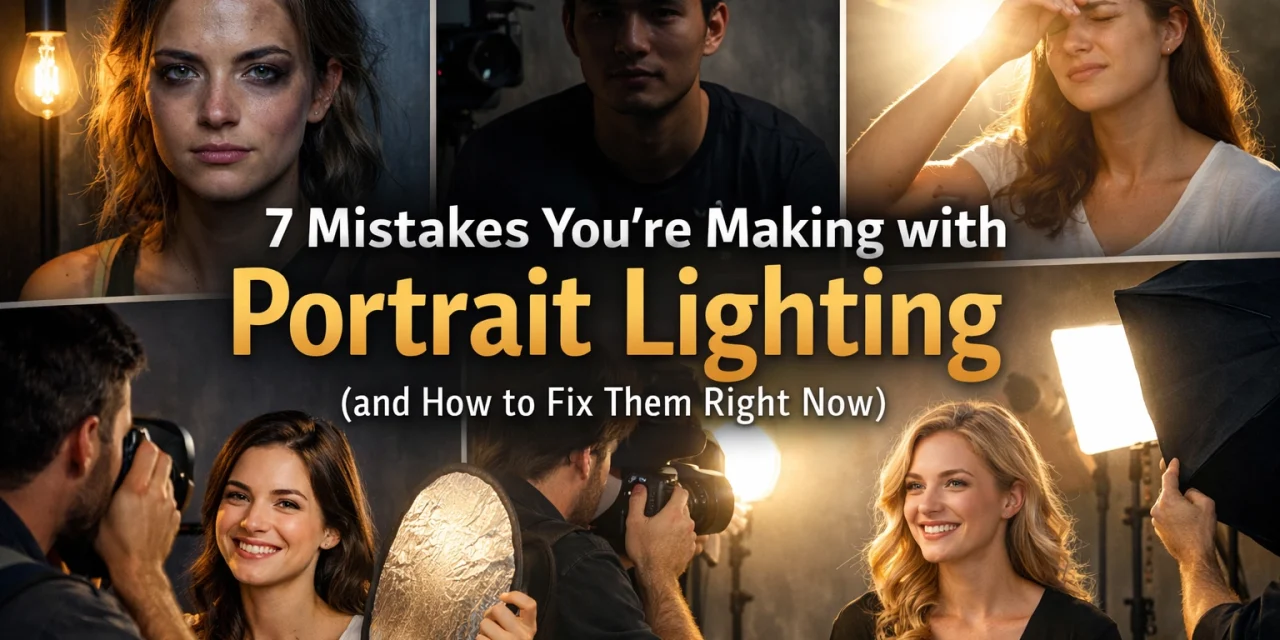
Let’s be real for a second: you can have the most expensive camera on the planet, a lens that costs more than my first car, and a model who looks like they just stepped off a Vogue cover. But if your lighting is trash, your photo is trash.
Lighting is the difference between a "snapshot" and a "portrait." It’s the brush you use to paint your subject’s face. Yet, so many photographers: even some who’ve been at it for years: keep making the same basic mistakes. These errors aren’t just "creative choices"; they’re technical hiccups that make your work look amateur.
At Shut Your Aperture, we’re all about keeping things simple. You don't need a degree in physics to understand light; you just need to know what to look for. Here are the seven biggest portrait lighting mistakes I see every single day and, more importantly, exactly how you can fix them right now.
1. The "Campfire" Effect (Light is Too Low)
We’ve all done it. You’re in a rush, you set up your light stand, and you leave the flash at chest height because it’s easy to reach. Big mistake.
When your main light (the key light) is positioned below your subject's eye level, it creates shadows that move upward across the face. Think about every horror movie you saw as a kid where the villain holds a flashlight under their chin. That’s the "ghoul lighting" look. It highlights the underside of the nose and the chin in a way that is incredibly unflattering.
How to fix it:
Always start with your light slightly above the subject's eye level. A good rule of thumb is to aim for a 45-degree angle. This mimics natural sunlight and creates a pleasing shadow under the nose and chin that defines the jawline instead of hiding it. If you want to dive deeper into how light behaves, check out the role of luminosity even in different niches: the physics remains the same.
2. The Curse of the Raccoon (Light is Too High)
On the flip side, some photographers think that "higher is better" to avoid the campfire look. But go too far, and you fall into the "Raccoon Eye" trap.
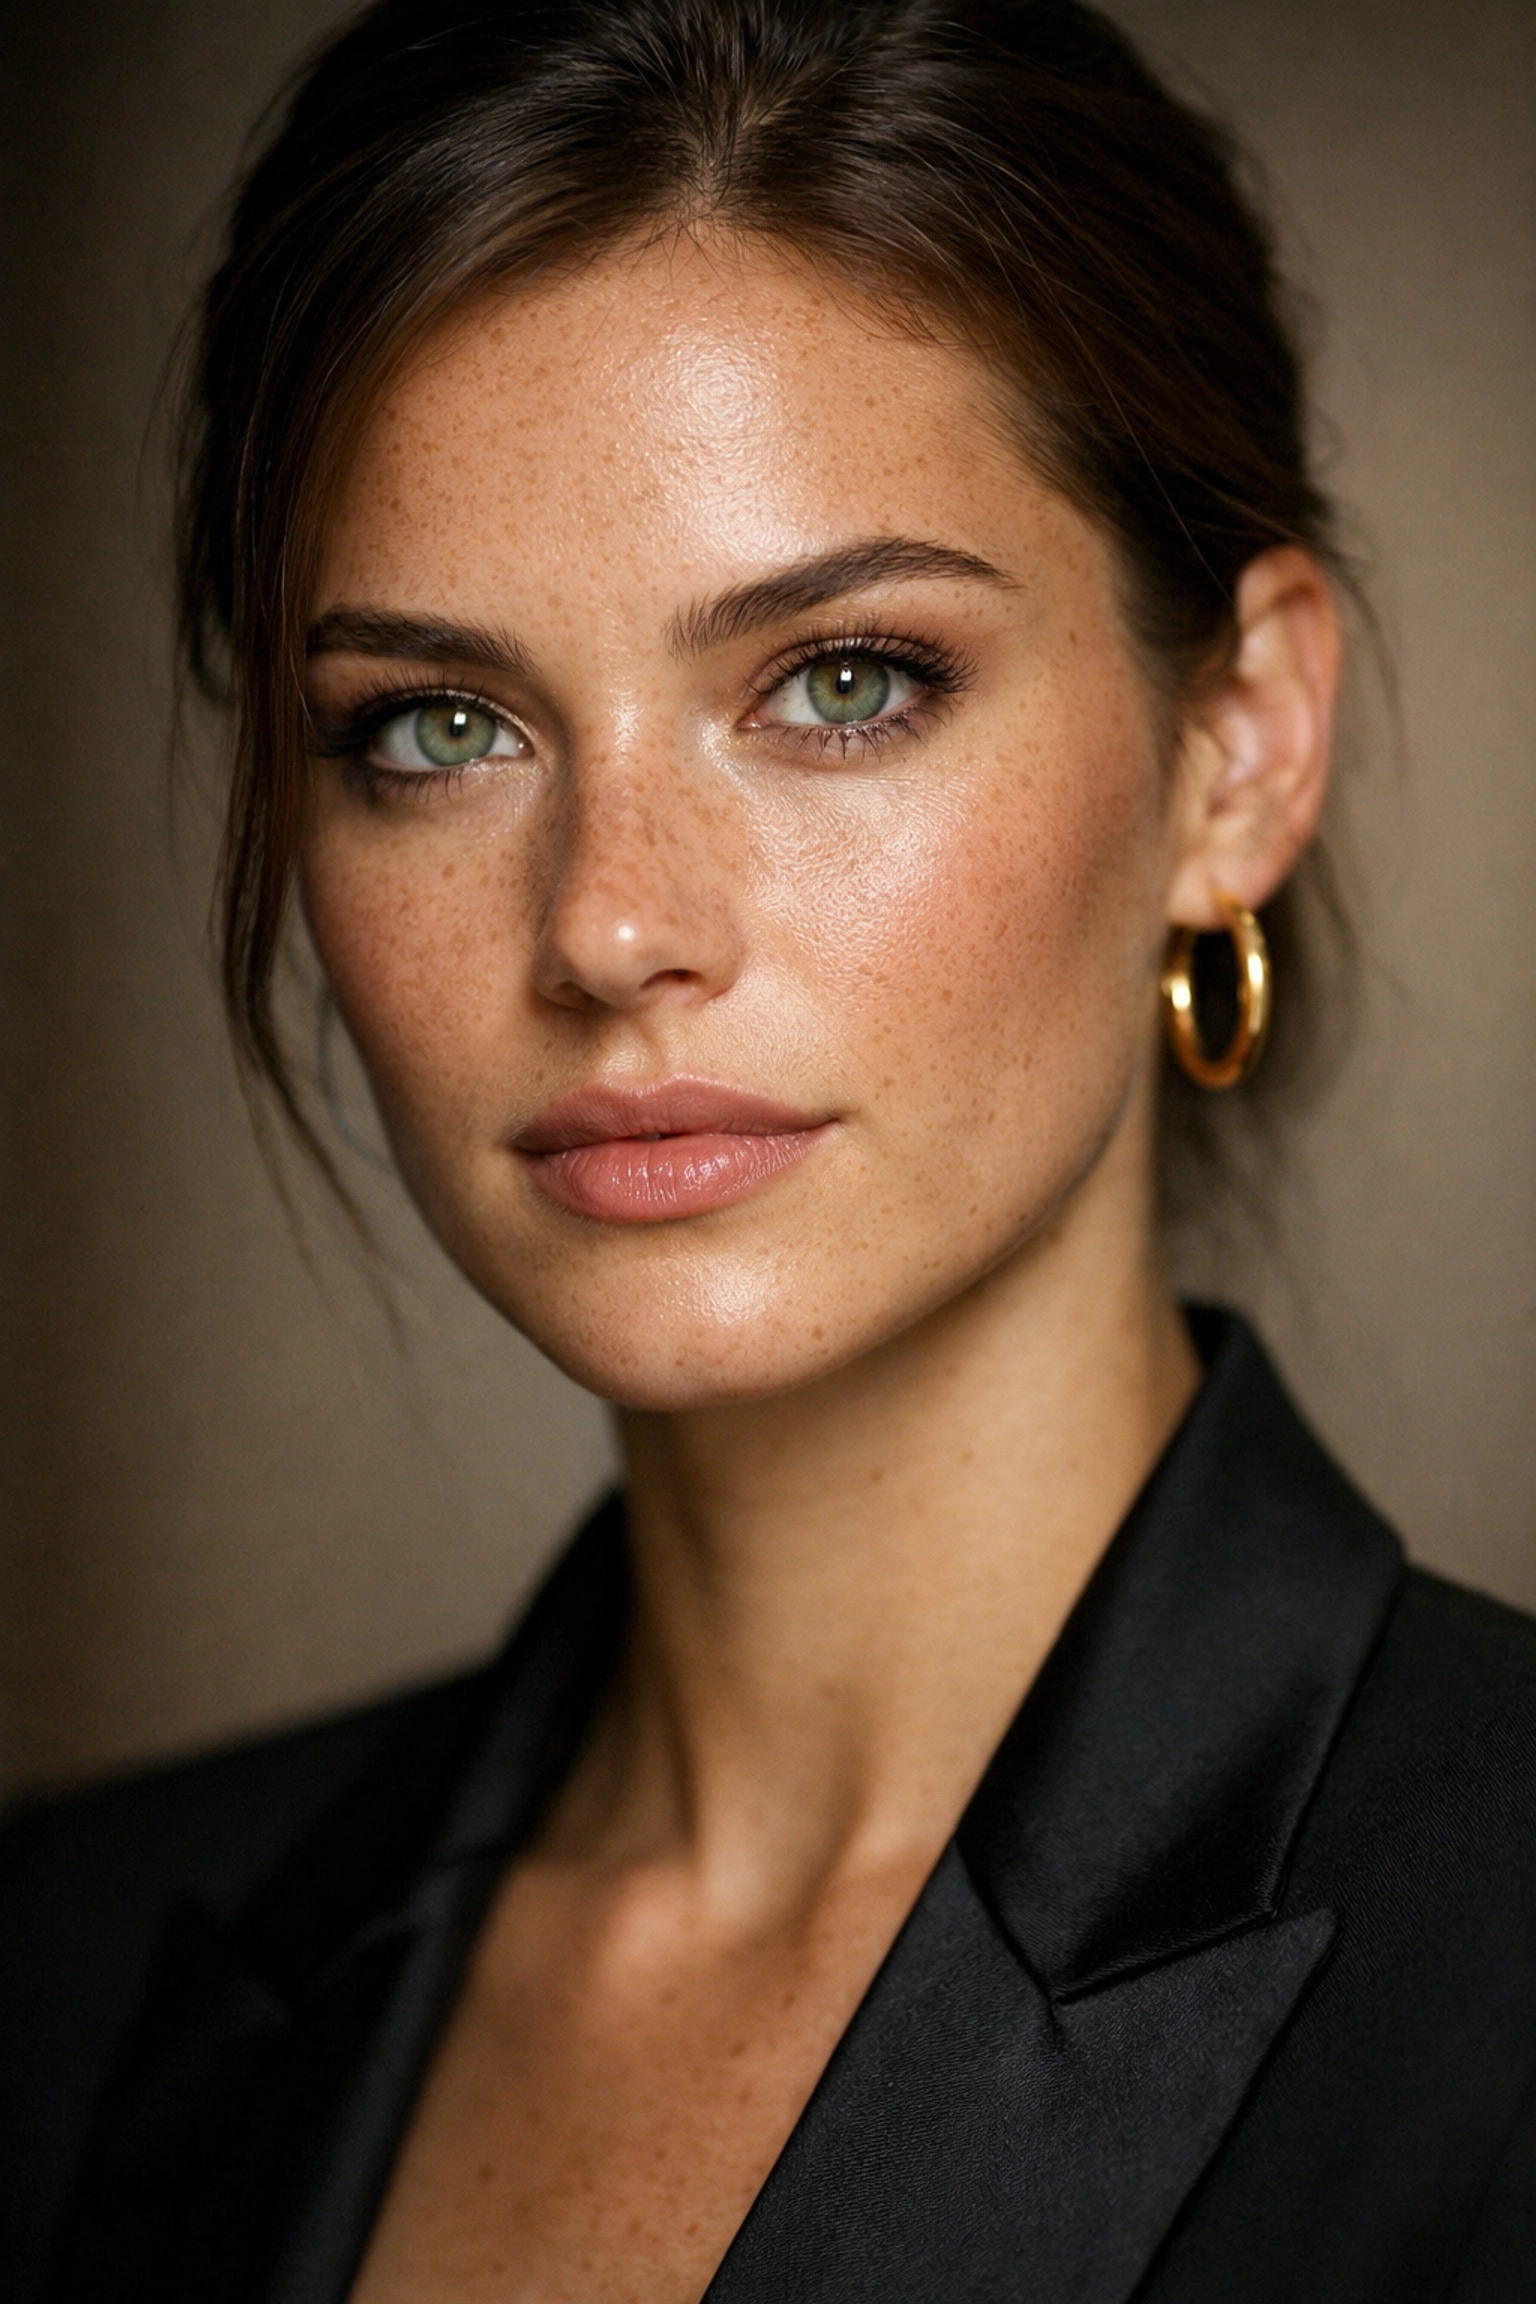
When the light is positioned too high above the subject, the brow bone casts a deep shadow over the eyes. The result? Dark, hollowed-out sockets where the eyes should be. Since the eyes are the most important part of a portrait, losing them to shadow is a dealbreaker. You also lose those vital "catchlights": the tiny reflections of light in the eyes that make a person look alive.
How to fix it:
Lower the light stand just enough so that the light "reaches" into the eye sockets. You want to see a clear reflection of your light source in the upper portion of the subject's pupils. If you can’t see the eyes, your light is too high. This is one of those basic lessons in photography that translates across every genre. If the eyes don't pop, the photo doesn't work.
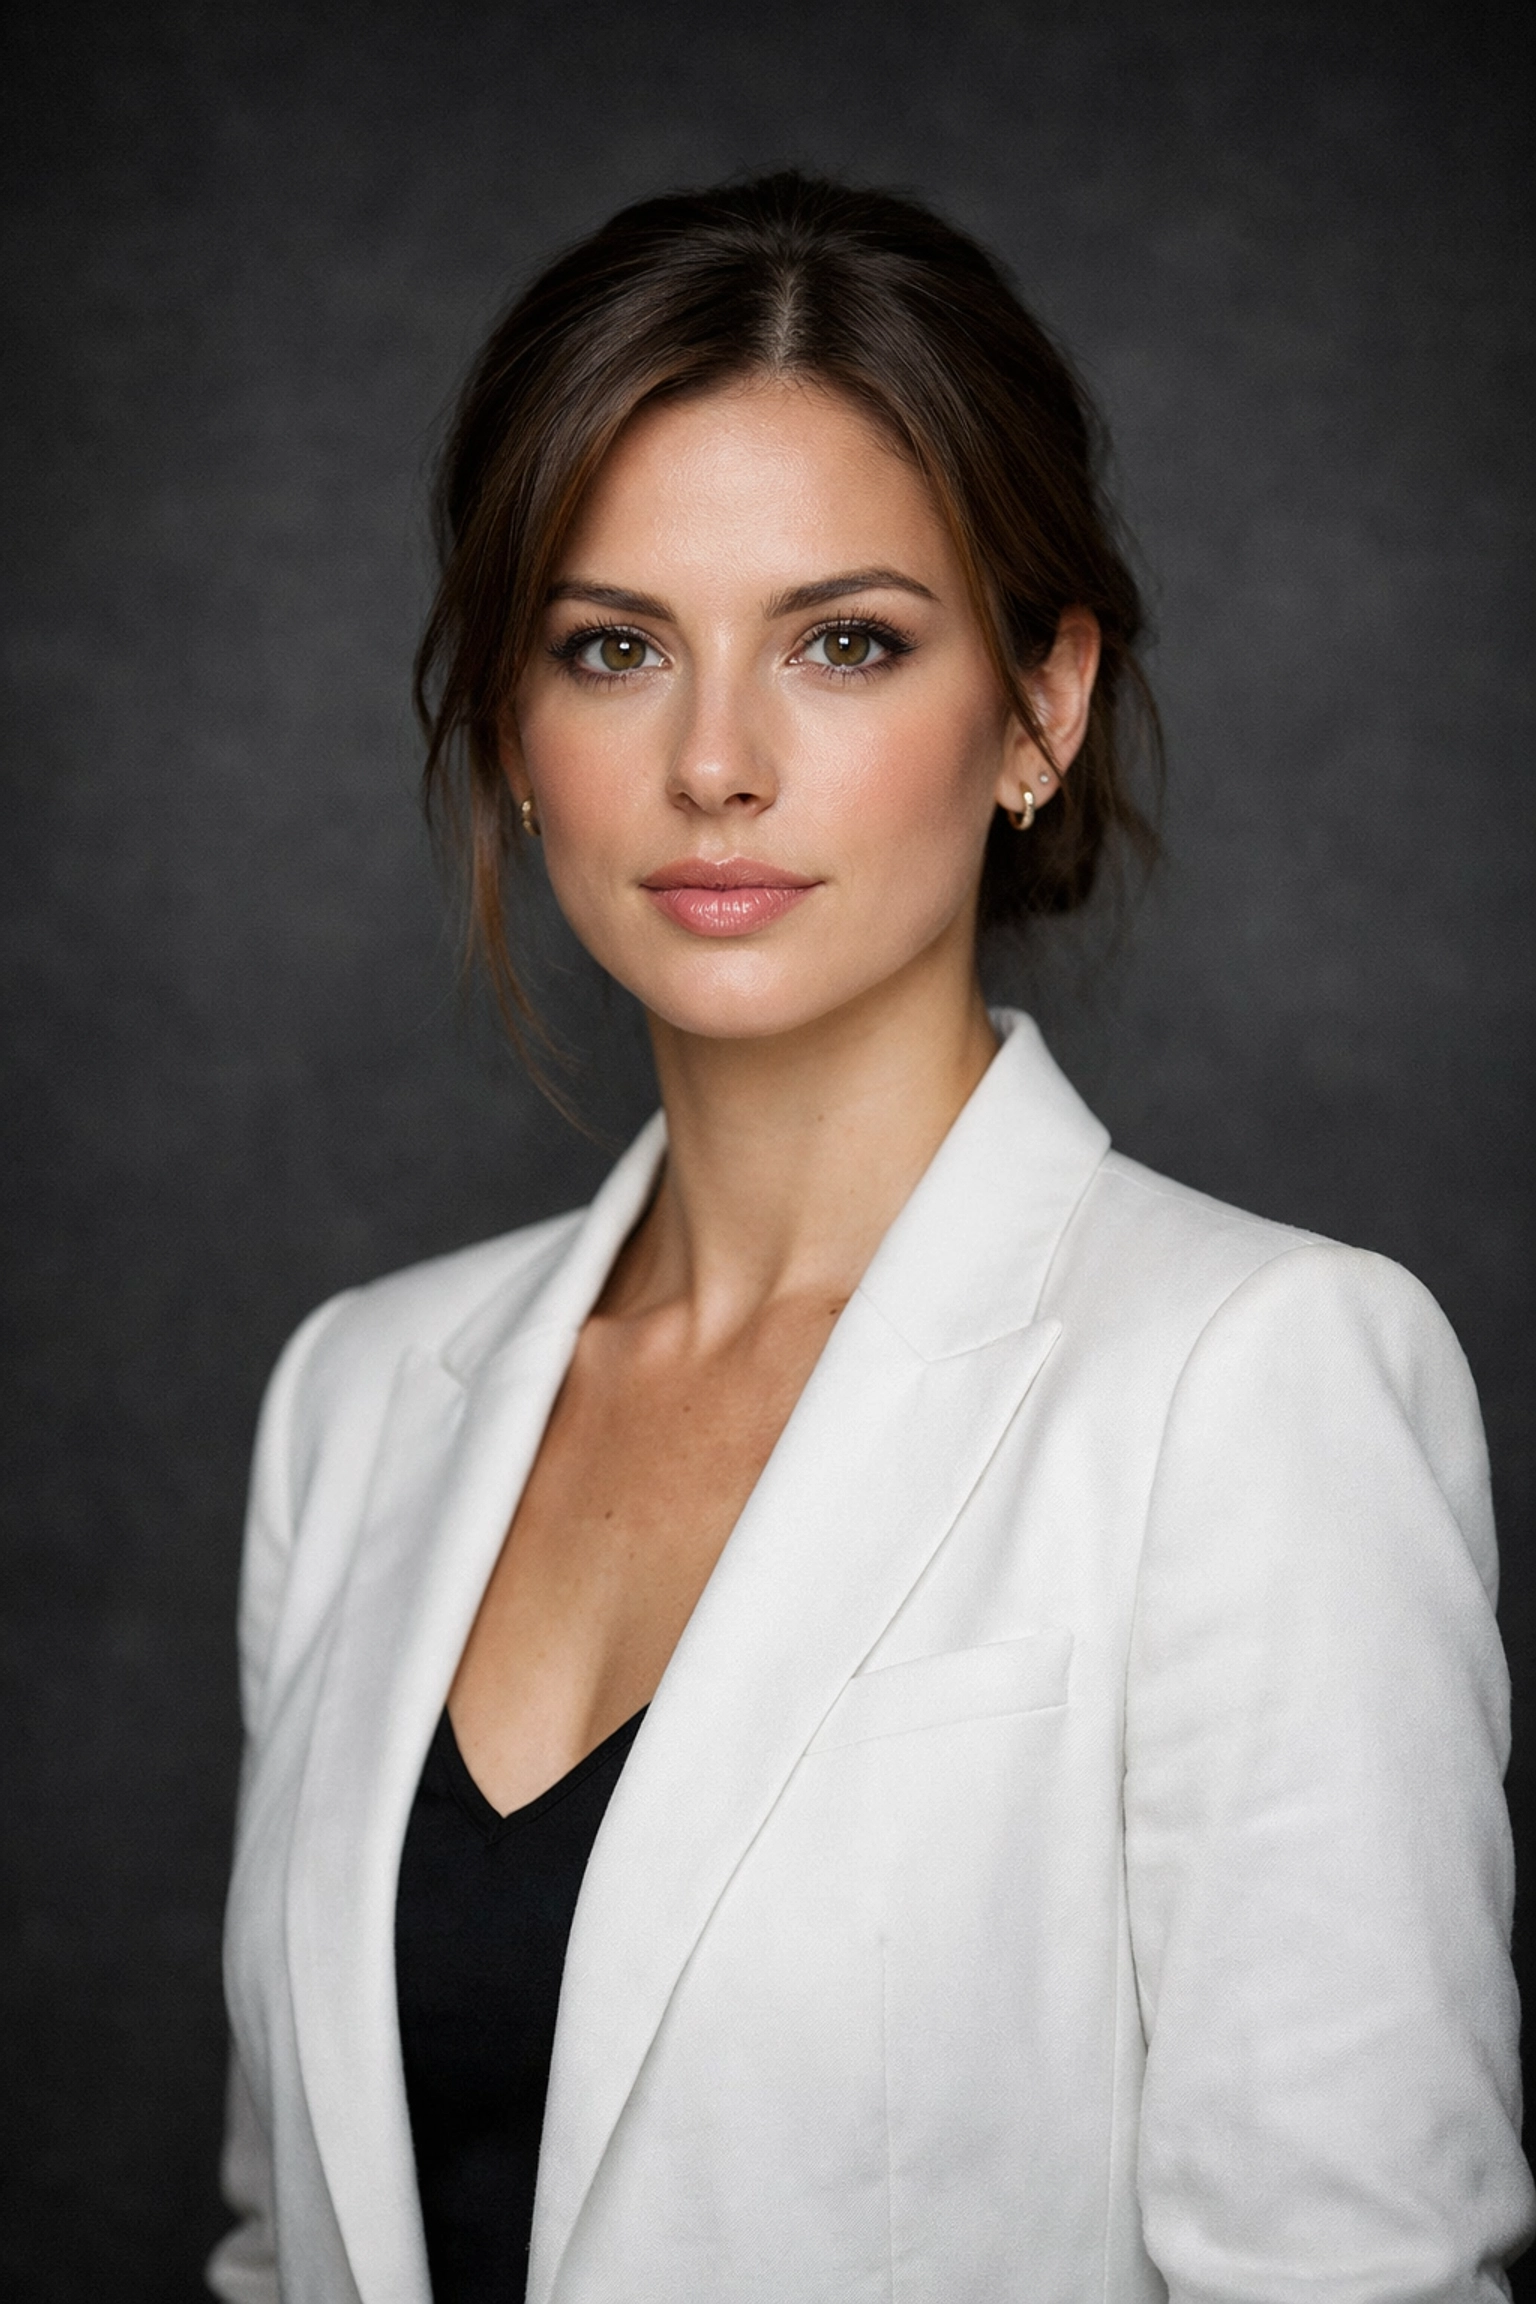
3. Fill Light Power Struggles
A "fill light" is supposed to do exactly what its name suggests: fill in the shadows created by your main light. The mistake people make is setting the fill light to the same power as the key light.
When your fill light is too strong, you end up with "flat" lighting. The face loses its three-dimensional quality because there are no shadows to define the features. Even worse, if the fill light is stronger than the key light, you get "under-lighting" on the opposite side of the face, which looks confusing and messy.
How to fix it:
Think of your fill light as a backup singer, not the lead vocalist. It should be at least one or two "stops" lower in power than your main light. You want to see the shadows, you just don't want them to be pitch black. If you're struggling with getting the balance right in-camera, using a tool like Luminar can help you subtly adjust the shadows and relight parts of the frame during post-processing.
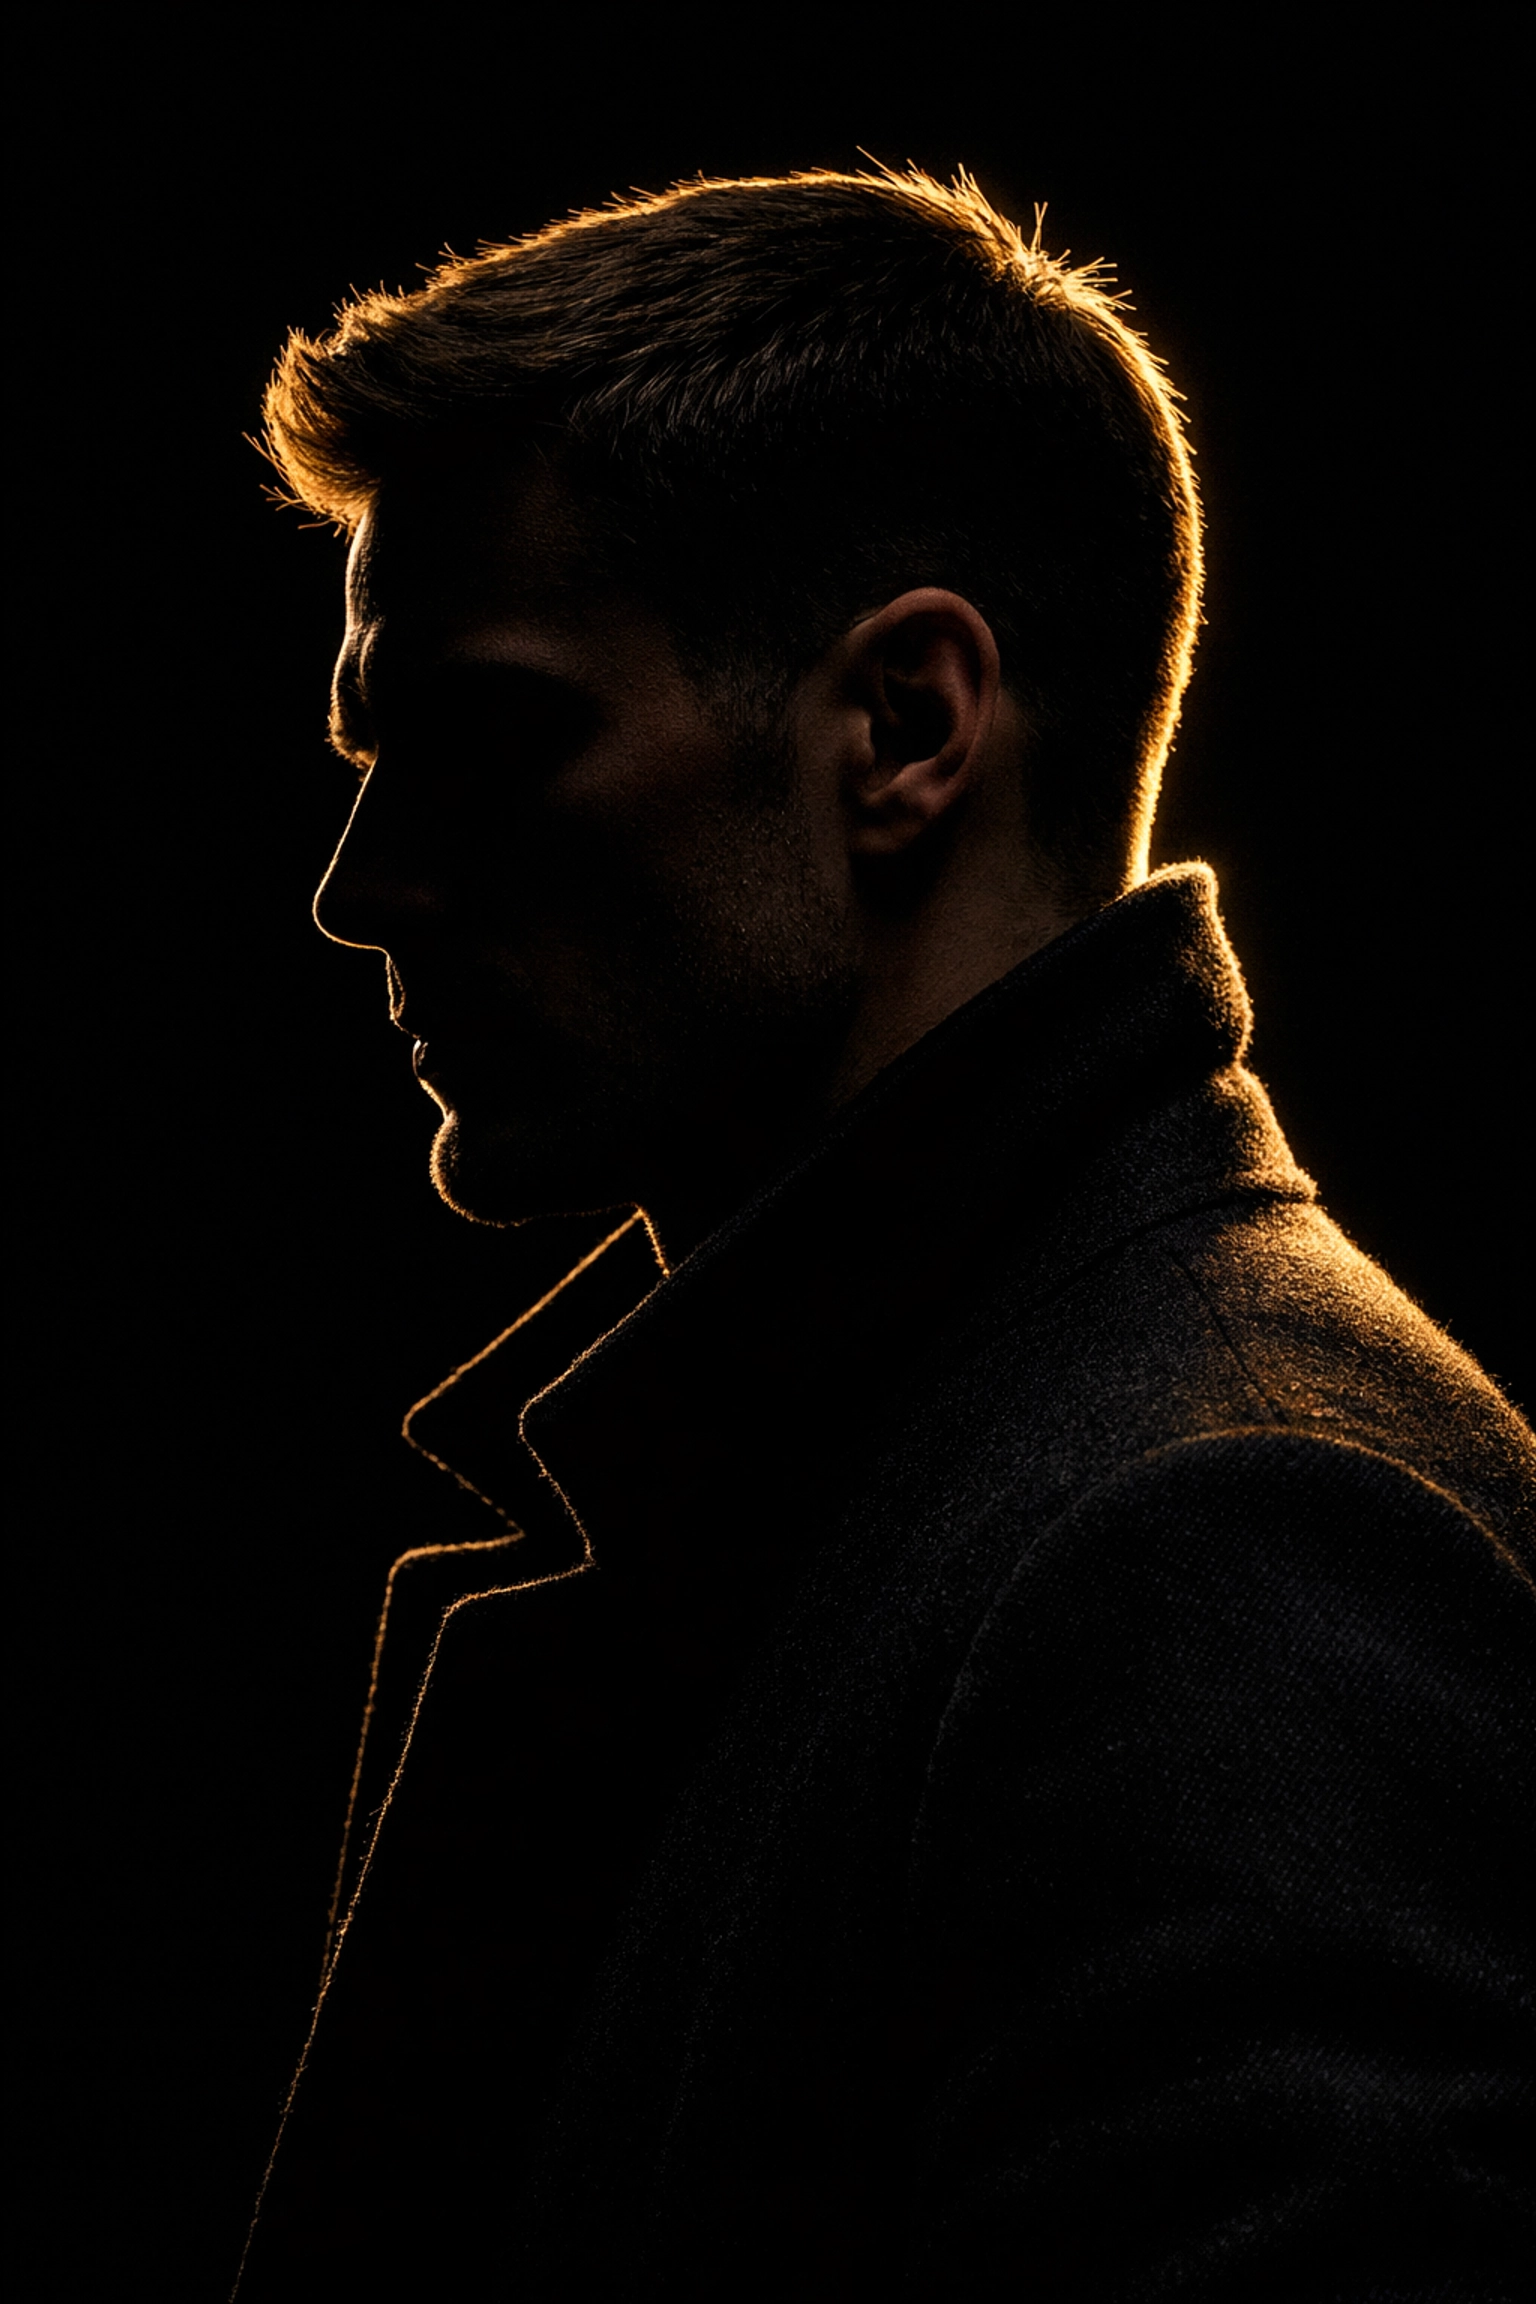
4. Separation Light Spilling onto the Nose
Separation lights (or rim lights) are great. They sit behind the subject and create a beautiful glow around the hair and shoulders, helping the subject "pop" from the background. But if you place them too far to the side, that light starts wrapping around the face and hitting the tip of the nose.
This creates a distracting bright spot on the nose that draws the viewer's eye away from the subject's gaze. It’s messy, and it’s a hallmark of a rushed setup.
How to fix it:
Keep your separation lights tucked directly behind the subject or use "grids" on your lights. Grids narrow the beam of light, so it only goes exactly where you point it. If you see light hitting the nose or the lips from behind, move the light further back behind the subject’s head. For more gear tips on how to control light, I always recommend checking out ProShoot.io for the latest modifiers.
5. Overexposing the Separation Light
While we’re talking about rim lights, let’s talk about power. A separation light should be a whisper, not a scream. I see so many portraits where the subject has a glowing "halo" around their head that is so bright it’s actually losing detail (clipping).
When the edges of your subject are completely white and blown out, it looks artificial. It also makes the hair look frizzy and creates a weird "glow" that feels more like a 1980s school portrait than a modern professional shot.
How to fix it:
Turn off your main light and take a test shot with only the separation light. It should look like a thin, elegant outline. If it looks like a nuclear blast, turn the power down. You want to define the shape, not melt the edges of your subject.
6. Ignoring Lens Flare
When you have lights pointing back toward the camera (like those separation lights we just mentioned), you’re at risk of lens flare. Sometimes flare is cool and "vintage," but usually, in studio portraits, it just looks like a mistake. It reduces contrast, washes out colors, and creates weird ghosting shapes across your subject’s face.
If you find your images looking "hazy" or "soft" despite having a great lens, flare is likely the culprit.
How to fix it:
Use a lens hood. It’s that plastic bit that came with your lens that you probably left in the box. Use it. If the light is still hitting the glass, you might need to use a "flag", basically anything solid (like a piece of black foam board) placed between the light and your lens to block the direct beam. You can find more technical deep-dives on managing light at PhotoGuides.org.
7. The Blown-Out Background
Finally, let’s talk about what’s behind your subject. If you’re shooting against a white or light-colored background, it’s very easy to overexpose it. When the background is too bright, the light starts to "bleed" onto the subject, making their edges look soft and blurry.
Additionally, an overexposed background creates a huge amount of "bounce" light that can fill in your shadows in ways you didn't intend, ruining the moody look you were going for.
How to fix it:
Move your subject further away from the background. This allows you to light the subject and the background independently. If you want a white background, it should be white, not a blinding sun. Control the spill by using flags or barn doors on your lights. For those looking to incorporate more cinematic techniques, controlling the background light is key to creating depth and mood.
Bonus Tip: The Power of Post-Processing
Even if you nail the lighting in the studio, there’s always room for a little polish. Sometimes you realize after the shoot that the catchlights aren't bright enough, or a shadow is just a bit too heavy.
Software like Luminar is a lifesaver for portrait photographers. Its AI-driven tools allow you to "Relight" a scene or enhance the "Face AI" to brighten eyes and smooth skin without it looking like a plastic filter. It’s about enhancing the good work you did on set, not fixing a total disaster.
Putting It All Together
Photography is a journey of constant learning. I’ve been doing this for years, and I still have to remind myself to check the height of my light stands. The goal isn't to be perfect every time; it's to be aware of these common pitfalls so you can catch them before you hit the shutter button.
If you’re just starting out, don't feel like you need a five-light setup. Start with one light. Master the height and the angle. Once you can make one light look amazing, add a second. Pretty soon, you’ll be creating ethereal imagery that makes people stop and stare.
Keep it simple, keep shooting, and most importantly, shut your aperture and get to work. If you want more tips, head over to blog.edinchavez.com for more behind-the-scenes looks at professional shoots.
Lighting isn't a mystery: it's just a set of rules you need to learn before you can start breaking them. Fix these seven mistakes, and I promise your portraits will look 100% better by your next session. Now, get out there and start clicking.


