

Let’s be real: taking a portrait should be easy, right? You have a subject, you have a camera, and you have a background. But then you get home, load the photos onto your computer, and realize something is… off. Maybe the face looks flat, the person looks stiff, or they seem to be blending into the wall behind them.
Portrait photography is one of those things that’s easy to learn but takes a lifetime to master. Even if you’ve got the best cameras for photography, you can still fall into some common traps that turn a professional shot into a "meh" snapshot.
At Shut Your Aperture, we see these mistakes all the time. The good news? They are all incredibly easy to fix. Whether you’re a pro looking to sharpen your skills or a hobbyist who just bought one of the best cameras for beginners, these tips will help you level up your portrait game instantly.
1. The "Ghost Face" Lighting Mistake
One of the most common issues in studio or off-camera flash portraits is under-lighting or, more specifically, messing up your lighting ratios. Many photographers think that more light is always better, so they crank up their fill light until it’s fighting the key light for dominance.
The Mistake: Your fill light is actually brighter than your key light, or it’s casting shadows that conflict with your main light source. This results in a flat, "ghostly" look where the subject loses all facial definition. It happens a lot when you’re shooting subjects of different heights. If you move from a tall subject to a shorter one without adjusting your light stands, the fill light ends up being closer to the face than the key light.
How to Fix It: Always keep your key light as the star of the show. Your fill light is just there to "fill" the shadows, not eliminate them entirely. A good rule of thumb is to maintain a 2:1 or 3:1 ratio. If you’re struggling with manual settings to get this right, check out our guide on how to master your camera’s manual mode. Also, remember to physically move your lights when your subject changes position. Don't be lazy: move those stands!
2. The "Wallflower" Effect (Losing Background Separation)
Ever look at a portrait and feel like the subject is literally melting into the background? This is a classic case of losing subject-to-background separation.
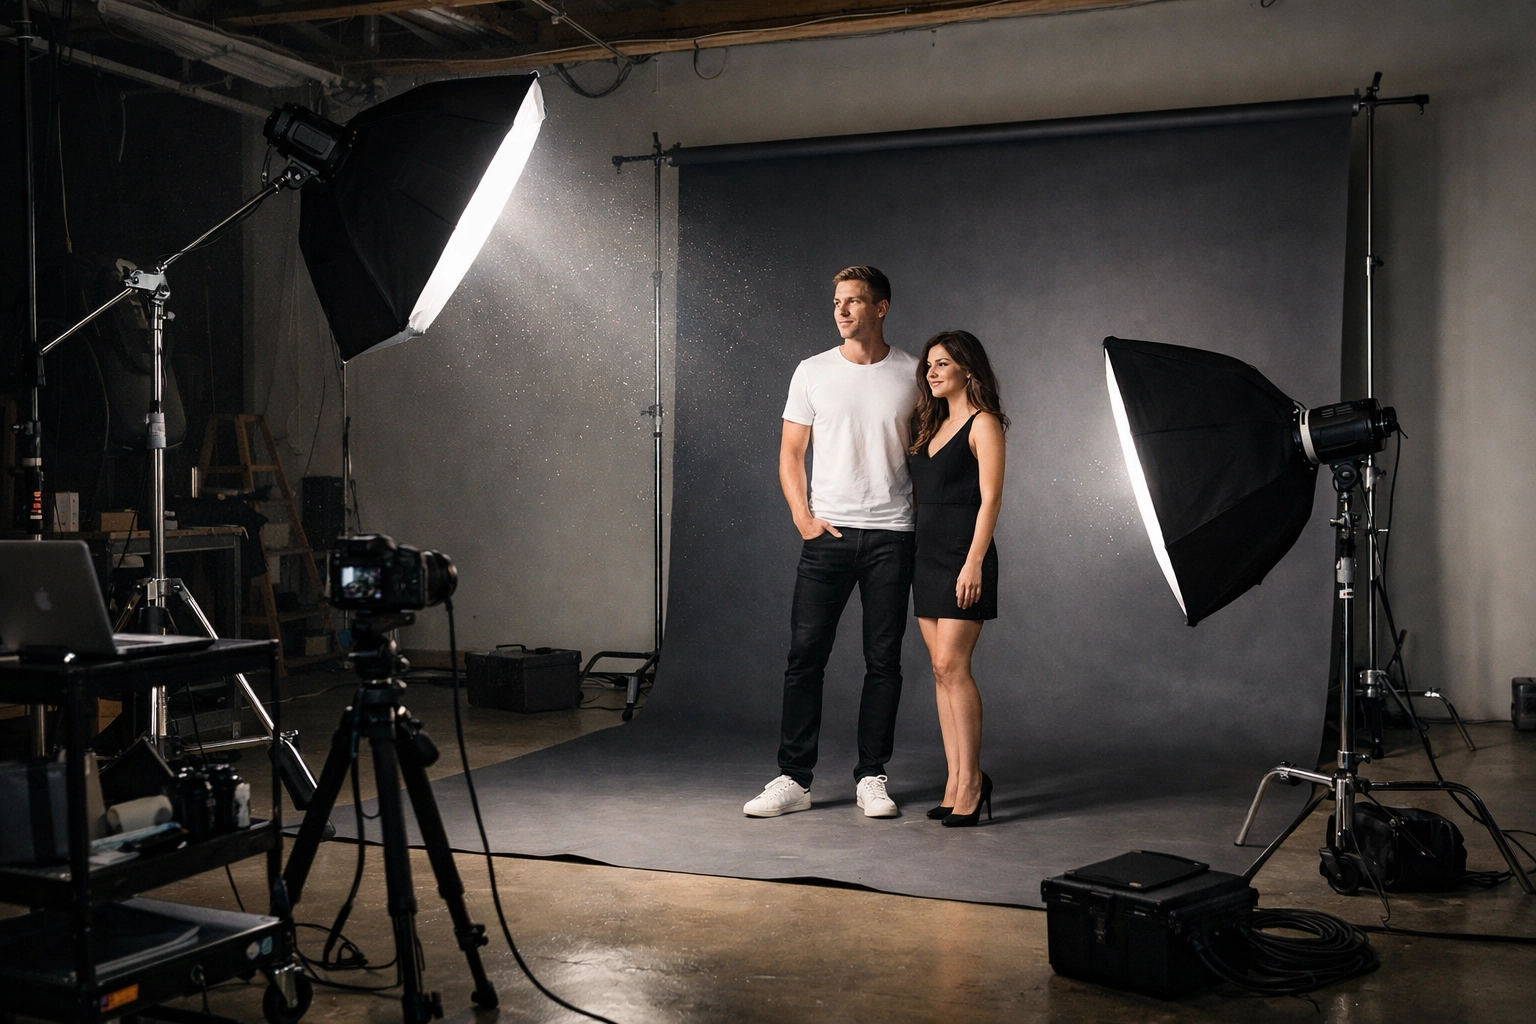
The Mistake: You’re likely using a single light source placed too far from the background, or your subject is standing right against the wall. When the background drops into total darkness, it merges with the shadow side of your subject's face. This makes the subject look wider and the photo look muddy. It’s a common rookie mistake when trying to create a "dramatic" look.
How to Fix It: Give your subject some breathing room. Move them away from the wall. By creating distance, you allow the light to fall off naturally before it hits the backdrop, or better yet, you can use a dedicated background light. Even a small amount of "spill" light onto the background will create a rim of light that defines the subject’s silhouette. If you’re shooting outdoors, using a wider aperture on one of the best mirrorless cameras will help create that beautiful bokeh that separates the subject from the clutter. For more advanced tips on composition, check out PhotoGuides.org.
3. Rogue Hair Lights (The "Light Bulb" Nose)
Hair lights (or rim lights) are great for adding that professional "pop" to a portrait, but when they go wrong, they go really wrong.
The Mistake: You’ve placed your hair light too far forward or at an awkward angle, causing the light to catch the tip of the subject's nose or the edge of their lips. Instead of a nice glow on the hair, you get a distracting highlight right in the middle of the face that looks like a mistake.
How to Fix It: Position your hair light behind the subject and slightly to the side, ensuring it only hits the hair and shoulders. Always check your "blinkies" or highlights on your LCD screen to make sure no light is "leaking" onto the face. If you need better control over your light, investing in essential camera accessories for 2024 like grids or snoots can help you direct that light exactly where you want it.
4. The "Mugshot" Pose (Positioning Square to the Camera)
If you want your subject to look as wide and uncomfortable as possible, have them stand square to the camera. If you want them to look good, you need to change the angle.
The Mistake: Positioning the subject’s shoulders directly facing the lens. While this works for symmetry in very specific high-fashion shots, for 99% of portraits, it makes people look bulky and flat. It lacks the three-dimensional depth that makes a portrait feel alive.
How to Fix It: Ask your subject to turn their body about 45 degrees away from the camera, then have them turn their head back toward the lens. This instantly slims the profile and creates dynamic lines. It’s a simple trick Edin Chavez uses constantly to make subjects feel more relaxed and look more athletic. You can find more of these "pro-level" insights over at blog.edinchavez.com.
5. The "Claw" (Awkward Hand Positioning)
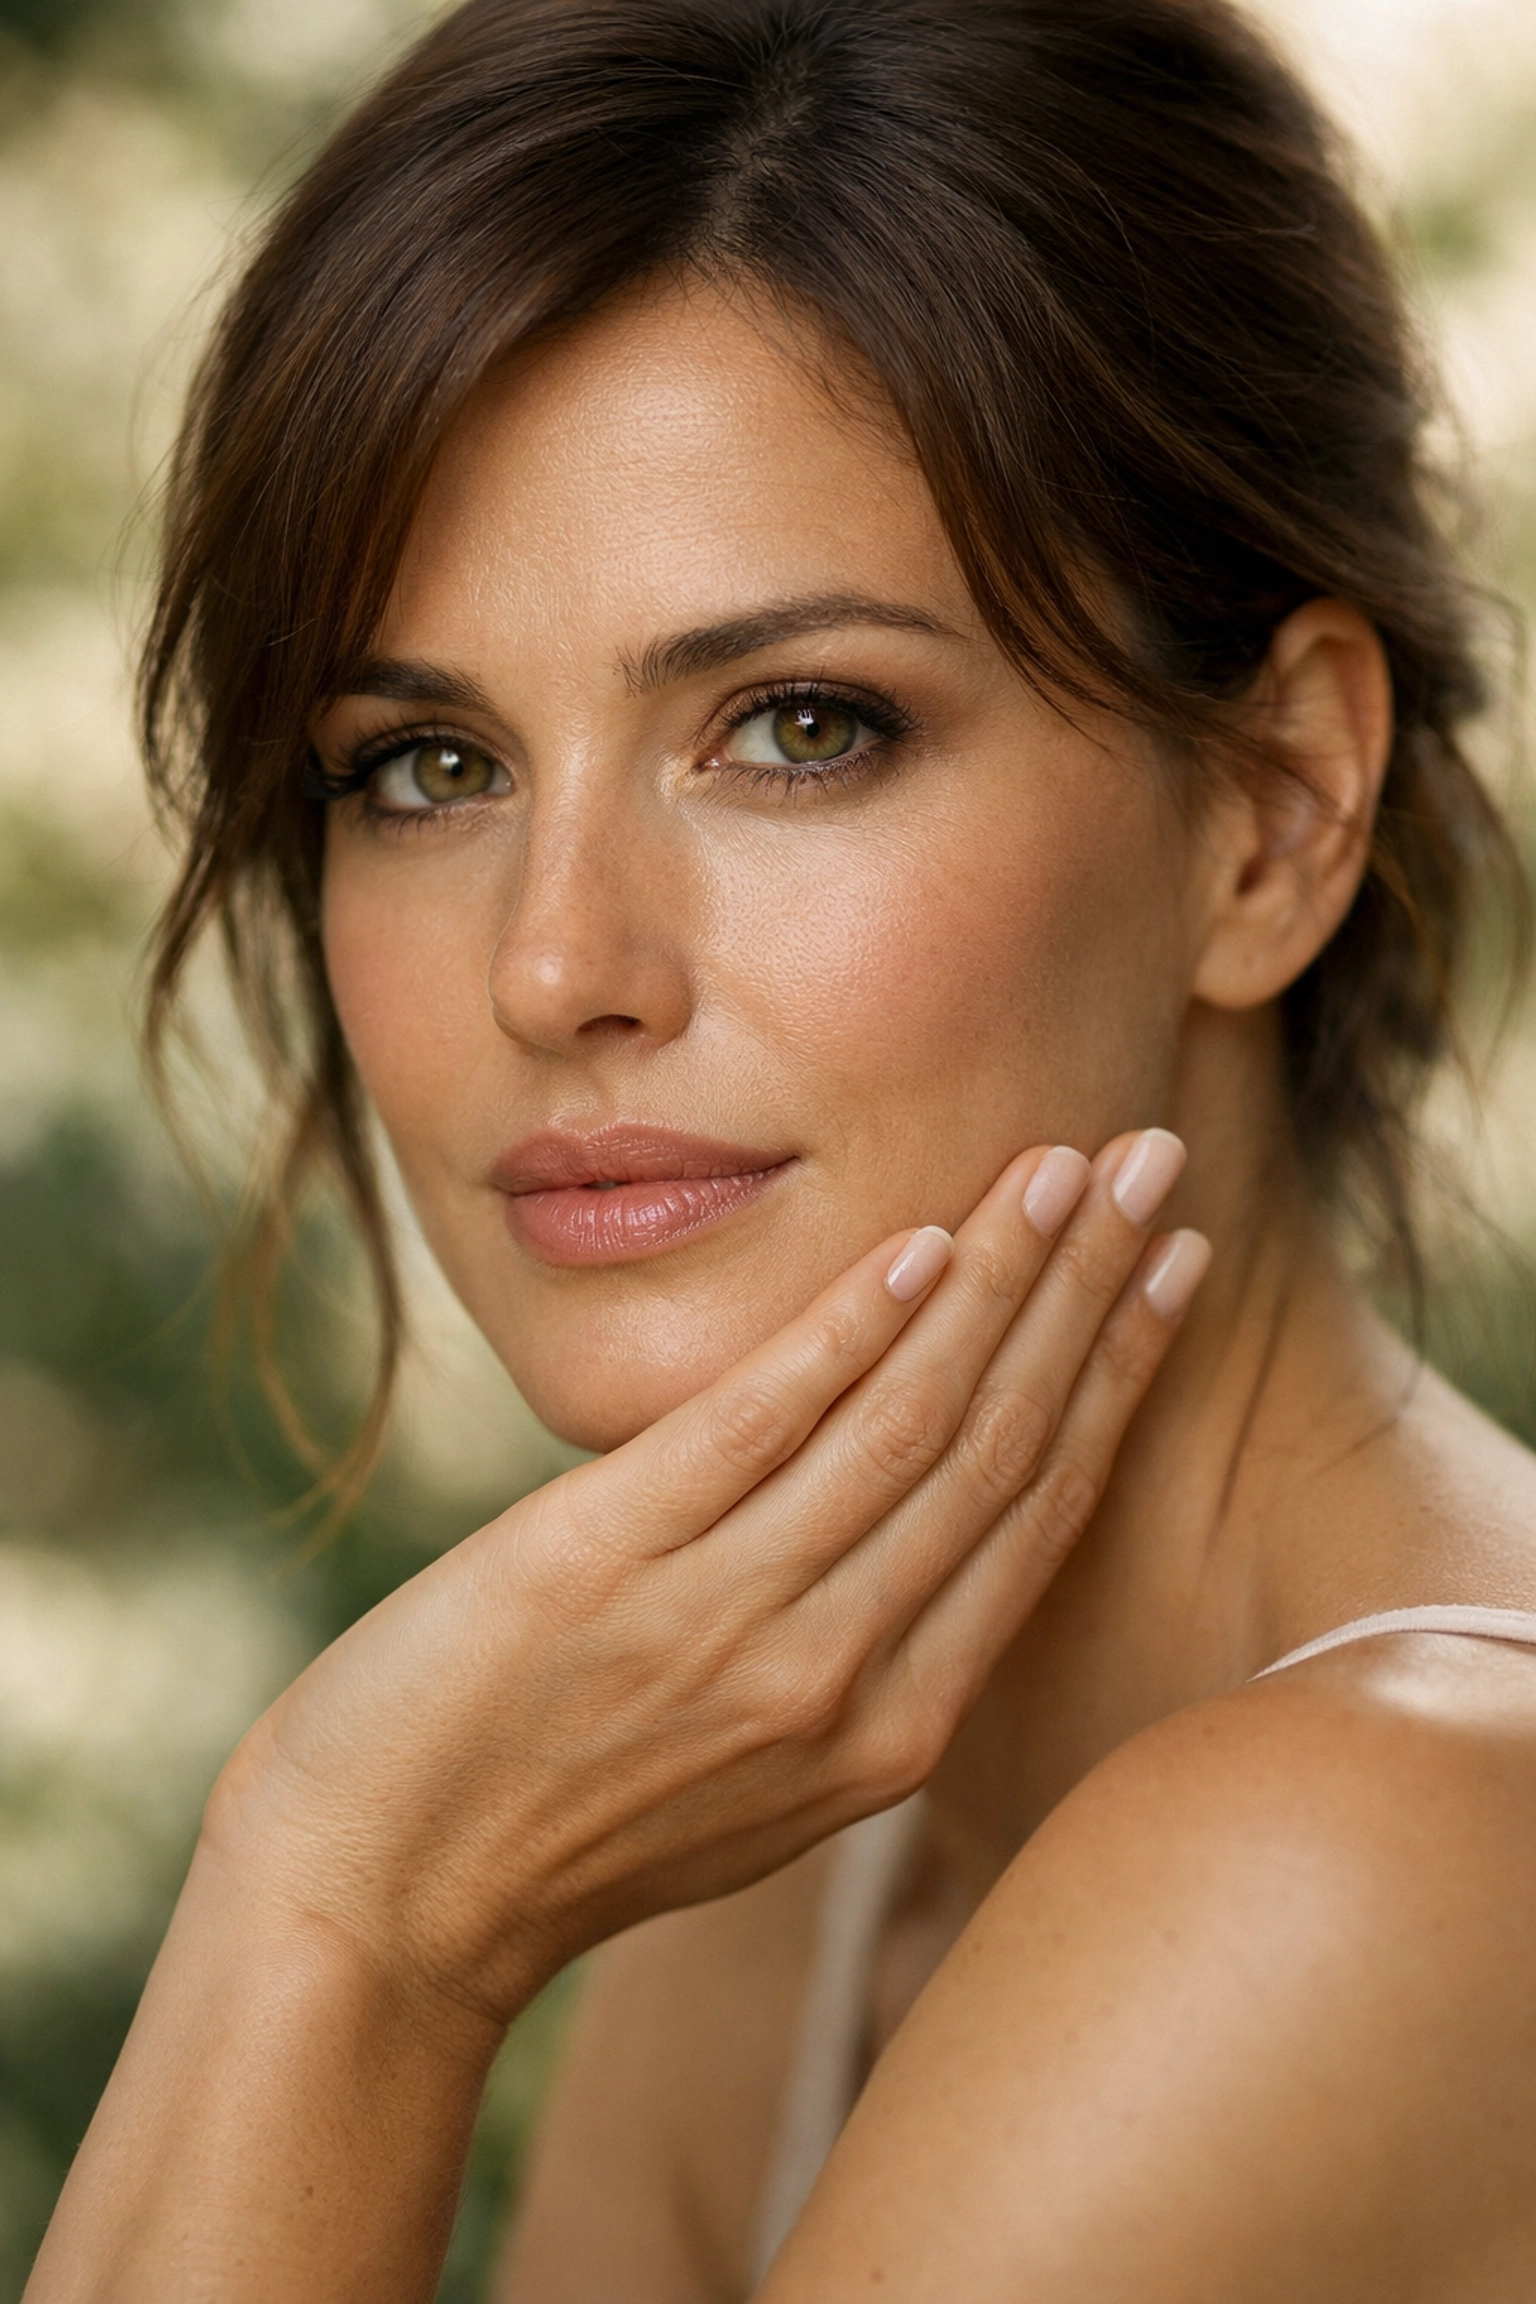
Hands are the hardest part of portraiture. If you don't tell the subject what to do with them, they will either hide them awkwardly or turn them into "claws."
The Mistake: Hands are either pressed flat against the body, clenched into fists, or placed too close to the face where they catch too much light. Since our eyes are naturally drawn to the brightest part of an image, a bright hand near a face will actually distract the viewer from the subject's eyes.
How to Fix It: Give the hands something to do. If they are near the face, ensure they are relaxed and showing the side of the hand rather than the palm or back. Use the "staircase" method: stagger the fingers slightly so they aren't all lined up. This creates a much more elegant, natural look. If you are struggling with gear that’s too bulky to manage while directing poses, consider looking at some compact camera options for a more low-pressure shoot.
6. The Eye-Level Trap
Most people see the world from eye level. If you only shoot from that perspective, your photos are going to look just like what everyone sees every day. In other words: boring.
The Mistake: Always standing straight up and shooting from your own eye level. This is the fastest way to make your portraits look like standard snapshots.
How to Fix It: Move! Get low, get high, or tilt the camera. Shooting from a slightly lower angle can give your subject a sense of power and presence (great for corporate headshots or "hero" shots). Shooting from slightly above can make the eyes look larger and the face more heart-shaped, which is often very flattering. Don't be afraid to get your jeans dirty. If you're out in the field, like when you're mastering canyon and gorge travel photography, perspective is everything.
7. The "Blurry Mess" (Using Too Slow a Shutter Speed)
You think you nailed the focus. The expression is perfect. The lighting is divine. But when you zoom in on the eyes, they are just a tiny bit soft.
The Mistake: Your shutter speed is too slow for handheld portraiture. Even if your subject is sitting still, people move. They breathe, they sway, and your hands shake ever so slightly. If you’re shooting at 1/60th of a second, you’re playing a dangerous game with motion blur.
How to Fix It: Stick to a faster shutter speed. A good rule is to never go below 1/200th for portraits if you’re shooting handheld. If you’re using a high-resolution sensor, you might even want to go faster. This ensures that every eyelash is tack-sharp. If you find yourself needing to shoot in low light, don't be afraid to bump up your ISO or check out the top camera deals to find a lens with a wider aperture. If you want to see how high-end gear handles these situations, take a look at www.proshoot.io.
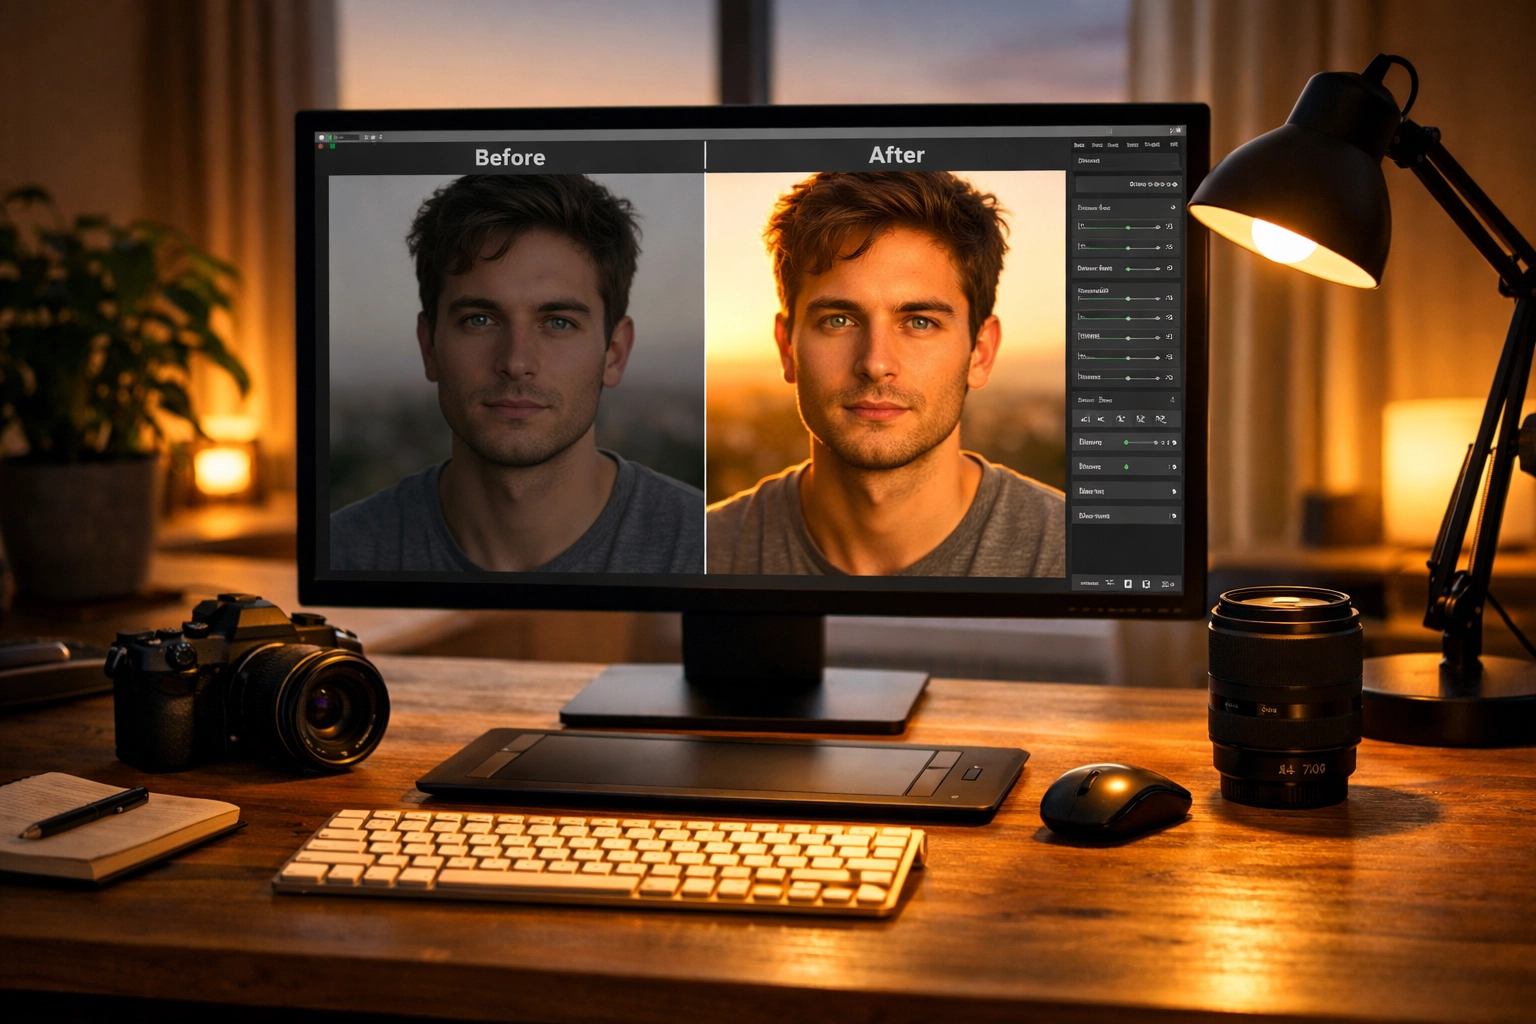
Bonus: Fixing It in Post-Processing
Even if you follow all these tips perfectly, sometimes the "vibe" of the photo needs a little help. Maybe the skin tone is slightly off, or you want to enhance the light you’ve already captured. This is where modern AI tools come in.
We highly recommend using Luminar for your portrait retouching. It has specific AI-driven tools that can enhance eyes, soften skin naturally (without making it look like plastic), and even adjust the lighting after the fact. It’s a lifesaver when you realize you made Mistake #1 and need to fix those lighting ratios.
Workflow Integration
For those of you following along with our social media updates, I’ve been coordinating with Sonny (our Social Media Manager) to make sure we’re sharing behind-the-scenes clips of these lighting setups on our Instagram and TikTok. If you saw the recent video on "The 3-Light Setup," this blog post is the deep dive you’ve been looking for. Sonny will be linking back here, so make sure you've bookmarked our top photography tips page for more.
Bringing It All Together
Portrait photography isn't just about technical perfection; it's about the connection between you and the person on the other side of the glass. However, when you master these techniques, you remove the "technical noise" that gets in the way of that connection.
Stop making these seven mistakes, and you’ll find that your subjects look more relaxed, your photos look more professional, and you'll spend a lot less time trying to "save" shots in editing. Whether you are using professional photography cameras or just your smartphone, these principles of light, perspective, and posing remain the same.
If you’re looking for more gear-specific advice, check out our camera comparison insights to see which tools are best for your specific style of portraiture. And as always, keep shooting. The best way to fix a mistake is to go out and make it, realize what happened, and do it better the next time.
For more inspiration on high-end fine art portraits, don't forget to visit www.edinfineart.com and see how these techniques are applied in a professional gallery setting. Now, go grab your camera, find a subject, and show us what you’ve got!


