Let’s be honest: taking a portrait is easy, but making a great portrait is incredibly hard. We’ve all been there. You have a beautiful subject, a fancy camera, and a cool location, but when you get home and pull the files up on your computer, something just feels… off. Maybe the eyes are a bit soft, or the skin looks like it belongs to a plastic mannequin, or your subject looks like they’re posing for a mugshot.
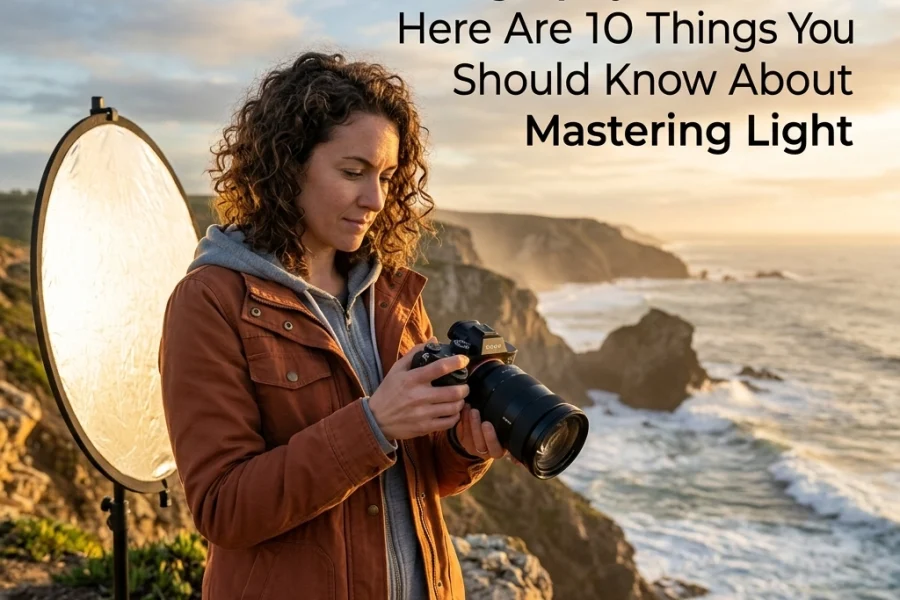
Portrait photography is a delicate dance between technical skill and human connection. It’s not just about the gear you use: though having the right OM System OM-1 Mark II settings for portrait photography certainly helps. It’s about understanding how light, perspective, and posing work together to tell a story.
If you’re feeling frustrated with your results, don't worry. Most of the "bad" photos we take come down to a handful of common mistakes that are actually pretty easy to fix once you know what to look for. Today, we’re going to dive into the seven most common portrait photography blunders and, more importantly, how you can fix them right now.
1. Missing the Focus on the Eyes
They say the eyes are the windows to the soul, and in portrait photography, that’s literally your target. One of the biggest mistakes beginners (and even some pros) make is letting the camera’s autofocus decide where to land. If you’re shooting with a wide aperture like f/1.8 or f/1.4, your depth of field is razor-thin. If the camera focuses on the tip of the nose or the eyebrow, the eyes will be slightly blurry. And if the eyes aren't sharp, the whole portrait feels disconnected.
The Fix:
Always, always, always focus on the eye closest to the camera. Most modern mirrorless cameras have incredible Eye-Autofocus (Eye-AF). If you’re trying to decide between bodies, you might want to look at our breakdown of the Sony A7 IV vs. Canon EOS R6 Mark II to see which one handles tracking better.
If your camera doesn’t have reliable Eye-AF, use a single-point focus and manually place it over the eye. Also, don't be afraid to stop down your aperture slightly. While that "creamy bokeh" at f/1.2 looks cool, shooting at f/2.2 or f/2.8 gives you a bit more breathing room to ensure those pupils are tack-sharp. For more deep dives on technical mastery, check out the resources at Shut Your Aperture.

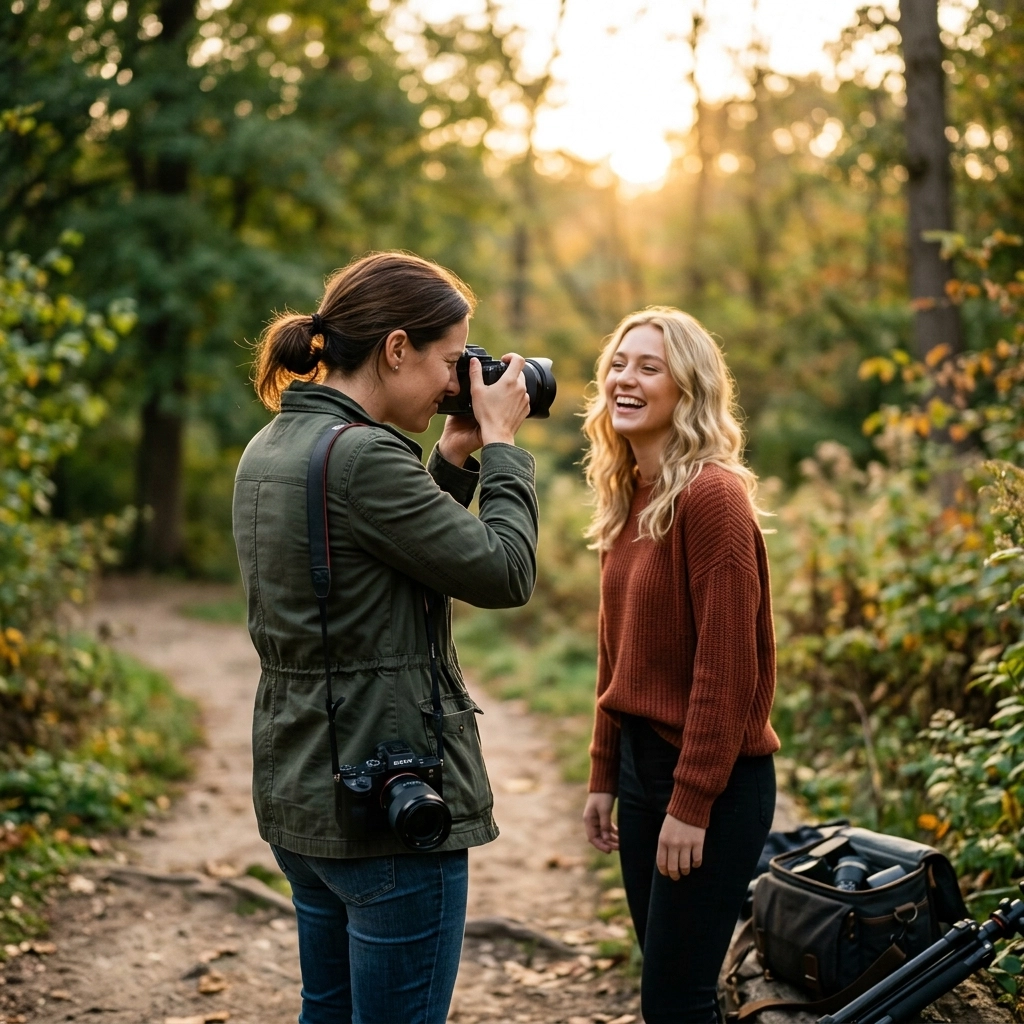
2. Shooting in Harsh, Midday Sun
We’ve all done it. You meet a client at 1:00 PM because that’s when they’re free, and the sun is beating down like a spotlight. The result? "Raccoon eyes": those deep, dark shadows in the eye sockets: and bright, blown-out highlights on the forehead and nose. It’s unflattering, it makes your subject squint, and it’s a nightmare to edit.
The Fix:
The easiest fix is to find "open shade." Look for the shadow of a building, a large tree (be careful of dappled light!), or an awning. This provides a soft, even light that wraps around the face beautifully.
If you’re stuck in an open field with no shade, turn your subject’s back to the sun. This turns the sun into a hair light/rim light and keeps their face in a consistent shadow. You can then use a simple reflector to bounce some light back into their face. For more tips on handling tricky environments, I’ve written about similar challenges in my top 10 landscape photography tips, as lighting principles often cross over between genres.
3. The "Mugshot" Pose (Squaring the Shoulders)
When someone is nervous in front of a camera, their natural instinct is to stand up straight and face the lens directly. This squares off the shoulders, making the person look wider and the photo look static and clinical: like a passport photo or a mugshot. It lacks energy and doesn't do any favors for the subject's physique.
The Fix:
Ask your subject to shift their weight to their back foot and turn their shoulders at an angle (roughly 45 degrees) away from the camera. This creates a slimmer profile and adds a sense of depth. Have them lean slightly toward the camera from the waist: this helps define the jawline and creates a more engaging, intimate feel.
Posing is an art form in itself. If you want to master the communication side of things, I highly recommend checking out some of the specialized courses over at Shut Your Aperture Academy. It’s one thing to know the pose; it’s another to know how to coach a nervous subject into it without making them feel awkward.

4. Ignoring the Background "Clutter"
You’re so focused on the person’s expression that you don't notice the telephone pole growing out of their head or the bright red trash can in the corner of the frame. A distracting background can ruin even the best-lit portrait. Our brains are great at filtering out clutter in real life, but the camera flattens everything into a single plane, making those distractions jump out.
The Fix:
Before you click the shutter, do a "border check." Scan the edges of your frame for anything that shouldn't be there. If there’s a distracting element, you don't always have to move the object: just move yourself. Often, taking one step to the left or right, or dropping down to a lower angle, will completely change what’s behind your subject.
Another trick is lens compression. Using a longer focal length (like 85mm or 135mm) will "pull" the background closer and blur it out more effectively than a wide-angle lens. If you’re choosing between gear, read our Canon EOS R5 vs. Sony A7R V comparison to see how these high-res sensors handle background detail and bokeh.
5. Dead Eyes (The Lack of Catchlights)
Have you ever seen a portrait that looked technically perfect but felt "dead" or soulless? Usually, it’s because there’s no light reflecting in the eyes. These reflections are called "catchlights," and they are essential for giving a portrait life and spark. Without them, the eyes look like flat, dark voids.
The Fix:
You need a light source positioned in front of the subject. This doesn't have to be a flash; it can be a window, a reflector, or even a bright patch of sky. If you’re shooting in the shade, have your subject look slightly toward the direction of the light.
You can see a lot of examples of how I handle light and catchlights in my more artistic work over at EdinFineArt.com. Even in moody, low-light portraits, that tiny speck of light in the eye makes all the difference.

6. Over-Processing Skin Textures
We’ve reached the age of AI, and while it’s a powerful tool, it’s also a dangerous one. A common mistake is going way too far with skin smoothing. We’ve all seen those photos where the subject looks like a CGI character from a 2005 video game: no pores, no texture, just a blurry peach-colored smudge.
The Fix:
The goal of retouching should be to make the subject look like their best self on their best day, not like a different species. When you’re editing, use tools that preserve texture. I personally love using Luminar because its AI tools are designed to recognize skin and features without nuking the natural detail.
The key is "subtlety." If you’re using a skin-smoothing slider, pull it up until you notice it, then pull it back by 30%. You can also learn how to integrate AI into your photography workflow without it looking like a robot did it to keep your edits looking professional and organic.

7. Using the Wrong Perspective (Lens Choice)
If you take a close-up portrait with a wide-angle lens (like a 24mm or even a 35mm), you’re going to get distortion. The parts of the face closest to the lens: usually the nose: will look much larger than they actually are, while the ears will seem to disappear. Unless you’re going for a specific "funhouse mirror" look, this is usually a mistake.
The Fix:
For traditional portraits, stick to focal lengths between 50mm and 200mm. The 85mm prime is often cited as the "king of portrait lenses" because it offers a flattering compression that makes features look proportional and pleasing.
If you’re a travel photographer trying to do portraits on the go, you might be tempted to just use whatever is on your camera. But taking the time to swap to a longer lens: or even just backing up and zooming in: will drastically improve your results. I talk more about gear choices for different scenarios on my personal blog, where I share behind-the-scenes looks at my kit for various shoots.
Putting It All Together
Photography is a journey of constant learning. Don't get discouraged if you’ve been making some of these mistakes; in fact, making them is the fastest way to learn why the "rules" exist in the first place.
The next time you head out for a portrait session, pick just one of these fixes to focus on. Maybe this week you’ll focus solely on getting those tack-sharp eyes, or maybe you’ll spend your time scouting for the perfect background before your subject even arrives.
If you want to take your skills to the next level and get some hands-on guidance, definitely swing by Shut Your Aperture Academy. We have a ton of resources specifically designed to help you stop "taking" photos and start "creating" them.
Portraiture is about the connection between you and the person on the other side of the glass. Once you get the technical mistakes out of the way, you’re free to focus on what really matters: capturing a moment that feels real.
Happy shooting!
Skylum’s Aperty is purpose-built for portrait retouching with AI skin, eye and detail enhancement. Luminar Neo’s Portrait AI complements it for full-body and editorial work. Tagged as affiliate per FTC.